Product added to cart

The Arduino UNO R3 can be powered via the USB connection to a computer, an AC-to-DC adapter (7-12V DC), or a battery.
Creating an account has many benefits: check out faster, keep more than one address, track orders and more.

We offer free shipping on all orders over $35 and under 2kg.
Please note that free shipping is only available for orders under 2kg.
DHL is a renowned shipping courier known for its global reach and reliable delivery services. With a vast network and advanced logistics capabilities, DHL offers fast and secure shipping solutions for international shipments.
For the majority of countries, DHL provides an estimated delivery time of 5 to 7 days.
In certain instances, DHL may not be available for shipments to EU countries. In such cases, we may opt to ship your order using FedEx instead of DHL. Rest assured, FedEx offers a comparable estimated time of arrival (ETA) and your package should typically arrive within 5-7 days.
The base shipping cost for DHL is $35. You can see the final shipping amount on the checkout page. If your order is over $200 and less than 2kg, you will qualify for free shipping through DHL Express.
Yun Express is a shipping courier known for its reliable and efficient international shipping services. With a strong global network and advanced logistics solutions, Yun Express ensures timely delivery and provides tracking options for customers to monitor their shipments.
The delivery time in most cases is 10-15 business days. If your order is over $35 and less than 2kg,you will qualify for free shipping through YunExpress.
YunExpress shipments can be tracked here: https://www.yuntrack.com/
Our shipping term is FOB Shenzhen, which does not cover any customs fees. It is important to note that you may be responsible for paying any charges imposed by your country's government, such as duties, taxes, and additional fees imposed by the courier company.
 Arduino Mega ADK REV3 Previous
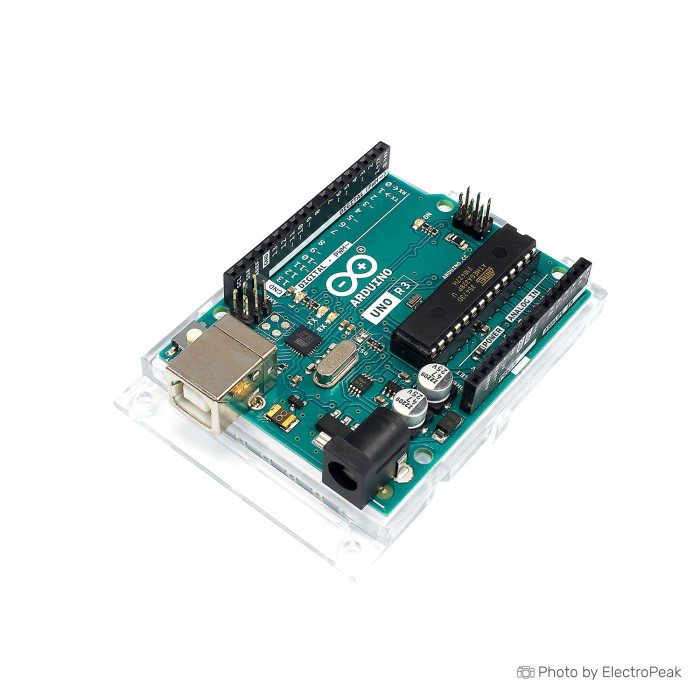
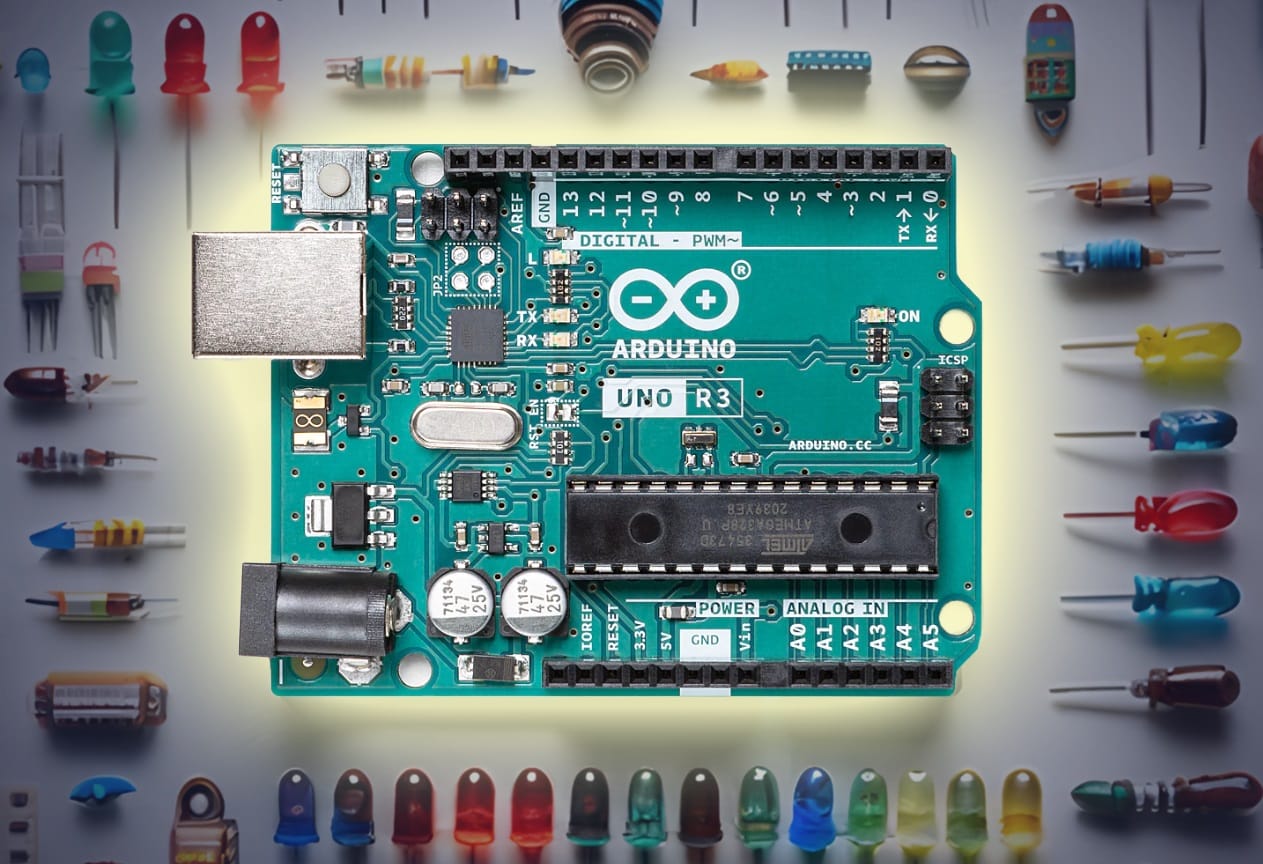
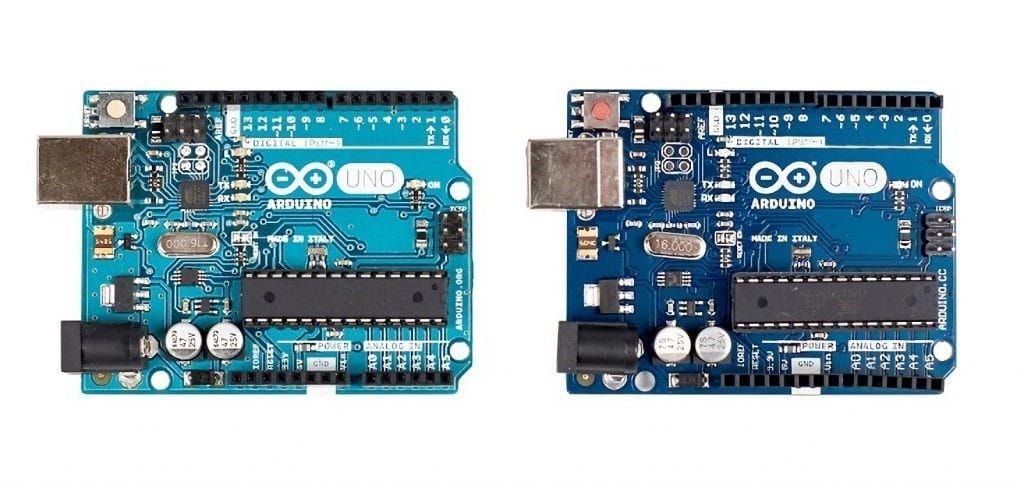
The Arduino UNO R3 is a widely used open-source microcontroller board that is part of the Arduino hardware platform. It is designed for ease of use in prototyping and creating interactive electronic projects. Developed by the Arduino Company, the UNO R3 board is based on the ATmega328P microcontroller.
It’s an 8-bit microcontroller with 32KB of Flash memory and 2KB of RAM. It has 14 digital input/output pins (of which 6 can be used as PWM outputs), 6 analog inputs, a 16 MHz crystal oscillator, a USB connection, a power jack, an ICSP header, and a reset button.
It contains everything needed to support the microcontroller; simply connect it to a computer with a USB cable or power it with an AC-to-DC adapter or battery to get started. The UNO R3 board is the first in a series of USB boards and it is the reference model for the Arduino platform.
Arduino UNO R3 is the ideal board for getting started with electronics, through fun and engaging hands-on projects. This board is your entry to the unique Arduino experience: great for learning the basics of how sensors and actuators work, and an essential tool for your rapid prototyping needs. Arduino Uno Rev3 is the most used and documented board in the Arduino family.
While the Arduino UNO R3 is a versatile and widely used microcontroller board, there are certain types of projects for which it may not be the most suitable choice. Here are some scenarios where other microcontrollers or development platforms might be more appropriate:
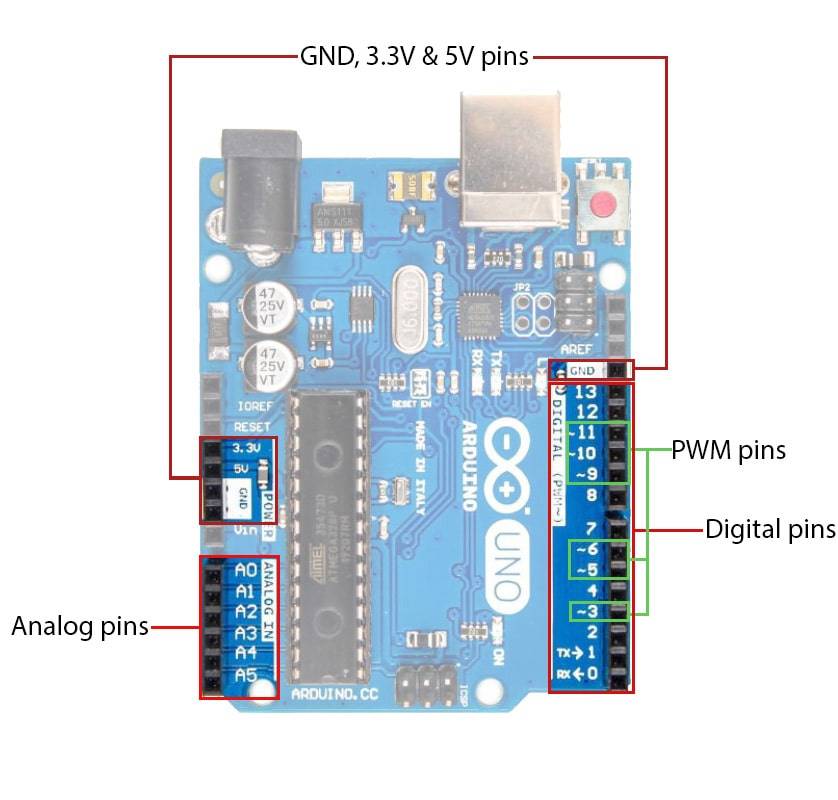
The Arduino UNO R3 board has various pins, including digital input/output pins, analog input pins, power pins, and communication pins. Here's a breakdown of the pins on an Arduino UNO R3:
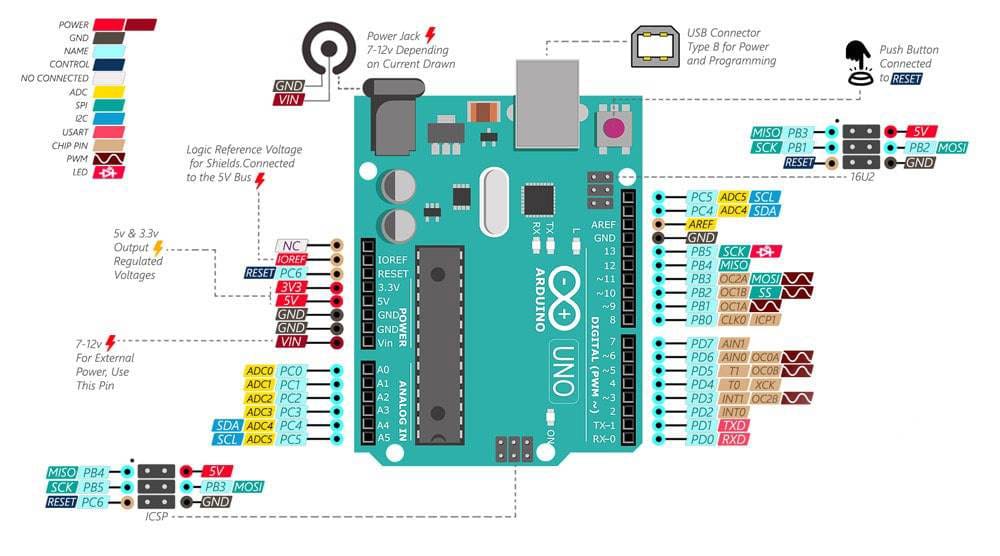
There are totally 20 I/O pins. Which 14 of them are digital I/O and 6 of them are Analog Inputs.
Below figure, you can see Arduino UNO R3 general pinouts.
The Arduino UNO R3 board supports several communication interfaces, allowing it to interact with other devices and components. Here are the main communication interfaces of the Arduino UNO R3:
The Arduino UNO R3 microcontroller board doesn't have extensive storage capabilities like a full-fledged computer. Instead, it relies on its built-in flash memory for program storage and uses external sources for data storage. Here are the key aspects of storage on the Arduino UNO R3:
Step 1: Install the Arduino Software (IDE)
Download the Arduino IDE (Integrated Development Environment) from the official Arduino website.
Install the software on your computer.
Step 2: Connect Arduino to Your Computer
Connect your Arduino Uno R3 to your computer using the USB cable.
The Arduino should power up, and you may see the onboard LED (near pin 13) blinking.
Step 3: Set Up Arduino IDE
Open the Arduino IDE on your computer.
In the IDE, go to Tools > Board and select "Arduino Uno."
Go to Tools > Port and select the port that corresponds to your Arduino (it usually says "Arduino Uno").
Step 4: Write and Upload Your First Sketch
In the Arduino IDE, go to File > Examples > 01.Basics > Blink. This will open a simple Blink sketch.
Read through the code to understand how it works.
Click the right-pointing arrow button (Upload) to compile and upload the sketch to your Arduino.
You should see the onboard LED blinking.
If you want the same frame factor microcontroller-based boards, then you can choose between bellow boards:
There are alternative boards like UNO+WiFi or Mega+WiFi that has ESP8266 microcontroller alongside ATmega microcontrollers which has a capability of Wifi connection and more storage spaces.
If frame factor doesn't matter to you, there are options below:
Arduino Uno R3 boards can be found both in original versions produced by Arduino and in copies manufactured by various Chinese companies.
We will introduce you the differences that the original Arduino board and the copy may have.
It is necessary to point out that the version that is sold on our site is an exact clone of the original board and in terms of functionality and quality, they are not different from the original version.
Here are some general differences that are often observed between original Arduino Uno R3 boards and their Chinese copies:
It's important to note that not all Chinese copies are of poor quality, and some function perfectly well. However, users should be aware of potential differences in quality when choosing between an original Arduino Uno R3 and a Chinese copy.
Considering the price difference in most cases, buying a quality copy of Arduino is a more suitable option for most users.
Here are some frequently asked questions (FAQs) about the Arduino UNO R3:
The Arduino UNO R3 can be powered via the USB connection to a computer, an AC-to-DC adapter (7-12V DC), or a battery.
Digital pins can be used for digital input or output (HIGH or LOW), while analog pins can read analog signals, such as those from sensors, and convert them to digital values. Note that, analog pins can be used as digital pins.
Yes. But it’s better not to do this. If you interested in Python programming, you can use Raspberry Pi pico or ESP32/8266 based development boards.
Arduino UNO R3 is programmed using a simplified version of C/C++. The Arduino IDE provides a user-friendly interface for writing and uploading code.
Each digital or analog pin on the Arduino UNO R3 can source or sink a maximum current of 20 mA. The total current for all pins should not exceed 200 mA.
In most cases, yes. Arduino UNO R3 is compatible with many shields designed for other Arduino boards. However, some shields may require adjustment for pin compatibility. You can choose and buy the one you want from the variety of shields available on the site.
The AREF (Analog REFerence) pin is used to provide an external reference voltage for the analog-to-digital converter (ADC).
The Arduino UNO R3 is a versatile microcontroller board that can be used for a wide range of projects in various domains. Here are some common applications and things you can do with an Arduino UNO R3:
Connect various sensors such as temperature, humidity, motion, or light sensors to monitor and gather data from the environment. You can choose and buy the one you want from the variety of sensors available on our website.
Build simple home automation projects, like controlling lights, fans, or other devices using relays or smart home modules.
Create robots using motors, servos, and sensors. You can build line-following robots, obstacle-avoidance robots, or even remote-controlled robots.
Connect your Arduino UNO R3 to the internet using Ethernet shield and create Internet of Things (IoT) projects. For example, you could monitor sensor data remotely or control devices through a web interface.
Interface with LCD displays to show information or create user interfaces for your projects.
Build basic security systems using motion detectors, cameras, and alarms.
The possibilities with Arduino UNO R3 are vast, and the open-source nature of the Arduino platform means there is a wealth of resources, tutorials, and community support available to help you with your projects. Whether you're a beginner or an experienced maker, Arduino UNO R3 provides a great platform for learning and creating.
helloxxxx

Please complete your information below to login.
Sign In
Create New Account