Contents

Interfacing HTU21D Temperature/Humidity Sensor with Arduino

HTU21D Sensor Features

The HTU21D is a digital humidity and temperature sensor. It uses I2C communication and there are 2 SCL and SDA pins that are needed to be hooked up in order to communicate to this sensor. This sensor is ideal for temperature and humidity sensing.

  • Humidity measuring range: 0-100% RH°/ Accuracy ±2%
  • Temperature measurement range: -40 ° +125 °/ Accuracy ±0.3C

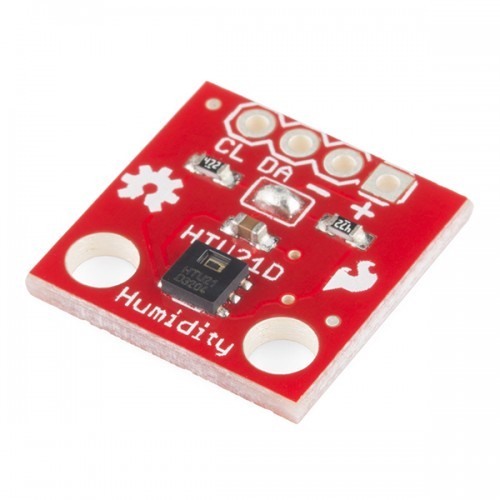
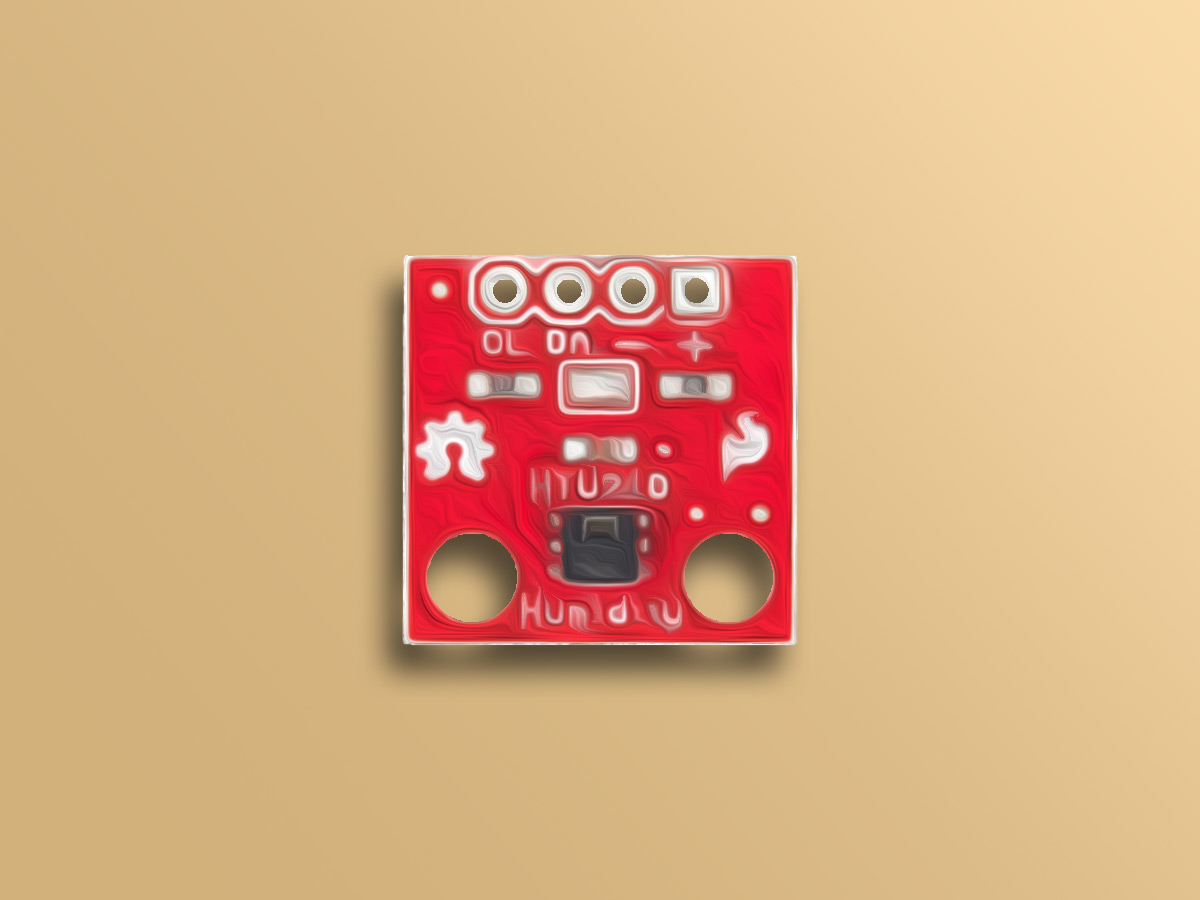
You can download the datasheet of this module here. 

HTU21D Sensor Pinout

This module has 4 pins. 2 for power supply and 2 for I2C communication.

  •  +: Module power supply – 3.3V
  •  –: Ground
  •  DA: Data pin for I2C communication
  •  CL: Clock pin for I2C communication

You can see pinout of this module in the image below.

Required Materials

Hardware Components

Arduino UNO R3 × 1
GY-213V-HTU21D Temperature Humidity Sensor × 1
Male to Female jumper wire × 1

Software Apps

Arduino IDE

Interfacing HTU21D Sensor with Arduino

Step 1: Circuit

The following circuit shows how you should connect Arduino to HTU21D Sensor. Connect wires accordingly.
Warning
The module supply voltage should be between 3 and 3.6 volts. Using higher voltages can damage the sensor.
Note
To activate the pull-up resistors on the SCL and SDA pins, you must connect the jumper on the board. Otherwise you have to add 2 pull-up resistors to your circuit.

Step 2: Installing Library

Download the HTU21D sensor library from the link below and then install.

Tip

If you need more help with installing a library on Arduino, read this tutorial: How to Install an Arduino Library

Step 3: Code

Upload the following code to your Arduino. This code displays the temperature and humidity read in the serial monitor.
/* 
 HTU21D Humidity Sensor Example Code
 By: Nathan Seidle
 SparkFun Electronics
 Date: September 15th, 2013
 License: This code is public domain but you buy me a beer if you use this and we meet someday (Beerware license).
 
 Uses the HTU21D library to display the current humidity and temperature
 
 Open serial monitor at 9600 baud to see readings. Errors 998 if not sensor is detected. Error 999 if CRC is bad.
  
 Hardware Connections (Breakoutboard to Arduino):
 -VCC = 3.3V
 -GND = GND
 -SDA = A4 (use inline 330 ohm resistor if your board is 5V)
 -SCL = A5 (use inline 330 ohm resistor if your board is 5V)

 */

#include <Wire.h>
#include "SparkFunHTU21D.h"

//Create an instance of the object
HTU21D myHumidity;

void setup()
{
  Serial.begin(9600);
  Serial.println("HTU21D Example!");

  myHumidity.begin();
}

void loop()
{
  float humd = myHumidity.readHumidity();
  float temp = myHumidity.readTemperature();

  Serial.print("Time:");
  Serial.print(millis());
  Serial.print("   Temperature:");
  Serial.print(temp, 1);
  Serial.print("C");
  Serial.print("   Humidity:");
  Serial.print(humd, 1);
  Serial.print("%");

  Serial.println();
  delay(1000);
}
After running the code, you will see the following image in the serial output.
Liked What You See?​
Get Updates And Learn From The Best​

Comments (3)

  • dick Reply

    te onduidelijk

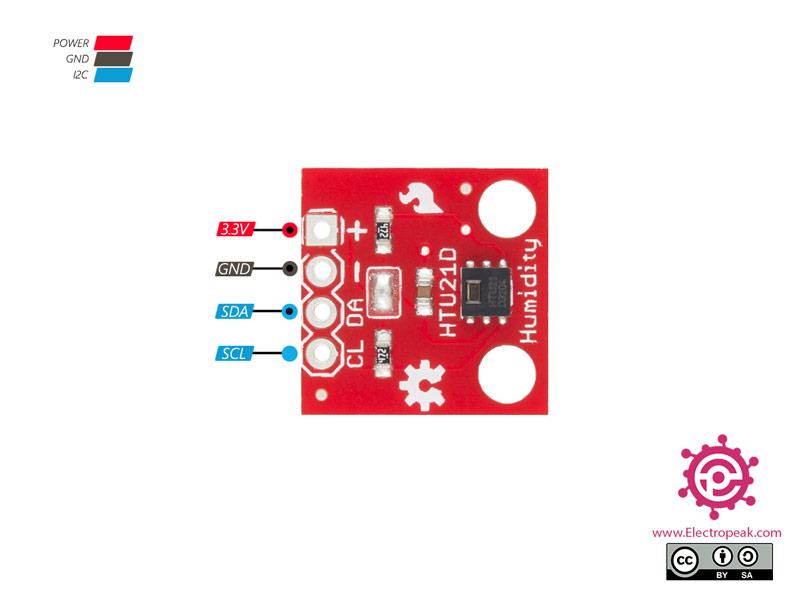
    Om de pull-up weerstanden op de SCL en SDA pinnen te activeren, moet je de jumper op het bord aansluiten. Anders moet je 2 pull-up weerstanden toe te voegen aan uw circuit.

    January 7, 2021 at 6:19 pm
  • ebi Reply

    hello

    how can i use 5 sensors with 1 arduino uno?

    please publish an example code

    thanks

    November 21, 2022 at 10:00 am

Leave a Reply

Your email address will not be published. Required fields are marked *