


Yes, the ST-Link V2 is compatible with macOS. Install the necessary drivers and software to use it on your macOS system.
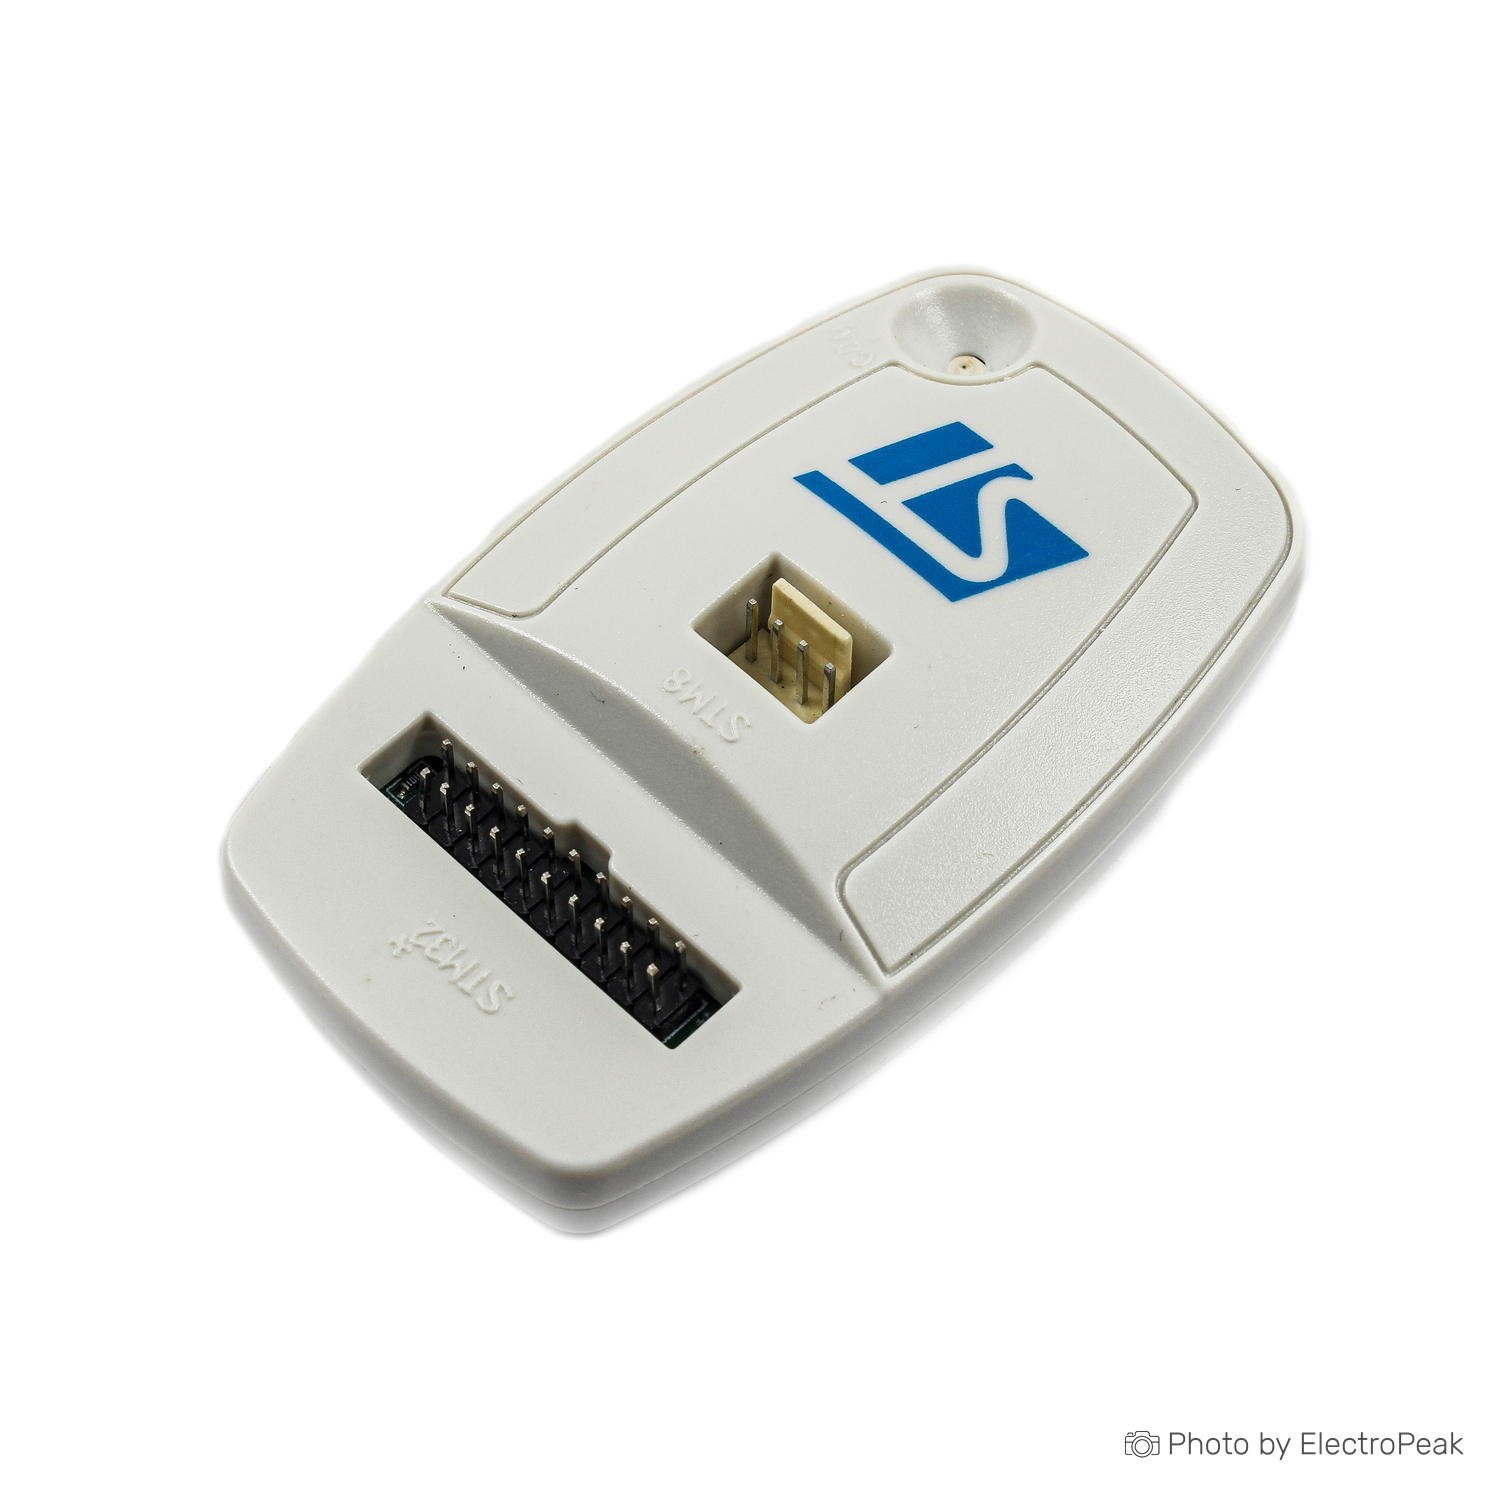
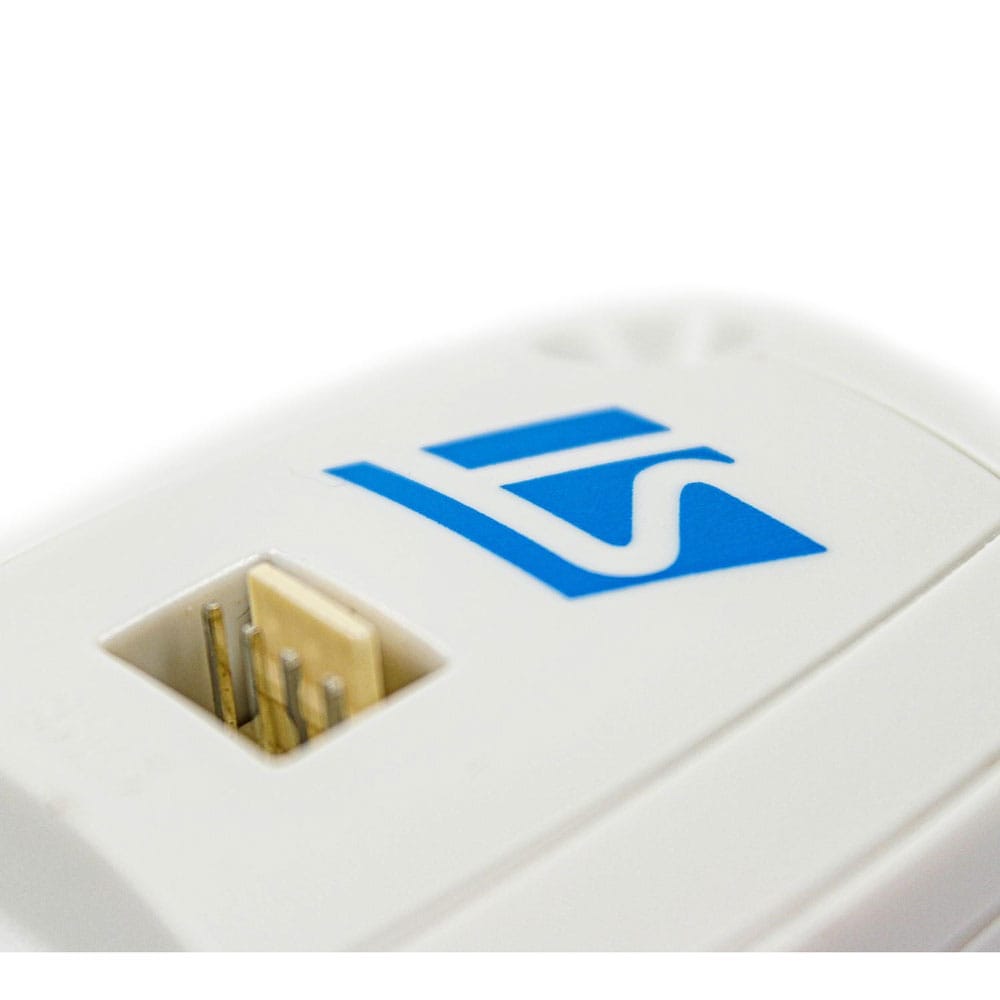
ST-Link V2/ JTAG STM8/STM32 Programmer
[PRO-01-016]
Product Variations:
Volume discounts:
- +25 2 % $13.42
- +50 4 % $13.26
- +100 5 % $13.09
- +300 6 % $12.93
- +500 7 % $12.76
Shop with confidence
Learn More
Availability:
SKU
PRO-01-016
Ships in 2-3 business days, then:
Free delivery in 10-15 days by YunExpress on orders over $35.
Free delivery in 5-7 days by DHL on orders over $200.
More shipping info
$13.75

The ST-Link V2 JTAG Programmer is a versatile tool designed for programming and debugging STM8 and STM32 microcontrollers.
ST-LINK/V2 is designed for STM8 series and STM32 series MCU simulation and online download development tools.STM32 series connect to ST-LINK/V2 through the JTAG/SWD interface, STM8 series connect to ST-LINK/V2 through the SWIM interface, ST-LINK/V2 connect PC via high-speed USB2.0, Support all with SWIM interface STM8 series MCU, Support Kernel M0,M1,M2,M3,M4 with JTAG/SWD interface STM32 series MCU
Key Features of ST-Link V2/ JTAG STM8/STM32 Programmer
The ST-Link V2 JTAG Programmer offers a range of features that make it a valuable asset for electronics enthusiasts, hobbyists, and professionals alike:
- Universal Compatibility: Designed to work seamlessly with both STM8 and STM32 microcontrollers, providing a versatile solution for various projects.
- Programming and Debugging: Enables users to program flash memory and perform real-time debugging, streamlining the development process.
- USB Connectivity: Equipped with a USB interface, allowing for easy and fast connections to computers and development environments.
- SWD and JTAG Support: Supports both Serial Wire Debug (SWD) and Joint Test Action Group (JTAG) protocols, providing flexibility in debugging and programming methods.
- Compact Design: Features a compact and portable design, making it suitable for both benchtop and on-the-go applications.
Usage Tips of ST-Link V2 JTAG STM8/STM32 Programmer
When using the ST-Link V2 JTAG Programmer, consider the following usage tips for optimal performance and efficiency:
- Driver Installation: Ensure proper installation of drivers on your computer before connecting the ST-Link V2. Refer to the manufacturer's documentation for detailed instructions.
- Secure Connections: Make secure connections to the target microcontroller, ensuring proper alignment and a stable connection throughout the programming or debugging process.
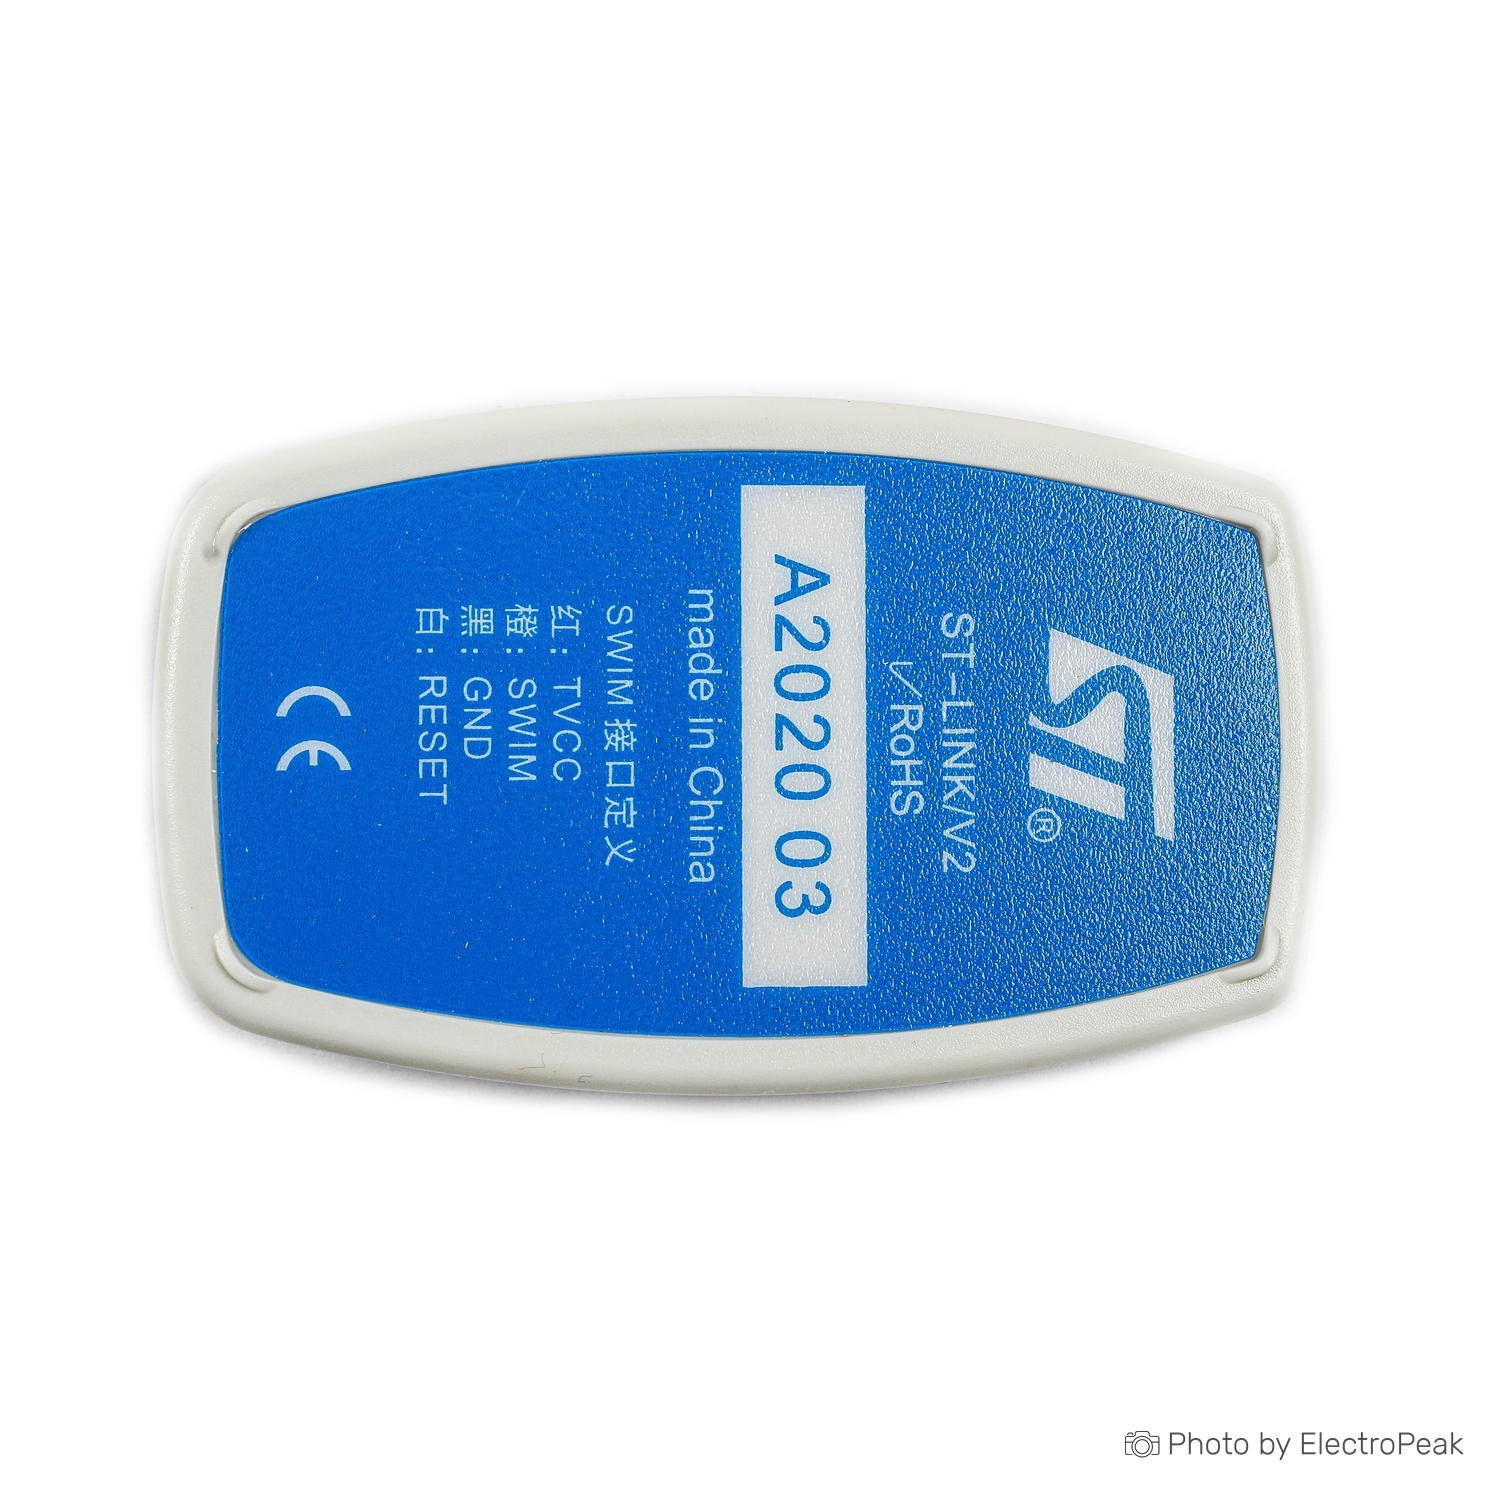
- Update Firmware: Periodically check for firmware updates and update the ST-Link V2 to benefit from improvements and new features.
- Power Considerations: If using the ST-Link V2 to power the target device, be aware of the current limitations. For high-power applications, consider an external power supply.
How to connect ST-Link V2/ JTAG STM8/STM32 Programmer to MCUs
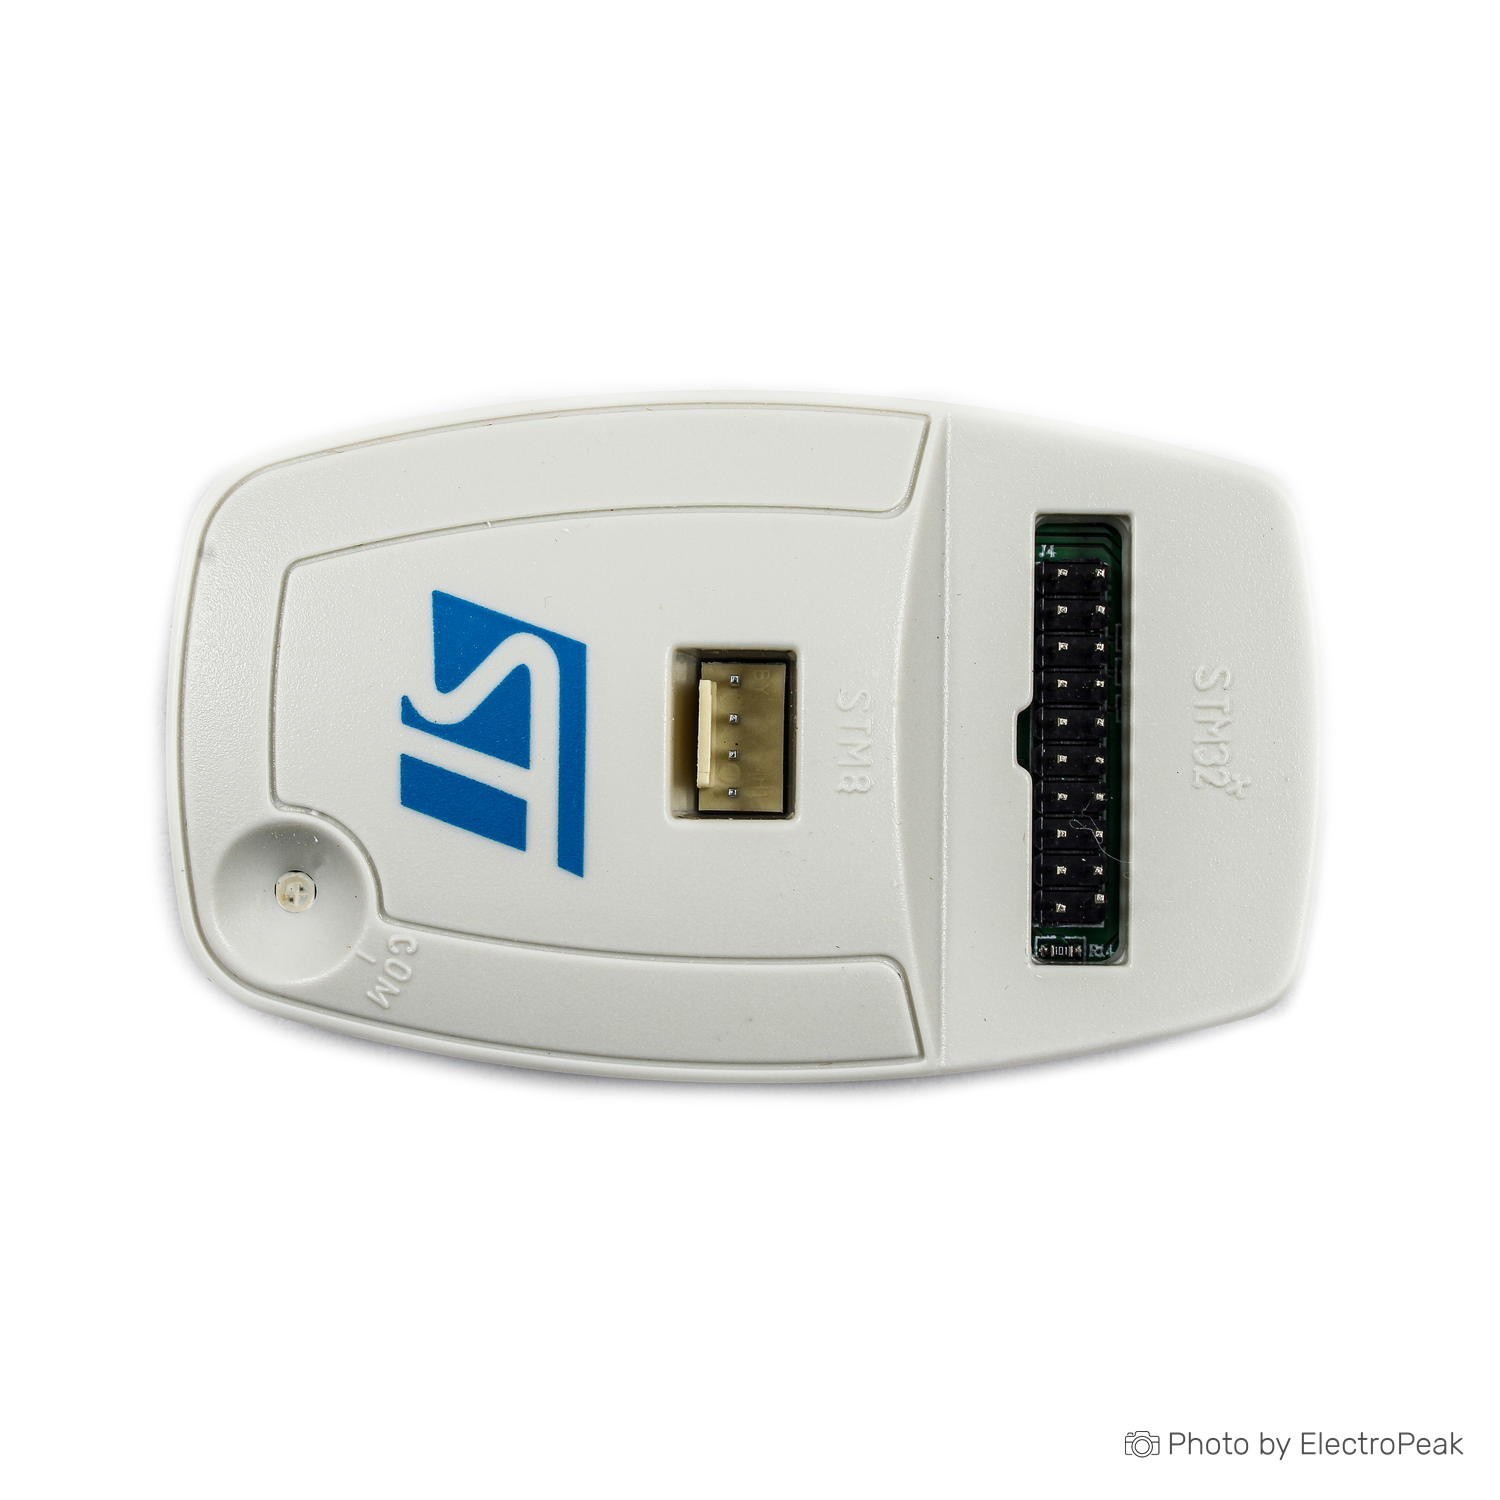
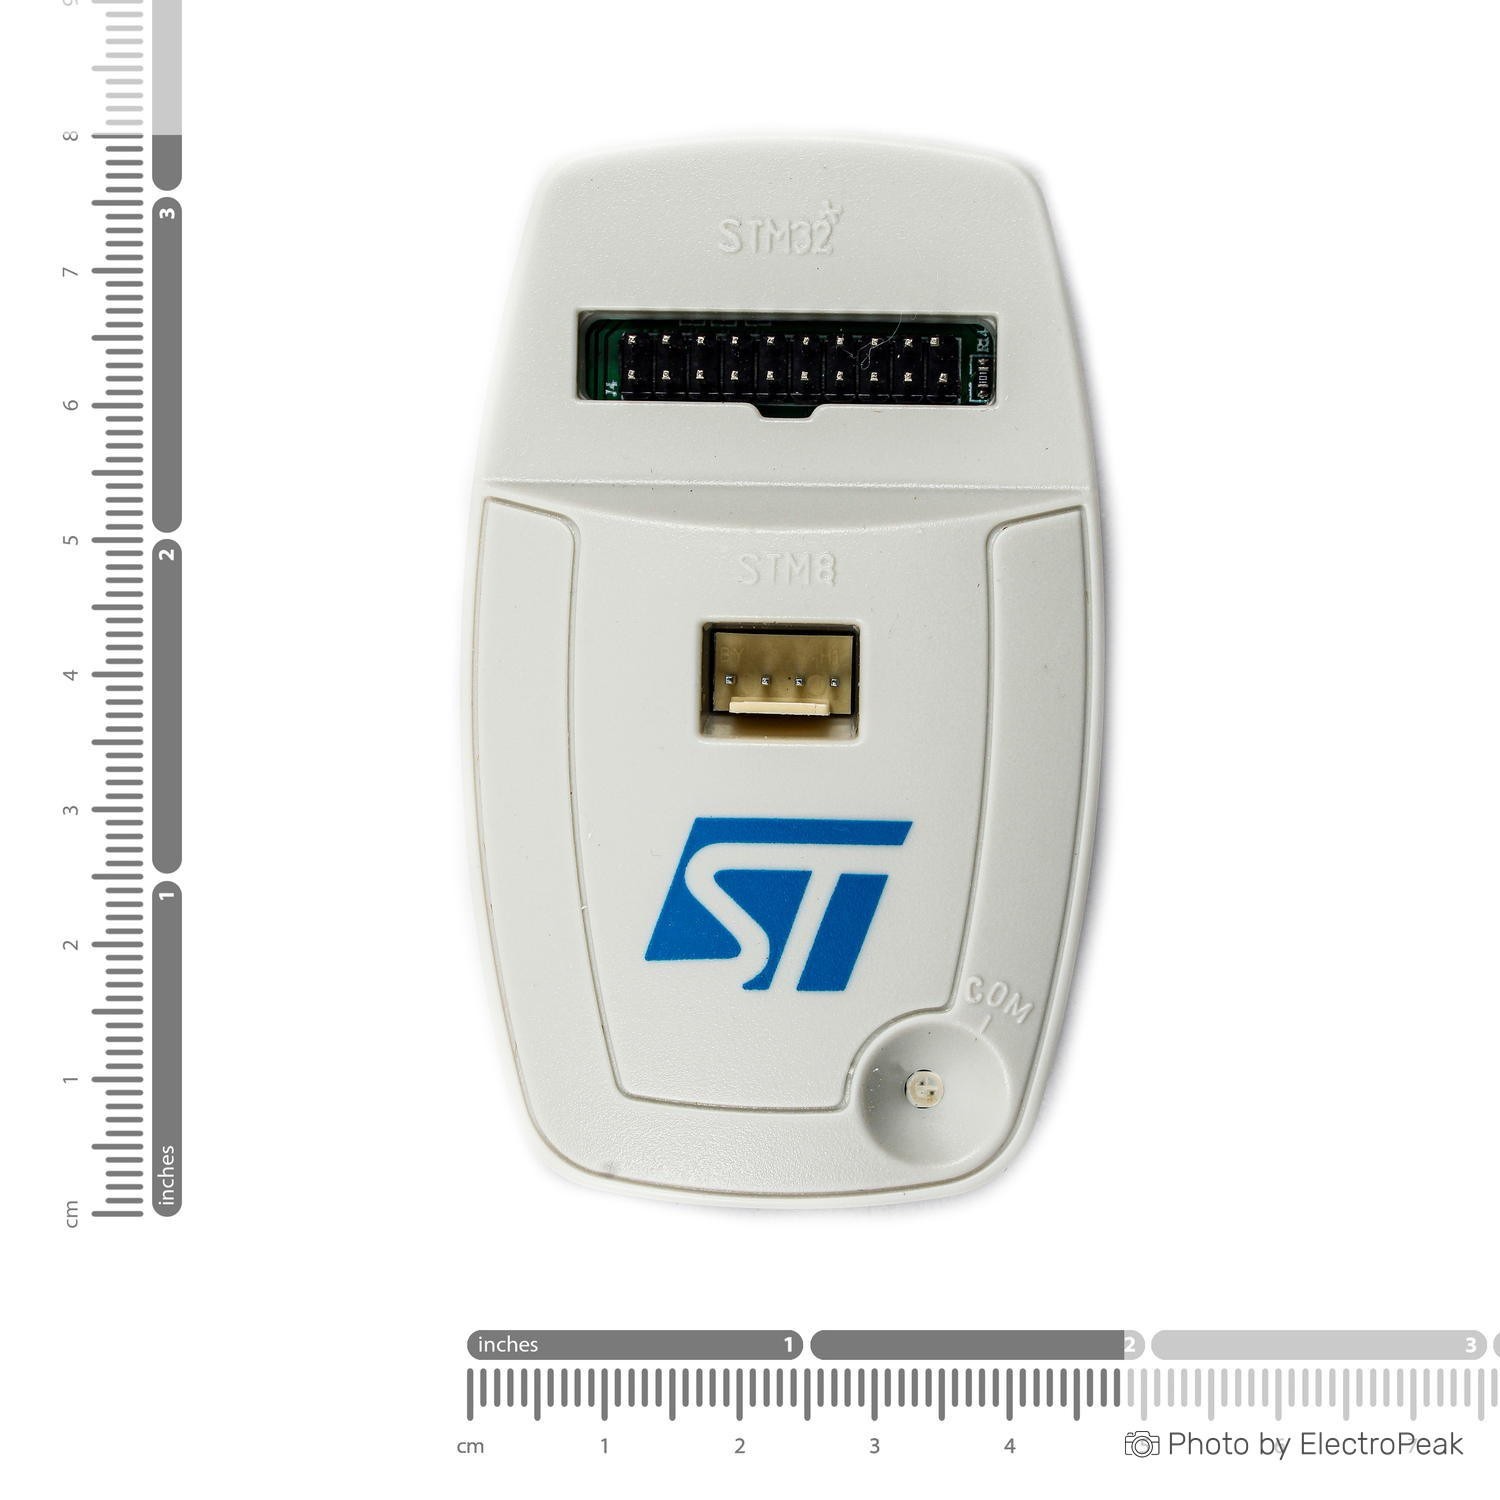
As shown in Figure below, the ST-LINK/V2 provides two connectors:
- STM32 connector for the JTAG/SWD and SWV interface
- STM8 connector for the SWIM interface
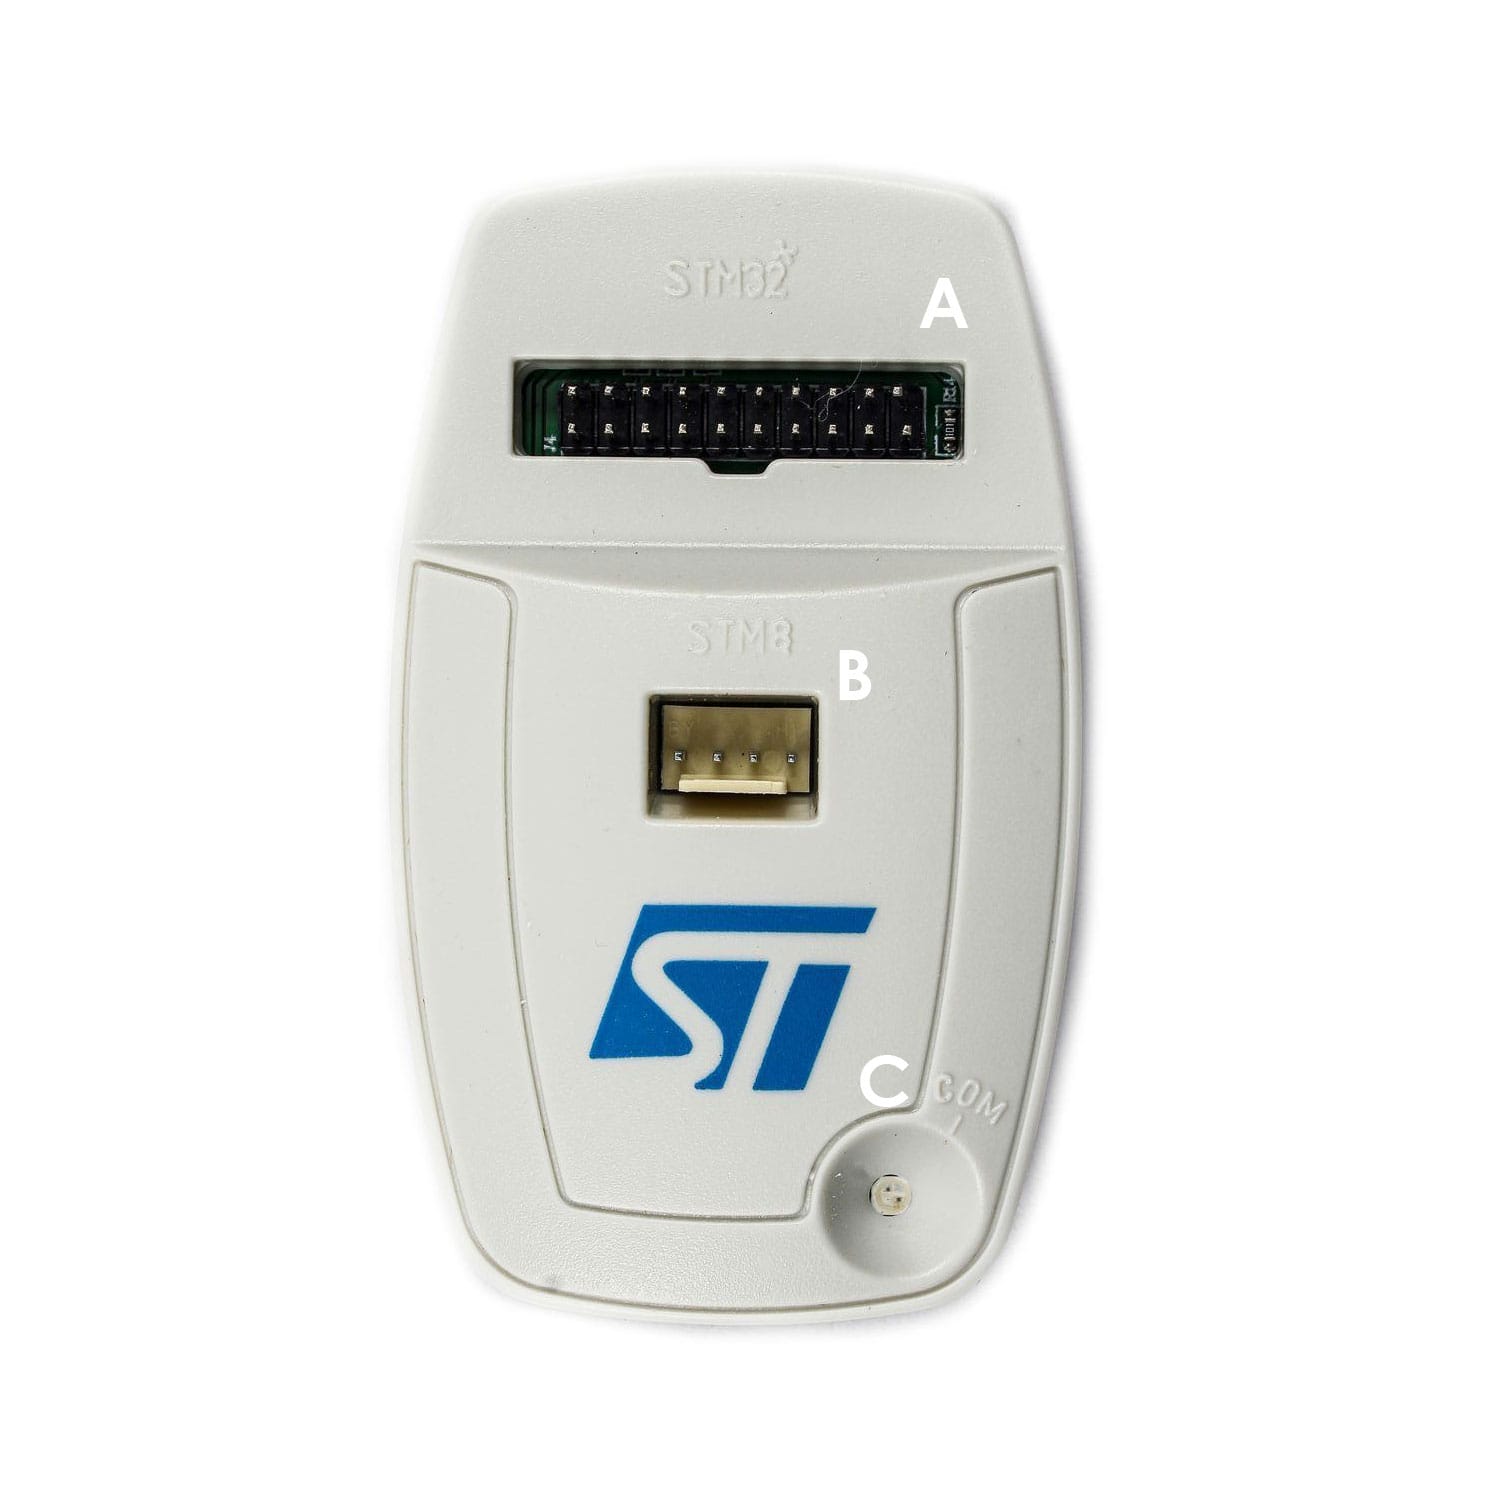
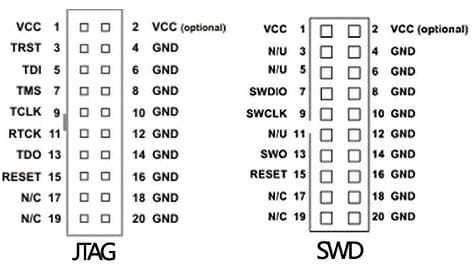
Connector œA Pinouts (STM32)
Connector A supports two communication types: JTAG & SWD.
To better understand how to connect this board to STM32 microcontrollers, look at the image below.
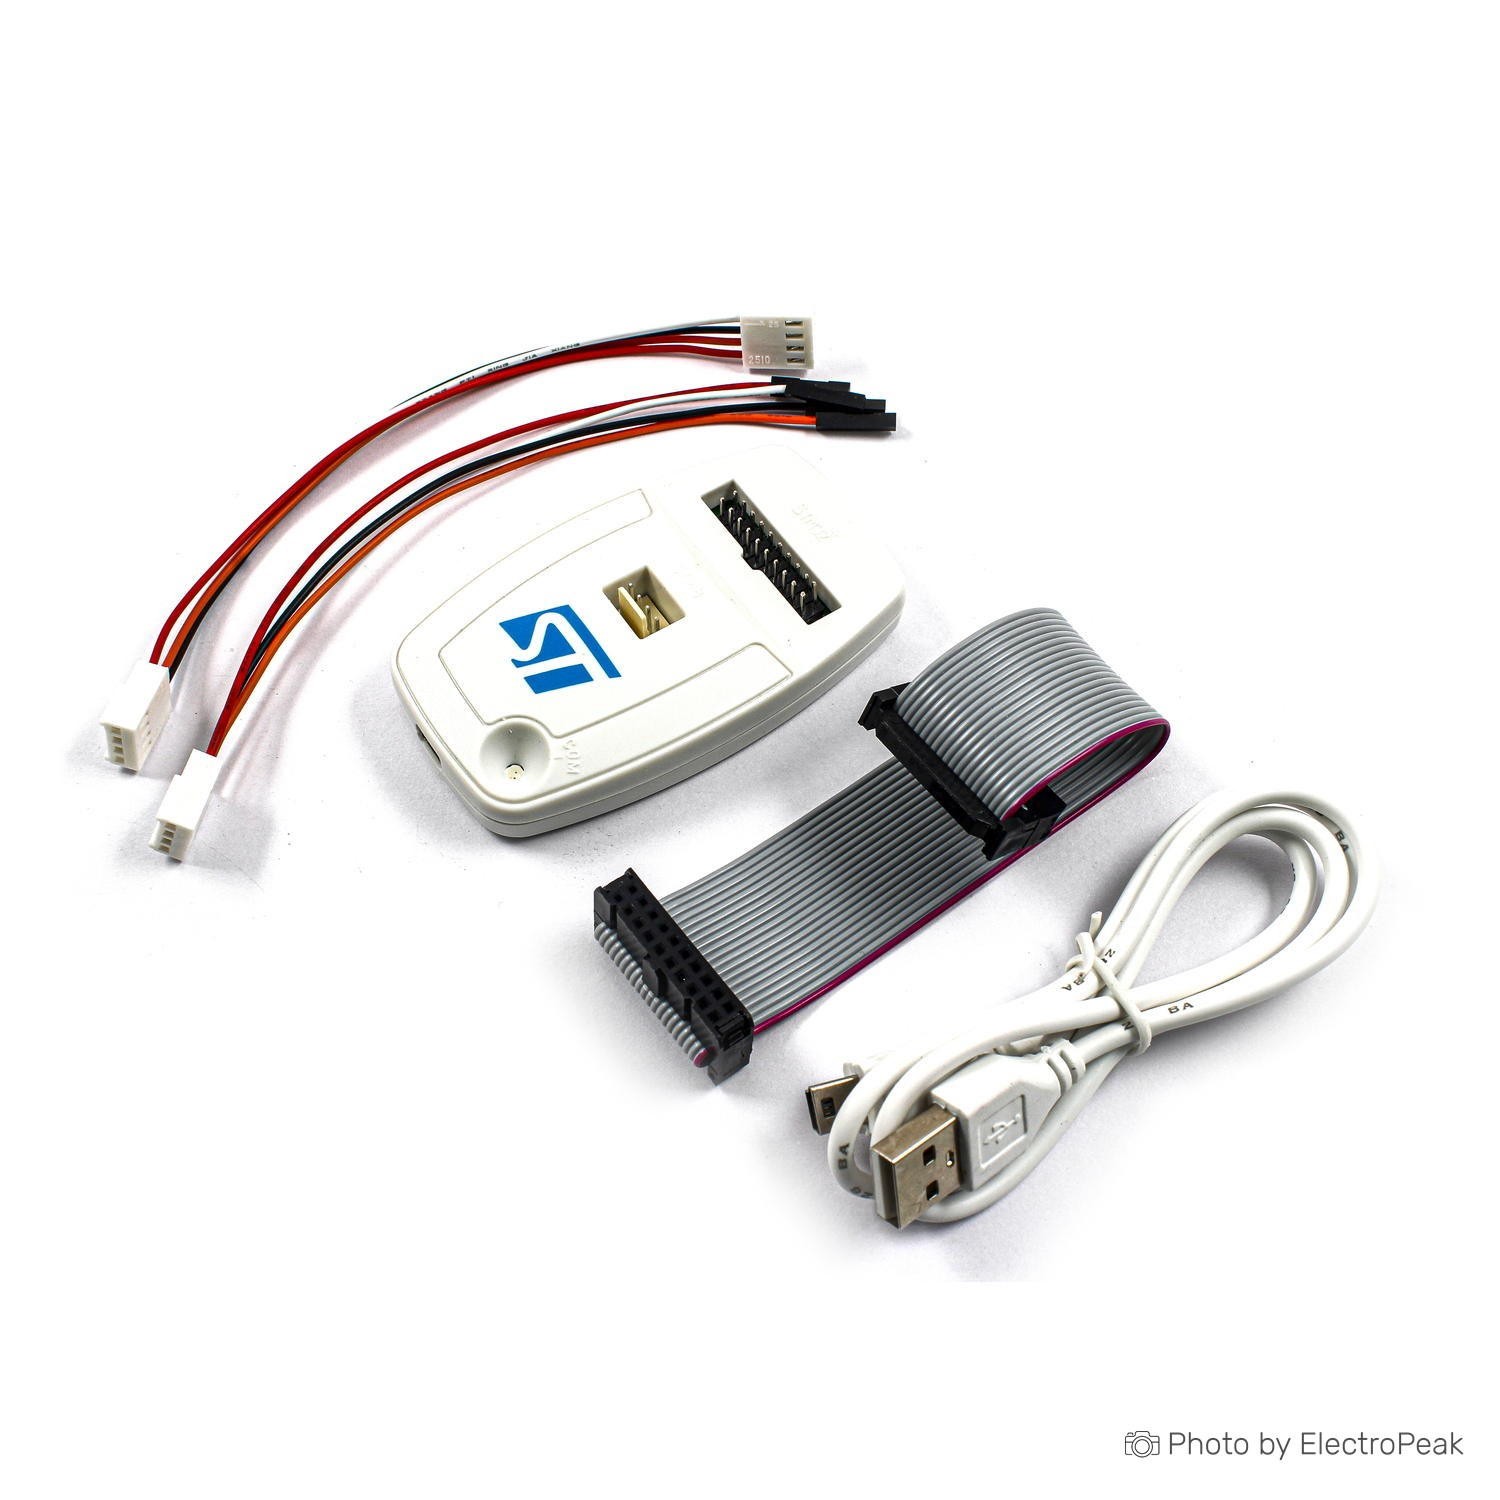
How you connect the programmer pins to your microcontroller depends on your board. If you have a standard connector with the above pinout on your board, it will use a flat cable to connect. Otherwise, you have to connect each of the required pins one by one. For this purpose, you can use 20 cm female to female jumper cables.
*GND pins are used to reduce the effect of noise in the data transfer.
If using JTAG, you must connect the pins of this connector to the pins of your microcontroller as follows.
- Pin 1 & 2 VCC: MCU VDD
- Pin 3 TRST: MCU JNTRST pin
- Pin 4 GND: MCU GND
- Pin 5 TDI: MCU JTDI
- Pin 6 GND: MCU GND
- Pin 7 TMS: MCU JTMS
- Pin 8 GND: MCU GND
- Pin 9 TCLK: MCU JTCK
- Pin 10 GND: MCU GND
- Pin 11 N/C: N/C
- Pin 12 GND: MCU GND
- Pin 13 TDO: MCU JTDO
- Pin 14 GND: MCU GND
- Pin 15 RESET: MCU NRST
- Pin 16 GND: MCU GND
- Pin 17 N/C: N/C
- Pin 18 GND: MCU GND
- Pin 19 VDD: N/C
- Pin 20 GND: MCU GND
And in the SWD case, connect the pins of this connector to the pins of your microcontroller as follows.
- Pin 1 & 2 VCC: MCU VDD
- Pin 3 TRST: MCU GND
- Pin 4 GND: MCU GND
- Pin 5 TDI: MCU GND
- Pin 6 GND: MCU GND
- Pin 7 SWDIO: MCU SWDIO pin
- Pin 8 GND: MCU GND
- Pin 9 SWCLK: MCU SWCLK pin
- Pin 10 GND: MCU GND
- Pin 11 N/C: N/C
- Pin 12 GND: MCU GND
- Pin 13 SWO: MCU TRACESWO pin (optional for serial wire viewer (SWV))
- Pin 14 GND: MCU GND
- Pin 15 RESET: MCU NRST
- Pin 16 GND: MCU GND
- Pin 17 N/C: N/C
- Pin 18 GND: MCU GND
- Pin 19 VDD: N/C
- Pin 20 GND: MCU GND
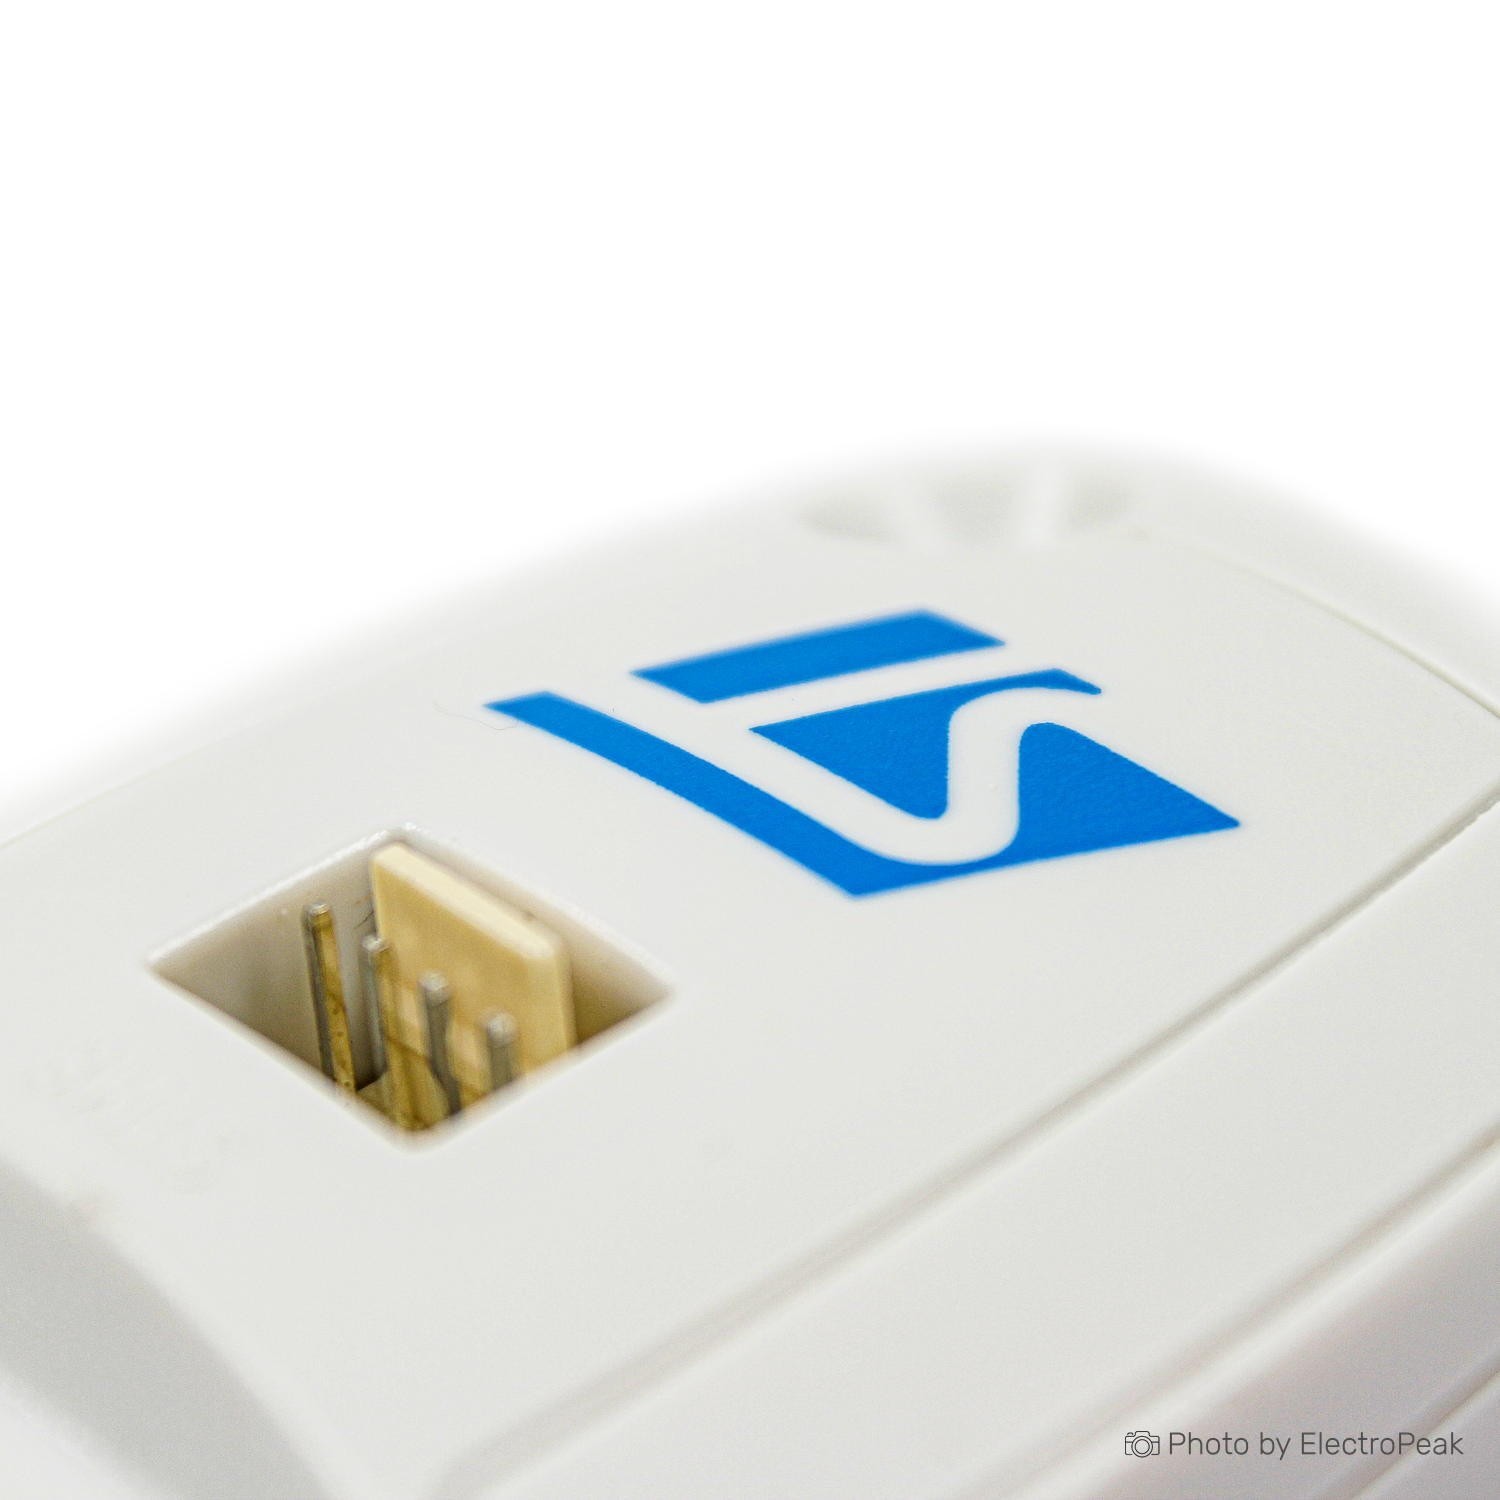
Connector ˜B™ Pinouts (STM8)
Figure below summarizes the signal names of this connector. It uses SWIM protocol.
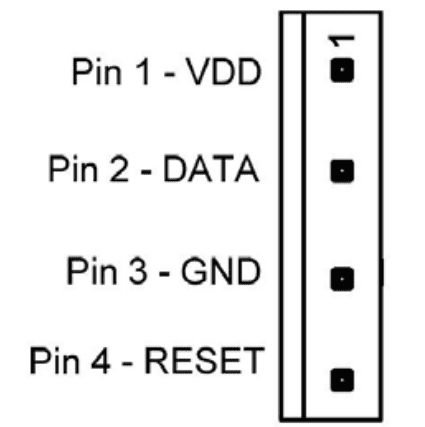
If your development board has a standard connector, connect the flat cable to connect this connector with the microcontroller board. Otherwise you must connect the pins of this connector to the pins of your microcontroller as follows.
- Pin 1 “ VDD: MCU VCC
- Pin 2 “ DATA: MCU SWIM pin
- Pin 3 “ GND: MCU GND
- Pin 4 “ RESET: MCU RESET pin
Software that can be used with ST-Link V2/ JTAG STM8/STM32 Programmer
The ST-Link V2 JTAG STM8/STM32 Programmer is compatible with various software tools provided by STMicroelectronics and other third-party IDEs. Here are some of the commonly used software tools:
- ST-Link Utility: The ST-Link Utility is an official software tool from STMicroelectronics. It provides a graphical interface for programming and debugging STM8 and STM32 microcontrollers using the ST-Link V2. It allows users to connect to the target, program flash memory, erase memory, and perform various debugging operations.
- STM32CubeIDE: STM32CubeIDE is an integrated development environment (IDE) from STMicroelectronics specifically designed for STM32 microcontrollers. It supports the ST-Link V2 for programming and debugging. STM32CubeIDE offers features like code development, project management, and debugging capabilities.
- Keil MDK (Microcontroller Development Kit): Keil MDK is a widely used IDE for ARM-based microcontroller development, including STM32 devices. It supports the ST-Link V2 for programming and debugging purposes. Keil provides a comprehensive development environment with code editing, compiling, and debugging features.
- IAR Embedded Workbench: IAR Embedded Workbench is another popular IDE for embedded systems development. It supports a wide range of microcontrollers, including STM32 devices. IAR Embedded Workbench integrates with the ST-Link V2 for programming and debugging STM32 microcontrollers.
- PlatformIO: PlatformIO is an open-source ecosystem for IoT development that supports various platforms, including STM32. It integrates with popular IDEs like Visual Studio Code and Atom. PlatformIO provides an ST-Link interface for programming and debugging STM32 devices.
Step-by-Step Guide on How to Use the ST-Link V2/ JTAG STM8/STM32 Programmer
Step 1: Connect the Hardware
- Connect ST-Link V2 to Computer: Use the mini USB cable to connect the ST-Link V2 to an available USB port on your computer.
- Connect ST-Link V2 to Development Board
- Power Connection (Optional): If your development board requires external power, ensure it is connected.
Step 2: Install Drivers
- ST-Link V2 Driver Installation: If not already installed, download and install the ST-Link V2 driver on your computer.
Step 3: Download and Install Programming Software
- Download and install the Utility software mentioned above from their official website.
Step 4: Connect to Target Device
- Open ST-Link Utility or IDE: Launch the ST-Link Utility or your preferred IDE.
- Connect to ST-Link V2: In the ST-Link Utility, click on "Target" and then "Connect" to establish a connection to the ST-Link V2.
- Select Target Device: Choose the target STM8 or STM32 microcontroller in the software. It involves selecting the specific microcontroller model and its characteristics.
Step 5: Program and Debug
- Load Firmware: Load the firmware or program into the software. This can be your compiled code or an existing project.
- Program the Microcontroller: In the ST-Link Utility or IDE, find the option to program the microcontroller. This will transfer your code to the STM8 or STM32.
- Debugging (Optional): If debugging is required, set breakpoints and configure debugging options in the software.
FAQs
Is the ST-Link V2 compatible with macOS?
Can I program STM8 and STM32 devices with the same ST-Link V2?
Yes, the ST-Link V2 supports both STM8 and STM32 microcontrollers, offering a versatile solution for programming and debugging.
What is the maximum programming speed of the ST-Link V2?
The programming speed may vary based on factors such as target device and configuration. Refer to the datasheet for specific speed details.
How do I update the firmware on the ST-Link V2?
Check the official STMicroelectronics website for firmware updates and follow the provided instructions for updating the firmware.
Is there an alternative device for this programmer?
Yes. You can use œST-Link V2 STM8/STM32 Programmer & Emulator instead.
Write Your Own Review
Customer Questions