Interfacing OMRON E3Z-D61 Photoelectric Sensor with Arduino
Written by
Mehran Maleki
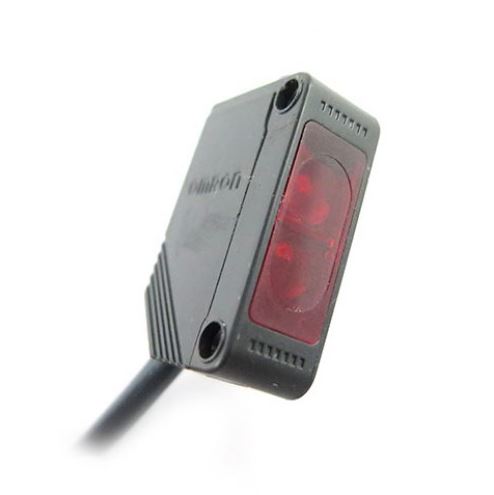
OMRON Photoelectric Sensor Features
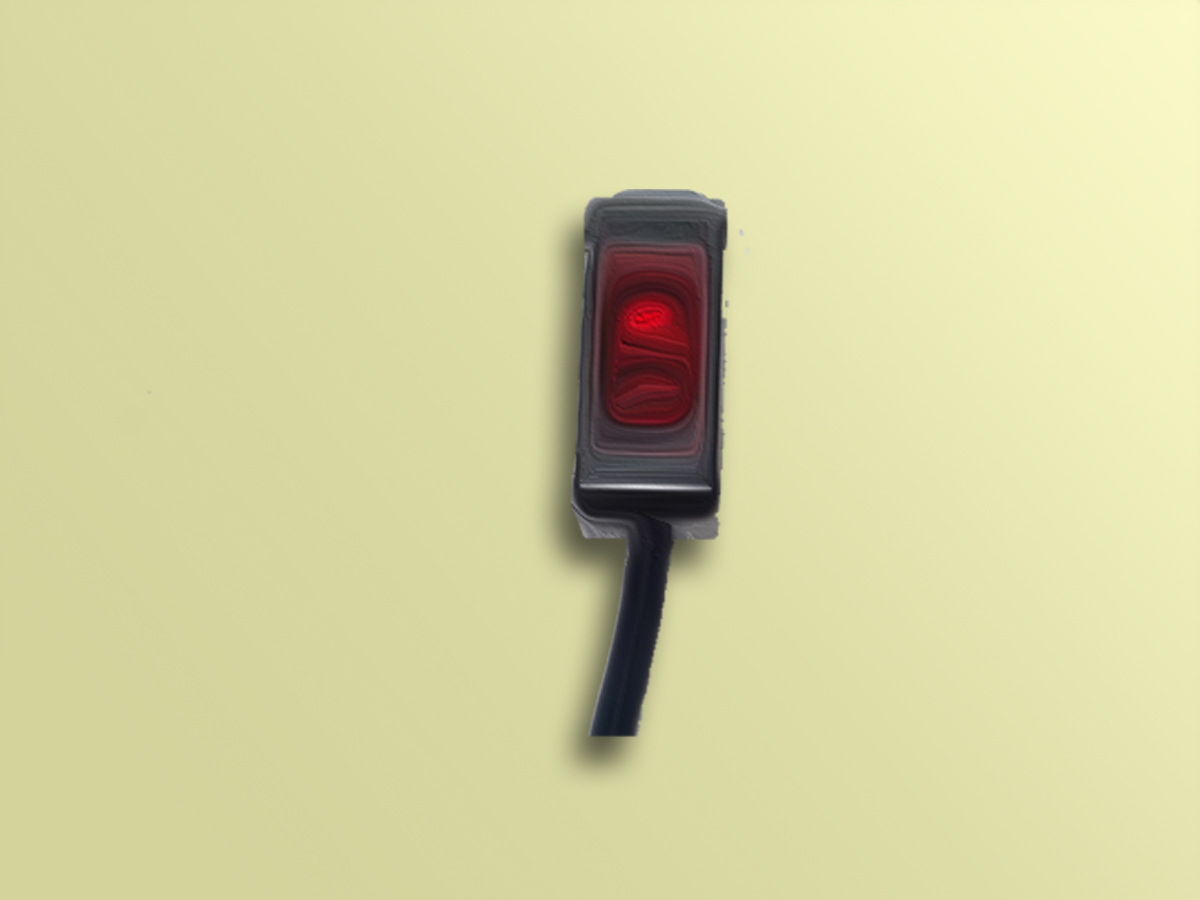
The Omran photoelectric sensor can be used to detect obstacles and objects at 5 to 100 mm distance. There is an LED on the sensor that is always off and turns on when it detect an obstacle. You can also change the LED status using the potentiometer which is on sensor. (That is, the LED is always on and will turn off when the obstacle is detected.) There is another potentiometer on the sensor that can be used to change the sensitivity of the sensor (increase or decrease the detection distance). The output becomes HIGH when an obstacle is detectedand is LOW when there is no obstacle.
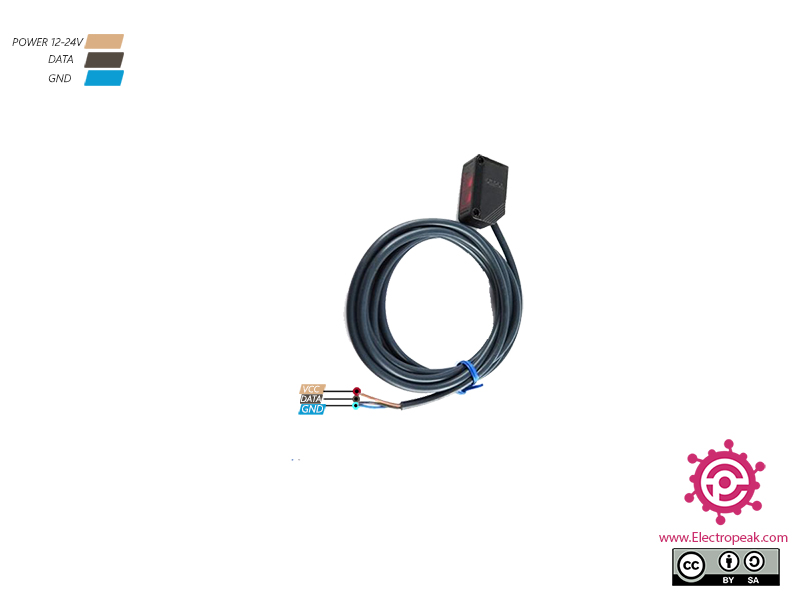
OMRON Photoelectric Sensor Pinout
This sensor has 3 wires:
VCC: Module power supply – 12-24V (Brown)
GND: Ground (Blue)
DATA: Sensor output (Black)
You can see the pinout of this module here.
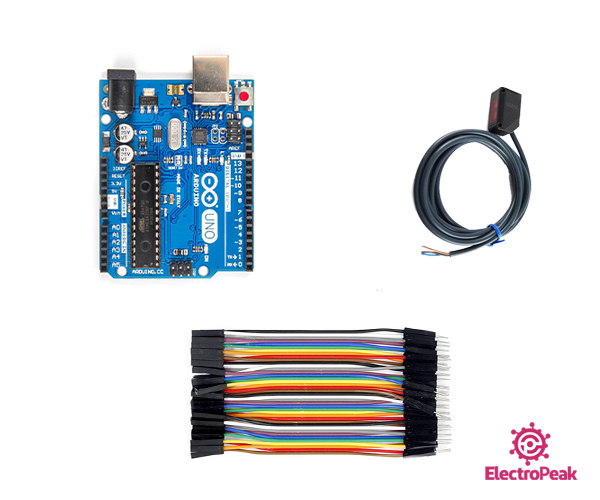
Required Materials
Hardware Components
Arduino UNO R3
×
1
OMRON Photoelectric Sensor
×
1
Male to Female Jumper wire
×
1
Software Apps
Arduino IDE
Interfacing OMRON Photoelectric Sensor with Arduino
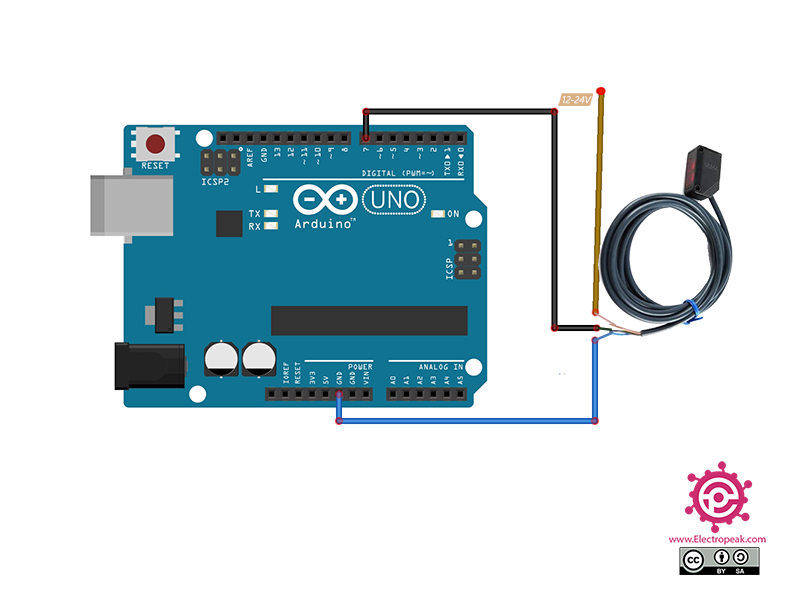
Step 1: Circuit
The following circuit shows how you should connect Arduino to this sensor. Connect wires accordingly.
Step 2: Code
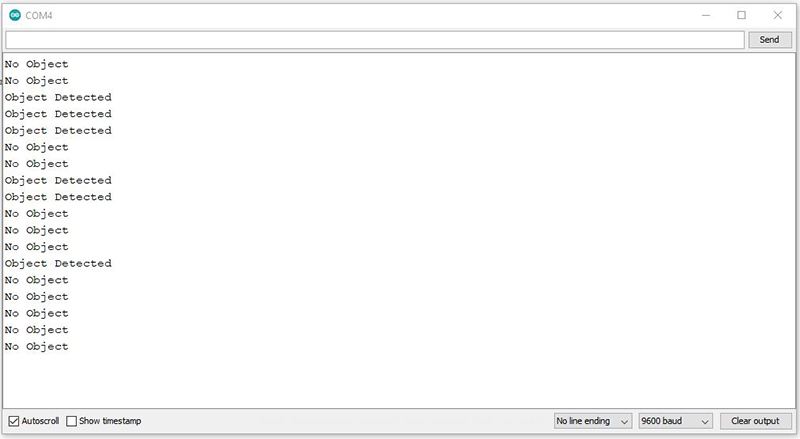
Upload the following code to Arduino. After that open Serial Monitor.
/*
Made on 17 Nov 2020
By Mehran Maleki @ Electropeak
*/
void setup() {
pinMode(7, INPUT); // sets the digital pin 7 as input
Serial.begin(9600);
}
void loop() {
if(digitalRead(7))
Serial.println("Object Detected");
else
Serial.println("No Object");
delay(1000);
}
In the above code, we first read the sensor output every second. If it is HIGH, the obstacle is detected and if it is LOW, there is no obstacle. Every few seconds we place our hand in front of the sensor to see its performance.
Dear Mehran Maleki, Thanks for your artikle. I have a question. Your code is clear. But there isnt any library included ? there is no need or else. Any answer is appriciated. thank you
Hi, you’re quite welcome!
Well, the OMRON photoelectric sensor has only one digital output. So, it can easily be read by any of the digital pins of an Arduino board and there is actually no need to use any library.
Dear Mehran, First of all thanks for your help. How can I see the distance measured by the Omron please. I connected 12 volt to brown + and blue – pin and black to data pin as shown above. And i want to learn measured distance. I am trying to make a mini sumo. Tried to see distance. is there any trimpot pin or else. any answer is appricieted.
Hi Mehran Thanks for this tutorial im using a omron E3S-CD12 and the code is running fine the led on the sensor detect my hand but the monitor always shows no object if im on the PNP and always shows Object Detected if on NPN should this sensor be wired differently thanks again
Hi,
You’re quite welcome. Well, the problem seems to be about the sensitivity of the your module not the wiring. See if there is any way to adjust the sensitivity of the sensor. It might be a good idea to find a tutorial especially written for the type of module you have.


Comments (12)
Dear Mehran Maleki, Thanks for your artikle. I have a question. Your code is clear. But there isnt any library included ? there is no need or else. Any answer is appriciated. thank you
Hi, you’re quite welcome!
Well, the OMRON photoelectric sensor has only one digital output. So, it can easily be read by any of the digital pins of an Arduino board and there is actually no need to use any library.
Dear Mehran Maleki, Thank you so much for reply. Your artikles are very precious. thank you againm you are the best ,!
?
Dear Mehran, First of all thanks for your help. How can I see the distance measured by the Omron please. I connected 12 volt to brown + and blue – pin and black to data pin as shown above. And i want to learn measured distance. I am trying to make a mini sumo. Tried to see distance. is there any trimpot pin or else. any answer is appricieted.
Hi.
Thank you for your generous words! Well, you can’t measure the distance using the OMRON E3Z-D61 photoelectric sensor. It is actually an obstacle detection sensor and has a single digital output to tell if there is an obstacle in front of it or not. For measuring distance, you can use ultrasonic sensors such as SRF04, SRF05 and US-100. You can study the following articles to see how they work.
https://electropeak.com/learn/interfacing-hc-sr04-ultrasonic-distance-sensor-with-arduino/
https://electropeak.com/learn/interfacing-srf05-ultrasonic-distance-module-with-arduino/
https://electropeak.com/learn/interfacing-us-100-ultrasonic-distance-sensor-with-arduino/
You are the best !
Thank you very much.
You’re welcome! ?
Hi Mehran Thanks for this tutorial im using a omron E3S-CD12 and the code is running fine the led on the sensor detect my hand but the monitor always shows no object if im on the PNP and always shows Object Detected if on NPN should this sensor be wired differently thanks again
Hi,
You’re quite welcome. Well, the problem seems to be about the sensitivity of the your module not the wiring. See if there is any way to adjust the sensitivity of the sensor. It might be a good idea to find a tutorial especially written for the type of module you have.
Can we use this sensor to make a line following the robot?
Hi Ali
Well, yes you can but it’s not a good option in terms of price.
Instead, try one of these modules:
Interfacing 4 Channel Infrared Tracking Sensor Module with Arduino
Interfacing TCRT5000 Infrared Line Tracking Sensor with Arduino