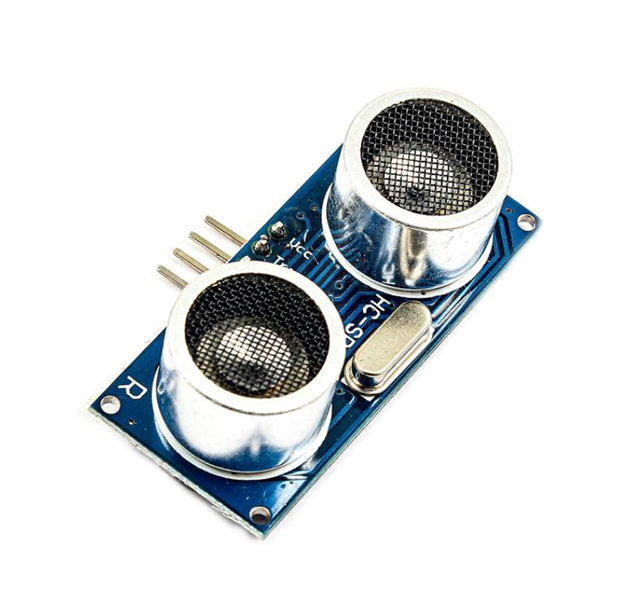
SR04 Ultrasonic Sensor Features
The SRF04 ultrasonic distance sensor can be used to measure distance with high accuracy. The basic working principle of this sensor is that it produces a high-level signal and sends it to the obstacle. Then the receiver detects the returned wave. The time between the transmission and reception of the signal allows us to calculate the distance to an object.
Note
When the Trig pin is set High, the sensor generates and sends ultrasonic sound. At that moment the Echo pin becomes High and will be Low as soon as the reflected sound is reached back to the sensor. By measuring the duration time which the Echo pin has been High, we can calculate the distance.
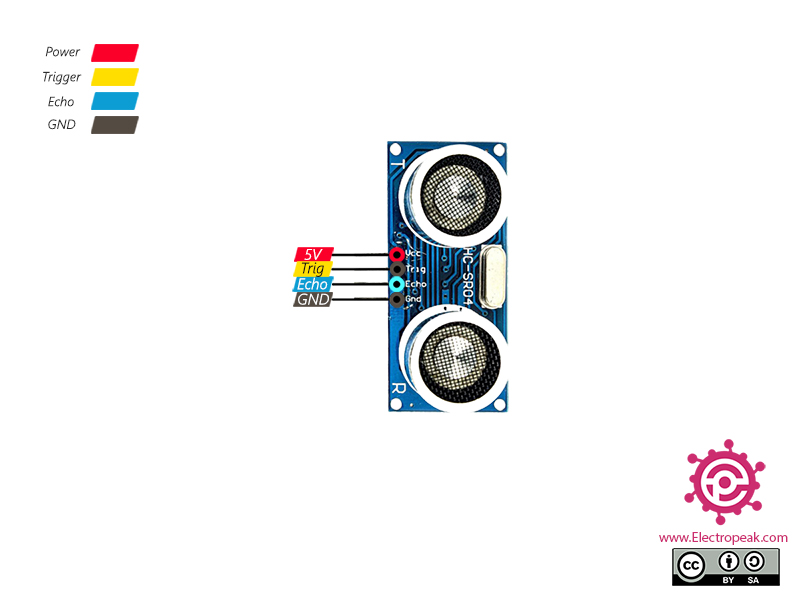
SR04 Ultrasonic Sensor Pinout
This Module has 4 pins:
- VCC: Module power supply – 5V
- Trig: Trigger pin for sending ultrasonic waves
- Echo: produces a pulse when the ultrasonic waves are sent and stays High until they’re reached back to the sensor
- GND: Ground
You can see the pinout of this module in the image below.
Required Material
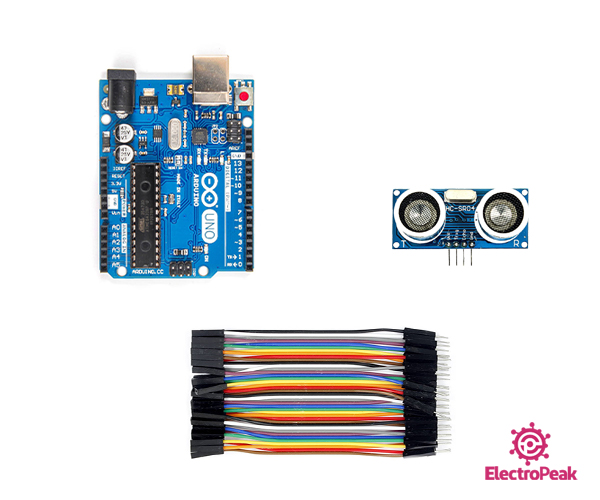
Hardware component
Software Apps
Interfacing SR04 Ultrasonic Sensor with Arduino
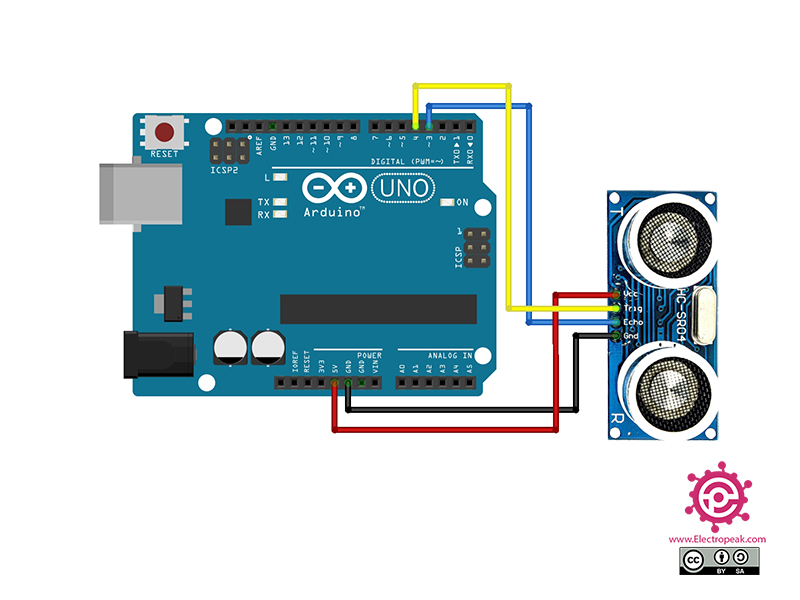
Step 1: Circuit
The following circuit show how you should connect Arduino to HC-SR04 sensor. Connect wires accordingly.
Step 3: Code
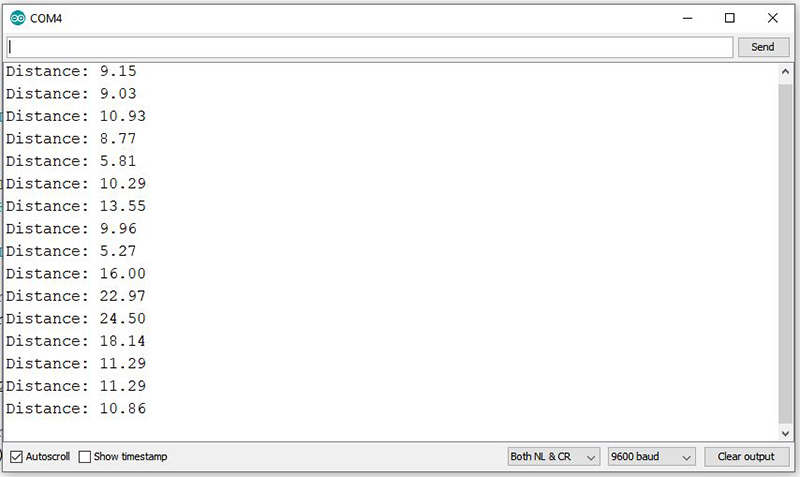
Upload the following code to your Arduino. After that open the Serial Monitor.
   /*
Made on Dec 20, 2020
By MehranMaleki @ Electropeak
Home
*/

#define EchoPin 3
#define TriggerPin 4


void setup() {
pinMode(TriggerPin, OUTPUT); // Sets the TriggerPin as an Output
pinMode(EchoPin, INPUT); // Sets the EchoPin as an Input
Serial.begin(9600); // Starts the serial communication
}


void loop() {
long duration;
float distance;

digitalWrite(TriggerPin, LOW);
delayMicroseconds(2);

//Set the TriggerPin on HIGH state for 10 microseconds
digitalWrite(TriggerPin, HIGH);
delayMicroseconds(10);
digitalWrite(TriggerPin, LOW);

//Read the EchoPin, returning the sound wave travel time in microseconds
duration = pulseIn(EchoPin, HIGH);

//Calculate the distance
distance= duration*0.034/2;

//Print the distance on the Serial Monitor
Serial.print("Distance: ");
Serial.println(distance);

delay(200);
}
Echo and Trig pins can be connected to any of digital pins of Arduino. In the above code, these two pins are connected to pins 3 and 4 of Arduino. If the Trig pin becomes High for 10 microseconds, the sound wave will be generated. Then, by measuring the duration time which the Echo pin has been High, the time taken to receive the reflected wavea is calculated. Finally, the distance is calculated and appears on Serial Monitor. To see the performance of the module, bring your hand in front of the module and move it around.
The result is as follows.