AP3216 Sensor Features
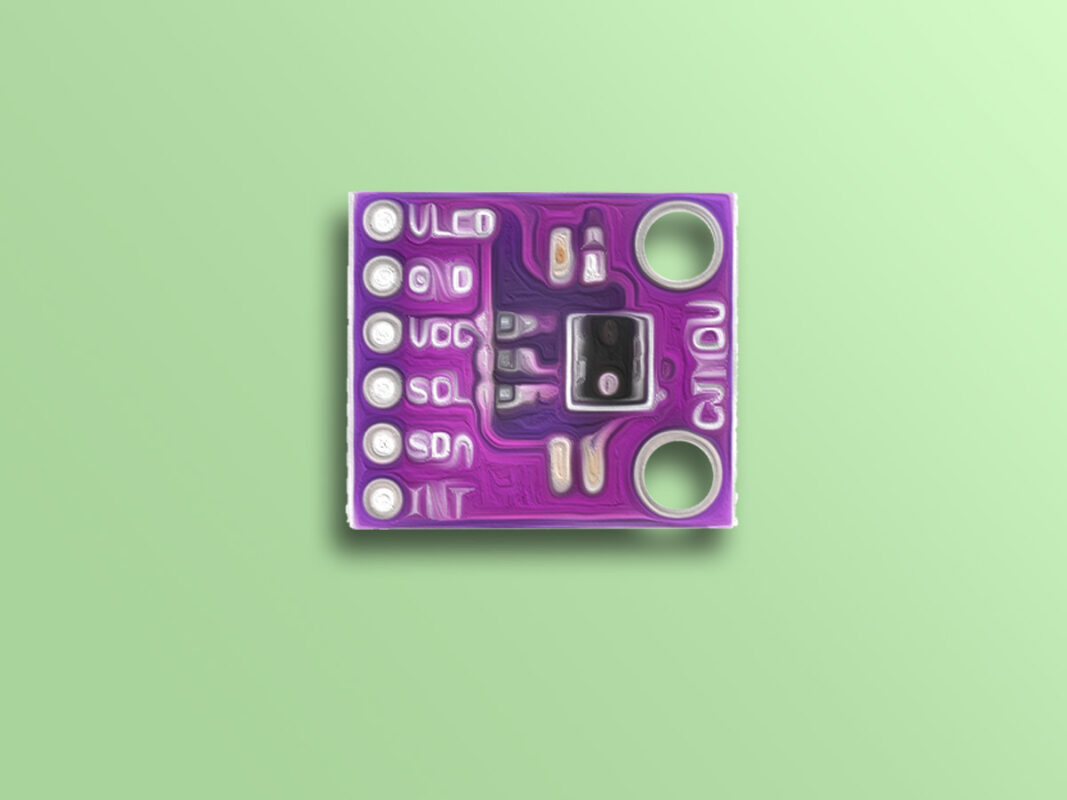
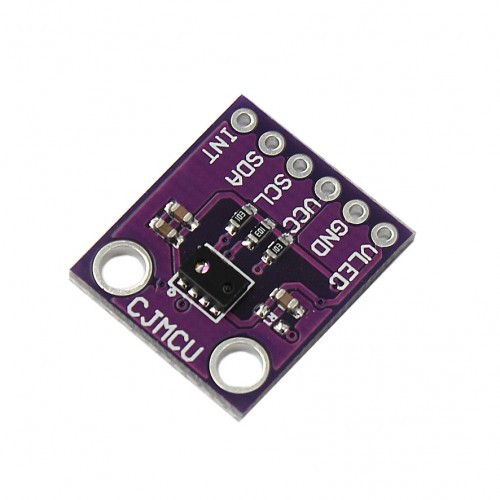
The AP3216C is an integrated ALS & PS module that includes a digital ambient light sensor [ALS], a proximity sensor [PS], and an IR LED in a single package. This module is well suited to applications under clear glass or darkened glass. The proximity function is targeted specifically towards near field application and detects external object with simple configurable zone controlled by registers.
Note
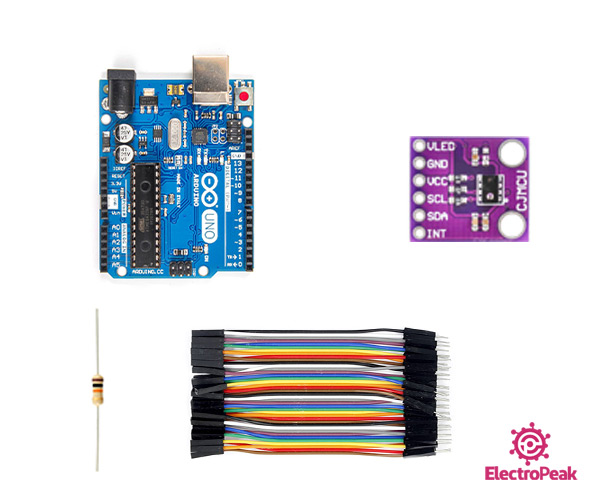
You need a 220 to 470 ohm resistor to interface this module.
You can download the datasheet of this module here.
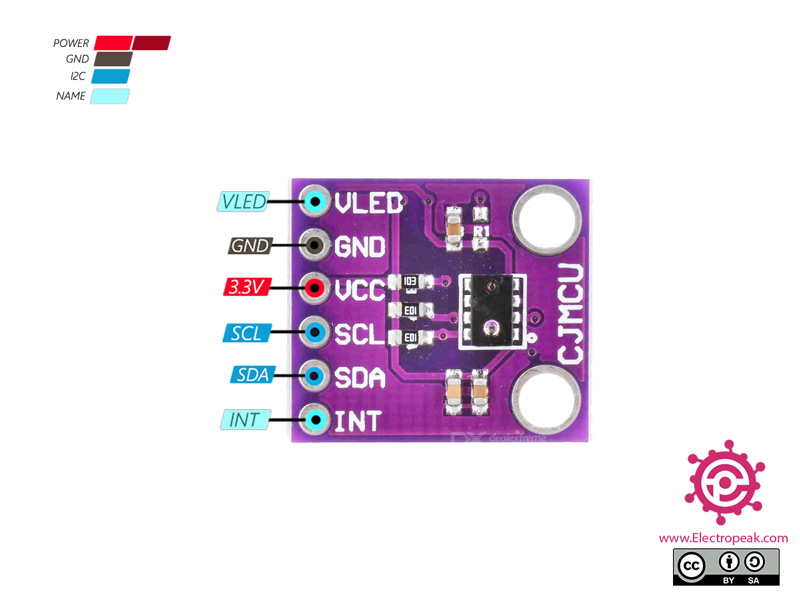
AP3216 Sensor Pinout
This sensor has 6 pins:
- VCC: Module power supply – 3.3 V
- GND: Ground
- SCL: I2C clock
- SDA: I2C data
- VLED: Turning on the IR LED on module
- INT: Adjusting I2C Address
You can see pinout of this module in the image below.
Required Materials
Hardware Components
Software Apps
Interfacing AP3216 Sensor with Arduino
Step 1: Circuit
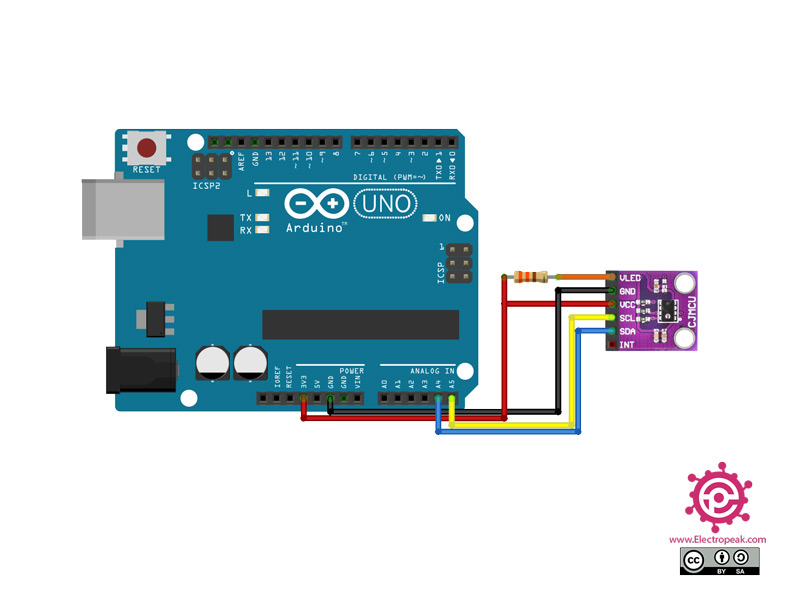
The following circuit shows how you should connect Arduino to AP3216 sensor. Connect wires accordingly.
Step 2: Code
Install following library on your Arduino.
https://github.com/igorantolic/ai_ap3216_ambient-light-and-proximity-sensor-library
Tip
If you need more help with installing a library on Arduino, read this tutorial: How to Install an Arduino Library
Upload the following code to your Arduino.
    /*
  modified on Sep 28, 2020
  Modified by MohammedDamirchi from
  https://github.com/igorantolic/ai_ap3216_ambient-light-and-proximity-sensor-library
  Home
*/


// Hardware wiring:
// Arduino     AP3216
//             VLED --,
// GND ------- GND   |R| 330 Ohm
// 3.3V ------ VCC ---'
// A5 -------- SCL
// A4 -------- SDA


#include "Ai_AP3216_AmbientLightAndProximity.h"

Ai_AP3216_AmbientLightAndProximity aps = Ai_AP3216_AmbientLightAndProximity();
//Ai_AP3216_AmbientLightAndProximity aps = Ai_AP3216_AmbientLightAndProximity(D5, D6);//custompins

void setup() {
  Serial.begin(115200);
  aps.begin();
  aps.startAmbientLightAndProximitySensor ();
}

void loop() {
  long alsValue = aps.getAmbientLight();
  long psValue = aps.getProximity();

  Serial.print("Ambient Light: ");
  Serial.print(alsValue);
  Serial.print(", Proximity: ");
  Serial.println(psValue);

  delay(200);
  de  }
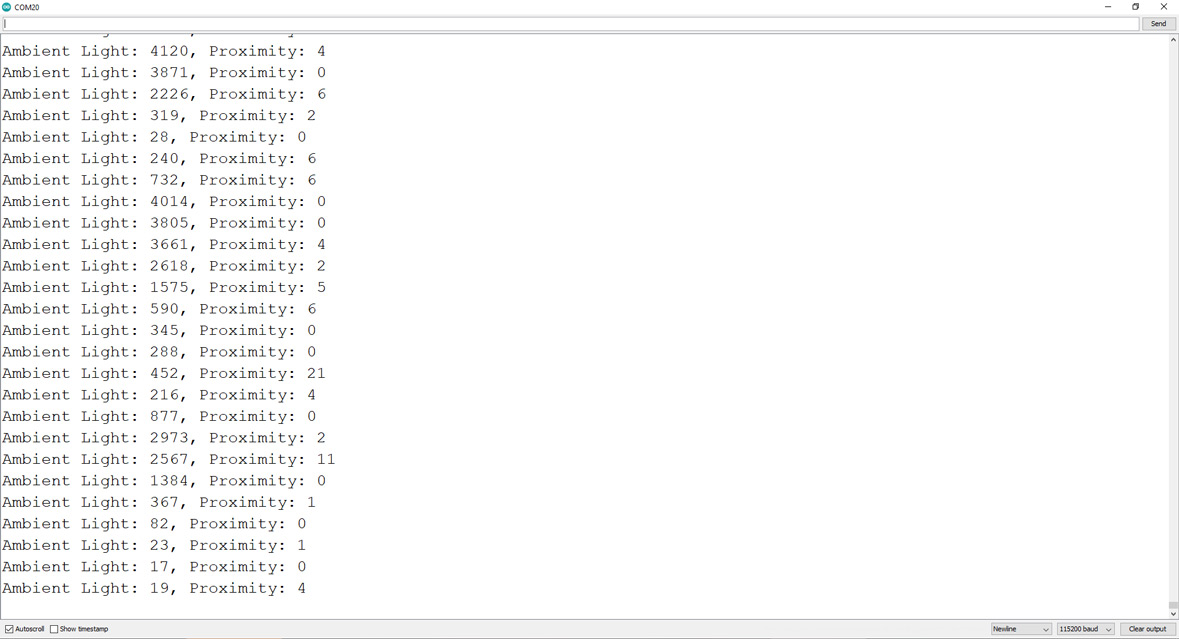
After running the code, the output is as follow.

Comments (2)
hi
how conect ws2812 to this kit for tvlight ambilight background
Hello Al,
You can’t directly connect the WS2812 to the AP3216 sensor. You’ll need a microcontroller in between to process the sensor data.
Additionally, the AP3216 only reads ambient light—it doesn’t provide RGB values. If you need RGB light data, you should use sensors like the TCS3200 or TCS34725. To achieve proper backlighting for your TV, you’ll need at least three of these sensors to read different parts of the screen and adjust the backlight accordingly.
A more effective approach is to use HDMI input data to create backlighting. This method eliminates the need for sensors and instead uses a PC or a Linux-based board to capture HDMI (USB Capture Card) data and send it to an ESP (via Wi-Fi) to control the WS2812 LEDs.
You can find more details in this article.
https://vigonotion.com/blog/diy-ambilight-with-hdmi-2-1-support/
https://www.instructables.com/DIY-Ambilight-With-Raspberry-Pi-and-NO-Arduino-Wor/