
Introduction
Are you looking to turn your Raspberry Pi 4 into a powerful MiniPC with the latest operating system? In this step-by-step tutorial, we will cover the process of installing Windows 11 on Raspberry Pi 4.
With its new user interface and advanced features, Windows 11 is a revolution in the operating system history. By installing this OS on an advanced and flexible mini-computer, like Raspberry Pi 4, you can now have a wonderful experience. Whether you’re a tech enthusiast or a DIY lover, this tutorial provides all the necessary information and resources you will need to successfully install Windows 11 on your Raspberry Pi 4.
We recommend using Raspberry Pi 4 4GB RAM or Raspberry Pi 4 8GB RAM for optimal performance. So, let’s get started and explore endless possibilities with Windows 11 on this tiny computer!
What You Will Learn
- Installing Windows 11 on Raspberry Pi 4
- Updating the Bootloader of Raspberry Pi 4
Requirements for Installing Windows on Raspberry Pi 4
We need the required hardware to install Windows 11 on Raspberry Pi 4. Windows 11 has some requirements that your Raspberry Pi 4 must meet.
Here they are:
- At least 2GB of RAM (preferably 4GB RAM or higher for better performance)
- At least 32GB of storage capacity (preferably an external SSD)
- High-speed Internet
HDMI audio output will not function, so you need to use a 3.5mm jack for audio output.
Required Materials
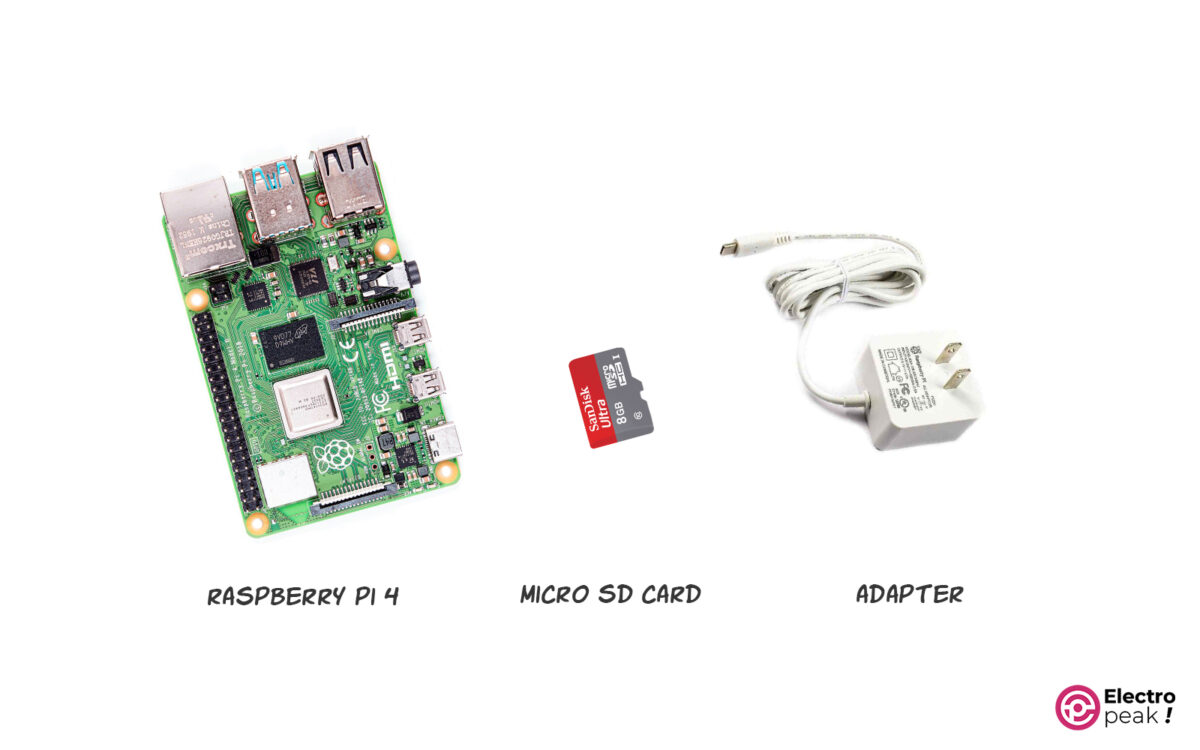
Hardware Components
*: You can also use Raspberry Pi 400. Either way, we recommend having 4GB or 8GB of RAM.
**: You can use various external storage options, including USB flash drives or hard drives.
***: You can also use other similar adapters, but we recommend sticking with the original Raspberry Pi adapter.
Software Apps
Installing Windows 11 on Raspberry Pi 4 or 400
Step 1: Preparing Raspberry Pi for Installing Windows 11
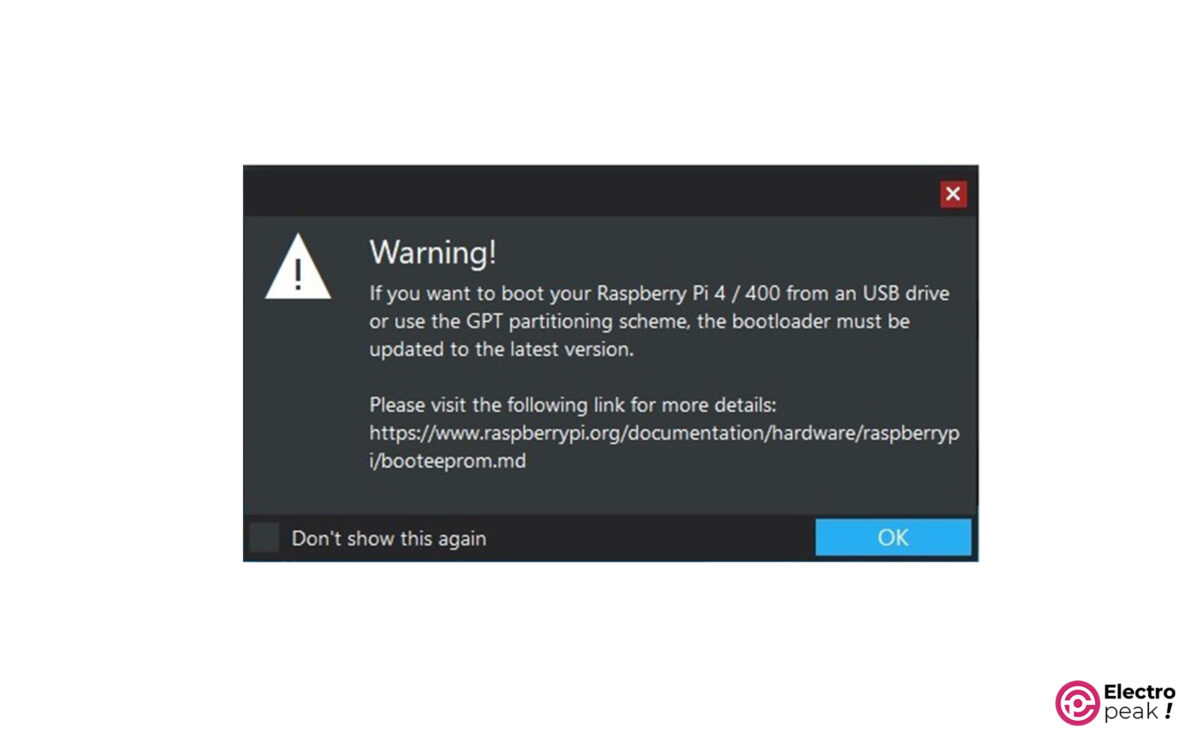
Before installing Windows 11 on your Raspberry Pi 4, you need to install the latest version of the bootloader. So, follow these steps:
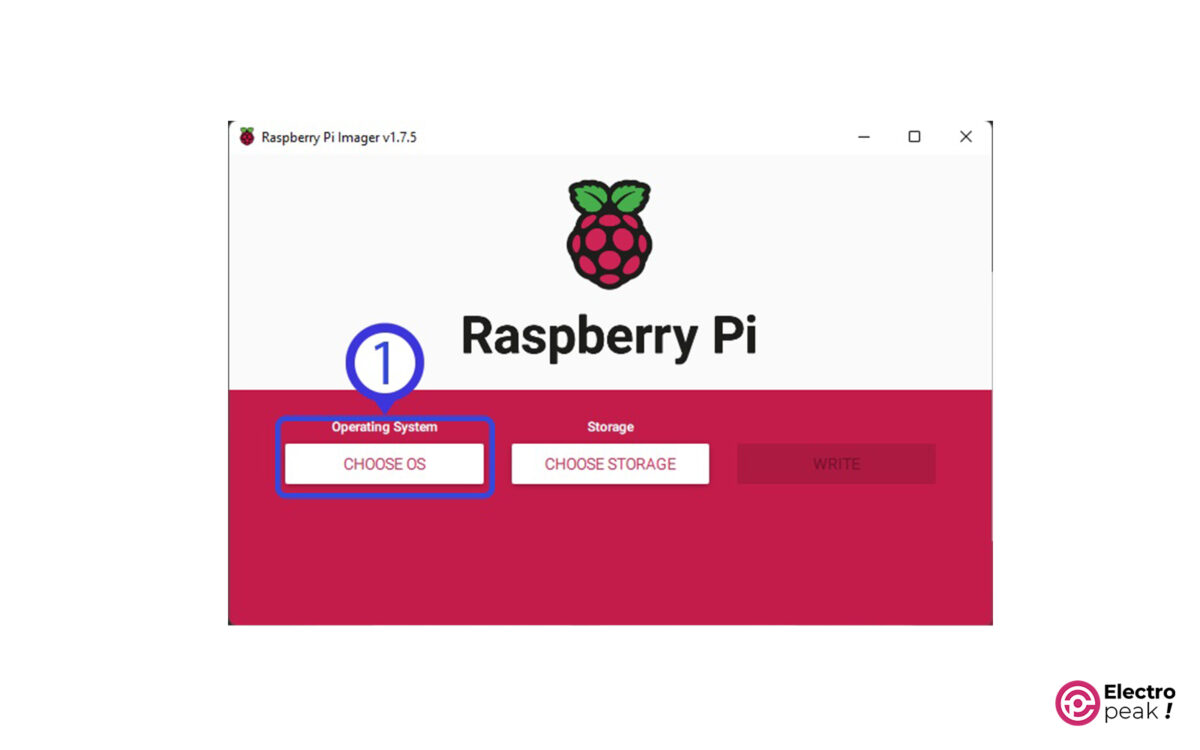
1- Install and run the Raspberry Pi Imager software.
2- Click on “Choose OS” (the image below).
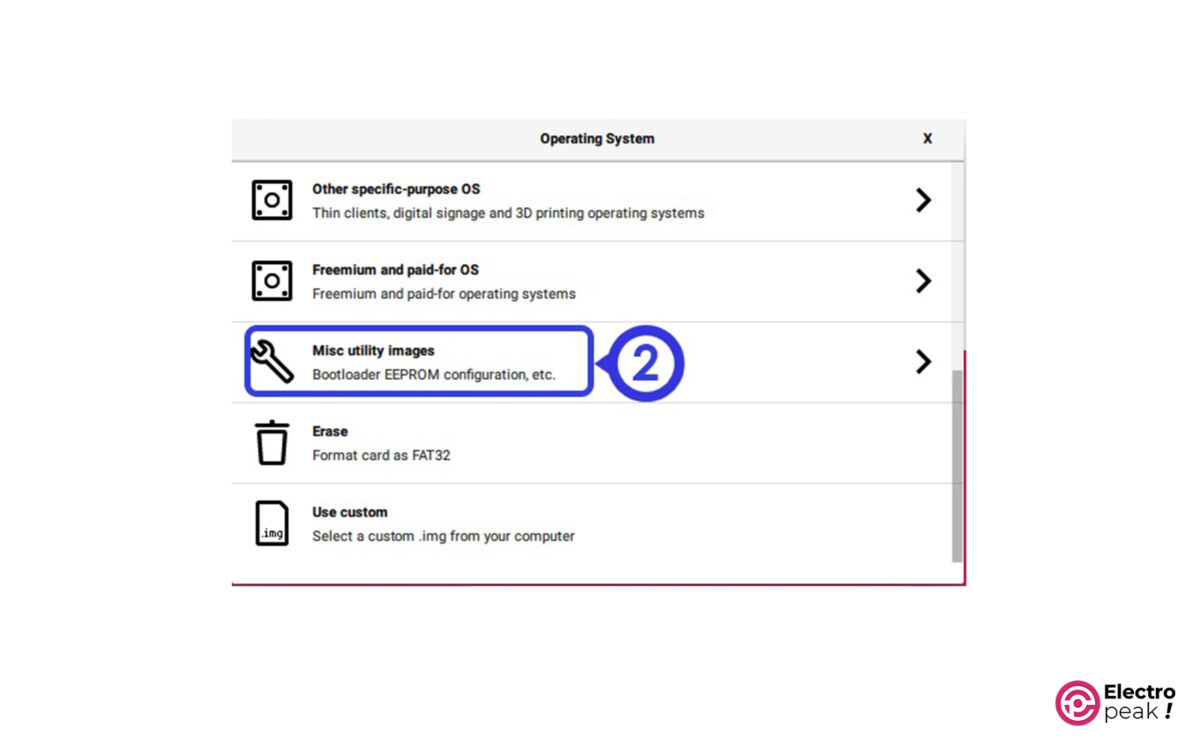
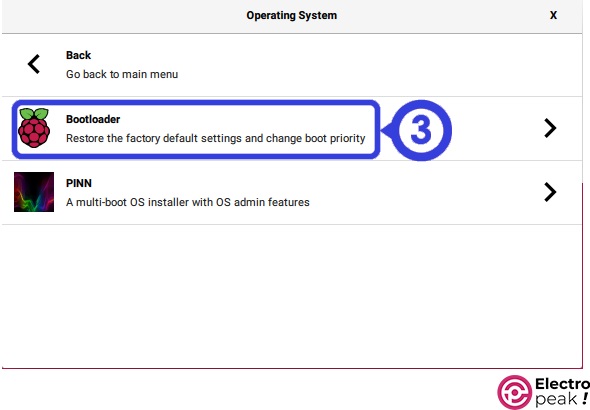
3- Click on “Misc utility Images” and select one of the following options:
• USB Boot: Installing Windows 11 on storage devices other than Micro SSD (such as a flash drive or an external hard drive).
• SD Card Boot: Installing Windows on a Micro SD card.
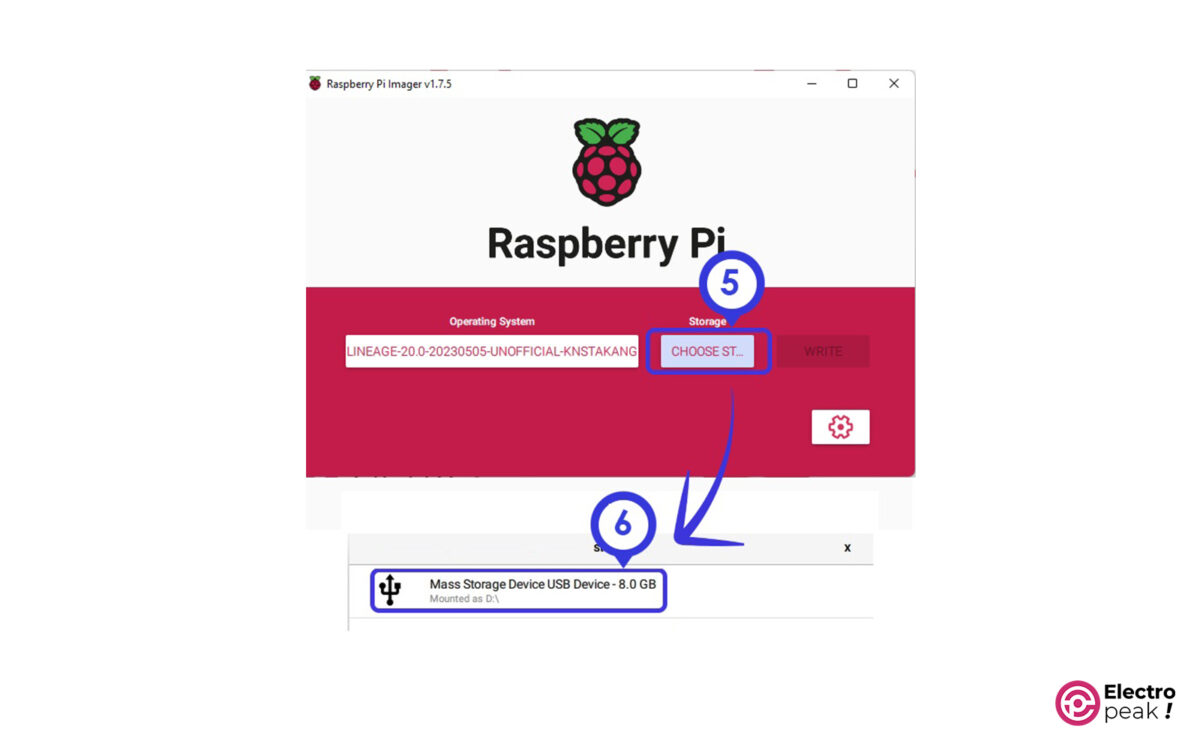
4- Click on “Choose Storage” to select your desired storage.
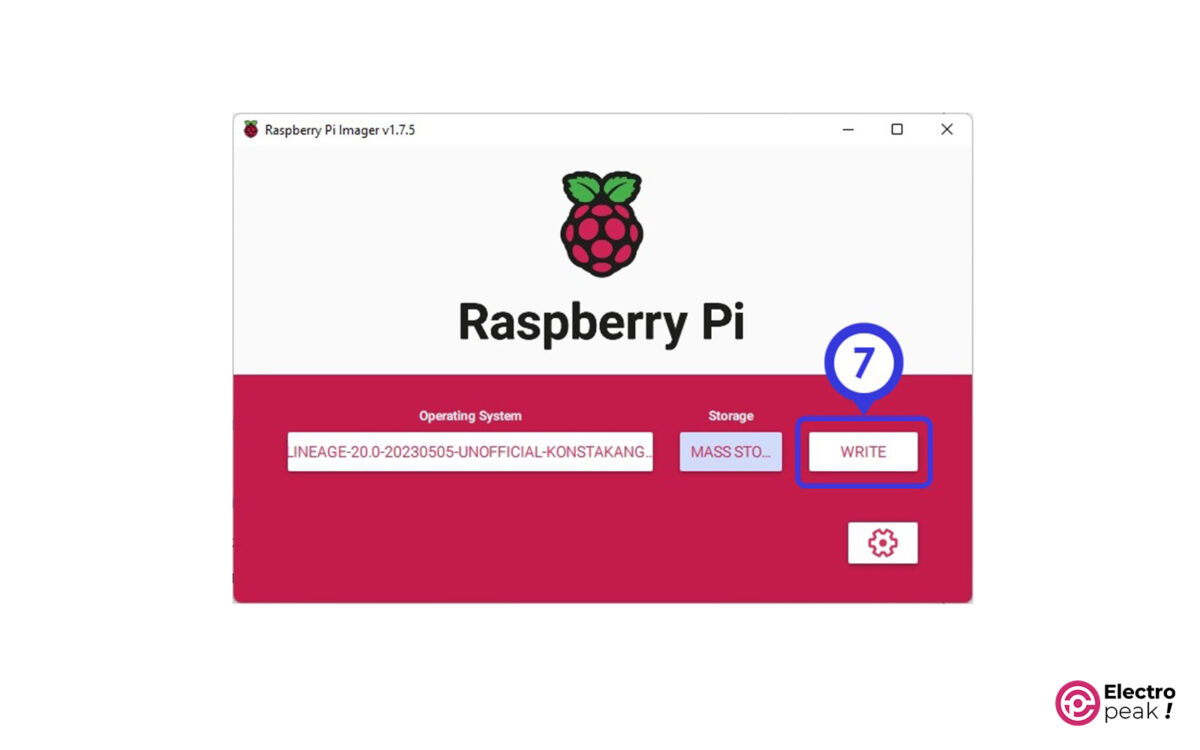
5- Write the “Bootloader” file to the storage by clicking on “Write.”
6- Insert the Micro SD card into the Raspberry Pi board.
By inserting the Micro SD card and connecting its power source, the latest bootloader will be installed on your Raspberry Pi. When the green LED on the board starts blinking repeatedly, it means that the Bootloader installation process is complete. After a few moments, turn off the system.
Step 2: Downloading Windows 11 for Raspberry Pi
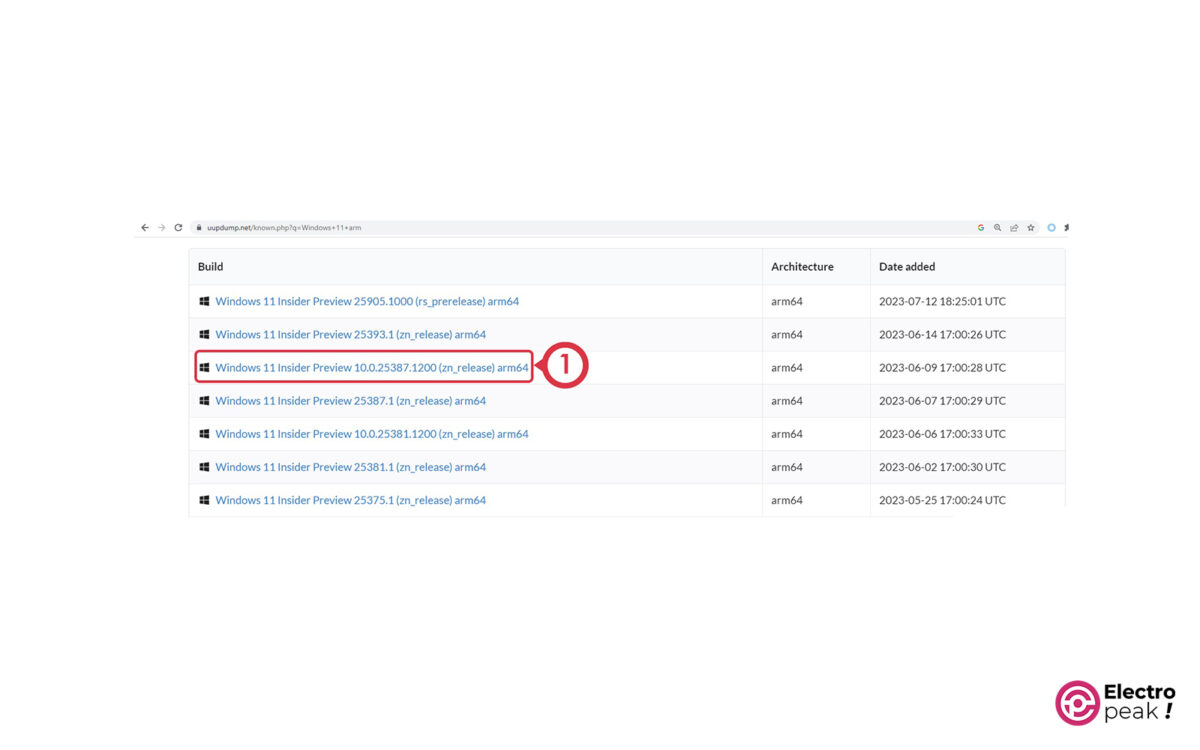
Visit the website below, choose the latest version of Windows 11 designed for arm64 processors, and follow these steps to download Windows:
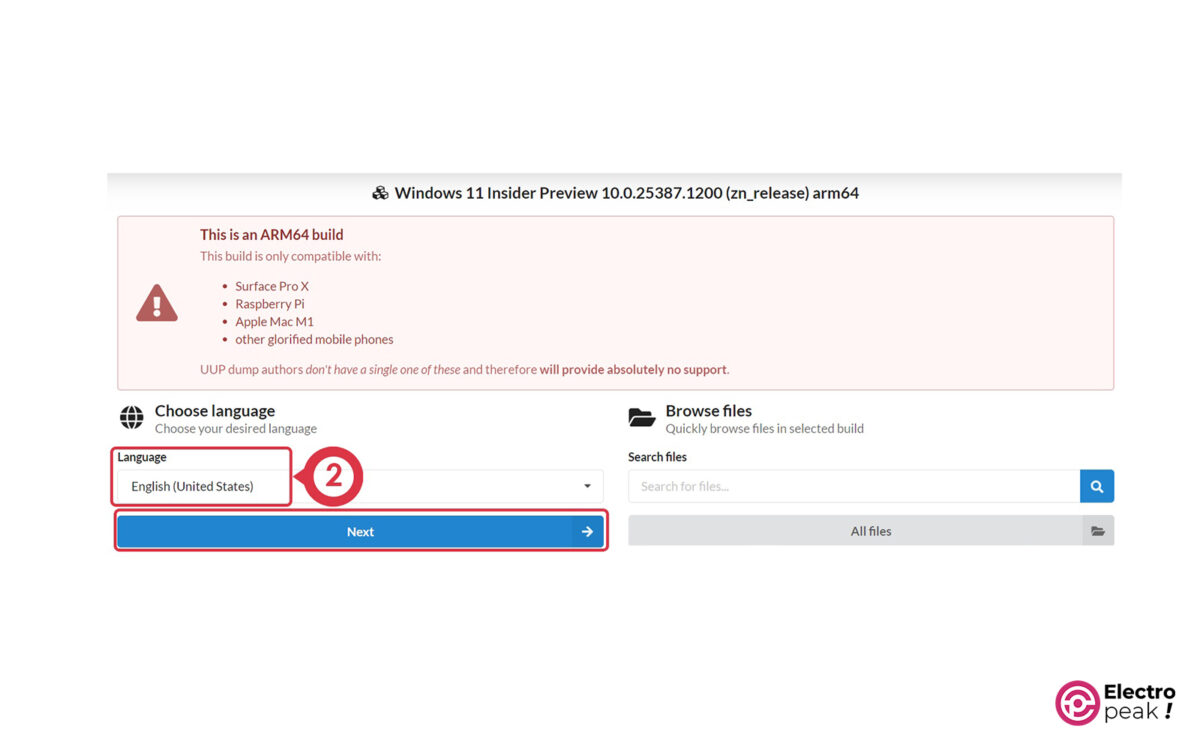
1- Select your desired language.
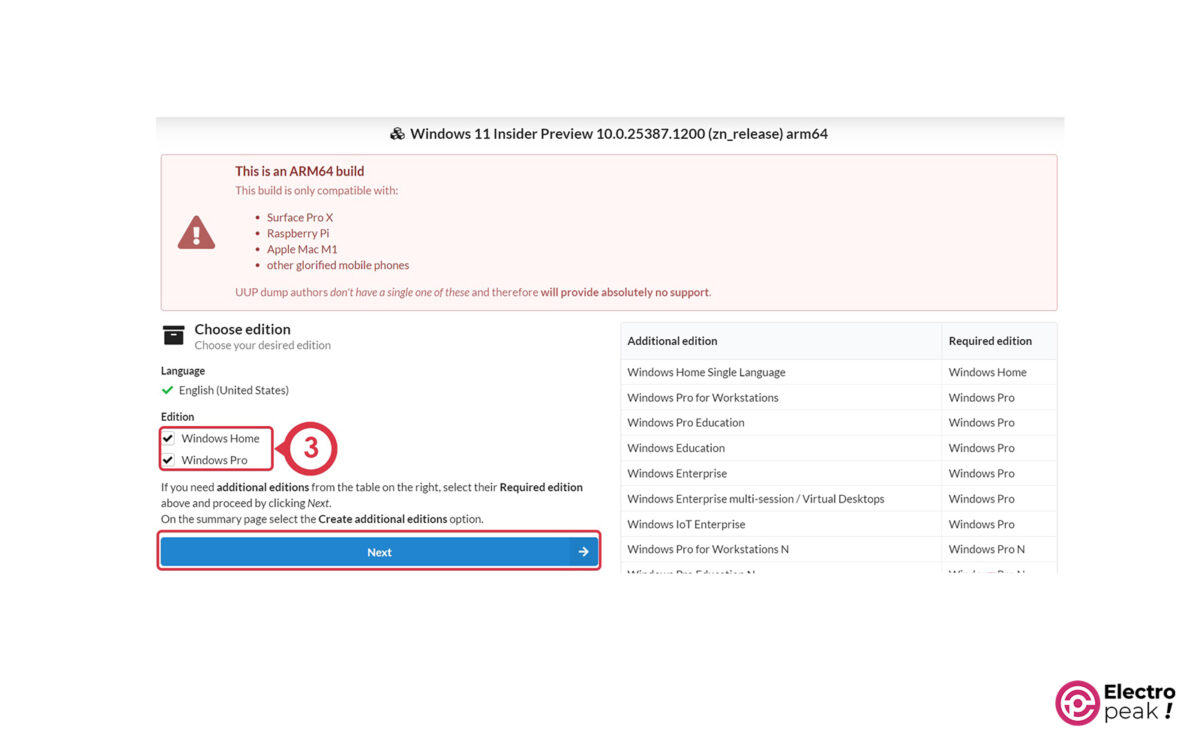
2- Choose the Windows edition you want to install by checking the appropriate boxes. Here, we selected both the “Home” and “Pro” editions.
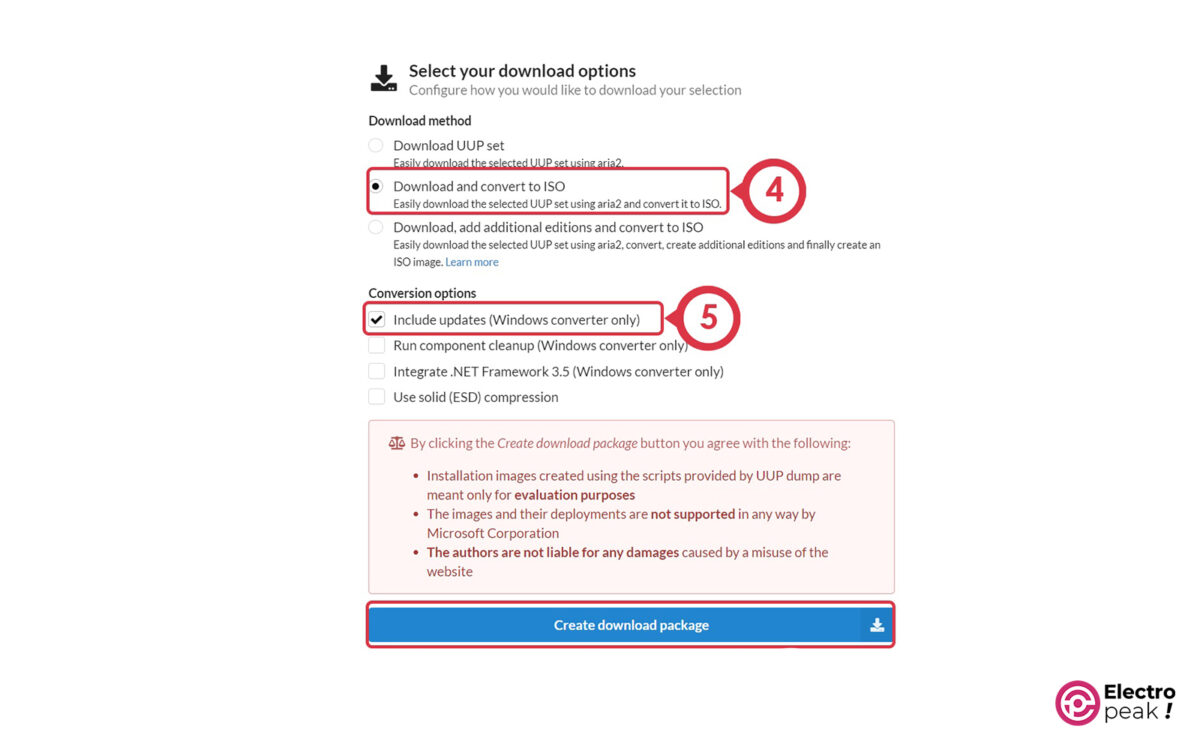
3- Specify the download options: Select the “Download and convert to ISO” option and click “Create download package.” In addition, if you check the “Include updates” box, you’ll receive the latest updates. It’s recommended to do it to avoid any driver issues.
Now click on “Create download package” to download a compressed file.
4- Extract the downloaded file in a folder named “win11” and run the “uup_download_windows.cmd” file.
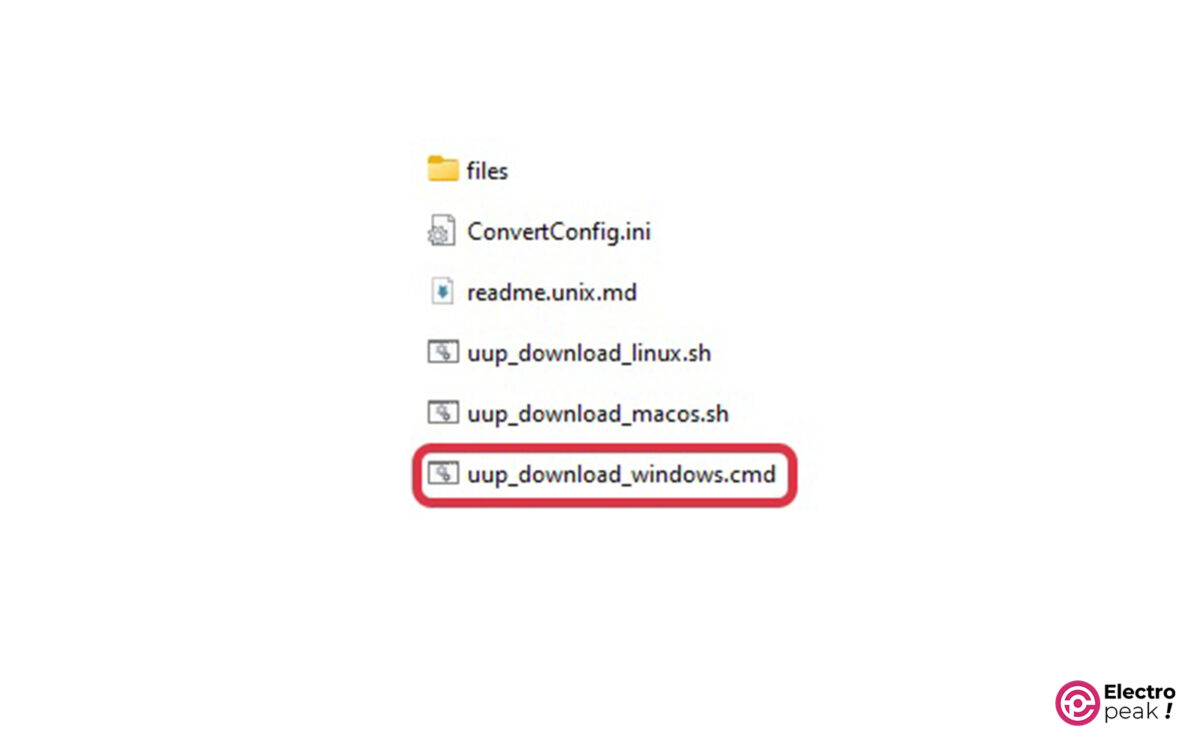
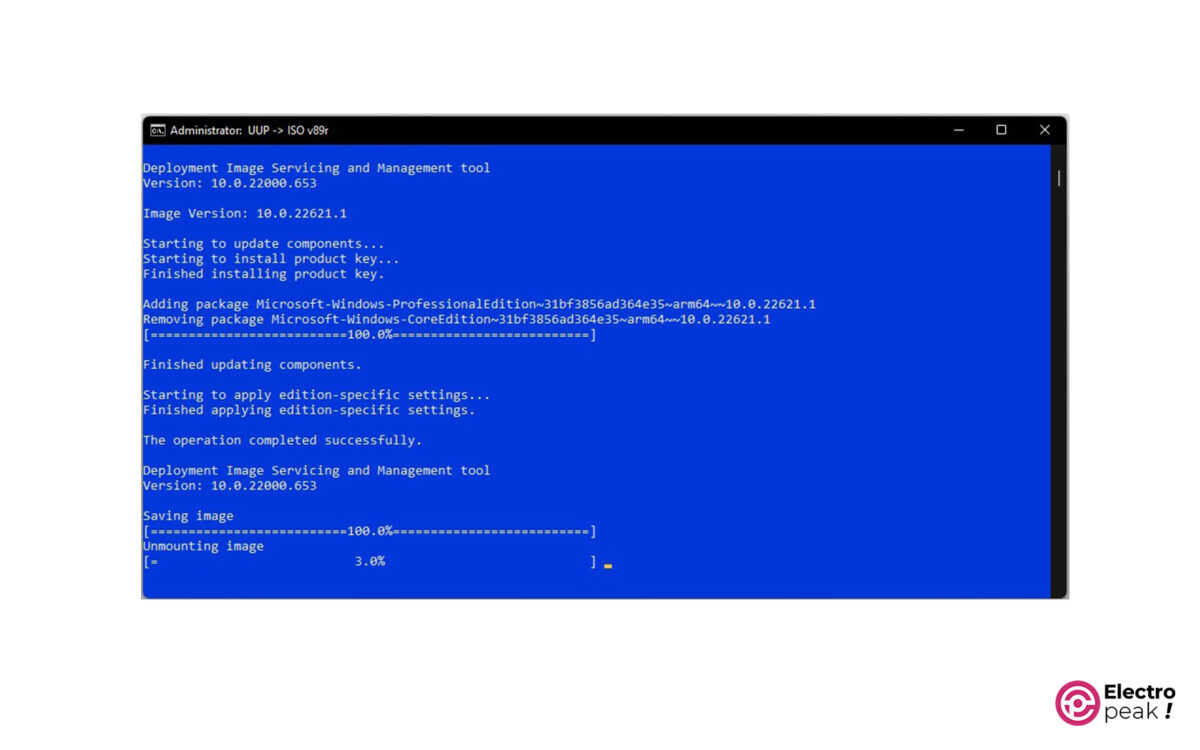
A CMD window will open and start downloading the Windows 11 package. Depending on your internet speed and hardware specifications, it will take a different period.
5- Finally, press the “0” key on your keyboard to exit the program.
So far, you have downloaded and created the Windows 11 Img file.
Step 3: Installing Windows 11 on Raspberry Pi 4 and 400
Now, let’s install the downloaded Windows image file using the WoR software.
Follow these steps:
1- Extract the “Wor_Release_x.x.x.zip” software file and copy it into the “win11” folder.
2- Run the “WoR.exe” file.
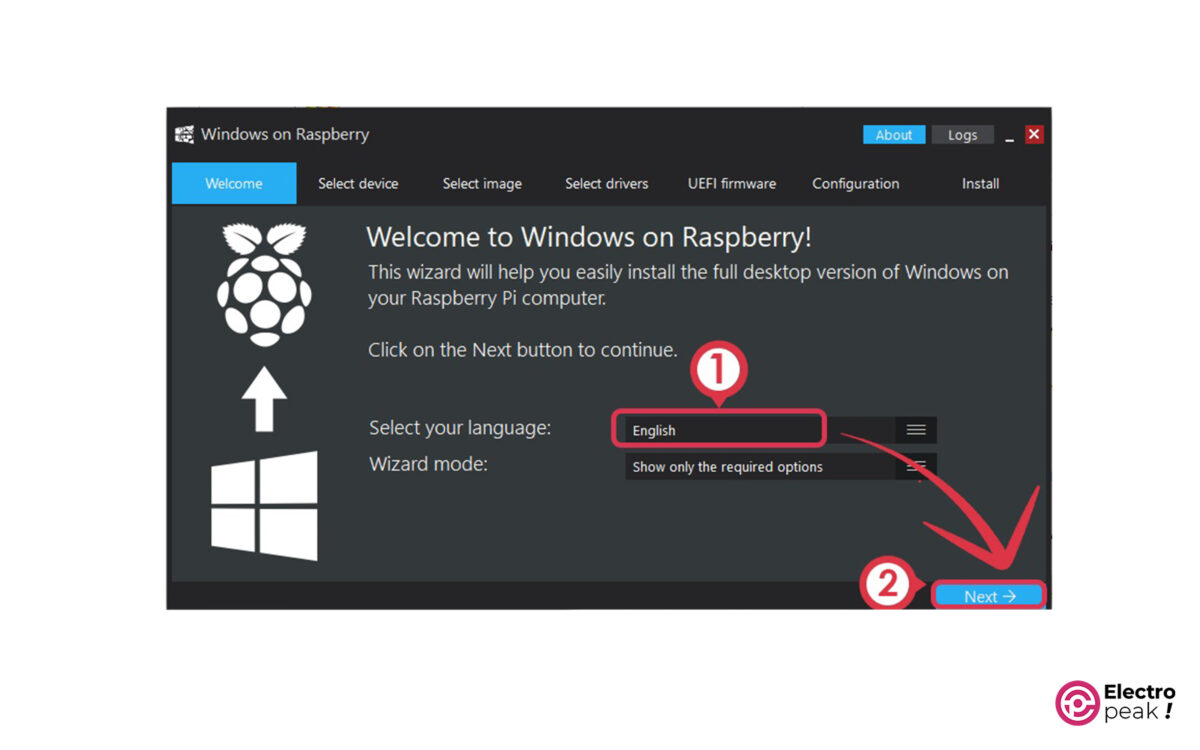
3- Select your desired language and click on Next (image below).
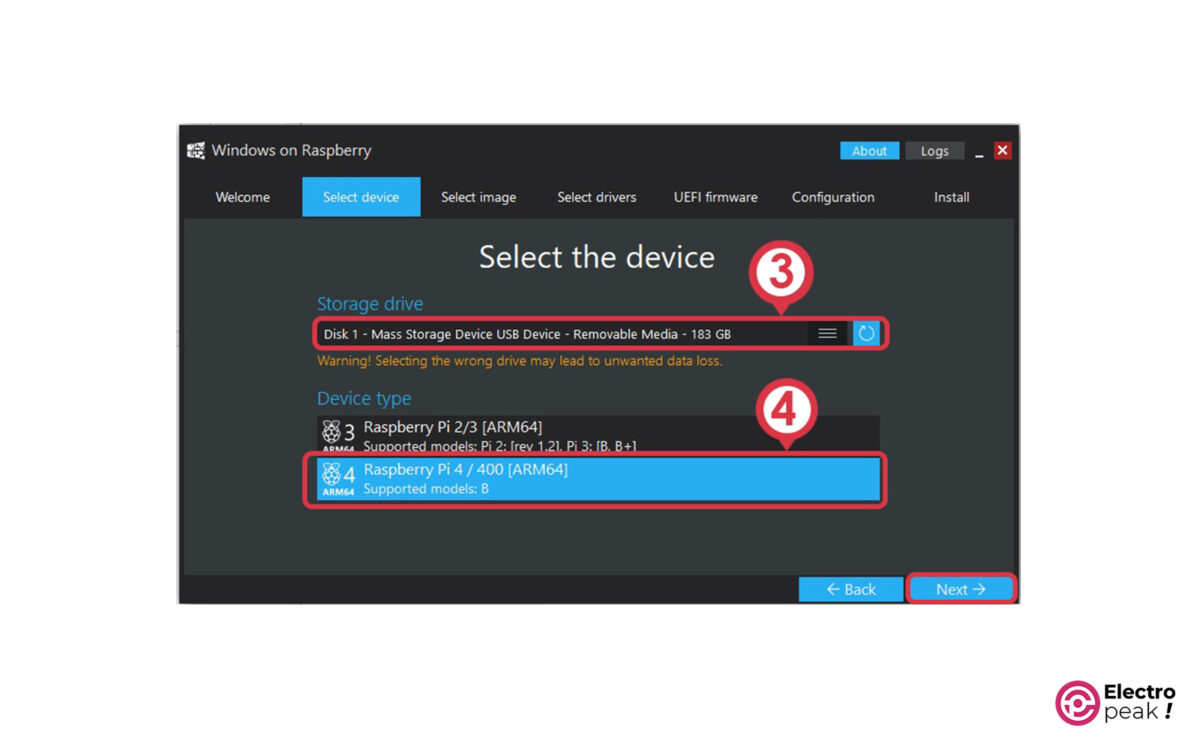
4- Select the storage device for installing Windows and specify the type of Raspberry Pi.
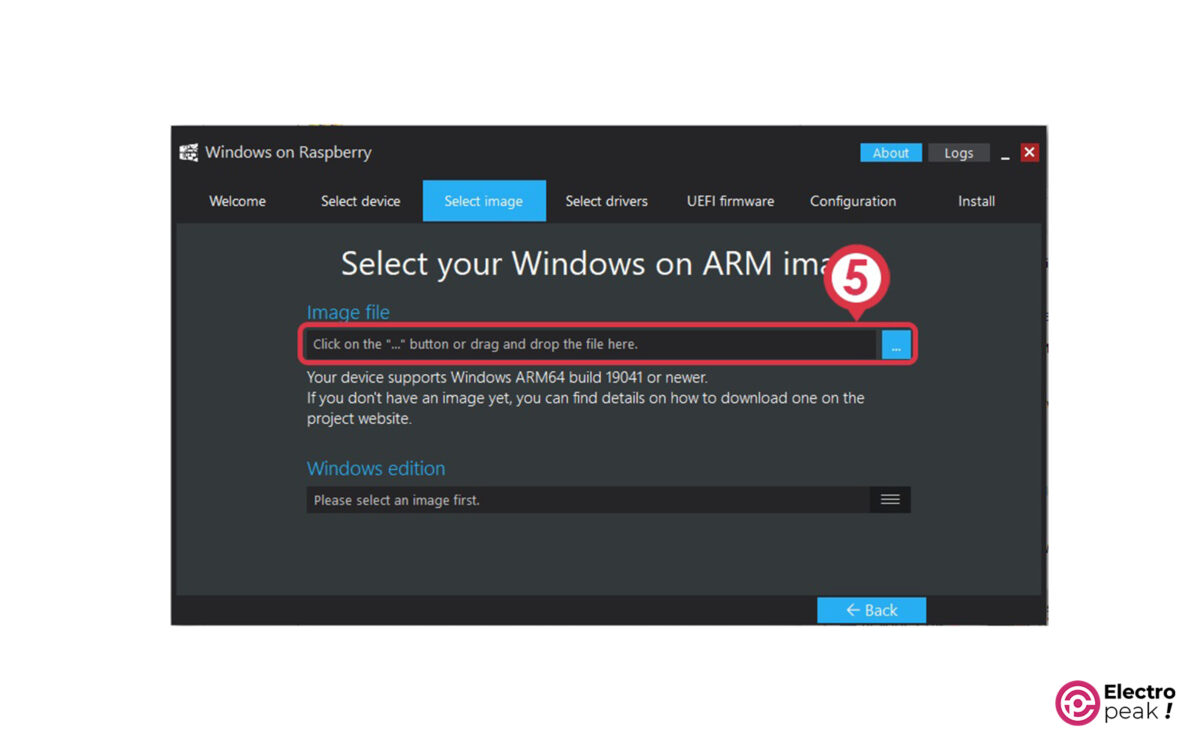
5- Select the downloaded Windows image file. It’s in the “win11” folder.
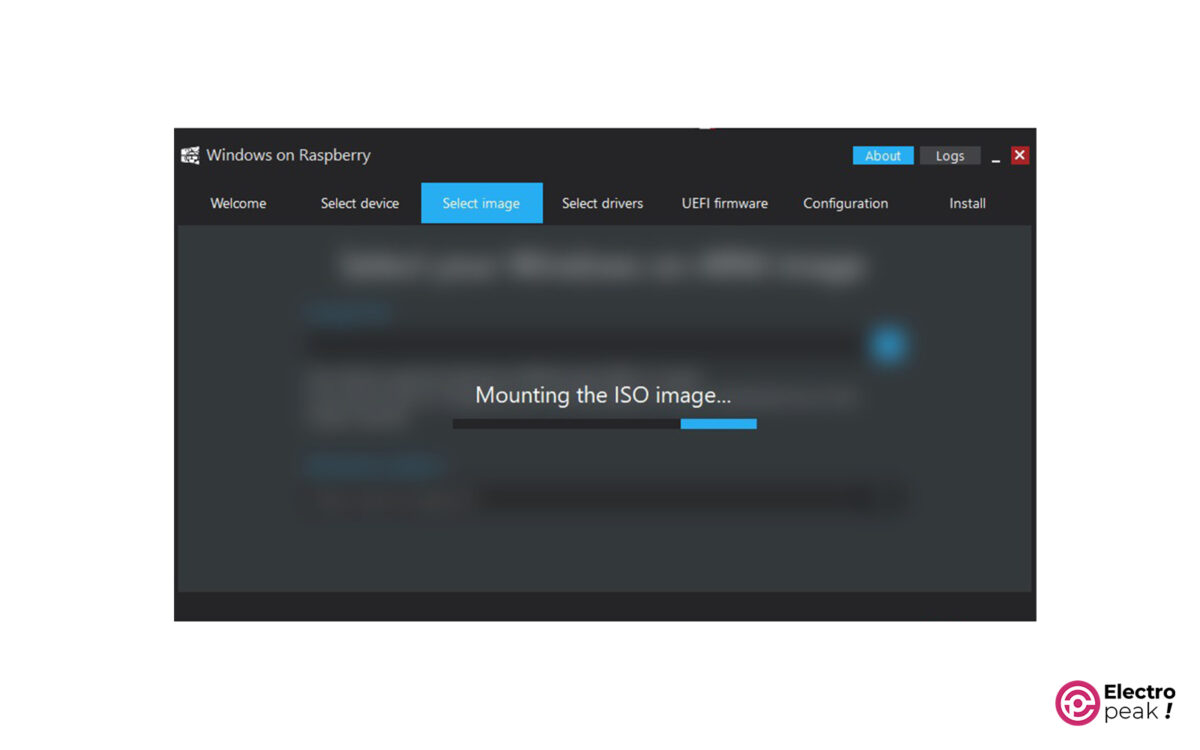
After clicking on the “Next” button, the following image will appear. Wait for the software to mount the ISO image.
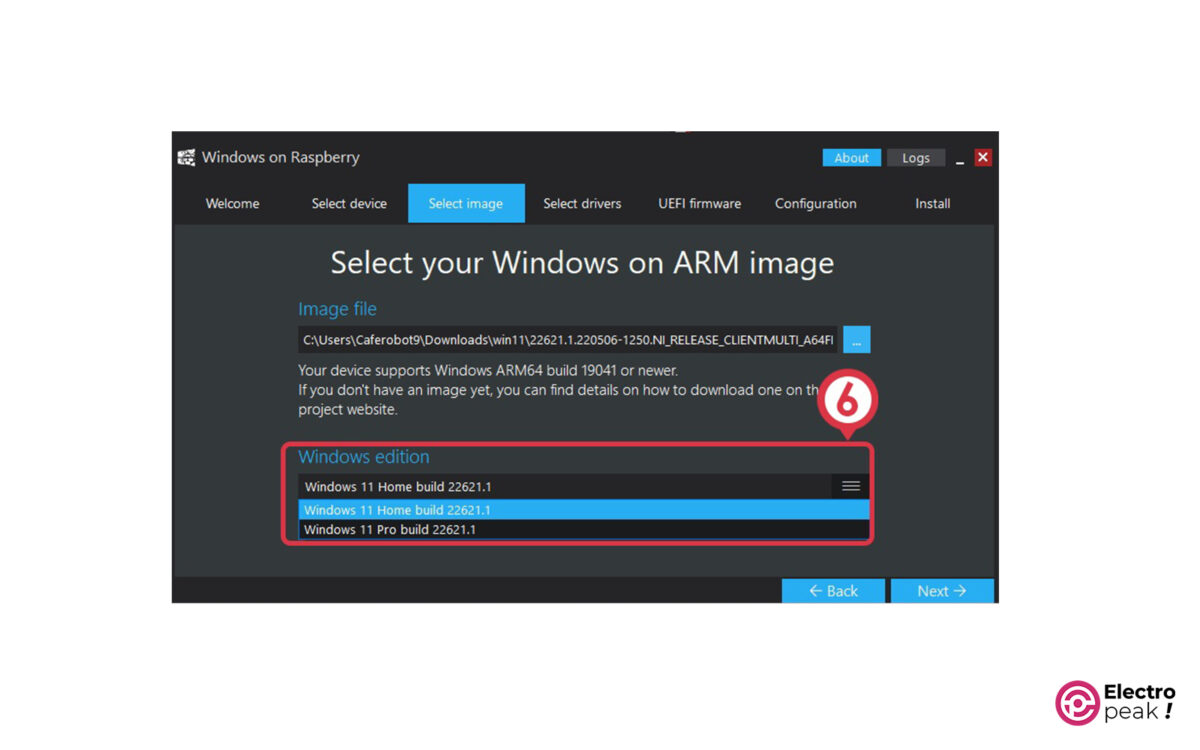
6- Select the Windows edition (Home or Pro).
7- Click “Accept.”
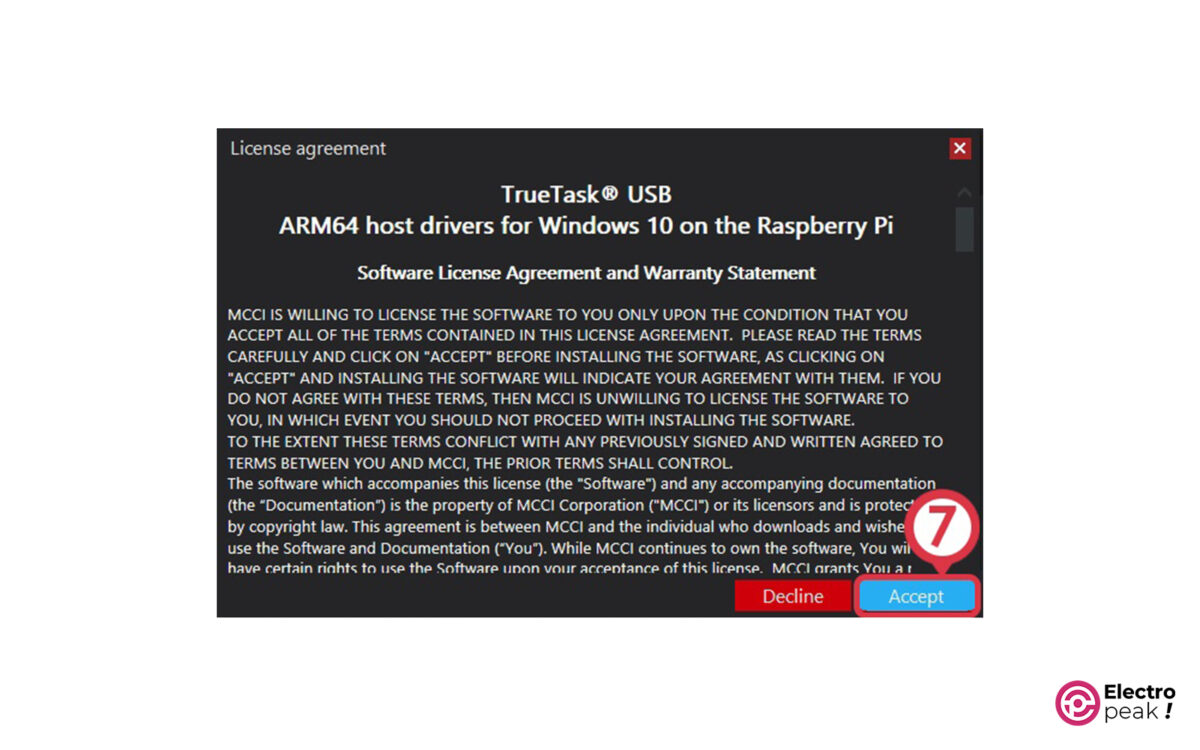
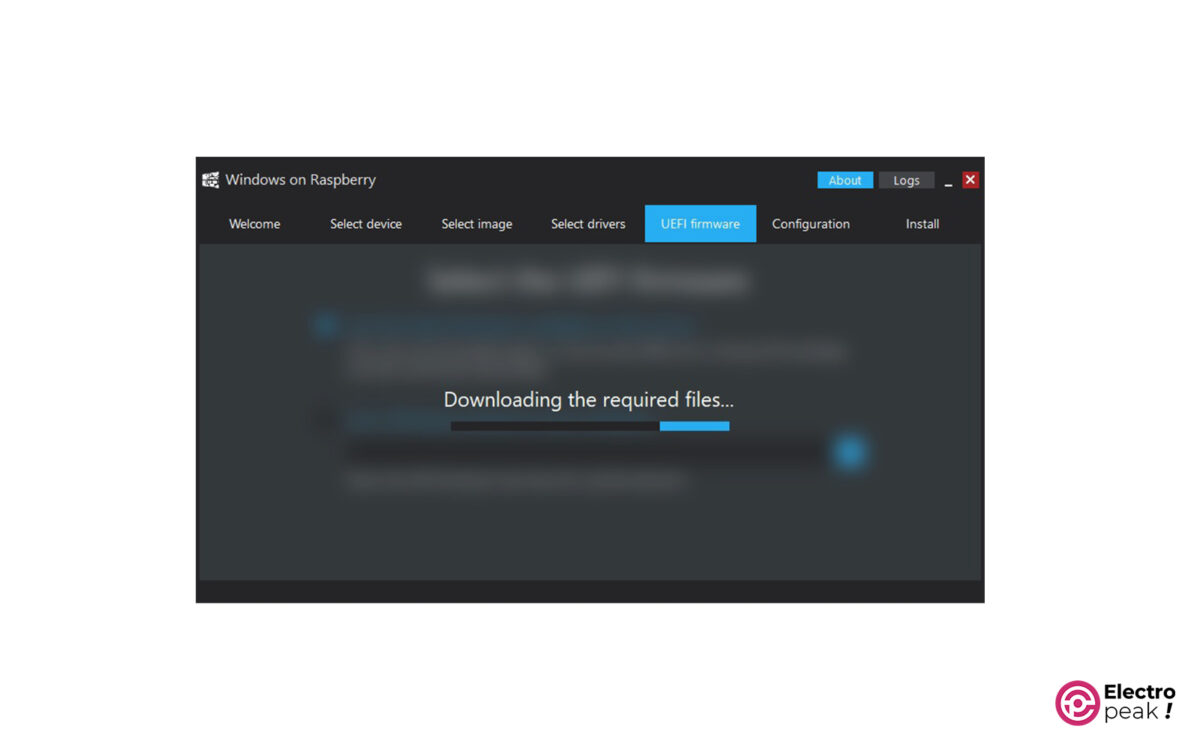
After clicking the “Accept” button, the WoR software will start downloading the required files from the internet.
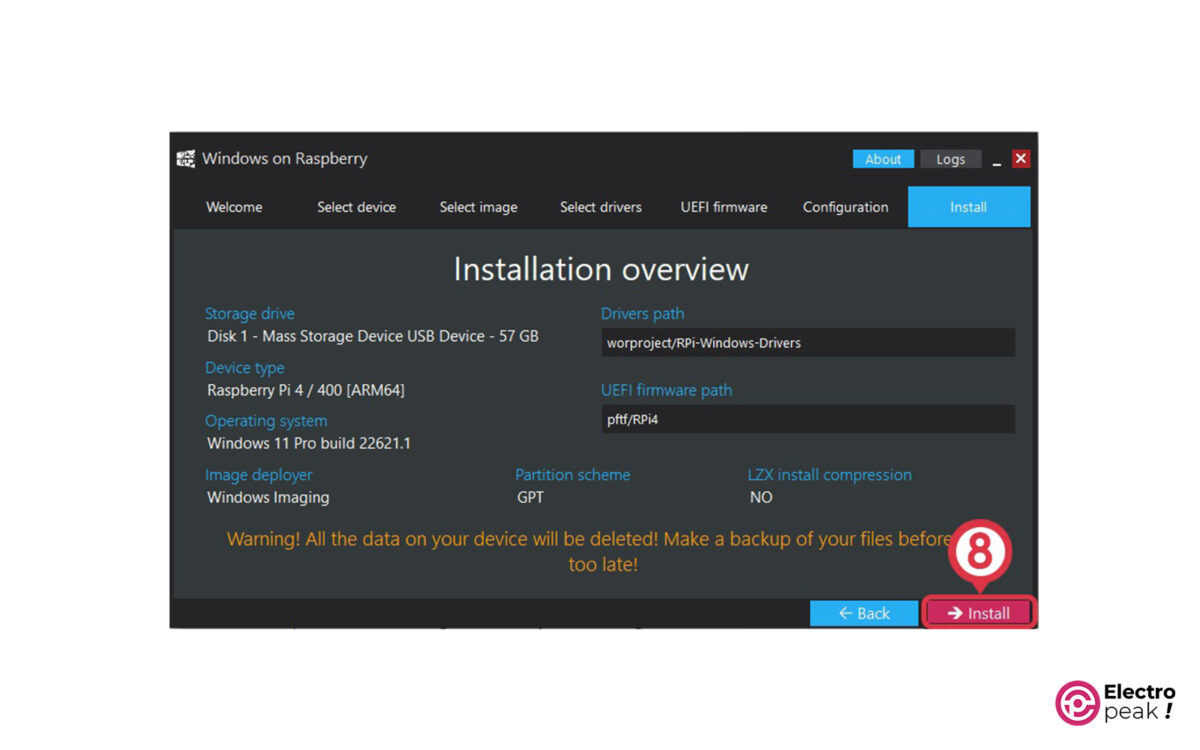
8- Installation overview
Take a moment to review the settings you’ve made in the previous steps to avoid any mistakes. Then click “Install” to proceed with the Windows installation on your desired storage device.
9- Click “Finish.”
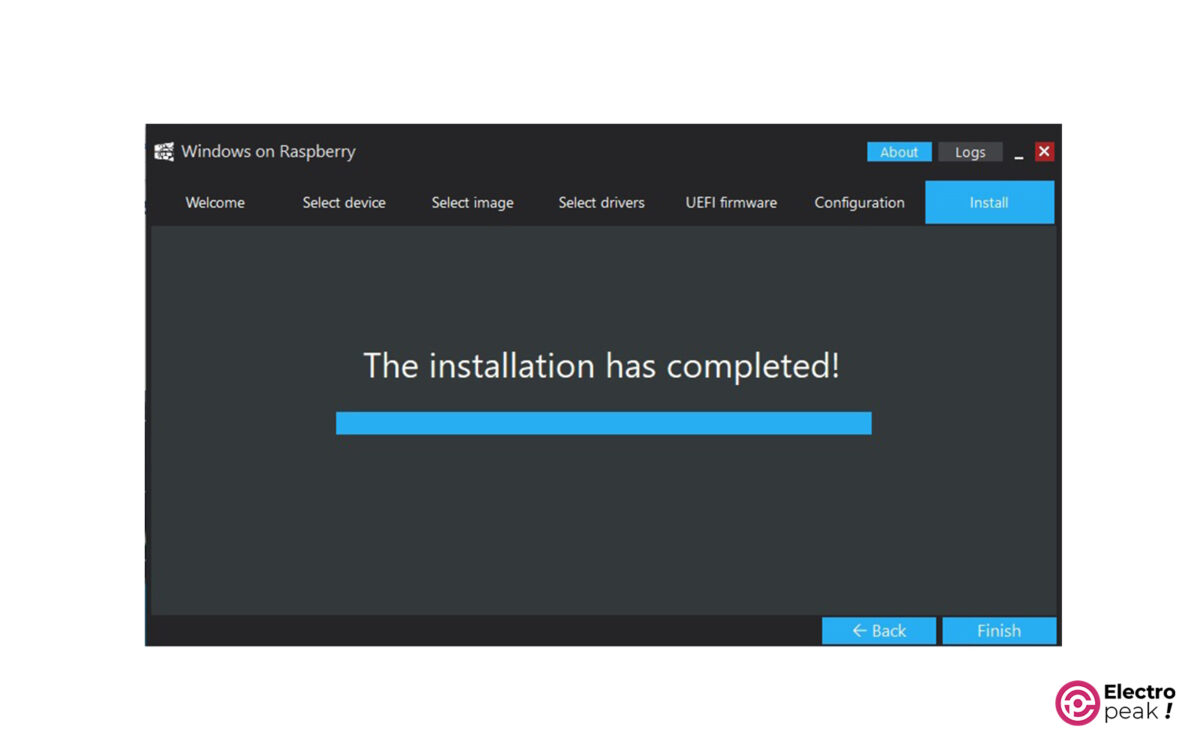
Now, disconnect the storage device from your computer and insert it into your Raspberry Pi board. Connect peripherals like a monitor, mouse, and keyboard to your Raspberry Pi, and make sure it is connected to the internet via Ethernet. Finally, plug in the adapter to turn it on.
Step 4: Boot Settings
Before enjoying the Windows, perform the following settings:
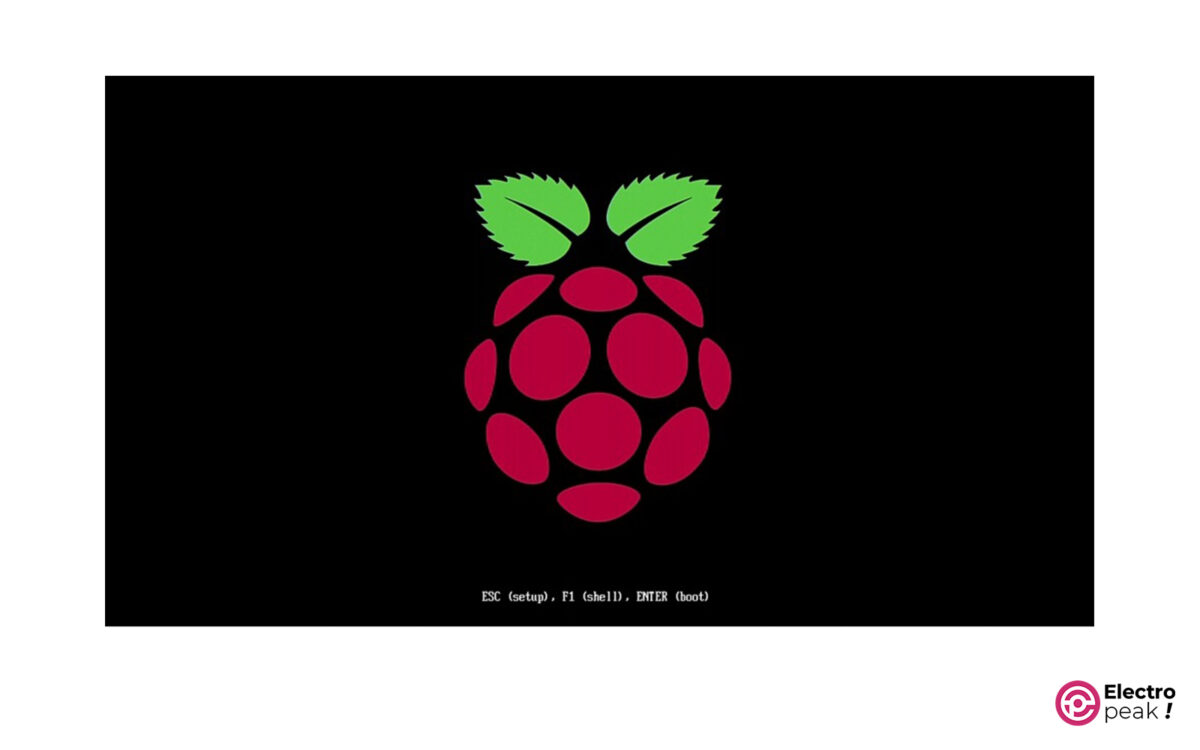
1- Press “Esc” on your keyboard when you see the image below.
2- Disable the “Limit RAM to 3GB” option. To do that, go to Device Manager->Raspberry Pi Configuration->Advanced Configuration.

3- Press F10 to save the settings, then press Esc to return to the previous menu.
4- Set the display resolution for the monitor connected to Raspberry Pi from the “Display Configuration” section.
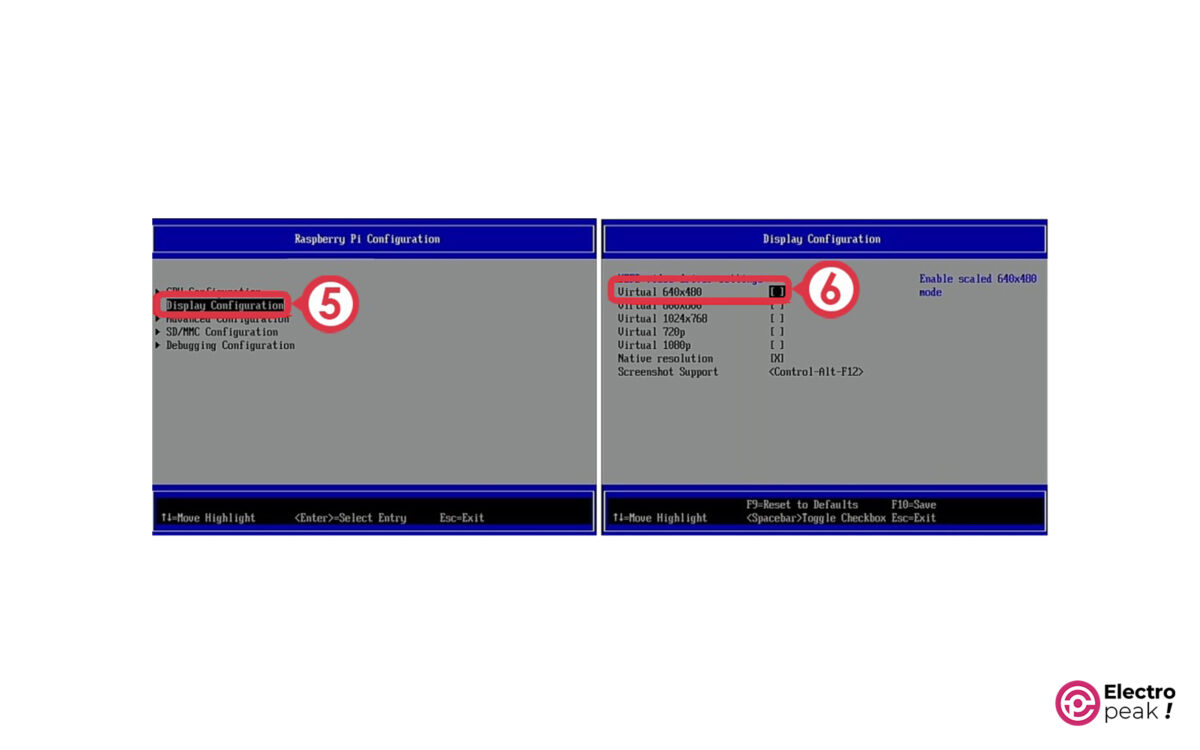
5- Press F10 to save the settings, and then Esc to return to the previous menu.
6- In the “CPU Configuration” section, disable overclocking for the Raspberry Pi processor: set the “CPU Clock” to “Default.”
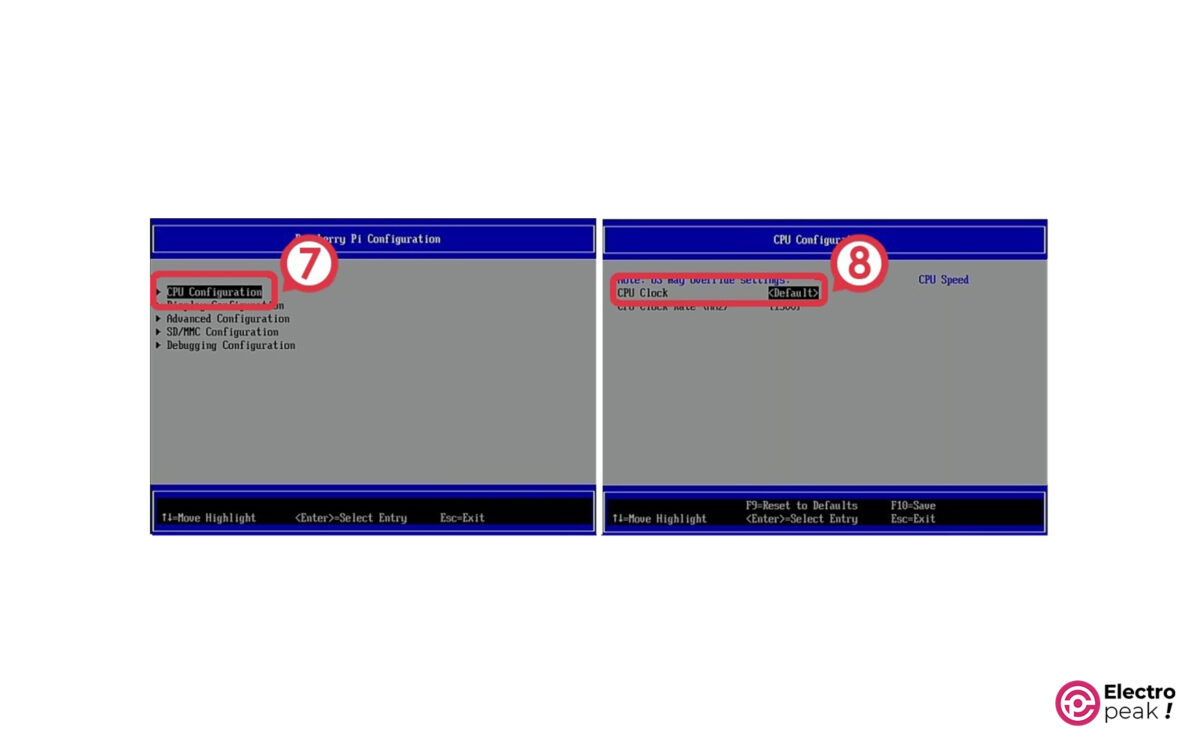
Press F10 to save the settings. Then, press Esc a few times to return to the main menu. Finally, press “Continue” to exit the BIOS menu.
Your Windows is now ready. With the initial Windows settings, you can enter Windows and enjoy all its features!
Step 5: Windows Performance Evaluation on Raspberry Pi
When you turn on the Raspberry Pi for the first time, you will notice that you have to wait a while (about 5 minutes) for it to turn on and enter Windows. But the Windows speed is fairly high, and you can easily take care of your daily tasks. The Edge browser also works pretty well, and you can safely surf the web!
The main environment of the installed Windows looks the same as the computer version, and it gives you a good feeling.
What’s Next?
In this tutorial, we’ve learned how to install Windows step by step. Now, you can use all kinds of software and features that were impossible with Linux-based operating systems.
To run light software such as Word, you no longer need to carry a laptop weighing several kilograms!
If you are an electronics engineer, using Raspberry Pi with Windows instead of Arduino boards will be very appealing! Using Raspberry Pi GPIO pins along with different ports such as USB, HDMI, and FPC connectors, you can communicate with all kinds of digital sensors directly and at high speed.
If you are a robotics engineer, placing this minicomputer on your robot will be a big help for robotics projects! You can now easily set up many devices that were difficult to use with Linux.

Comments (5)
Hello,
What is the url of the website for downloading the Windows 11 designed for arm64 processors ?
It’s not readable on the Screenshot
Thanks
Hello Deumer,
Thanks for letting us know. We will update the content.
Hello, what is the link for download the windows 11 preview please ?
Thanks
Hello sir it is very interesting and amazing to me.Last year i used rasperrypi4 as as micro compuer based linux but thar is borrig to me.then usrd it as web sdr for ham radio project.Iam not familier in electronic and software but do something useful and understanding their operation.Now I expect a frequency counter measured from 1mhz to 50mhz in one hx resolution.Bt in the internet limited types of frequency counters available and are confusing to understand .they are not respond to week signals.I want to request you Let you post a frequency counter using pic mc and lcd display..This is my english i learn.Thank u sir.
Hi. You can only do this using FPGA. Microcontrollers have a very limited sampling rate.
There are few MCs like STM32H series that can sample digital signals with up to 50MHz rate. But its ADC sampling rate is very lower.
Note: For specific applications, including real-time digital reads or high-speed signal acquisition, it’s crucial to optimize your code, reduce overhead, and use direct register access or DMA where possible to maximize the sampling rate.