
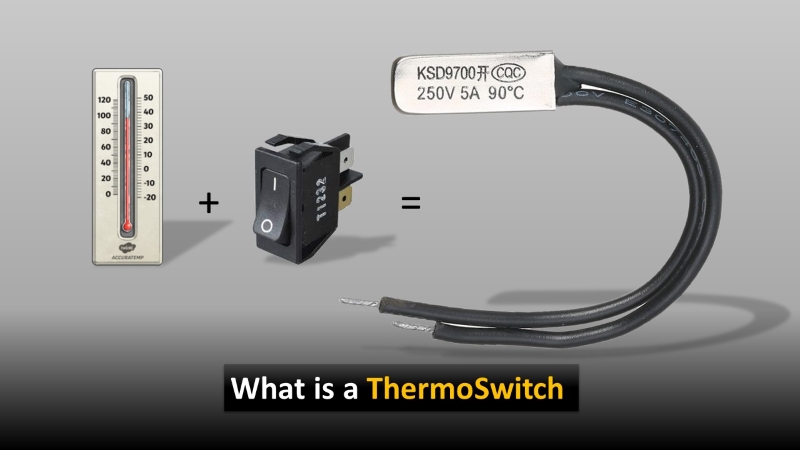
What is Temperature Switch/Thermo Switch/Thermostat?
Thermo Switches are smart little devices that operate automatically when they reach a specific temperature (either open or close).
They’re a crucial part of heating/cooling systems because they control and regulate the temperature.
How do Thermal Switches Work?
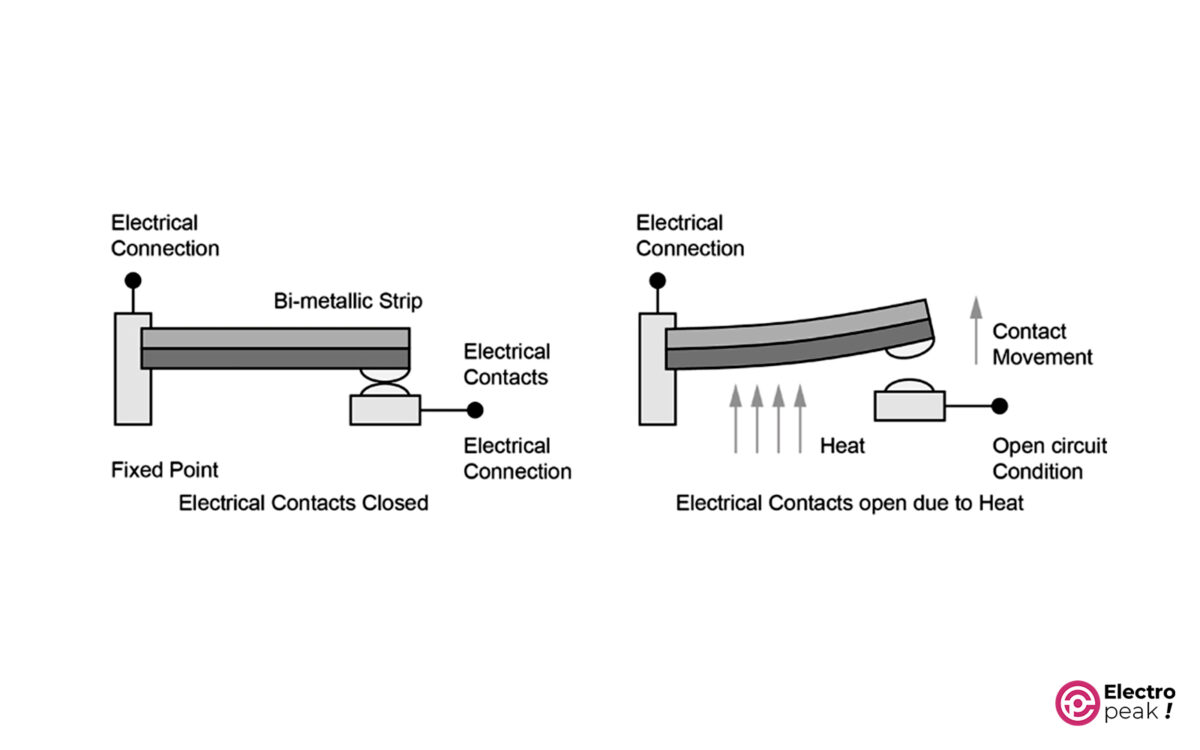
Thermo switches operate based on the contraction and expansion of a bimetallic strip and the difference in their expansion coefficient. In this article, we won’t go into much detail, but to put it simply: thermo switches have a contact that either opens or closes in response to temperature changes. When placed in the path of an electric current, the strip shape (straight or bent) determines whether the electric current flows or gets cut off. You can see a normally closed thermo switch (NC) in the image below (on the left). As the temperature rises, the strip bends, breaking the connection.
NC Temperature Switches
NC stands for “Normally Closed.” These thermo switches act like a closed (connected) switch below a certain amount of temperature. A 40°C NC thermo switch, for example, is closed at temperatures smaller than 40°C. But, as soon as the temperature hits 40°C or higher, the contact opens, cutting off the current.
NO Temperature Switches
NO Temperature Switches (normally open) stay open below the set point and act like an open switch. A 40°C NO Temperature Switches, for example, is open at temperatures smaller than 40°C. But, as soon as the temperature hits 40°C or higher, the contact closes, allowing the current to flow through the Temperature Switch circuit.
Identifying NC/NO Temperature Switches
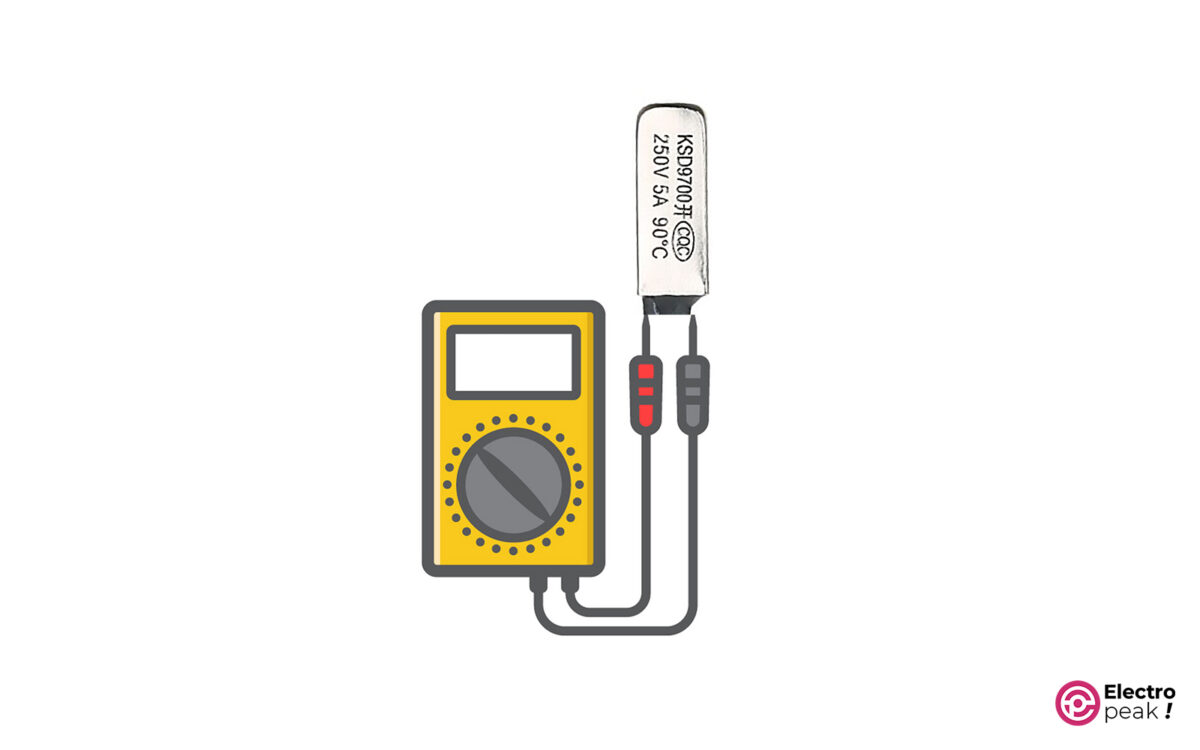
1- If you know the ambient temperature is lower than the temperature switch set point: grab a multimeter and check if there is a connection between the temperature switch pins (the image below). Now, if you hear a beep, you have an NC temperature switch. If not, then it’s an NO type.
2- If the set point is low—let’s say 20°C—and you are not sure whether the ambient temperature is lower or higher than that: heat up the thermo switch with a lighter to make sure it’s warmer than the ambient temperature. Now, if the contact is closed, you then have an NO thermo switch. If not, it’s an NC type. Just remember that the contact mode should change when the thermo switch gets cooler than the set point.
Important Temperature Switch Types
All thermo switches have one single purpose: measuring temperature. Different models, however, have been developed to meet specific needs. These models can differ in terms of performance, appearance, and installation. Having some basic knowledge about these models can help you choose the best option for your project.
Resettable Temperature Switch
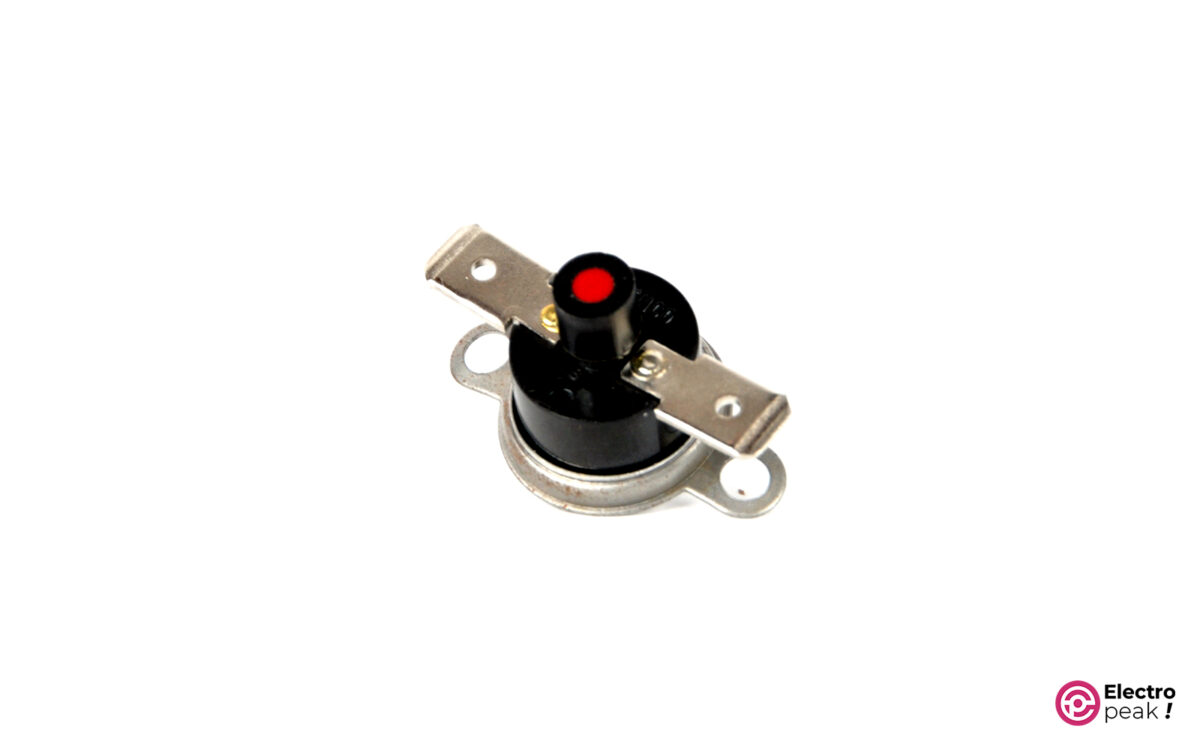
This thermo switch operates when the ambient temperature hits the set point. However, it doesn’t automatically reset as temperature changes. So you need to press the red button, shown in the image above, to reset it. This feature is mainly used for protection purposes so that you can’t restart it until the problem is fixed.
Disc-type Temperature Switch
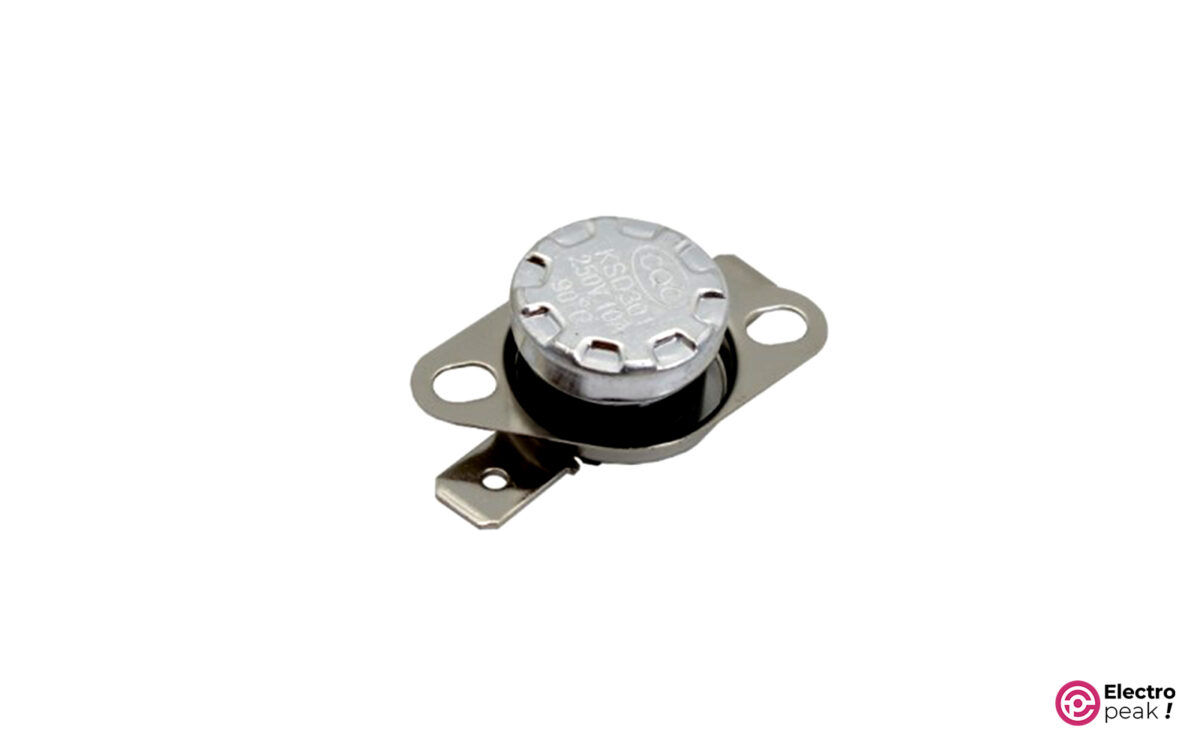
It’s pretty easy to install this model, as it can be screwed to the frame. We use this temperature switch, for example, on the frame of an elevator gearbox motor. And its task is to operate and protect the system when the engine temperature goes up due to overload or overwork.
Thin Temperature Switch
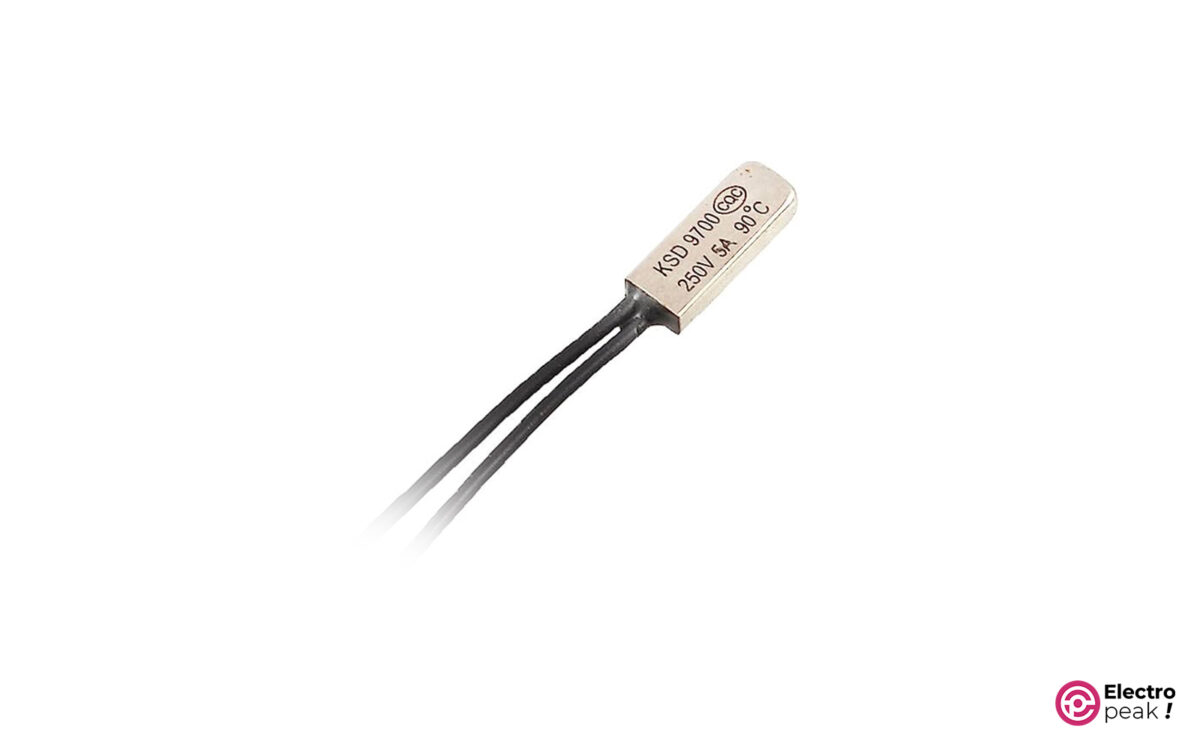
We choose this type where we have limited space for measuring temperature. It is commonly used for winding single-phase and three-phase motors as a protection weapon against overheating. Different types of thin thermo switches are available for various electric motors—each with its own set of features.
Important Parameters of Temperature Switches
Set Point
The set point is perhaps the most important factor to consider when selecting a thermo switch. The thermo switch remains in its normal mode at temperatures below the set point, while it switches and exits its normal mode at temperatures above such point.
The blue box in the image above shows the set point of the component.
In addition, a thermo switch labeled as “X°C” has a set point of X.
Normally Closed (NC) or Normally Open (NO)
We explained the difference between these two categories. You should choose one or two types based on what you are looking for.
Again, NC types are typically used for heating systems, while NO types are suitable for cooling systems.
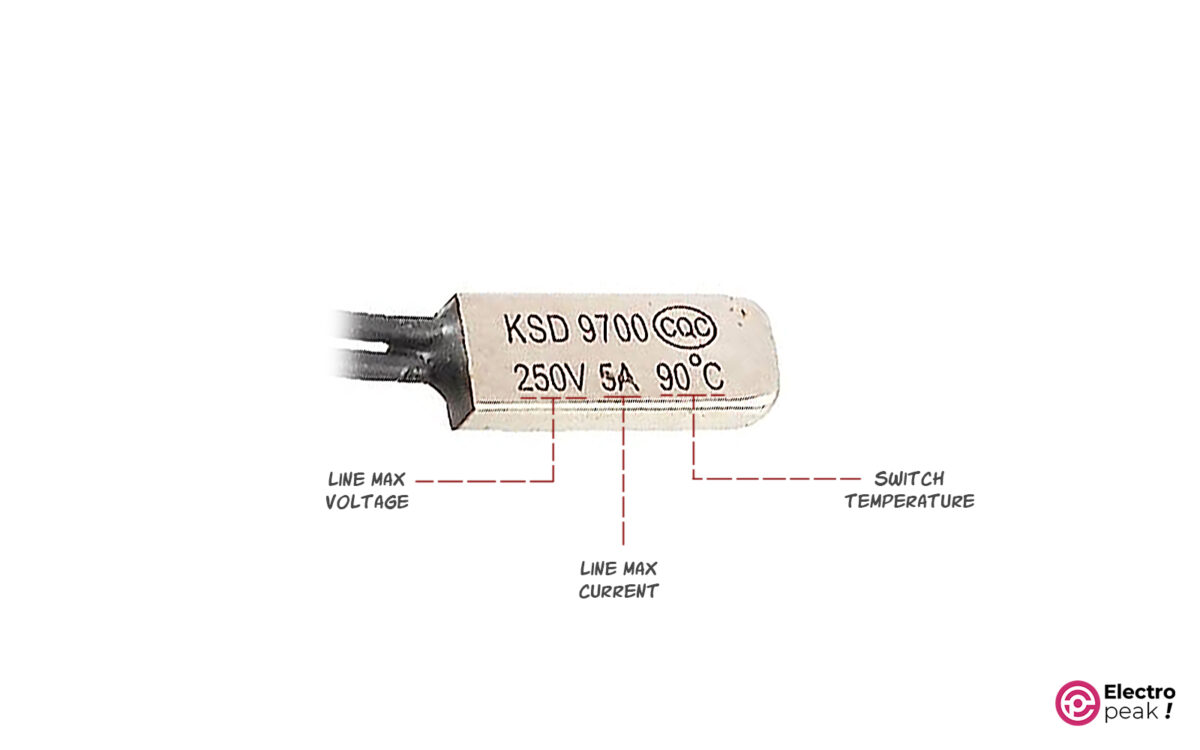
Maximum Current
The maximum current is another parameter to consider when selecting a thermo switch. This value is usually written on the thermo switch.
If you directly connect the thermo switch to the load, make sure that the current passing through the thermoswitch does not exceed the maximum limit. For higher amounts of current, you can connect the sensor output to a relay circuit.
Maximum Voltage
Similar to current, we have a maximum voltage for thermo switches. This value is shown in the image above (on the left). In addition, the line voltage can be either AC or DC, and the thermoswitch works perfectly well in both modes.
How to Use a Temperature Switch
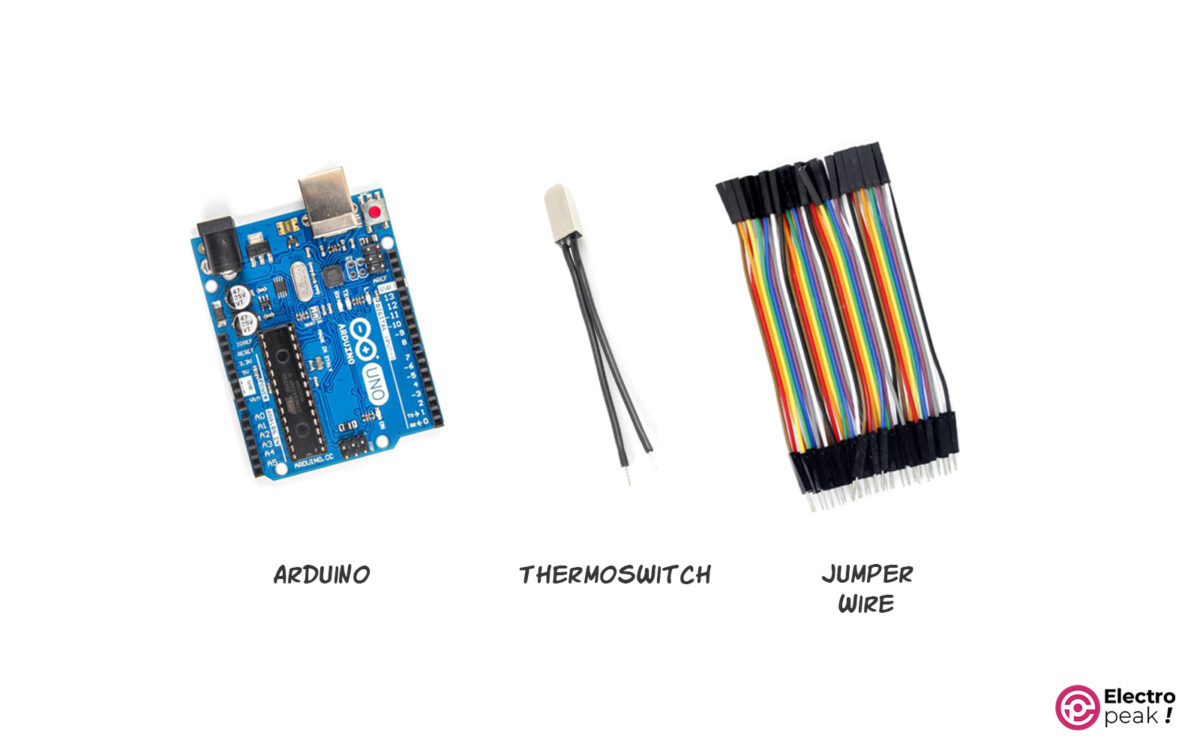
Required Materials
Using Temperature Switches: Method 1, Direct Use
You can directly connect its output to other devices, or use a relay circuit to activate them. (This method is suitable when the cooling/heating device consumes high current.)
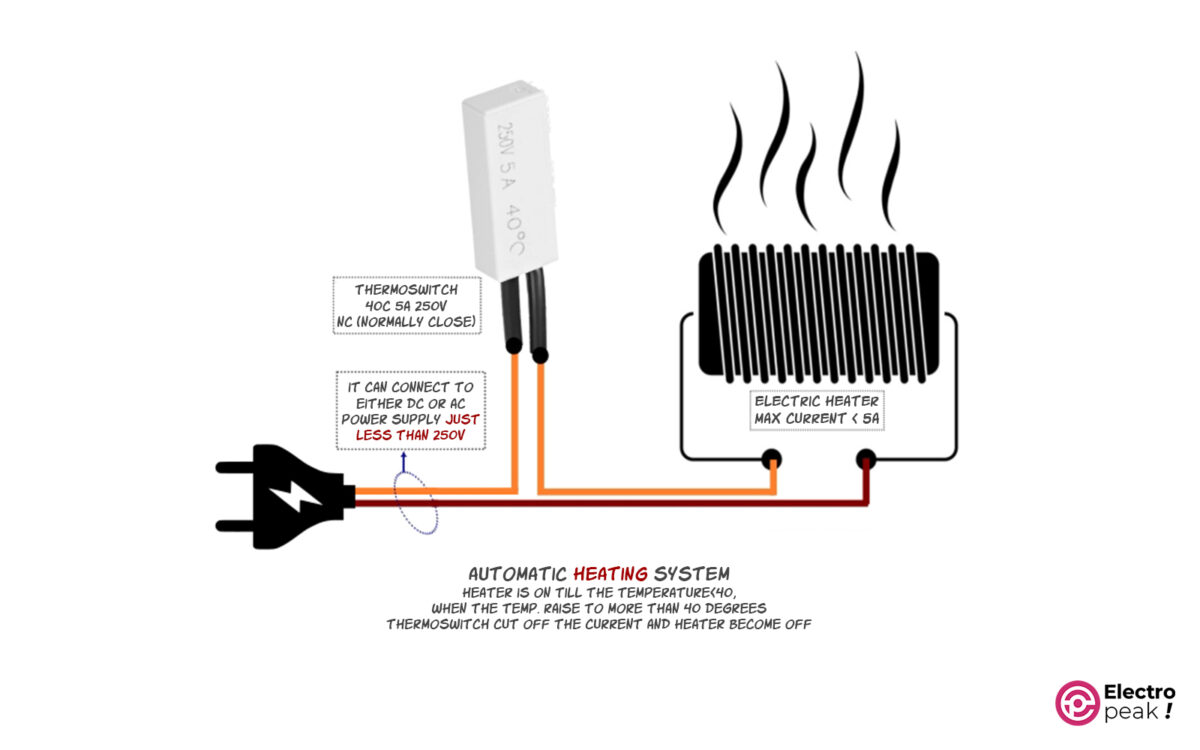
For example, in the image above, if you replace the NO temperature switch with an NO type and the cooler with a heater, it will become an automatic heating system that maintains the temperature below the set point.
You can use either an AC or DC power supply for the input voltage as long as it does not exceed the temperature switch maximum voltage.
Using Temperature Switches: Method 2, with Arduino
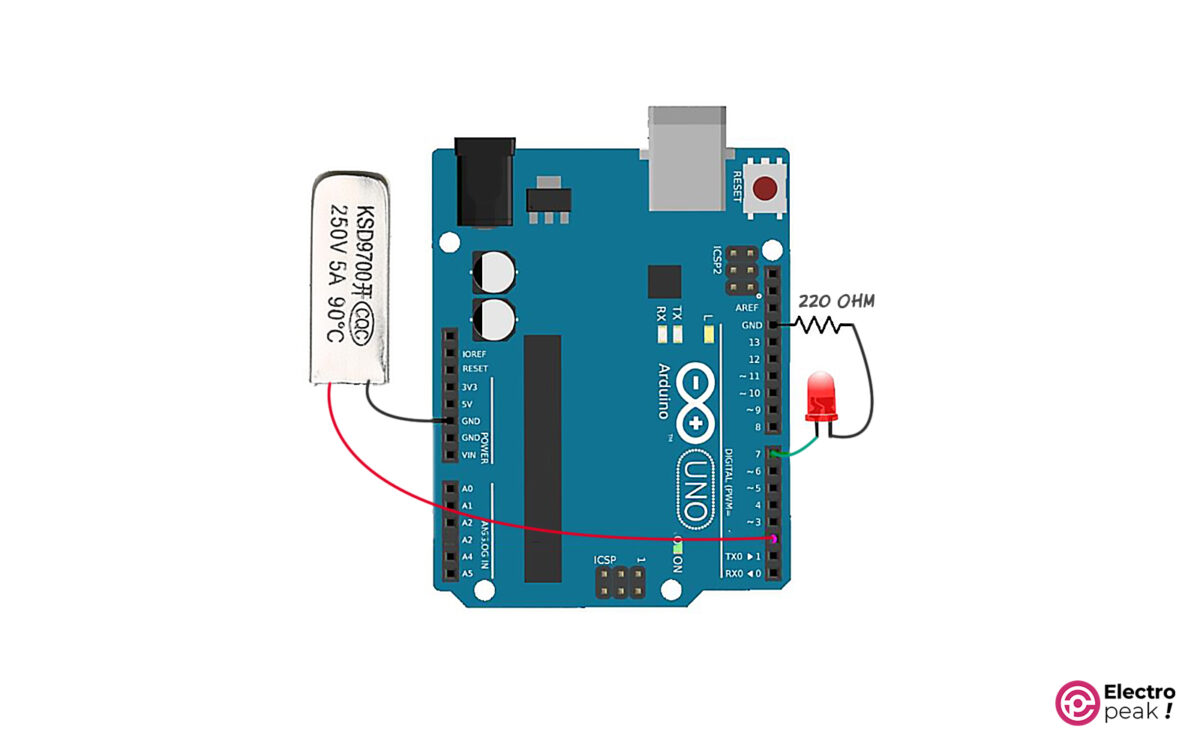
You can also use a thermoswitch with a microcontroller. Just connect the operating voltage of the microcontroller as an input to the thermoswitch, and then connect the other thermoswitch wire as an input to one of the digital input pins of the microcontroller. In addition, the thermos witch state is determined by the value of the input pin. If necessary, you can define an interrupt routine for the input pin, enabling the microcontroller to promptly perform the desired actions when a specific condition occurs.
In the following example, we will build a fire alarm using a temperature switch and Arduino. It should be triggered when the temperature reaches a certain point.
Example: Fire Alarm with a Temperature Switch And Arduino
Wiring
Code
// constants won't change. They're used here to set pin numbers:
const int TSPin = 2; // ThermoSwitchPin
const int ledPin = 7; // the number of the LED pin
// variables will change:
bool TSState; // variable for reading the thermoswitch state

void setup() {
 Serial.begin(115200);
 // initialize the LED pin as an output:
 pinMode(ledPin, OUTPUT);
 // initialize the thermoswitch pin as an input:
 pinMode(TSPin, INPUT_PULLUP);
 TSState = digitalRead(TSPin);
 attachInterrupt(digitalPinToInterrupt(TSPin), pin_ISR, CHANGE);
}

void loop() {
 // write your code here
 digitalWrite(ledPin, !TSState);
}

void pin_ISR() {
 TSState = digitalRead(TSPin); // if thermoswitch is NC
 // TSState = !digitalRead(TSPin); // if thermoswitch is NO
}
What’s next?
Try to control a certain temperature range using two thermoswitches. If the temperature exceeds the range, it should activate a cooling device, and if the temperature falls below the range, it should turn on a heating device.
