
Overview
Storing data is one of the most important parts of every project. There are several ways to store data according to the data type and size. SD and micro SD cards are one of the most practical ones among the storage devices, which are used in devices such as mobile phones, minicomputers and etc.
In this tutorial, you’ll learn how to use SD and micro SD cards with Arduino for efficient data management.
In the end, as a simple project, you will measure the environment temperature every hour and store it on the SD card.
What You Will Learn
- How to use SD and micro SD card with Arduino
- Writing data on SD card
- Reading data from SD card

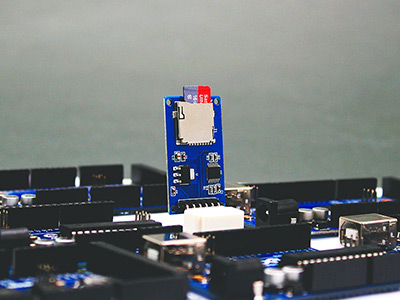
What is SD and Micro SD Card Module?
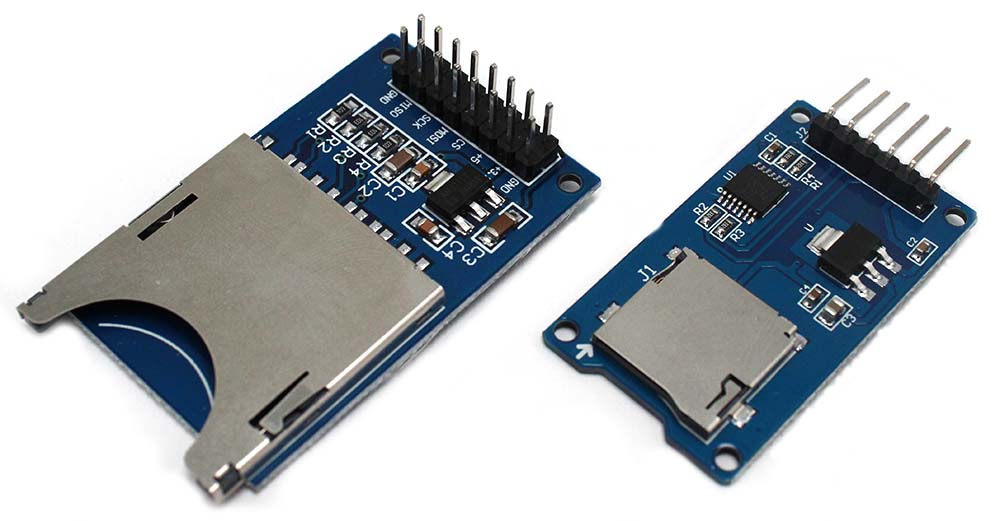
The SD and micro SD card modules allow you to communicate with the memory card and write or read the information on them. The module interfaces in the SPI protocol.
To use these modules with Arduino you need the SD library. This library is installed on the Arduino application by default.
Note
You can download the datasheet of this module here.
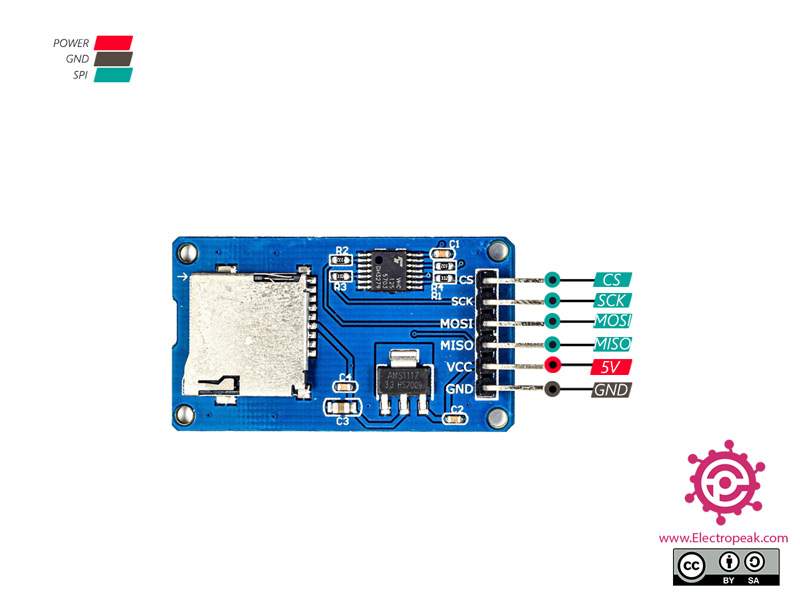
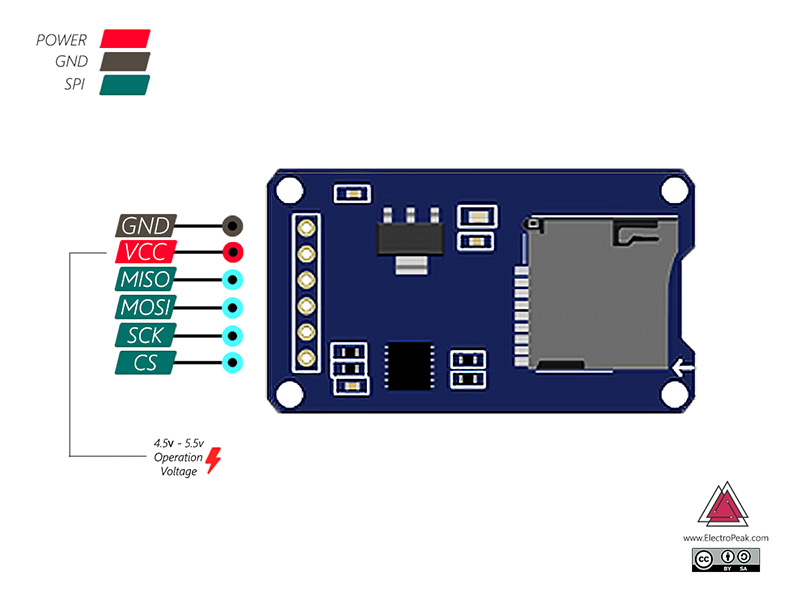
Micro SD TF Card Module Pinout
This module has 6 pins:
- VCC: Module power supply – 5V
- GND: Ground
- CS: Chip Select pin
- MISO: (Master In Slave Out) is SPI output from the Micro SD Card Module
- MOSI: (Master Out Slave In) is SPI input to the Micro SD Card Module
- SCK: Serial Clock
You can see the pinout of this module in the image below.
Required Materials
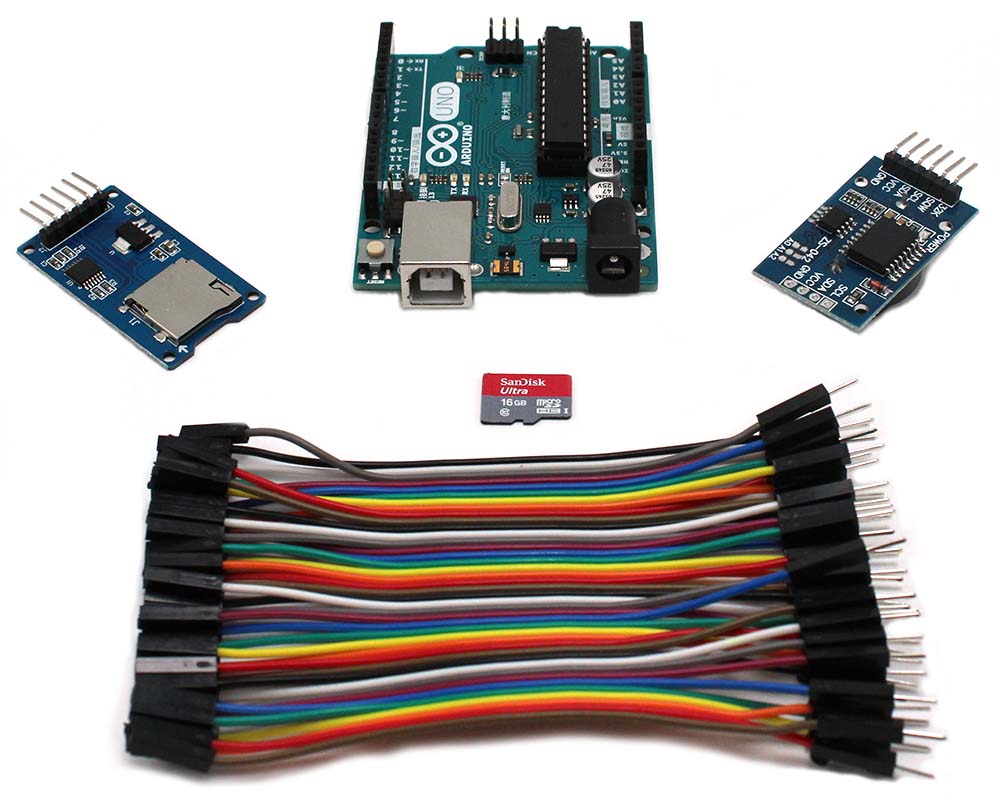
Hardware Components
Software Apps
Important SD Module Library Commands
| Description | Command |
|---|---|
| Initializes the SD library and card. Enter the pin connected to the SS pin as a function’s argument. | SD.begin(#sspin) |
| Tests whether a file or directory exists on the SD card. | SD.exists(filename) |
| Opens a file on the SD card in reading or writing mode. (If you leave the mode section blank, the file will open in reading mode by default) If the file is opened for writing, it will be created a file with this name if it doesn’t already exist. | SD.open(filepath, mode) |
| Close the file and ensure that any data written to it is physically saved to the SD card. | file.close()* |
| Remove a file from the SD card. | SD.remove(filename) |
| Create a directory on the SD card | SD.mkdir(filename) |
| Remove a directory from the SD card. | SD.rmdir(filename |
| Returns the file name | file.name()* |
| Print data to the file | file.print(data) |
| Print data, followed by a carriage return and newline | file.println(data |
| Read from the file. | file.read() |
| Check if there are any bytes available for reading from the file. | file.available() |
*file is an instance from File class.
You can find more information about the SD library Here.
How to Use SD and Micro SD Card with Arduino?
Tip
Circuit
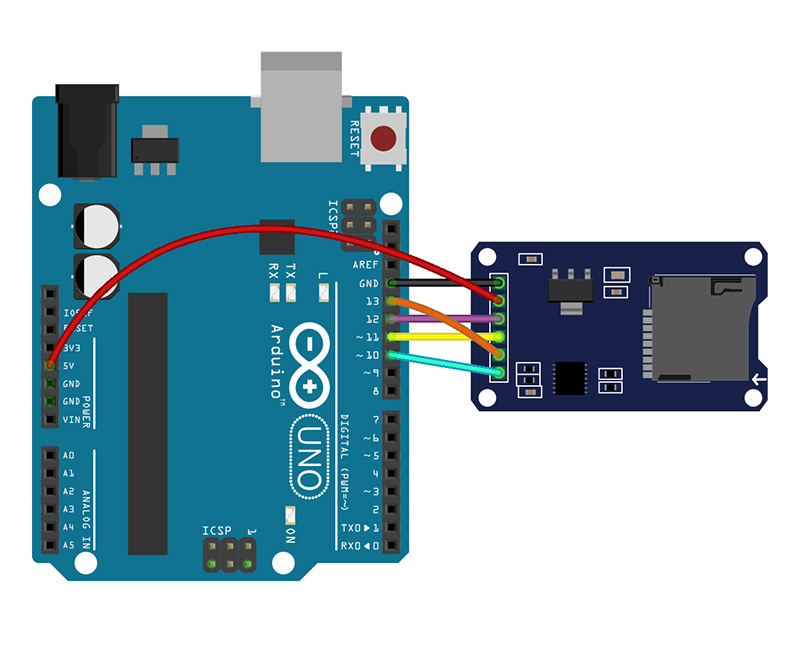
Code
Writing data on SD card with Arduino:
#include <SPI.h>
#include <SD.h>
File myFile;
void setup() {
// Open serial communications and wait for port to open:
Serial.begin(9600);
while (!Serial) {
; // wait for serial port to connect. Needed for native USB port only
}
Serial.print("Initializing SD card...");
if (!SD.begin(10)) {
Serial.println("initialization failed!");
while (1);
}
Serial.println("initialization done.");
// open the file. note that only one file can be open at a time,
// so you have to close this one before opening another.
myFile = SD.open("test.txt", FILE_WRITE);
// if the file opened okay, write to it:
if (myFile) {
Serial.print("Writing to test.txt...");
myFile.println("This is a test file :)");
myFile.println("testing 1, 2, 3.");
for (int i = 0; i < 20; i++) {
myFile.println(i);
}
// close the file:
myFile.close();
Serial.println("done.");
} else {
// if the file didn't open, print an error:
Serial.println("error opening test.txt");
}
}
void loop() {
// nothing happens after setup
}
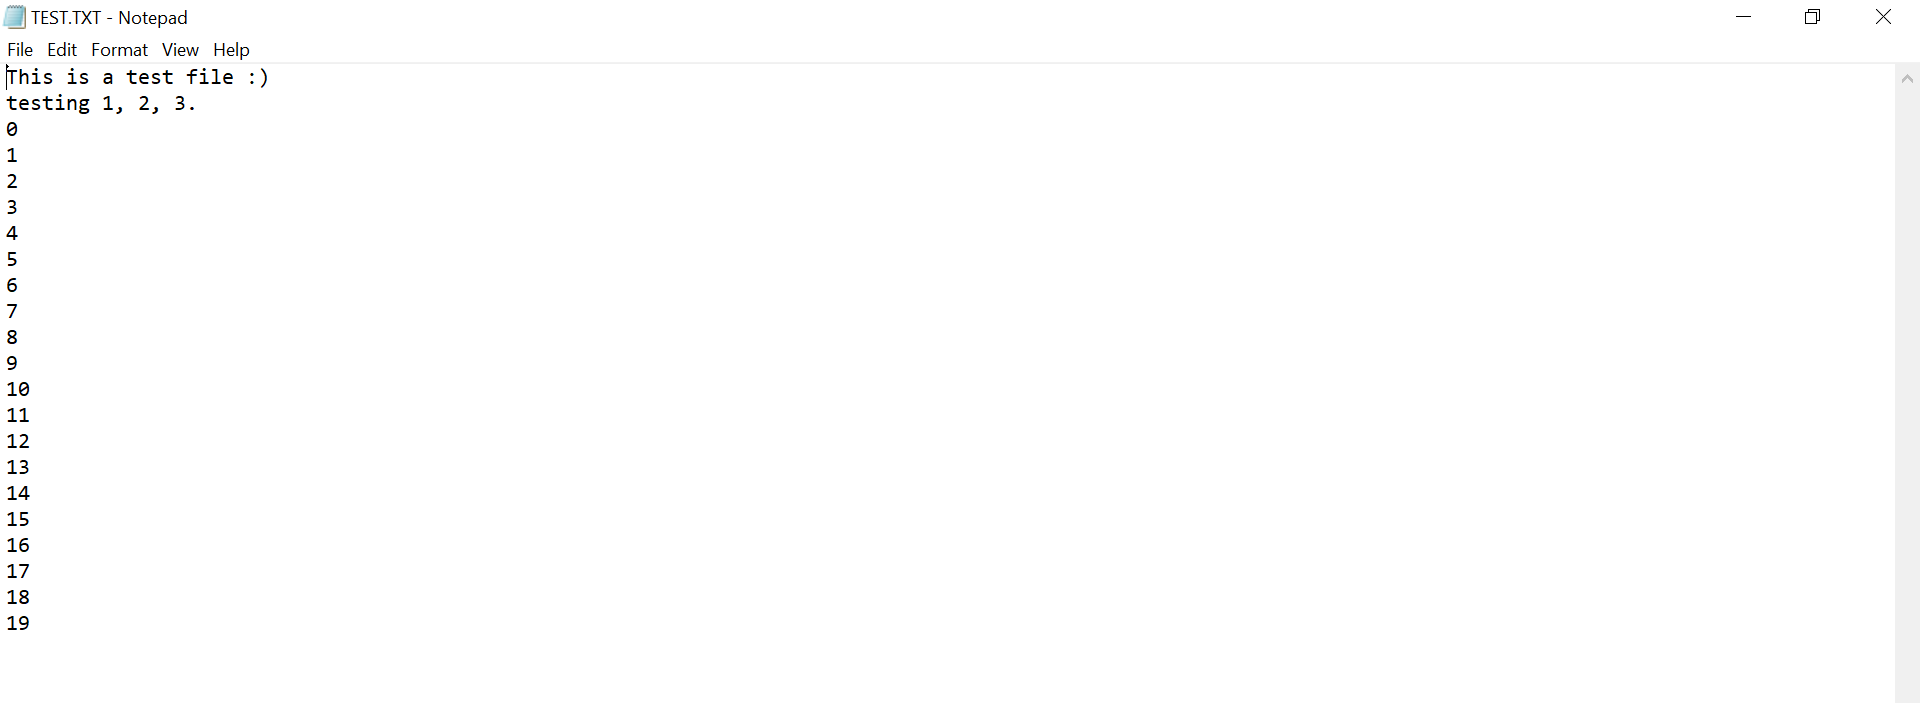
Reading data from SD card with Arduino
#include <SPI.h>
#include <SD.h>
File myFile;
void setup() {
// Open serial communications and wait for port to open:
Serial.begin(9600);
while (!Serial) {
; // wait for serial port to connect. Needed for native USB port only
}
Serial.print("Initializing SD card...");
if (!SD.begin(10)) {
Serial.println("initialization failed!");
while (1);
}
Serial.println("initialization done.");
// open the file for reading:
myFile = SD.open("test.txt");
if (myFile) {
Serial.println("test.txt:");
// read from the file until there's nothing else in it:
while (myFile.available()) {
Serial.write(myFile.read());
}
// close the file:
myFile.close();
} else {
// if the file didn't open, print an error:
Serial.println("error opening test.txt");
}
}
void loop() {
// nothing happens after setup
}

Project: Save Temperature Data on a microSD using DS3231 Module
Circuit
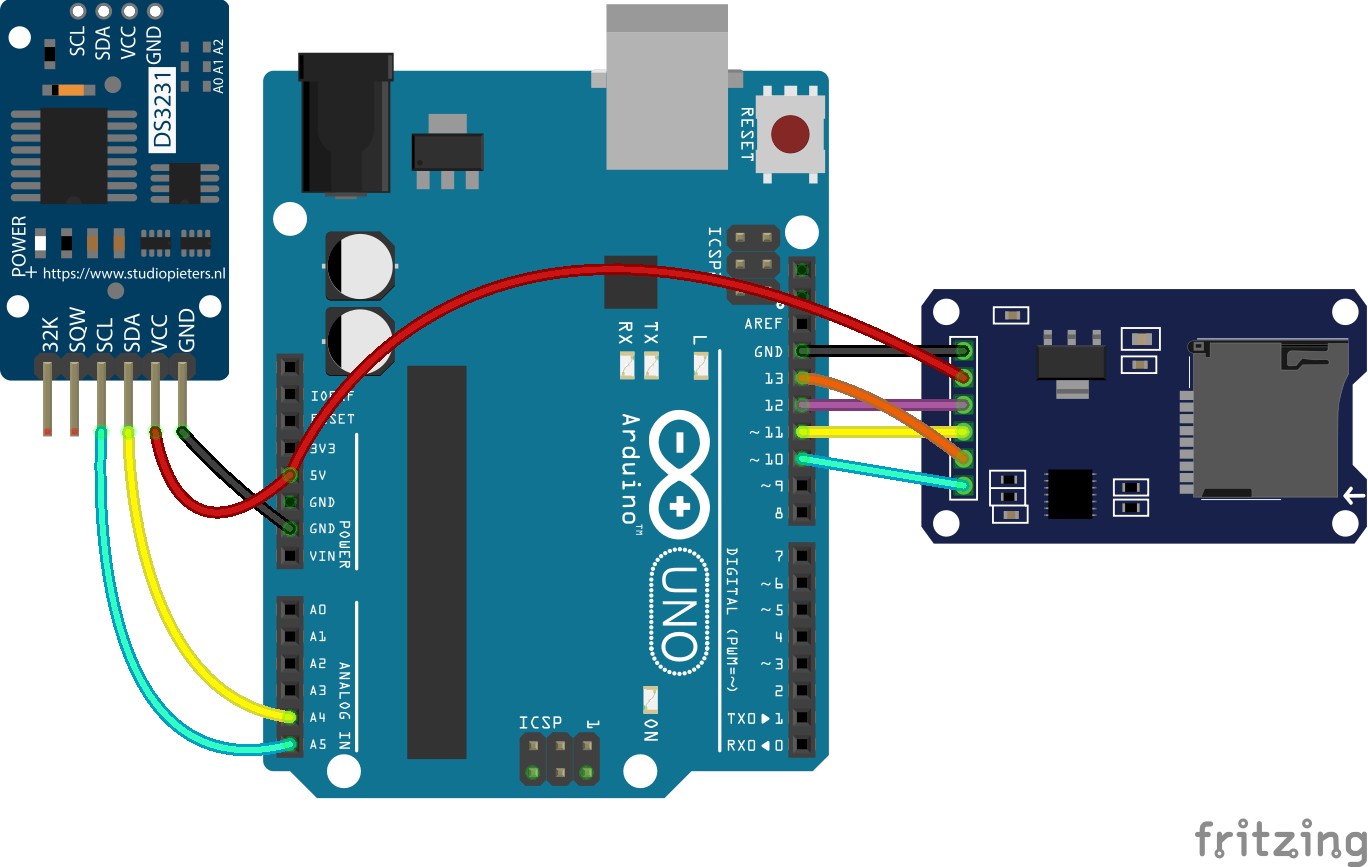
Code

/*
Save temperature in SD/microSD card every hour with DS3231 + SD/microSD module + Arduino
modified on 15 Apr 2019
by Mohammadreza Akbari @ Electropeak
Home
*/
#include <SPI.h>
#include <SD.h>
#include <Wire.h>
#include "Sodaq_DS3231.h"
File myFile;
DateTime now;
int newHour = 0;
int oldHour = 0;
void save_temperature() {
myFile = SD.open("temp.txt", FILE_WRITE);
now = rtc.now();
myFile.print(now.hour());
myFile.print(":");
myFile.print(now.minute());
rtc.convertTemperature(); //convert current temperature into registers
myFile.print(",");
myFile.println(rtc.getTemperature()); //read registers and save temperature on deg C
myFile.close();
}
void setup ()
{
Wire.begin();
rtc.begin();
Serial.begin(9600);
Serial.print("Initializing SD card...");
if (!SD.begin(10)) {
Serial.println("initialization failed!");
while (1);
}
Serial.println("initialization done.");
now = rtc.now();
oldHour = now.hour();
}
void loop ()
{
now = rtc.now();
newHour = now.hour();
if (oldHour != newHour) {
save_temperature();
oldHour = newHour;
}
}
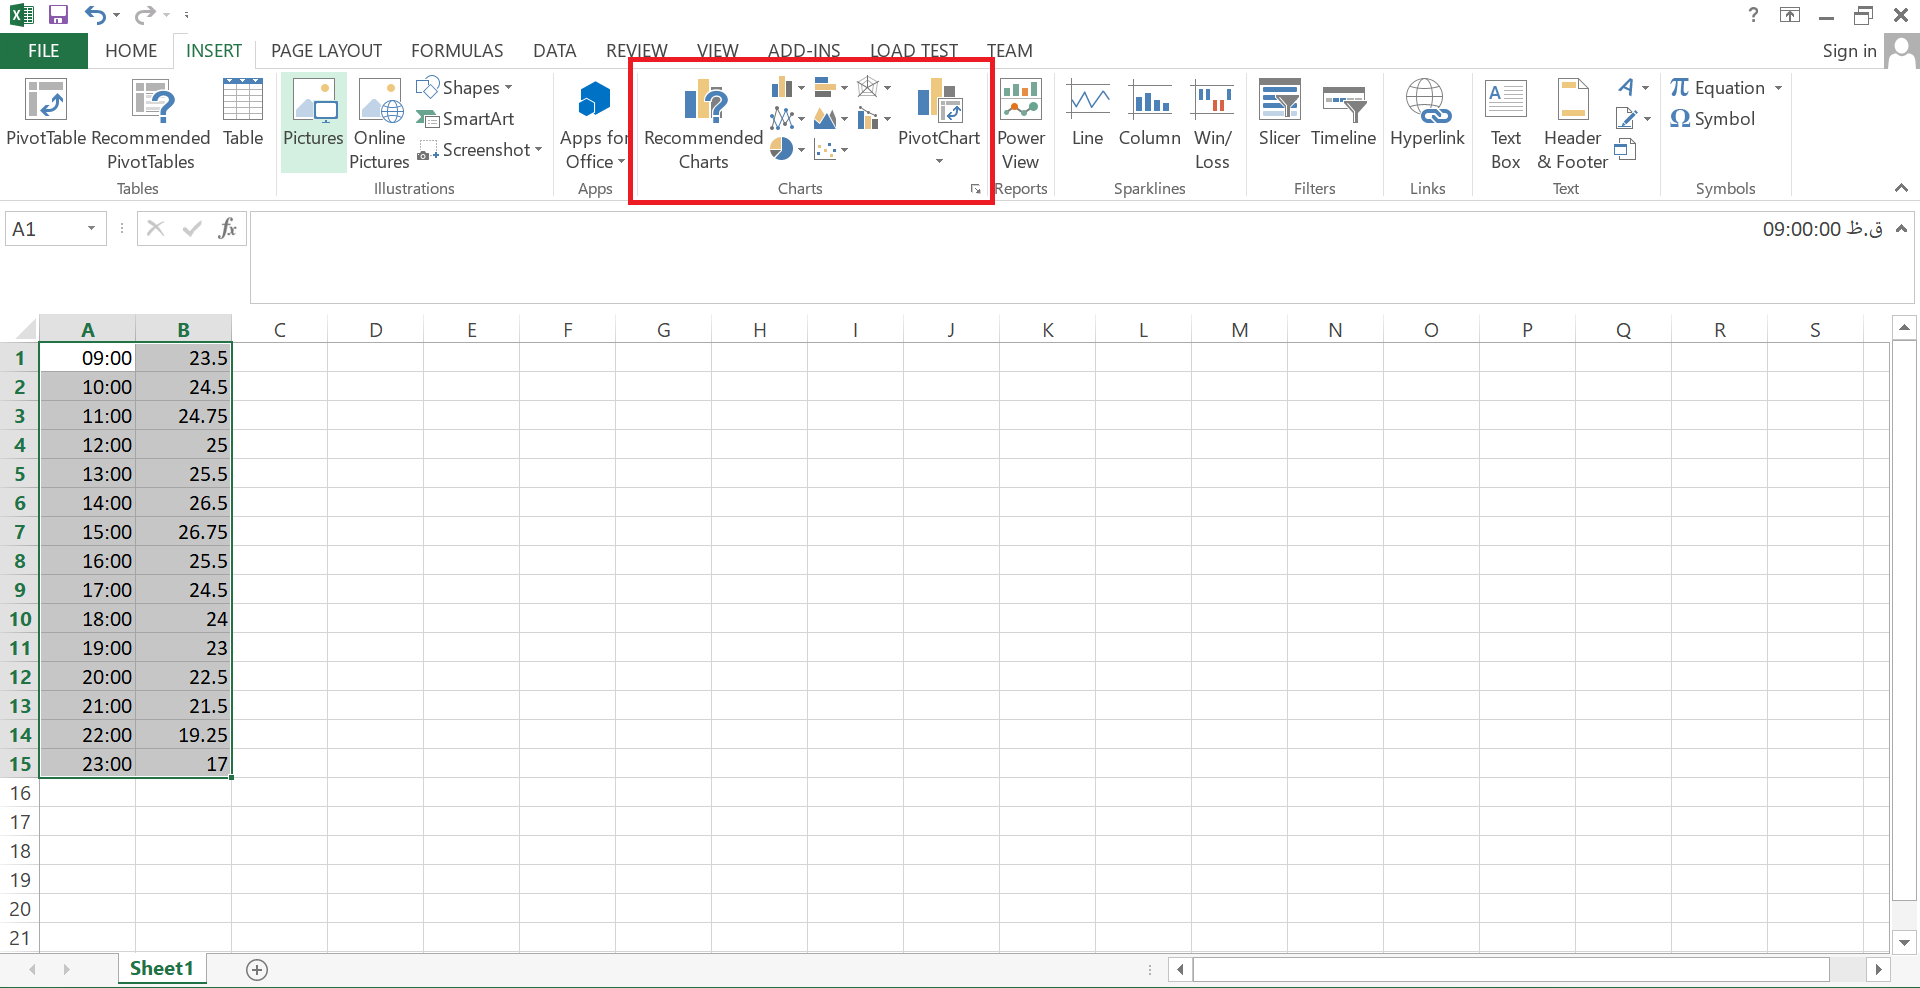
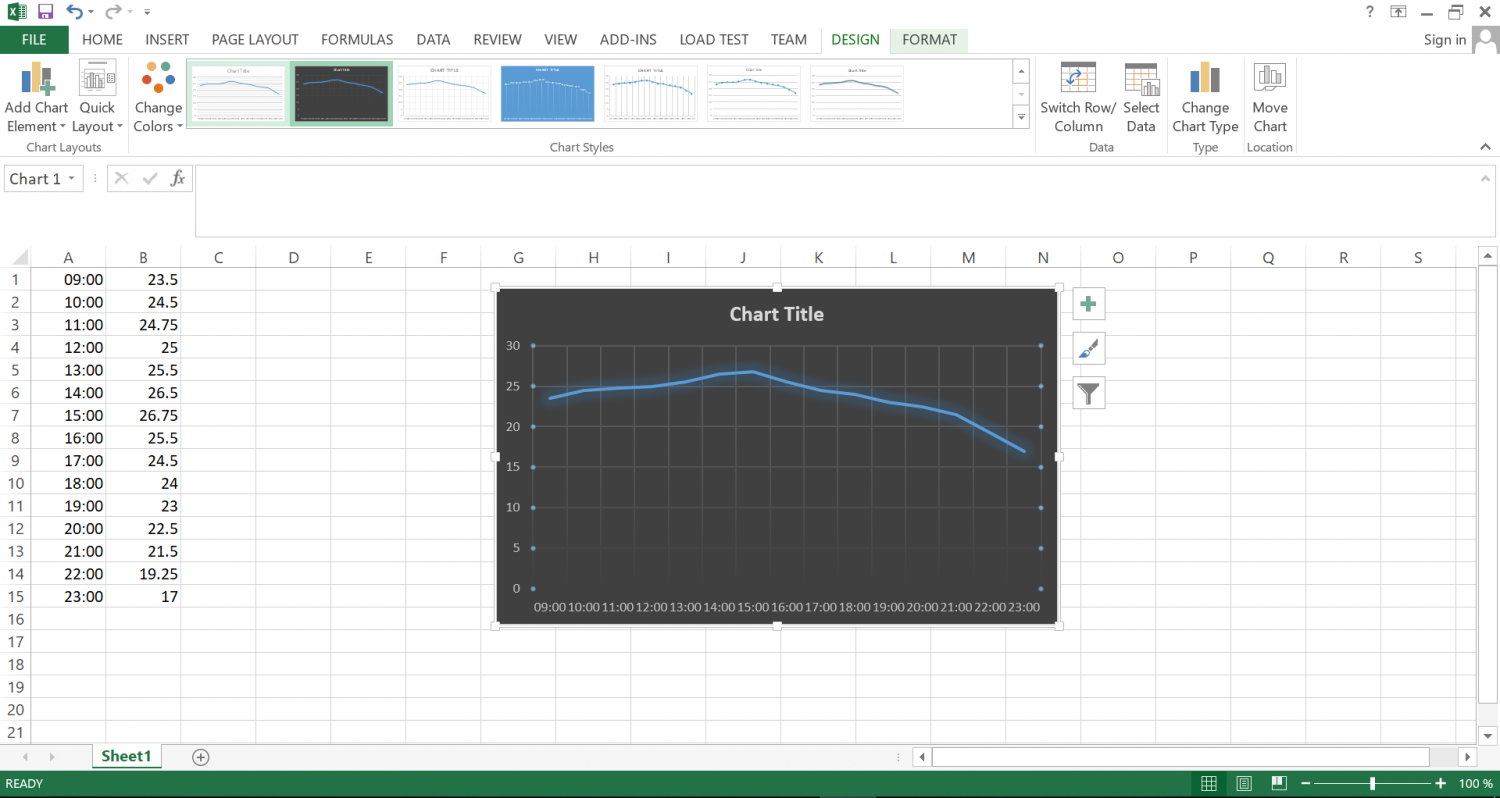
Draw a chart in Excel:
To do this, follow these steps:
Connect the SD card to your PC.
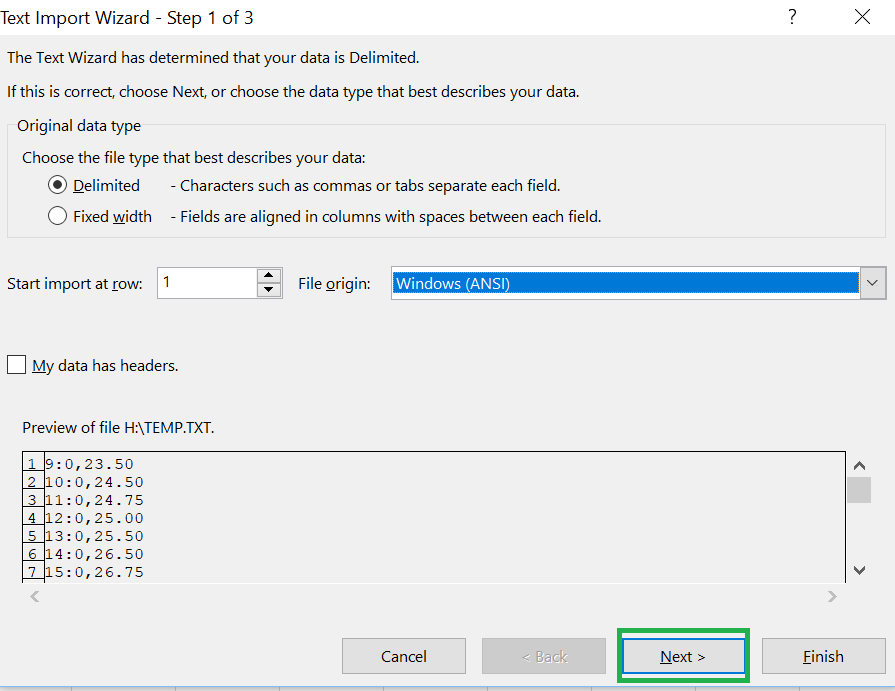
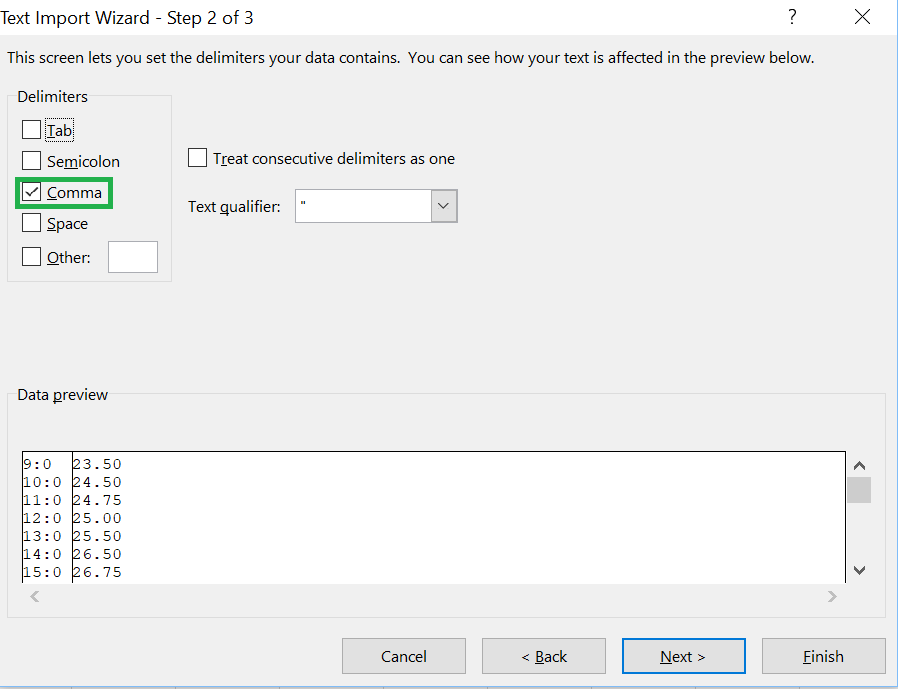
Enter the Excel software and select the From Text option from the data window and select the file from your memory card.

Select the cells and draw a diagram with them.
What’s Next?
- Take your projects to the next level by creating an entry/exit control device. Utilize the RFID module and Arduino to save entrance and exit times for multiple individuals on the memory card. Consider assigning an RFID card to each person for streamlined access control.

Comments (14)
Mohammadreza,
Very good tutprial here. Ejoyed reading and learnin about SD card and how it works with the Arduino.
Thanks.
You’re quite welcome. We’re so happy you enjoyed it.
Hi Akbari, Maleki,
Chetorrine? I was trying to learn some about the SAMD51and interfacing/coding it, So, I purchased an Adafruit Grand Central M4 Express Featuring SAMD51, which also has a SD card built in. I’ve had little success in accessing the SD card Writing/Reading it and I even tried it with different size SD card with few examples, but I was not happy with the results. I came across SD modules and different Type/Pin selection etc., see below. I like to know what they should be for the Adafruit Grand Central M4 Express! Which libraries and include files you recommend. Or direct me to a working example.
// SD shield or module;
// Arduino Ethernet shield: pin 4
// Adafruit SD shields and modules: pin 10
// Sparkfun SD shield: pin 8
// MKRZero SD: SDCARD_SS_PIN
// chipSelect = 4
Thanks.
Regards,
Givi
Hi.
Unfortunately, like you, I haven’t had much experience with SAMD51, so I can’t specifically tell you what you should do in details. But generally speaking, you should refer to the datasheet to figure out which pins of the st microcontroller are connected to the SD card slot. Then you can change the examples you’ve been trying according to the datasheet, then you will probably get the right results.
Thanks Mehran. I’ll do that.
Regards.
You’re quite welcome.
Where is the code (uno) file for this project. I can’t find it anywhere other than the library files you need? Thanks
Hi!
You’re right! Our bad! It seems that we’d forgotten to add the code files to the article.
Now the article is updated, and you can see the codes.
Thank you very much!!! I really appreciate you fixing it, now I can make this project & adapt it to fit my needs. Thanks again!
You’re quite welcome!
Can you just push button for selecting specific files and output audio to speaker?
Hi.
Yes, it’s pretty much straightforward. You just need to connect as many push buttons as you want to the digital pins of the Arduino boards and define them as Input in your code. Then, you can set conditions in which your desirable files are played by the speaker.
Hi, Thank you for your sharing about how to read SDCard. I can wrote the data to SDCard, but I didn’t read the SDCard with your code. the message said ” can’t open file”. I dont know why.
I hope you can give me solution.
big thank
Hi dear
are you sure about write on SDCard?
first you need to be sure wrote data on memory.
after that make sure that you use valid file name.