Contents

Mojo V3 FPGA Development Board: Work with IO Pins

Mojo V3 FPGA Development Board Features

Mojo V3 is an FPGA board of the Spartan 6 series, which lets you get the pleasure of configuring digital circuits on Mojo v3 based on your own specifications. What separates this FPGA from the others is the ease of use. The goal of Mojo v3 is to get you up and running with FPGA as easily as possible.

The Mojo v3 FPGA Board uses the Spartan 6 and a high performance ATmega32U4 microcontroller. This board has high processing power. The ATmega32U4 microcontroller comes with a USB (DFU) bootloader, which allows you to install new versions of the firmware without the need for a programmer. Once the board is powered on, the ATmega32U4 configures the FPGA from the flash memory. After the FPGA is successfully configured, your FPGA will start talking to the microcontroller; giving you access to the serial port and the analog inputs.

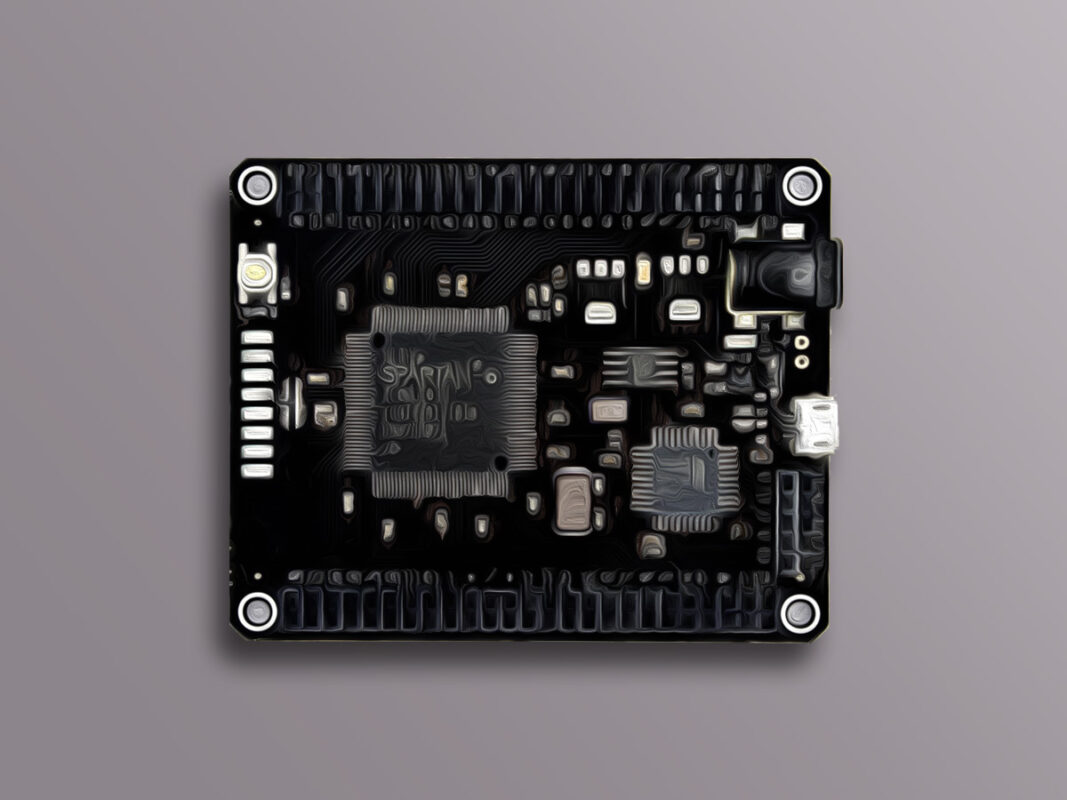
To download the datasheet of Spartan 6 Board, click here.

To download the datasheet of ATMega32U4 Microcontroller, click here.

To download the Schematics, click here.

Mojo V3 FPGA Development Board Pinout

The FPGA Mojo3 board has 110 pins:

  • 3V: Module power supply
  • GND: Ground
  • RAW: Regulator input power supply – 3.3V
  • P1 ~ P144: Digital input and output pins
  • A0 ~ A9: Analog pins
  • AREF: Analog Reference voltage
  • RES: Reset – setting as switch
  • DONE: Backlight control
  • SUSPEND: If this option is selected, the GSR pin will be pulsed when the FPGA wakes up from suspend mode. For more information, click here.
  • TDO: Serial output for all JTAG instruction and data registers
  • TMS: This pin determines the sequence of states through the TAP controller on the rising edge of TCK
  • TCK: JTAG Test Clock
  • TDI: Serial input to all JTAG instruction and data registers
  • DONE: Backlight control
  • LED1 ~ LED7: LED display

For more information, visit here.

You can see the pinout of this board in the image below.

Required Materials

Hardware Components

Mojo V3 SPARTAN6 FPGA Board × 1
6x6x9.5 Tactile Push Button × 1

How to Work with Mojo V3 FPGA IO Pins

Step 1: Circuit

Put the “Push Button” on the Mojo V3 board according to the image below.

Note

If you need more help with installing the Mojo IDE, read this tutorial: A Complete Beginner’s Guide to Mojo V3 FPGA Board

Step 2: Code

Open Mojo IDE. In the “File” menu, click on “New Project” and fill in the blanks according to the following image.

Now “Build” the project and upload it to your board.

There are LEDs on the board that display binary representations of numbers. Each time the push button is pressed, the number displayed by the LEDs increases by one.

To change the pin or adding more pins, you can go to “Constraints” section and the pin.

NET "button" LOC = P51 | IOSTANDARD = LVTTL | PULLUP;
Liked What You See?​
Get Updates And Learn From The Best​

Comments (2)

  • mohammad rajaei Reply

    thanks

    November 8, 2021 at 8:21 pm
    • Mehran Maleki Reply

      You are welcome!

      November 9, 2021 at 5:35 am

Leave a Reply

Your email address will not be published. Required fields are marked *