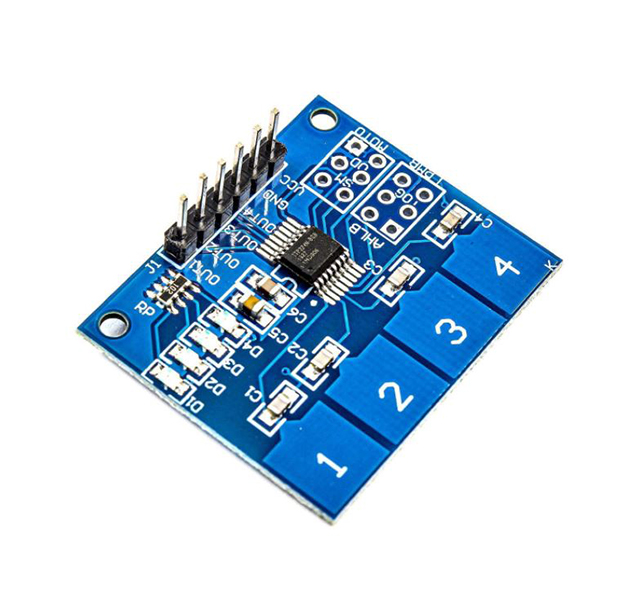
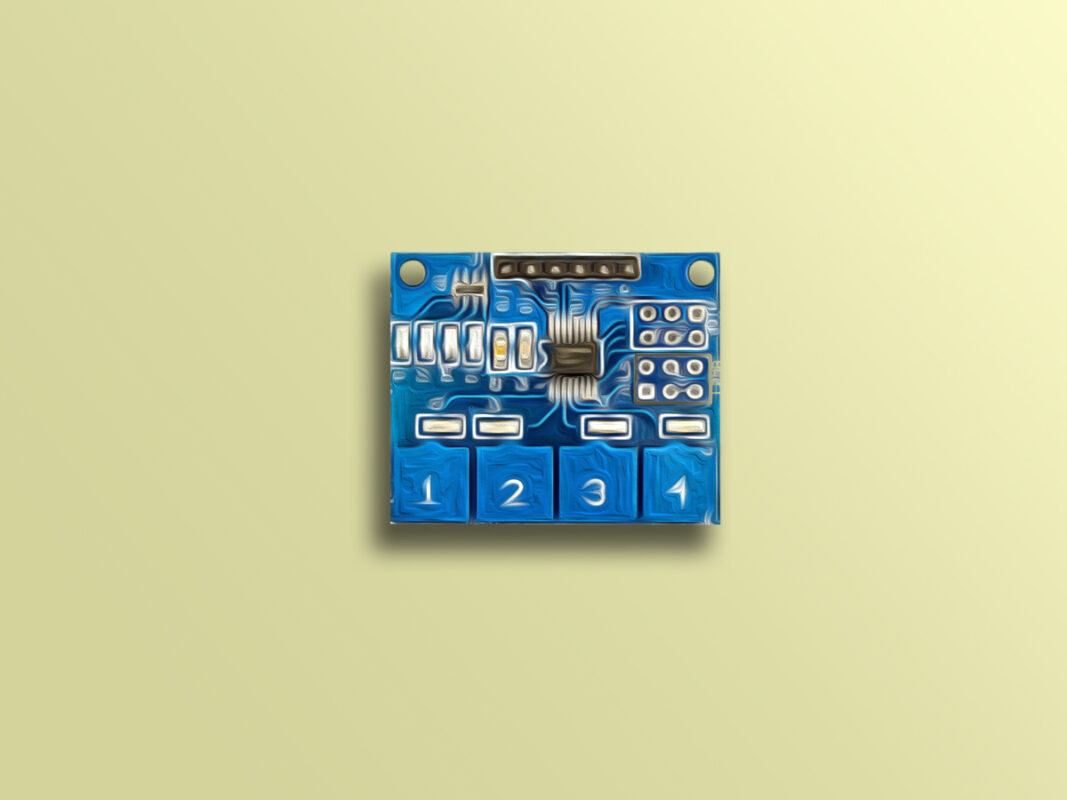
This 4 Channel Capacitive Touch Sensor Module uses the TTP224 IC and is actually a combination of 4 capacitive touch sensors. This module has 4 outputs, by touching each button from 1 to 4, the corresponding output will be High. There are also 4 LEDs on the module that will turn on by touching each button.
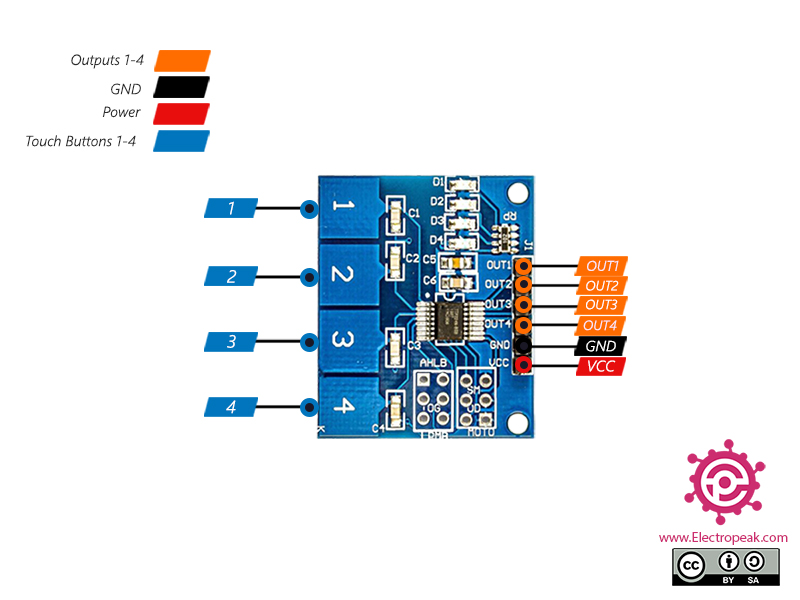
TTP224 Capacitive Touch Sensor Module Pinout
This module has 12 pins and 4 touch buttons:
6 pins on the Right:
OUT1: Output for touch button 1
OUT2: Output for touch button 2
OUT3: Output for touch button 3
OUT4: Output for touch button 4
GND: Ground
VCC: Module power supply – 5V
4 keys on the Left:
1: Touch button – 1
2: Touch button – 2
3: Touch button – 3
4: Touch button – 4
You can see the pinout of this module here.
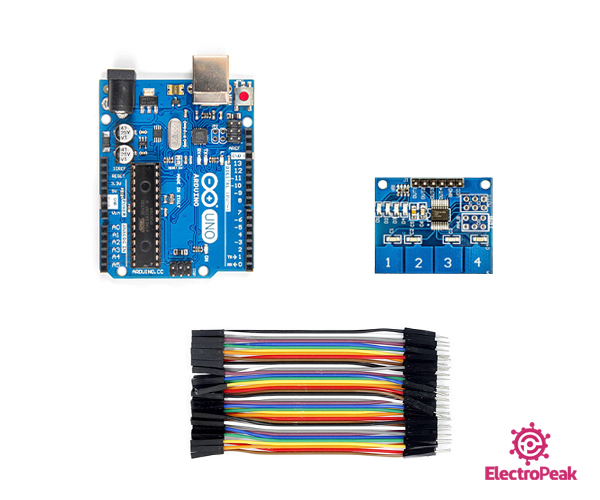
Required Materials
Hardware Components
Arduino UNO R3
×
1
TTP224 - 4 Channel Capacitive Touch Sensor Module
×
1
Male to Female jumper wire
×
1
Software Apps
Arduino IDE
Interfacing TTP224 Capacitive Touch Sensor Module with Arduino
Step 1: Circuit
The following circuit shows how you should connect Arduino to TTP224 module. Connect wires accordingly.
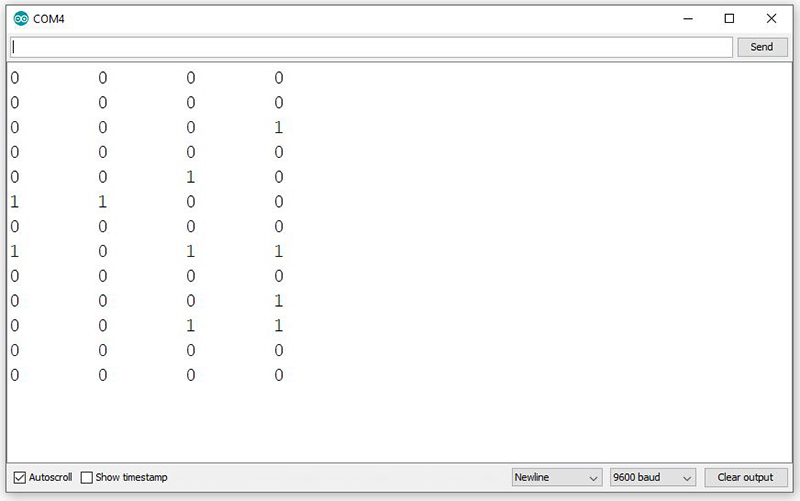
Step 2: Code
Upload the following code to Arduino. After that open the Serial Monitor.
/*
Made on Jan 25, 2021
By MehranMaleki @ Electropeak