GP2Y0A21YK0F Infrared Sensor Features
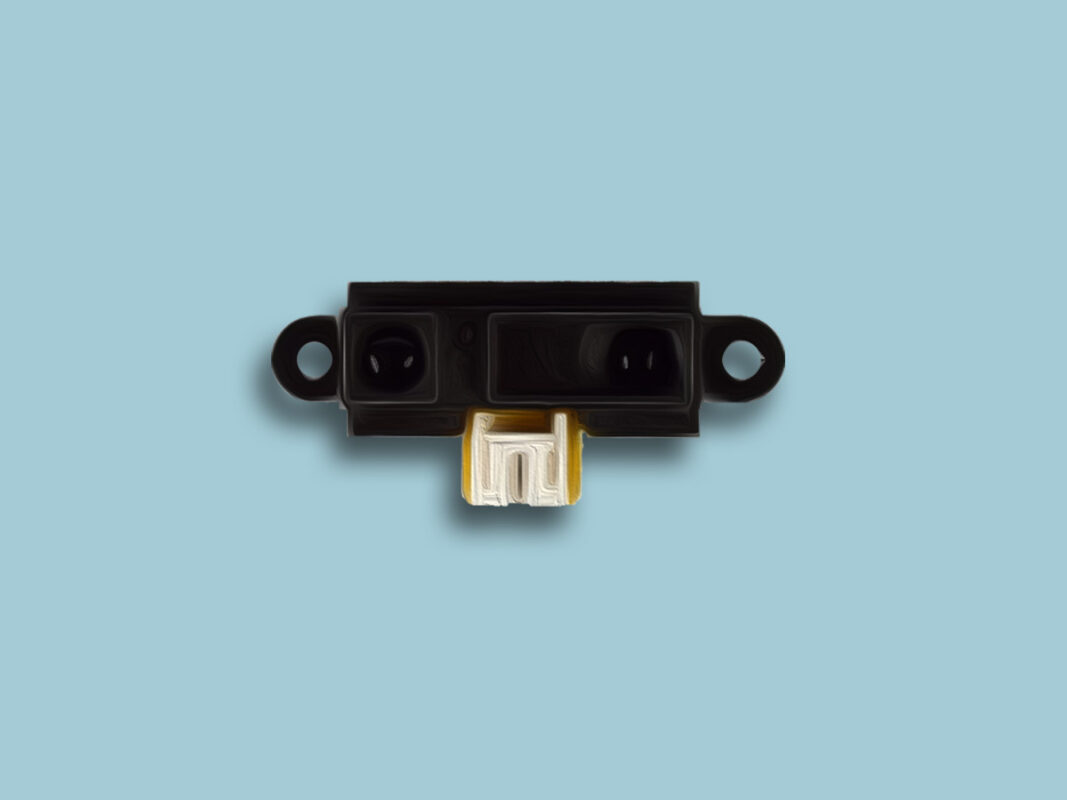
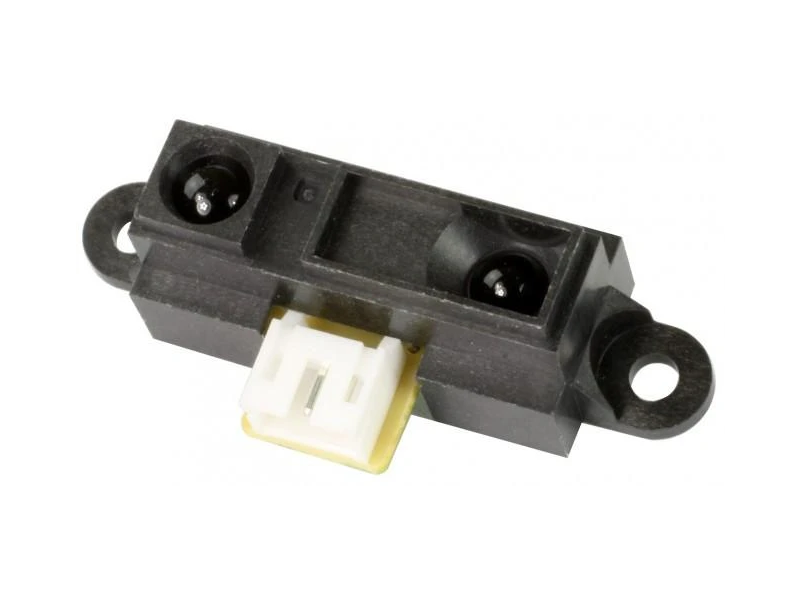
Sharp GP2Y0A21YK0F is an IR sensor useing infrared wave to measure distance. The output of the sensor is analog voltage, which can be read easily by microcontroller’s ADC converter. This sensor can be used in industry and especially in robotics. The efficient range of this module is 10 to 80 cm.
Note
This module’s data is incorret at distances of less than 10 cm and more than 80 cm.
You can download the datasheet of this sensor here.
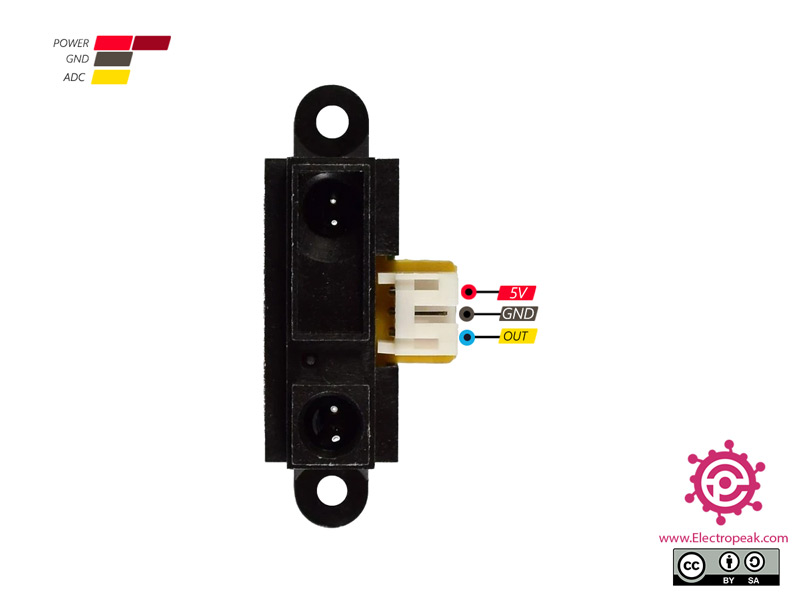
GP2Y0A21YK0F Sensor Pinout
This module has 3 pins as follows:
- VCC: Module power supply – 5V
- GND: Ground
- OUT: The output of module that is analog voltage.
You can see pinout of this module in the image below.
Required Material
Hardware component
Software Apps
Interfacing GP2Y0A21YK0F IR Sensor with Arduino
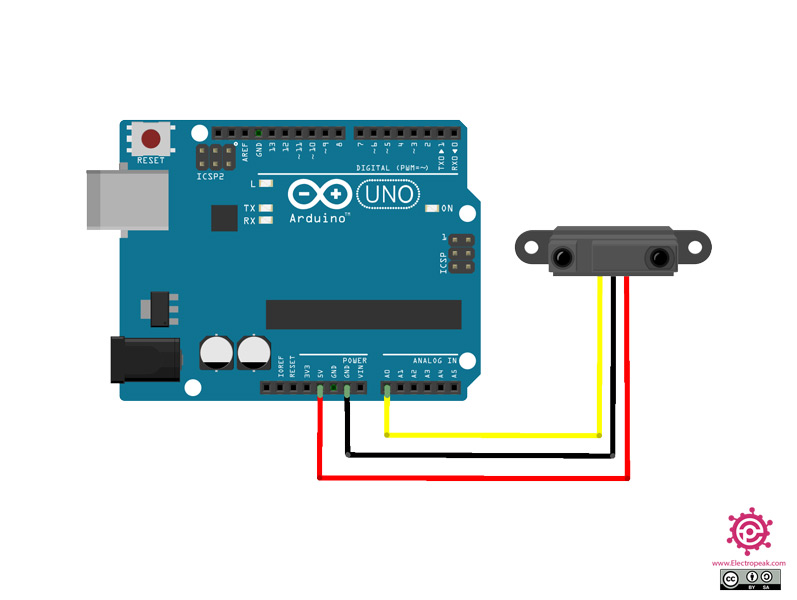
Step 1: Circuit
Connect the module to Arduino accoriding to the following image.
Step 2: Code
Install following library on your Arduino board.
Note
If you need more help with installing a library on Arduino, read this tutorial: How to Install an Arduino Library
Upload the following code to Arduino.
/*
modified on Sep 8, 2020
Modified by MohammedDamirchi from https://github.com/MajenkoLibraries/Average
Home
*/
#include <Average.h>

// Reserve space for 10 entries in the average bucket.
// Change the type between < and > to change the entire way the library works.
Average<float> ave(10);

void setup() {
    Serial.begin(9600);
}

void loop() {
    int minat = 0;
    int maxat = 0;

    // Add a new random value to the bucket
    ave.push(27.728*1.3 * pow(map(analogRead(A0), 0, 1023, 0, 5000) / 1000.0, -1.2045));
    Serial.println(ave.mean());

    delay(100);
}
After running the code, you will see the following image in the serial output.
Note
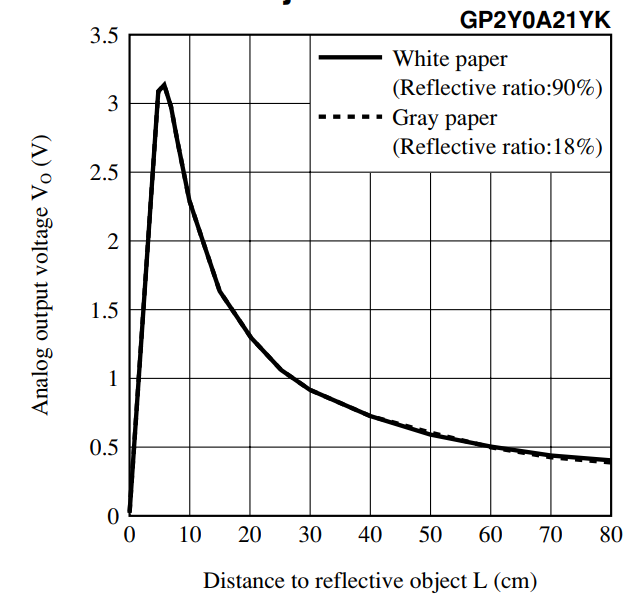
If the output of the module is not accurate enough, you can rewrite the required equation using the diagram below and the sensor’s output.
