
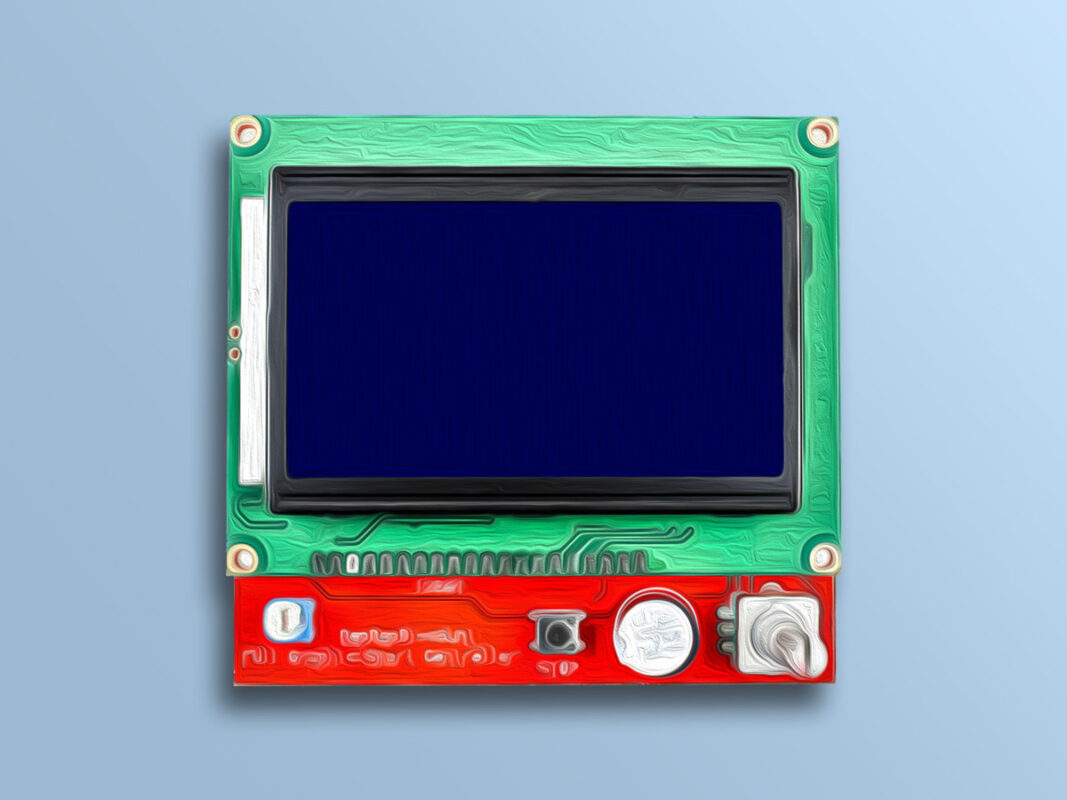
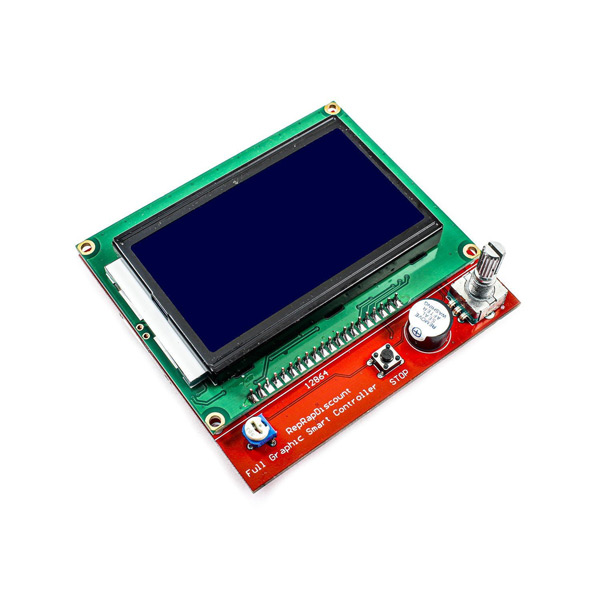
RepRapDiscount Full Graphic Smart Controller Features
Using the RepRapDiscount Smart Controller, you don’t need a computer to control 3D printer anymore. In this shield, an SD card is used to transfer 3D design to 3D printer and store the G-Codes. This full graphic Smart Controller contains a 128 x 64 dot matrix LCD display.
Using the rotary encoder on the board, you can move around in the device menu and access data. This display is compatible with ramps 1.4 controllers and can be run with marlin and repiter firmwares.
For more details, please refer to the link below.
https://reprap.org/wiki/RepRapDiscount_Full_Graphic_Smart_Controller
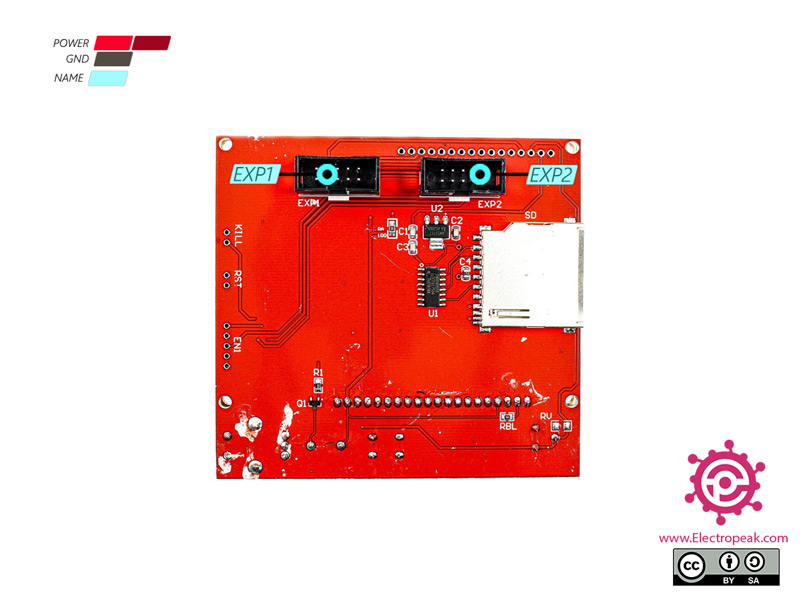
RepRapDiscount Full Graphic Smart Controller Pinout
The full graphic display has 2 cables and an adapter for Ramps board. It also has an SD card reader.
Required Materials
Hardware Components
Software Apps
Interfacing RepRapDiscount Full Graphic Smart Controller with Arduino
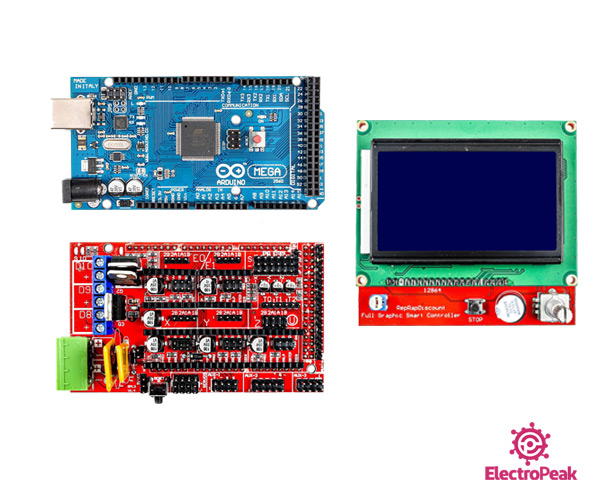
Step 1: Circuit
The full graphic display for Ramps is a ready-made Ramps shield that places on the Arduino Mega.
Step 2: Code
First, download the following file:
Marlin.zip
Now open the file and then the Configuration.h file from that. Search for LCD and SD support. In this part you can make the display settings.
For setting, search for the following line and uncomment it.
#define REPRAP_DISCOUNT_FULL_GRAPHIC_SMART_CONTROLLER
Save the file and open Marlin.ino and upload it to your Arduino.
This code is for setting up all types of 3D printers and other stuff.
