Interfacing Plastic Liquid Level Float Switch with Arduino
Written by
Amir Mohammad Shojaei
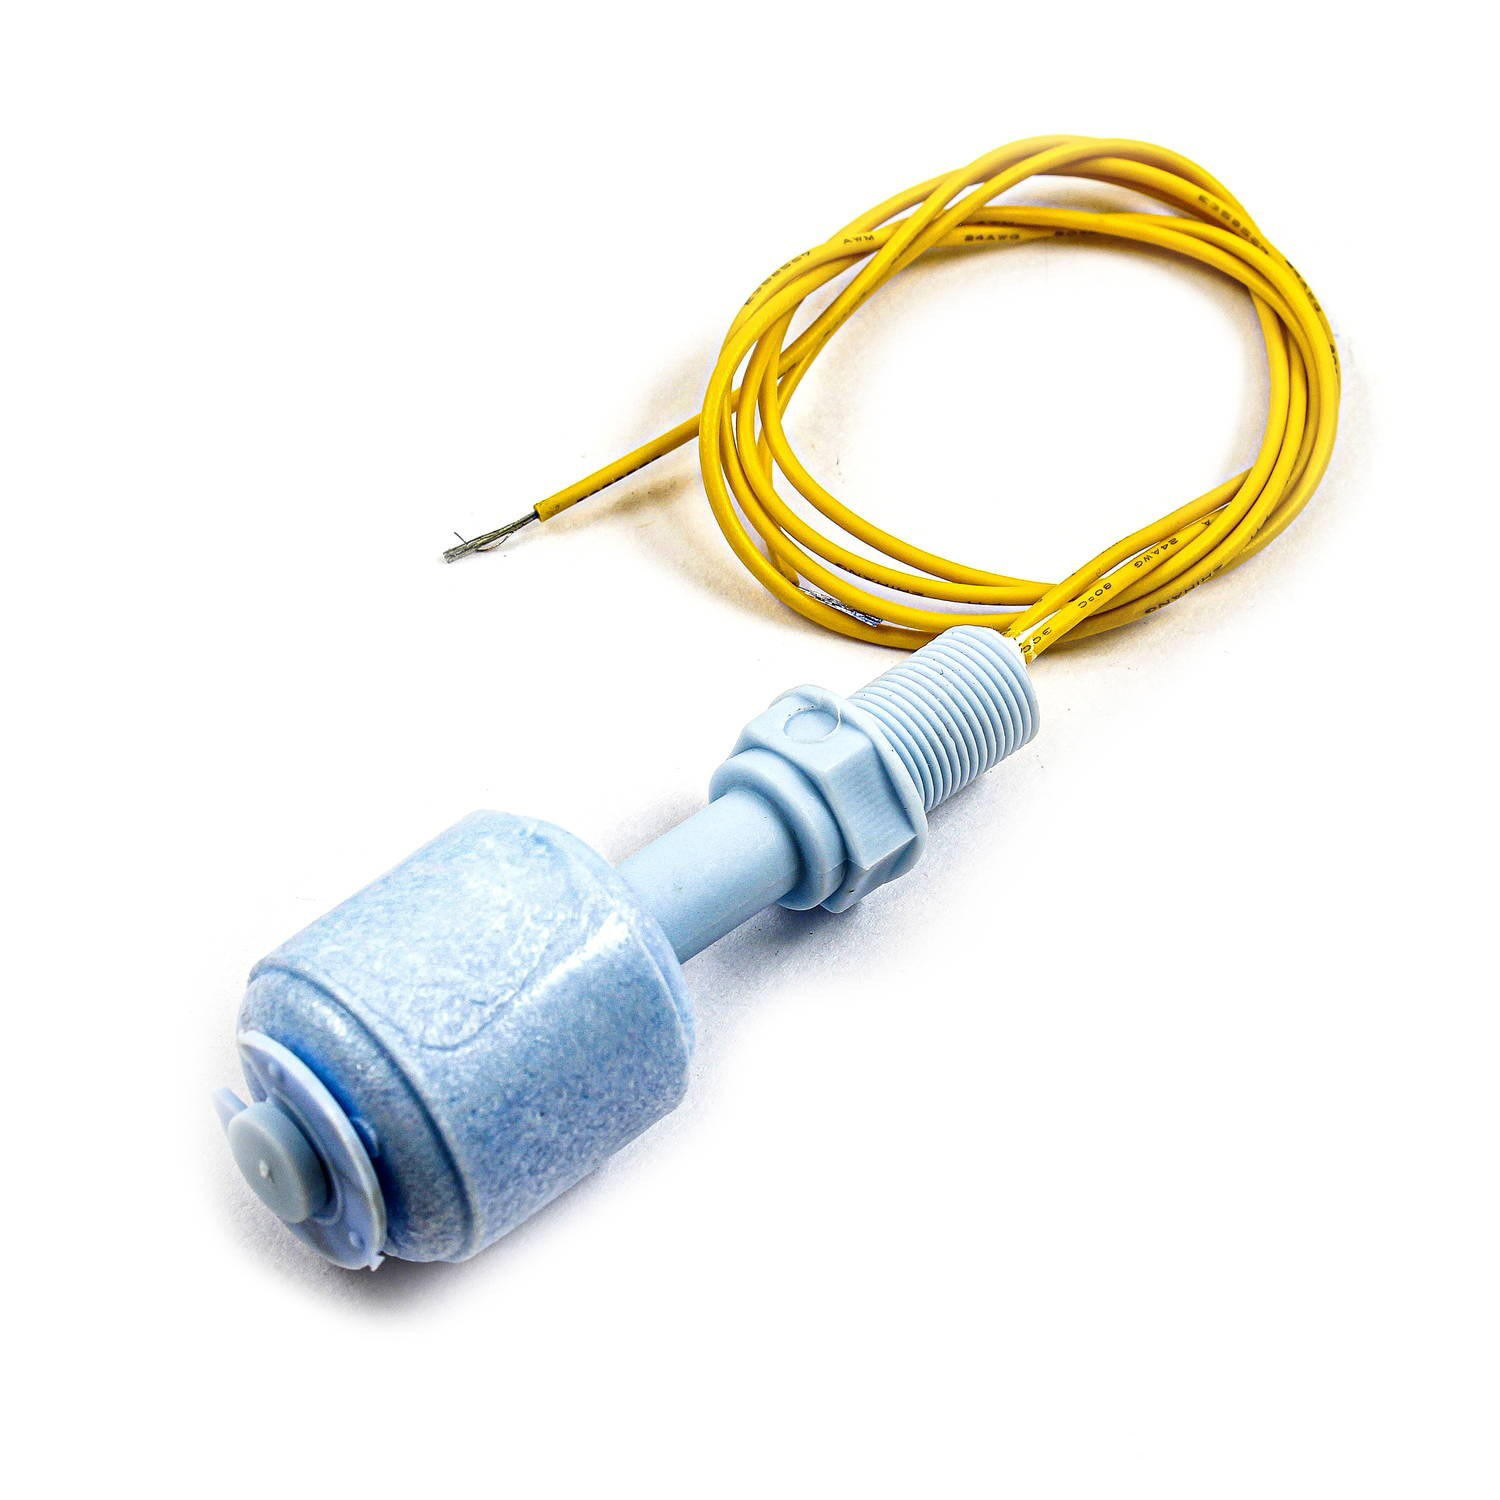
Liquid Level Float Switch Features
The liquid level float switch is a very simple sensor that works like a switch. This sensor places vertically, floating on water. The float is located on a pipe that can move on the liquid surface. It works based on the magnetic field.
Note
Until you have not placed the sensor on the liquid surface, the switch is closed and when the sensor is placed on the liquid, the float moves on the pipe and goes up and the switch remains open.
Liquid Level Float Switch Pinout
The liquid level float switch has two wires that two switch ends are inside it. When it is on the surface of the water it is open and otherwise it is closed.
Required Materials
Hardware Components
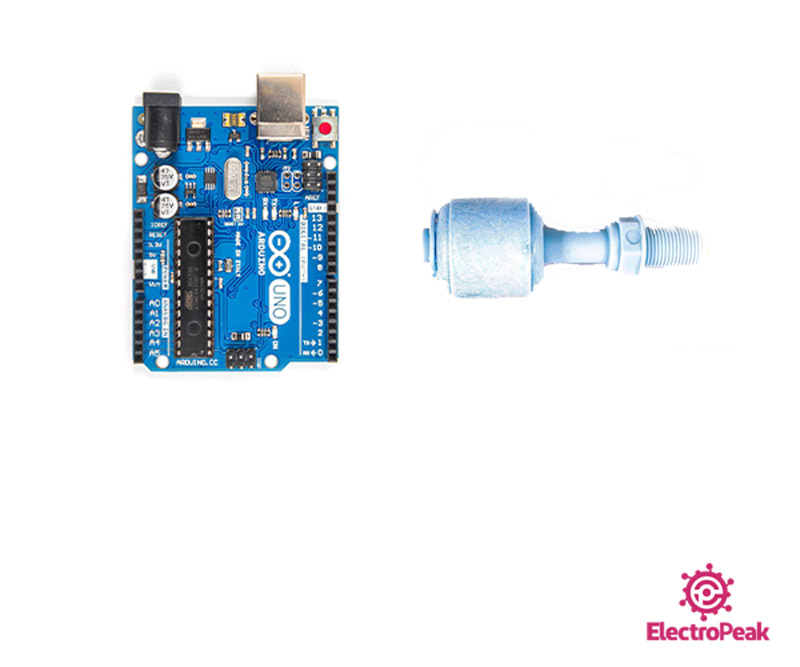
Arduino UNO R3
×
1
Liquid Level Float Switch
×
1
Liquid Level Float Switch
×
1
Software Apps
Arduino IDE
Interfacing Liquid Level Float Switch with Arduino
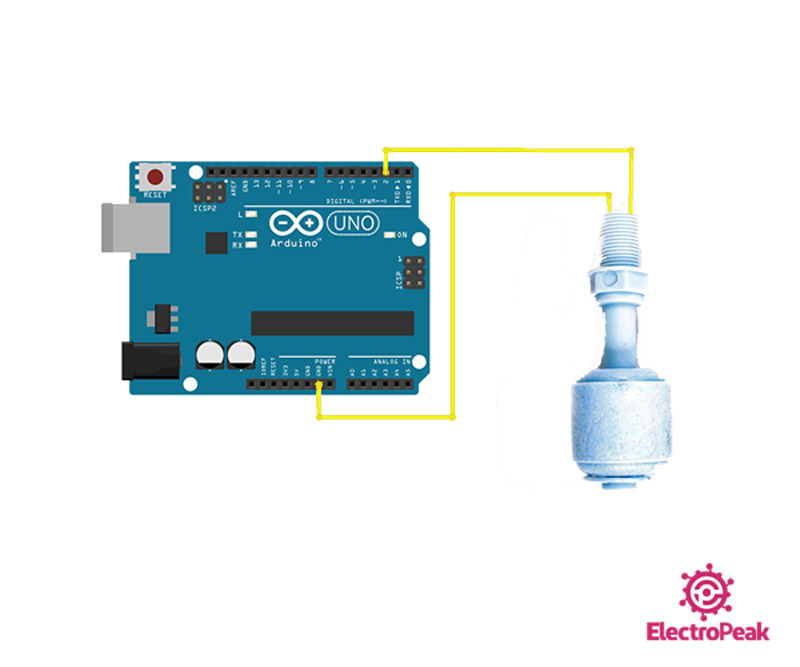
Step 1: Circuit
The following circuit shows how you should connect Arduino to the float switch. Connect wires accordingly.
Note
We use the Arduino internal resistor to pull-up the switch.
Step 2: Code
Upload the following code to Arduino.
/*
Liquid Level Float Switch
made on 13 oct 2020
by Amir Mohammad Shojaee @ Electropeak
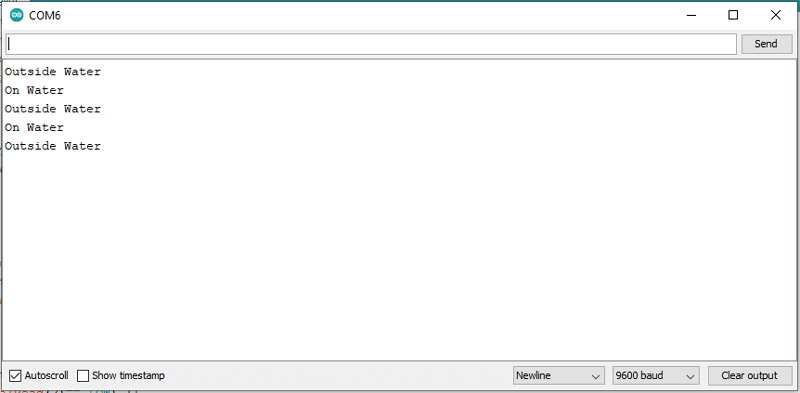
We first set Pin 2 as Input Pull-Up. The phrase “On Water” is displayed when the float is on water (i.e. the switch is open and connected to the Vcc) and the phrase “Outside Water” is displayed when it is not on the water.
The output is as follows.
As you see, the switch state changes by putting sensor inside or outside water.