Contents

Interfacing Photoresistor (LDR) Sensor with Arduino

Photoresistor Sensor Features

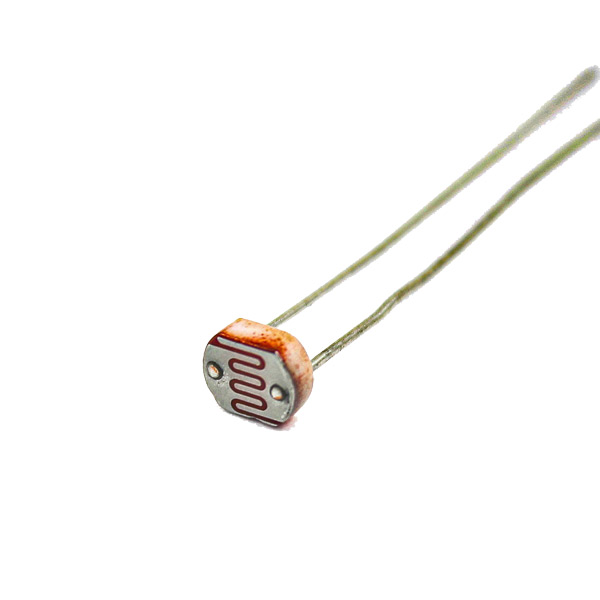
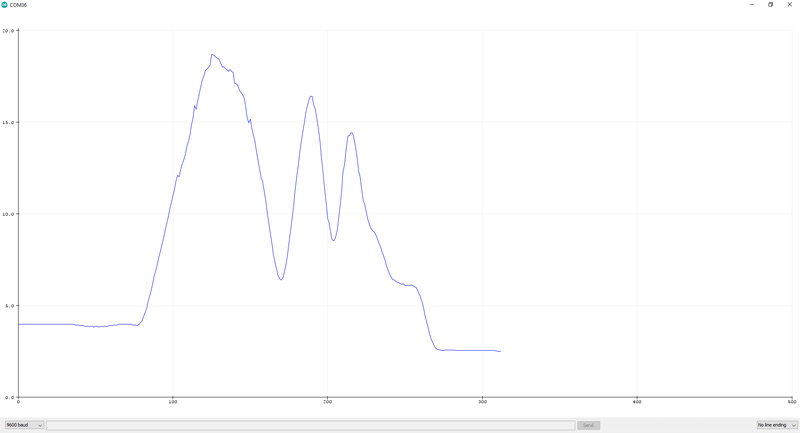
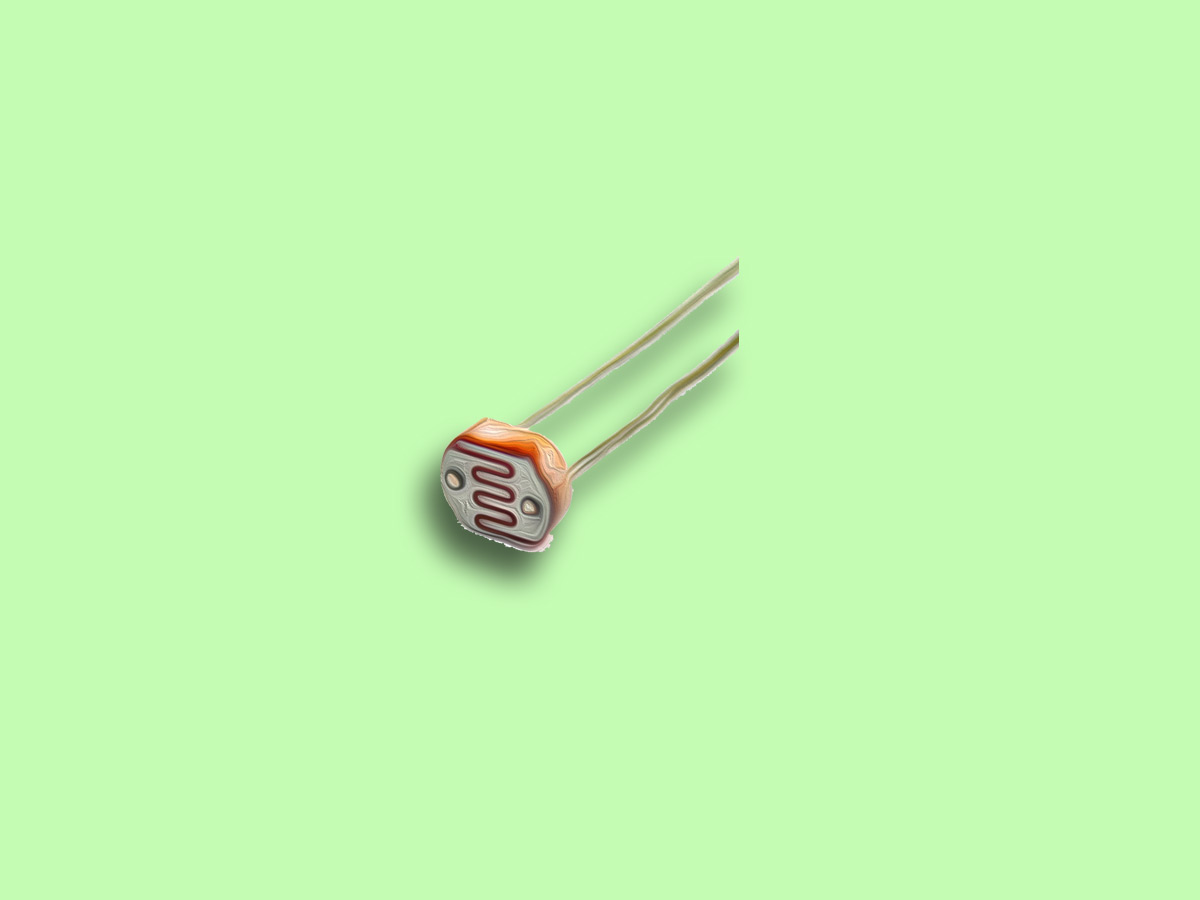
Photoresistor is a kind of resistor that is sensitive to light. The resistance value changes by change of light intensity. As the ambient light increases, the photoresistor resistance decreases and with decreasing light, the resistance increases. The output characteristic of this sensor is nonlinear.
You can download the datasheet of this module here.

LDR Photoresistor Sensor Pinout

This module has 2 pins:

  • VCC: Sensor’s power supply – 5V
  • OUT: Analog output.

You can see pinout of this module in the image below.

Required Materials

Hardware components

Arduino UNO R3 × 1
LDR Photoresistor Sensor × 1
Male Female Jumper Wire × 1
10K resistor × 1

Software Apps

Arduino IDE

Interfacing LDR Sensor with Arduino

Step 1: Circuit

Connect the sensor to the Arduino according to the following image.

Step 2: Code

Upload the following code to your Arduino.

/*
  ReadAnalogVoltage

  Reads an analog input on pin 0, converts it to voltage, and prints the result to the Serial Monitor.
  Graphical representation is available using Serial Plotter (Tools > Serial Plotter menu).
  Attach the center pin of a potentiometer to pin A0, and the outside pins to +5V and ground.

  This example code is in the public domain.

  http://www.arduino.cc/en/Tutorial/ReadAnalogVoltage
*/

// the setup routine runs once when you press reset:
void setup() {
  // initialize serial communication at 9600 bits per second:
  Serial.begin(9600);
}

// the loop routine runs over and over again forever:
void loop() {
  // read the input on analog pin 0:
  int sensorValue = analogRead(A0);
  // Convert the analog reading (which goes from 0 - 1023) to a voltage (0 - 5V):
  float voltage = sensorValue * (5.0 / 1023.0);
  // print out the value you read:
  Serial.println(voltage);
rial.println(voltage);
  }
After running the code, you will see the following image in the serial output.
Liked What You See?​
Get Updates And Learn From The Best​

Leave a Reply

Your email address will not be published. Required fields are marked *