MPL3115A2 Sensor Features
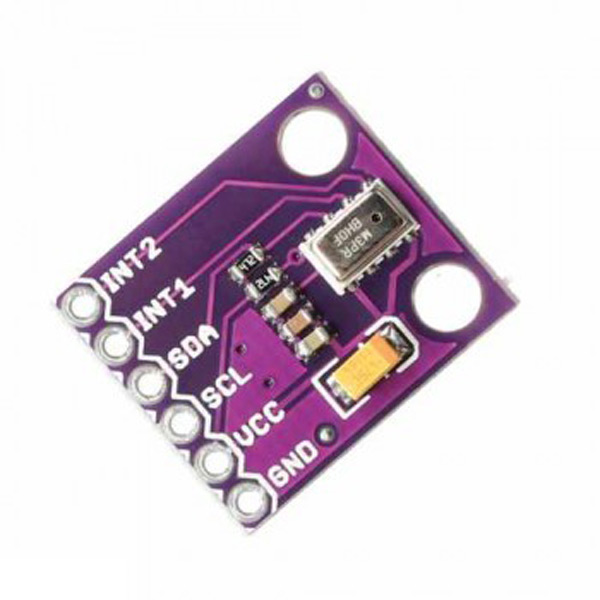
This small board has an MPL3115A2 pressure sensor or barometer. The communication protocol of this module is I2C. In addition to measuring pressure and altitude, this module can also measure temperature.
MPL3115A2 Module Pinout
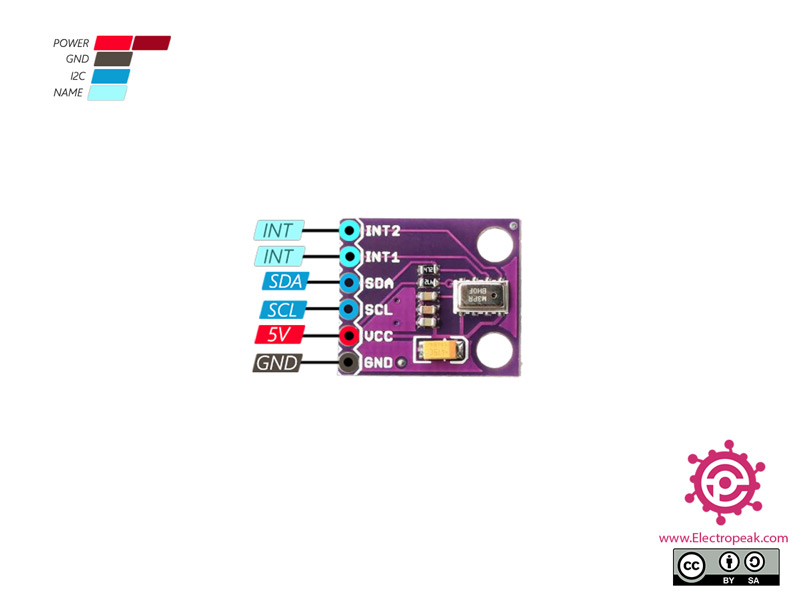
This sensor has 6 pins:
- +5V: Module power supply – 5 V
- GND: Ground
- SLC: I2C Clock
- SDA: I2C data
You can see pinout of this module in the image below.
You can download the datasheet of this module here.
Required Materials
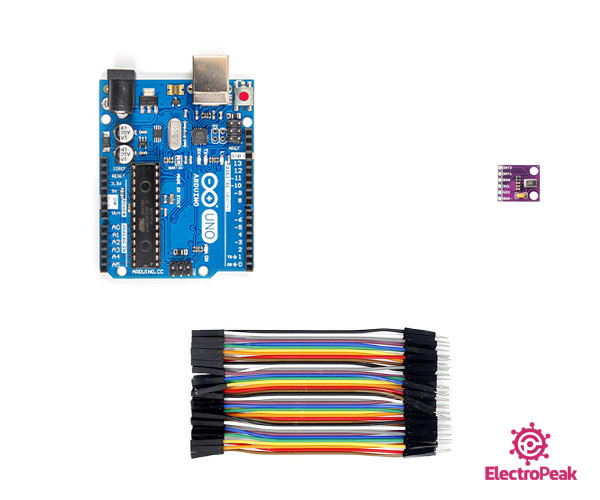
Hardware Components
Software Apps
Interfacing MPL3115A2 Sensor with Arduino
Step 1: Circuit
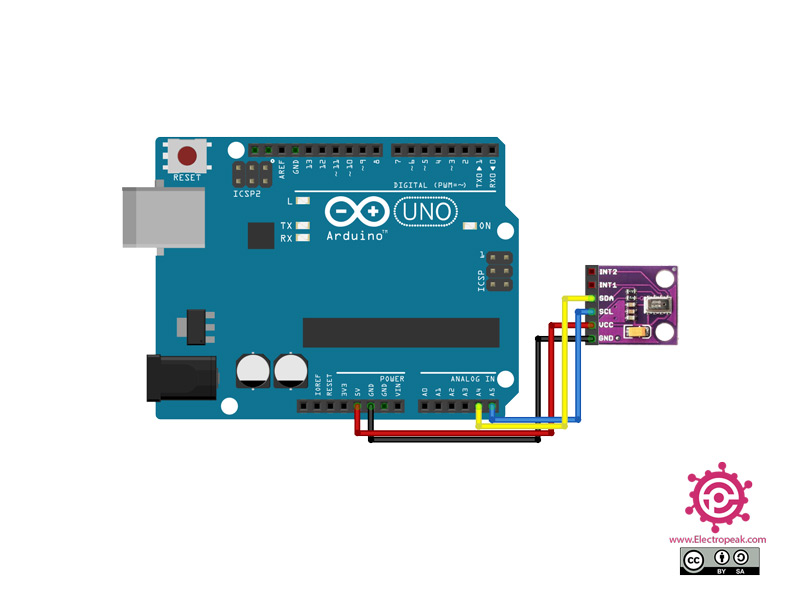
The following circuit shows how you should connect Arduino to MPL3115A2 module. Connect wires accordingly.
Step 2: Code
Install the following library on Arduino.
Tip
If you need more help with installing a library on Arduino, read this tutorial: How to Install an Arduino Library
Upload the following code to your Arduino.
/*
  modified on Sep 8, 2020
  Modified by MohammedDamirchi from https://github.com/adafruit/Adafruit_MPL3115A2_Library.git
  Home
*/

#include <Wire.h>
#include <Adafruit_MPL3115A2.h>

// Power by connecting Vin to 3-5V, GND to GND
// Uses I2C - connect SCL to the SCL pin, SDA to SDA pin
// See the Wire tutorial for pinouts for each Arduino
// http://arduino.cc/en/reference/wire
Adafruit_MPL3115A2 baro = Adafruit_MPL3115A2();

void setup() {
  Serial.begin(9600);
  Serial.println("Adafruit_MPL3115A2 test!");
}

void loop() {
  if (! baro.begin()) {
    Serial.println("Couldnt find sensor");
    return;
  }

  float pascals = baro.getPressure();
  // Our weather page presents pressure in Inches (Hg)
  // Use http://www.onlineconversion.com/pressure.htm for other units
  Serial.print(pascals/3377); Serial.print(" Inches (Hg)\t");

  float altm = baro.getAltitude();
  Serial.print(altm); Serial.print(" meters\t");

  float tempC = baro.getTemperature();
  Serial.print(tempC); Serial.println("*C");

  delay(250);
  }
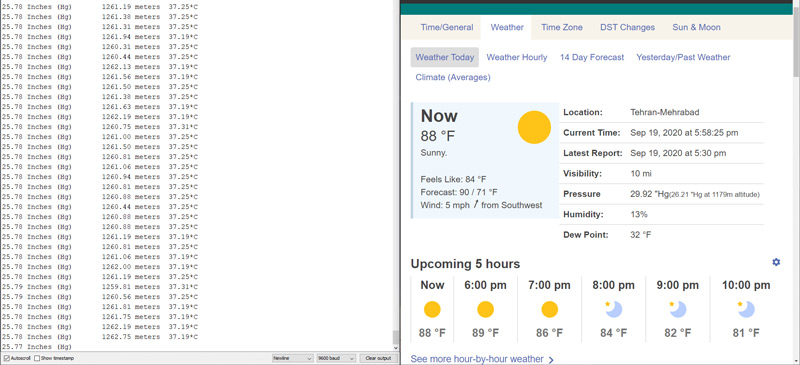
After running the code, you will see the following image in the serial output.
