You can download the datasheet of this module here.

You can download the datasheet of this module here.

Comments (12)
thanks bro… mamnun dadash
kheyli be dard khord
its so useful…
You’re quite welcome!:)
hello, great work, It is very useful for beginners. but I have 5 temperature sensors I am not getting how to read all.
Hi. You’re quite welcome!
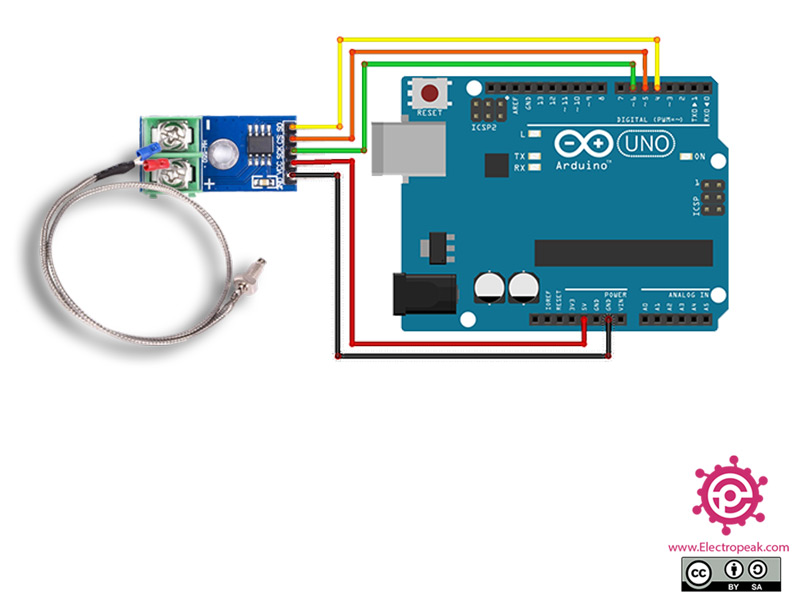
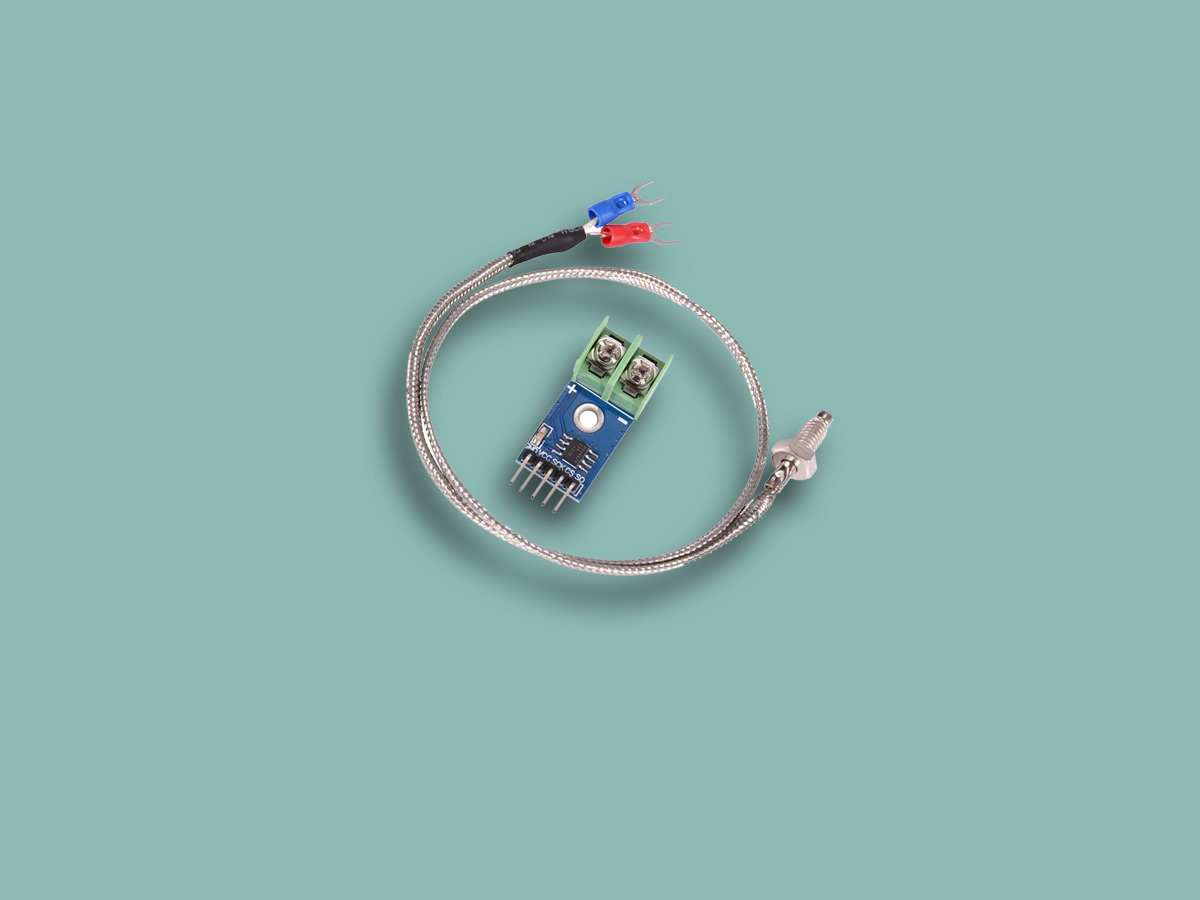
You can use the same process explained in this tutorial. As you can see in the circuit, you need 3 pins for each MAX6675, so, you need 15 pins for your 5 sensors which are available in an Arduino Uno board -You can use digital pins 0-13 and also analog pins A0-A5 for this purpose-. Then, you can easily define them in your code and read the output of your sensors.
Hi. I think you do not need 15 pins to connect 5 sensors. My count stops at 7 :-).
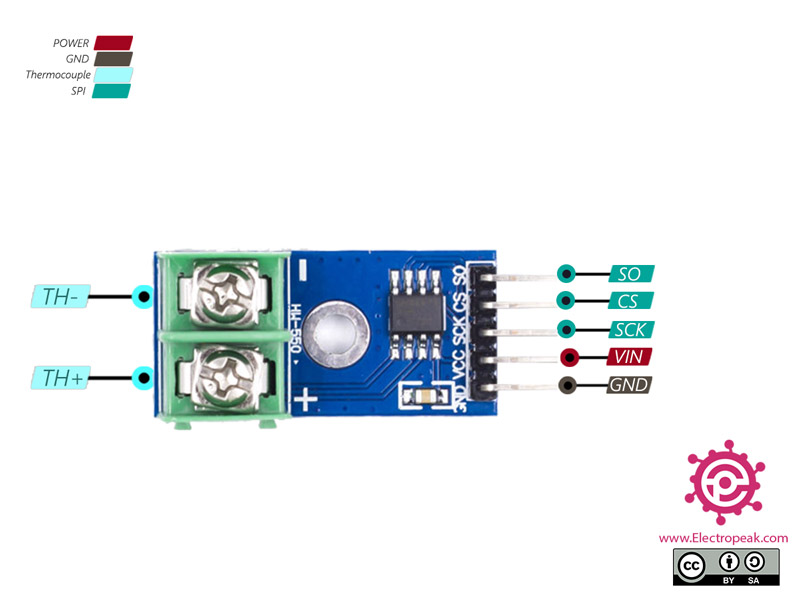
You need to connect SO pins from all sensors to one arduino pin. Same for SCK.
Only CS pin from each sensor needs to be connected to separate arduino pin.
http://www.learningaboutelectronics.com/Articles/Multiple-SPI-devices-to-an-arduino-microcontroller.php
Well, I guess you’re right! Only the CS pin needs to be unique for each sensor. Thank you for your attention!
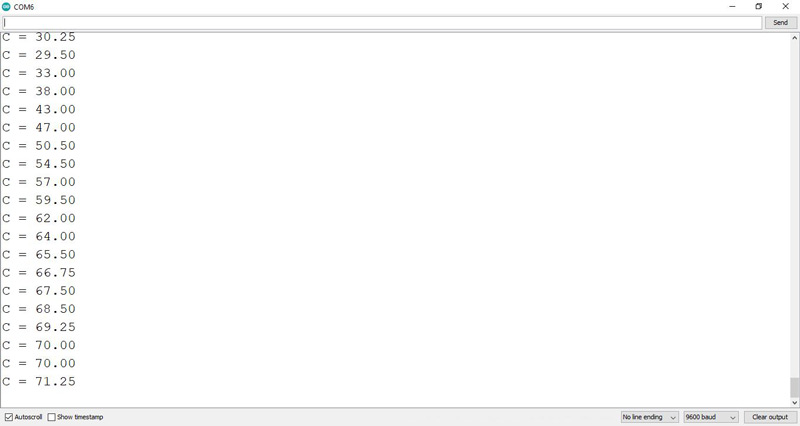
can we use it to collect data into graphic?
Hi,
What do you mean by “collect data into graphic”? Actually, you can use it to collect data and you can almost anything you want with it.
j’ai des soucis pour un programme qui parle sur le niveau d’un détecteur de température connu sous le nom Thermocouple max6675.
Mais en saisissant il me demande toujours d’utiliser un bibliothèque qui correspond à ce programme ,raison pour laquelle je voudrai
l’installer.
Hi.
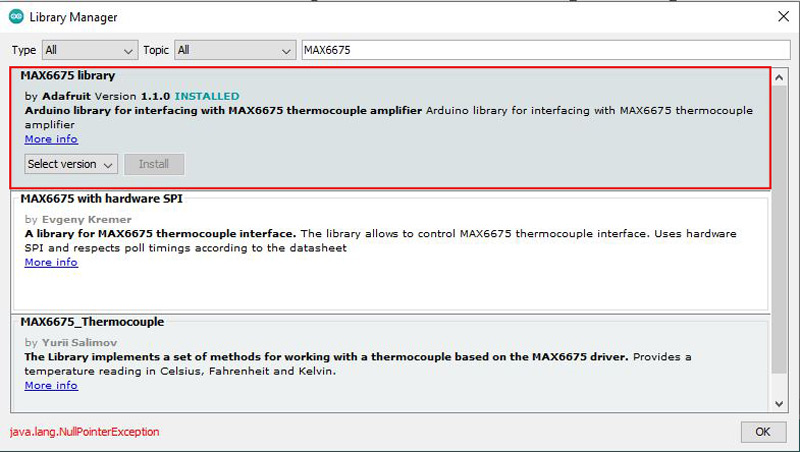
please use the instruction in this link
j’ai un problème mon code, car il demande toujours d’installer un bibliothèque .
Salut
vous devez donc installer la bibliothèque MAX6675 en 3 étapes
Esquisse -> inclure la bibliothèque -> gérer la bibliothèque