

SI7021 Temperature and Humidity Sensor Features
The SI7021 humidity and temperature sensor is a CMOS integrated sensor with I2C communication protocol. This sensor is factory calibrated and calibration data is stored in an on-chip non-volatile memory.
This sensor is used in various applications such as thermostat and humidistats, respiratory therapy, Indoor weather stations, tablets, mobile phones, etc.
Humidity measurement range: 0 to 100%RH – Accuracy 3%RH
Temperature measuring range: -40°C to +125°C – Accuracy 4°C
Sensor operating voltage: 1.9 to 3.6V
You can download the datasheet of this module here.
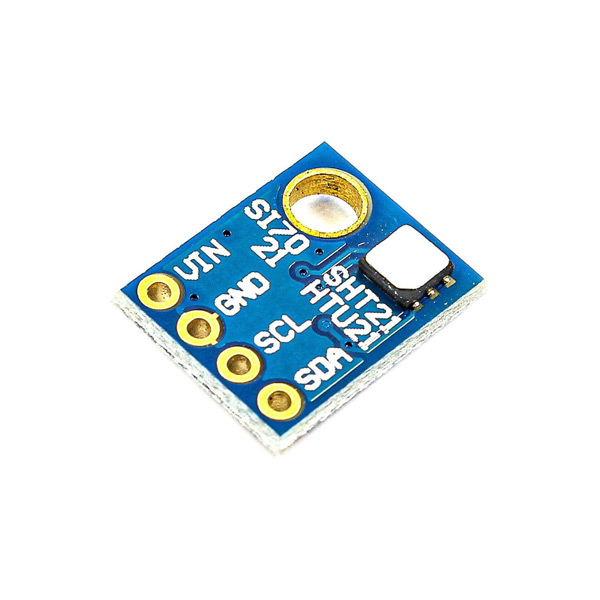
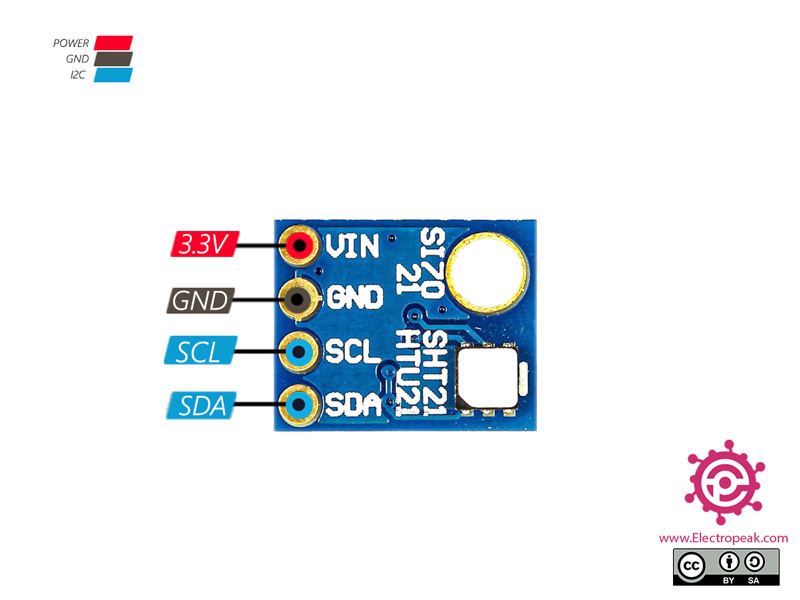
SI7021 Temperature Sensor Pinout
This module has 4 pins:
- VCC: Module power supply – 1.9 – 3.6V
- GND: Ground
- SDA: I2C Data
- SCL: I2C Clock
You can see the pinout of this module here.
Required Materials
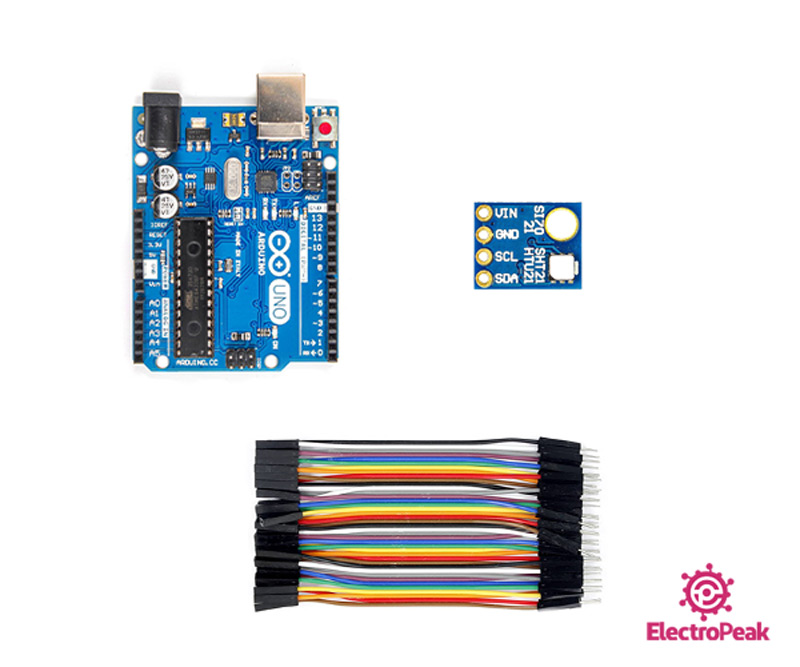
Hardware Components
Software Apps
Interfacing SI7021 Temperature Sensor with Arduino
Step 1: Circuit
The following circuit shows how you should connect Arduino to SI7021 sensor. Connect wires accordingly.

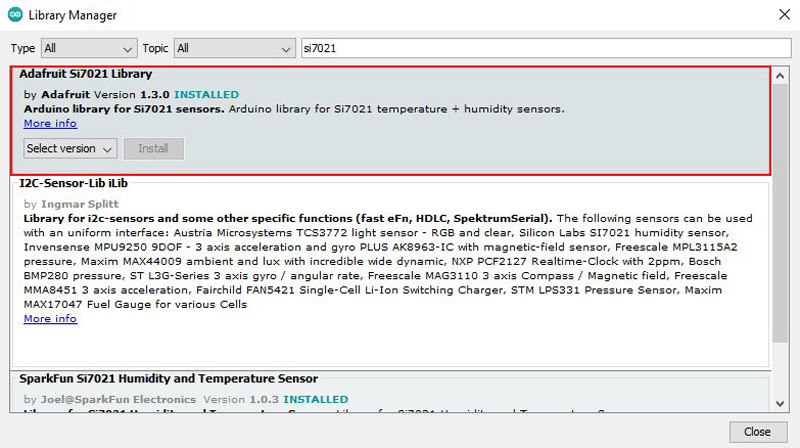
Step 2: Installing Library
Search for and install SI7021 in the Arduino Library as shown below.
Tip
If you need more help with installing a library on Arduino, read this tutorial: How to Install an Arduino Library
Step 3: Code
Upload the following code to your Arduino.
/*
  SI7021-Temperature-Humidity-Sensor
  modified on 08 Nov 2020
  by Amir Mohammad Shojaee @ Electropeak
  Home

  Based on Adafruit Si7021-library Example
*/

#include "Adafruit_Si7021.h"

bool enableHeater = false;
uint8_t loopCnt = 0;

Adafruit_Si7021 sensor = Adafruit_Si7021();

void setup() {
  Serial.begin(9600);

  // wait for serial port to open
  while (!Serial) {
    delay(10);
  }

  Serial.println("Si7021 test!");

  if (!sensor.begin()) {
    Serial.println("Did not find Si7021 sensor!");
    while (true)
      ;
  }

  Serial.print("Found model ");
  switch(sensor.getModel()) {
    case SI_Engineering_Samples:
      Serial.print("SI engineering samples"); break;
    case SI_7013:
      Serial.print("Si7013"); break;
    case SI_7020:
      Serial.print("Si7020"); break;
    case SI_7021:
      Serial.print("Si7021"); break;
    case SI_UNKNOWN:
    default:
      Serial.print("Unknown");
  }
  Serial.print(" Rev(");
  Serial.print(sensor.getRevision());
  Serial.print(")");
  Serial.print(" Serial #"); Serial.print(sensor.sernum_a, HEX); Serial.println(sensor.sernum_b, HEX);
}

void loop() {
  Serial.print("Humidity:    ");
  Serial.print(sensor.readHumidity(), 2);
  Serial.print("\tTemperature: ");
  Serial.println(sensor.readTemperature(), 2);
  delay(1000);

  // Toggle heater enabled state every 30 seconds
  // An ~1.8 degC temperature increase can be noted when heater is enabled
  if (++loopCnt == 30) {
    enableHeater = !enableHeater;
    sensor.heater(enableHeater);
    Serial.print("Heater Enabled State: ");
    if (sensor.isHeaterEnabled())
      Serial.println("ENABLED");
    else
      Serial.println("DISABLED");

    loopCnt = 0;
  }
}
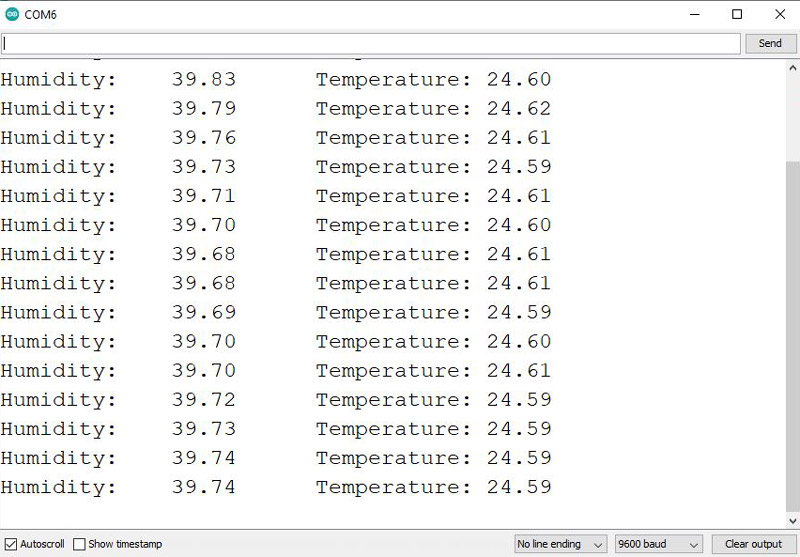
This code displays the temperature and humidity in the serial monitor. After including the relevant library, we must install and activate the sensor. In the next step, temperature and humidity data are saved and displayed on the Serial Monitor.
The output is as follows. Ambient temperature is 24°C and humidity is 39%RH.

Comments (2)
As the above method when I’ve done I am only seeing following message in my serial monitor
Si7021 test!
Did not find Si7021 sensor!
why is that?
Hello
First, ensure your wiring is correct. You can use the I2C Scanner to confirm if everything is connected properly.
Then, compare the ID obtained from the I2C Scanner with the ID specified in the library.