APDS-9930 Ambient Light Sensor Features
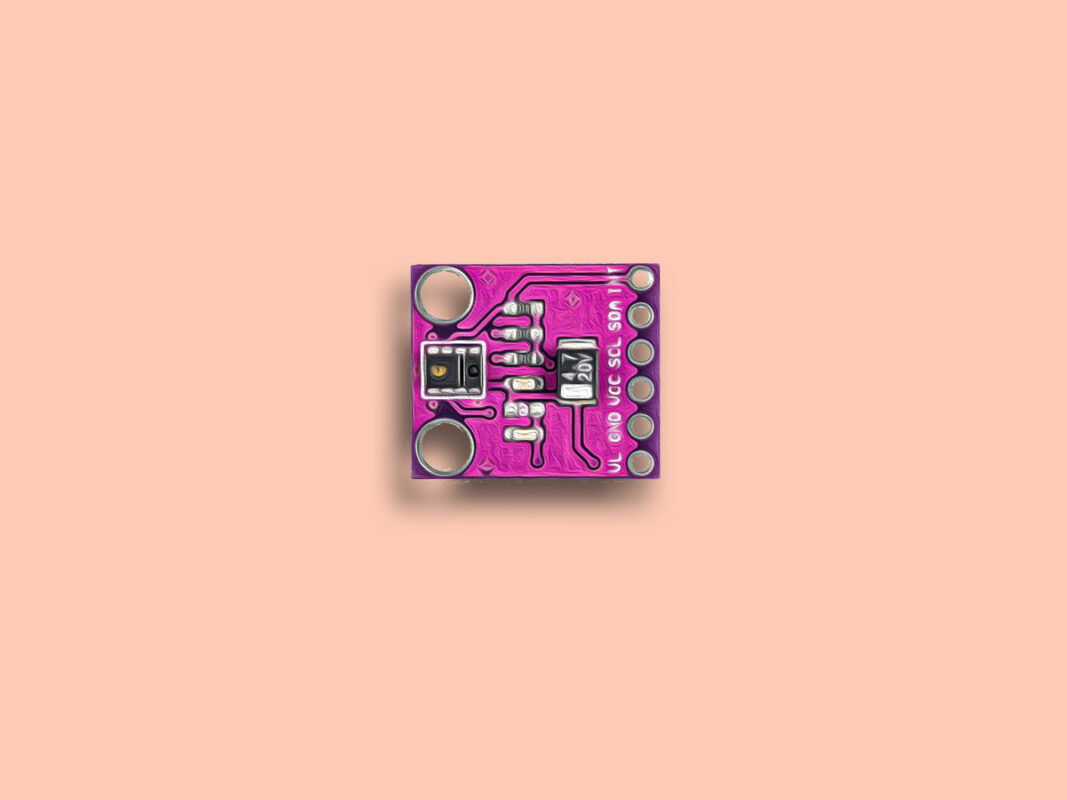
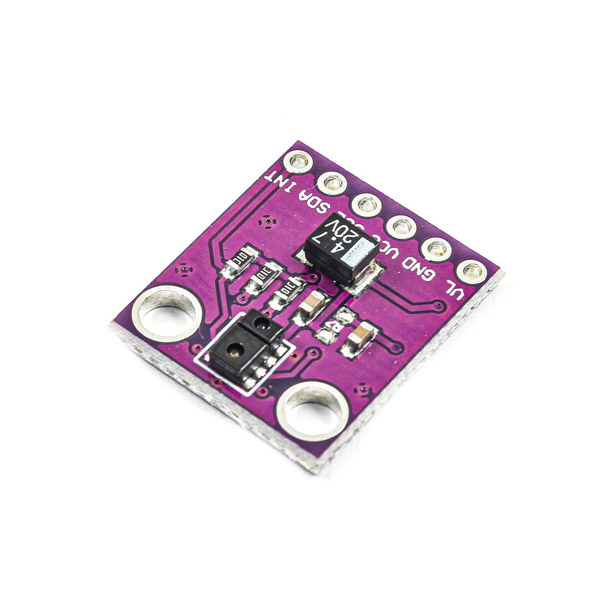
This module consists of ambient light , IR and proximity sensors. The detection distance is up to 100 mm. The APDS-9930 sensor measures the ambient light. This sensor can also detect 0.01 Lux brightness in the dark. It can also be used behind dark glass like a mobile screen. For example, it turns off the touch screen during voice calls when your ear is close to the screen.
This sensor can be used to adjust the brightness of mobile backlight and the appropriate light response for various applications.
Note
This module only works in range of 2.4 to 3.6V.
You can download the datasheet of this module here.
APDS-9930 Ambient Light Sensor Pinout
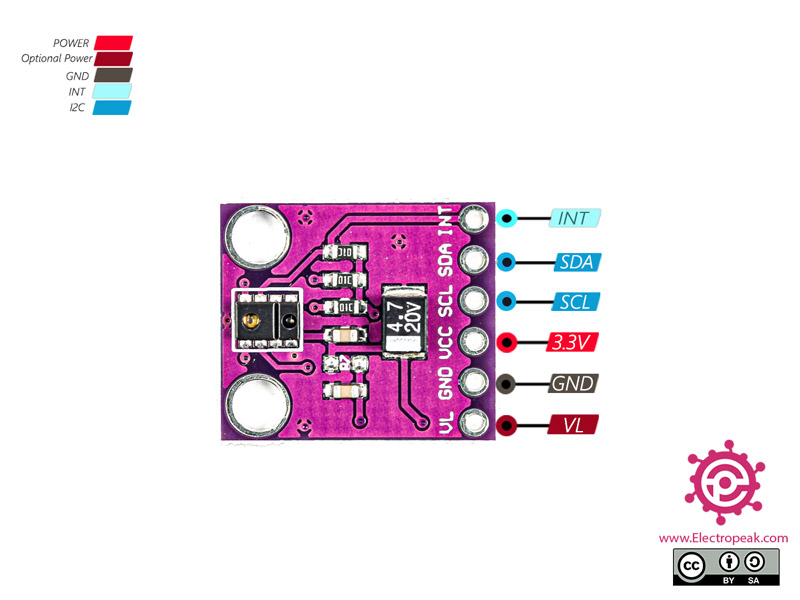
This module has 6 pins:
- VCC: Module power supply – 2.4 – 3.6 V
- GND: Ground
- VL: IR LED power(Any power is fine)
- SDA: I2C data signal
- SCL: I2C clock signal
- INT: Interrupt pin
You can download the pinout of this module here.
Required Materials
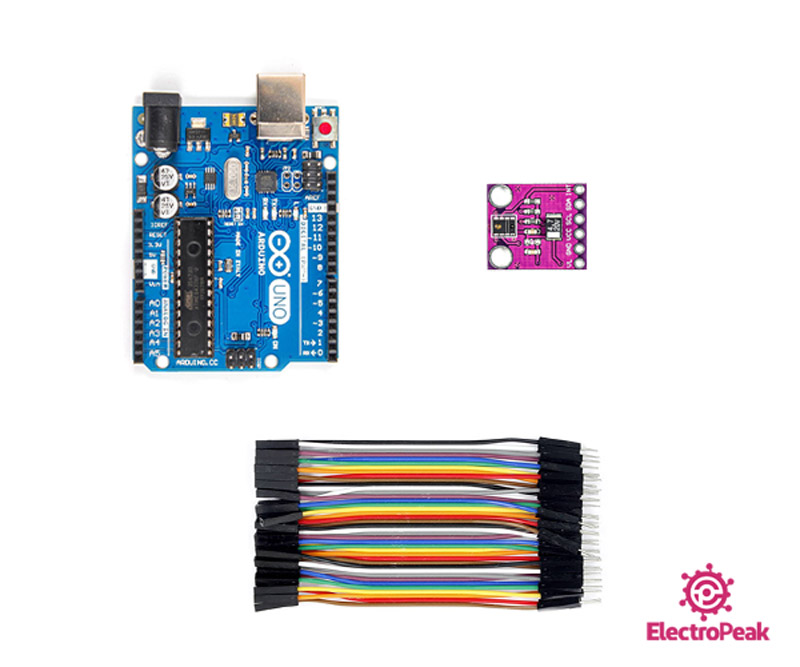
Hardware Components
Software Apps
Interfacing APDS-9930 Ambient Light Sensor with Arduino
Step 1: Circuit
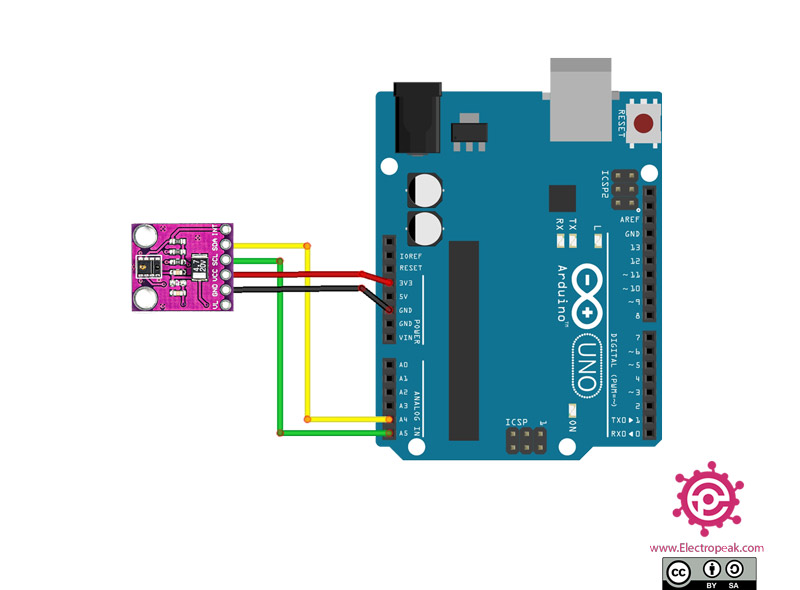
The following circuit shows how you should connect Arduino to APDS-9930 sensor. Connect wires accordingly.
Step 2: Installing Library
Download the Library file from here and copy it to the Library folder where you installed the Arduino IDE.
Note
If you need more help with installing a library on Arduino, read this tutorial: How to Install an Arduino Library
Step 3: Code
Upload the following code to Arduino.
  /*
  APDS-9930-Proximity-And-Ambient-Light
  modified on 02 Nov 2020
  by Amir Mohammad Shojaee @ Electropeak
  Home

  Based on Github.com Library Example
*/

#define DUMP_REGS

#include <Wire.h>
#include <APDS9930.h>

// Global Variables
APDS9930 apds = APDS9930();
float ambient_light = 0; // can also be an unsigned long


void setup()
{

  // Initialize Serial port
  Serial.begin(9600);
  Serial.println();

  // Initialize APDS-9930 (configure I2C and initial values)
  if ( apds.init() )
  {
    Serial.println(F("APDS-9930 initialization complete"));
  }
  else
  {
    Serial.println(F("Something went wrong during APDS-9930 init!"));
  }

  // Start running the APDS-9930 light sensor (no interrupts)
  if ( apds.enableLightSensor(false) )
  {
    Serial.println(F("Light sensor is now running"));
  }
  else
  {
    Serial.println(F("Something went wrong during light sensor init!"));
  }

  // Wait for initialization and calibration to finish
  delay(500);
}


void loop()
{

  // Read the light levels (ambient, red, green, blue)
  if (  !apds.readAmbientLightLux(ambient_light)) {
    Serial.println(F("Error reading light values"));
  }
  else
  {
    Serial.print(F("Ambient: "));
    Serial.println(ambient_light);

  }

  // Wait 1 second before next reading
  delay(1000);
}
In this code I2C interface is used to communicate with Arduino. Libraries are read at the beginning of the code. Then it measures the ambient light and displays it in the Serial Monitor.
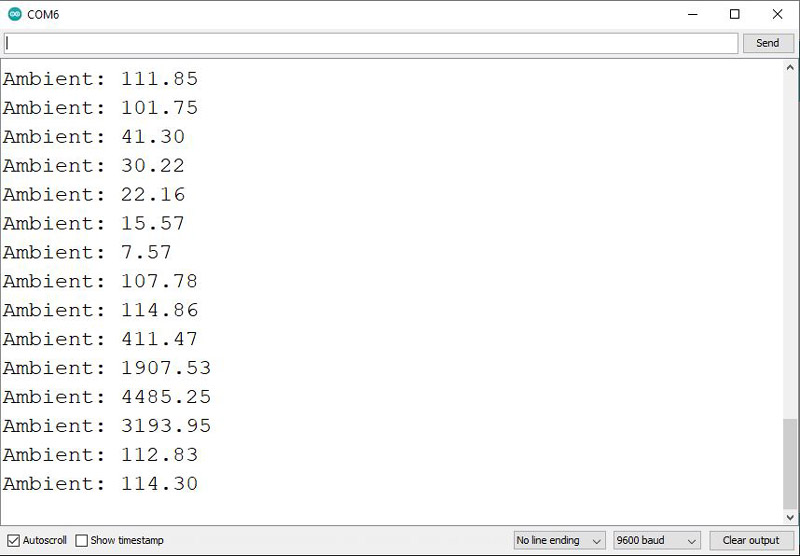
The output is as follows. First, we approach our hand to sensor. As you can see, the ambient light decreases. Then we bring the mobile light closer to the sensor. We see the output increases Strongly.
