Overview
Are you looking for a reliable temperature sensor? The MAX6675 Thermocouple Module is just what you need. With its exceptional features and seamless integration with Arduino, this module is perfect for measuring temperature accurately. In this article, we will explain the key features of the MAX6675 Thermocouple Module, provide step-by-step instructions for Arduino interfacing, and offer helpful tips for successful installation.
MAX6675 Thermocouple Module Features
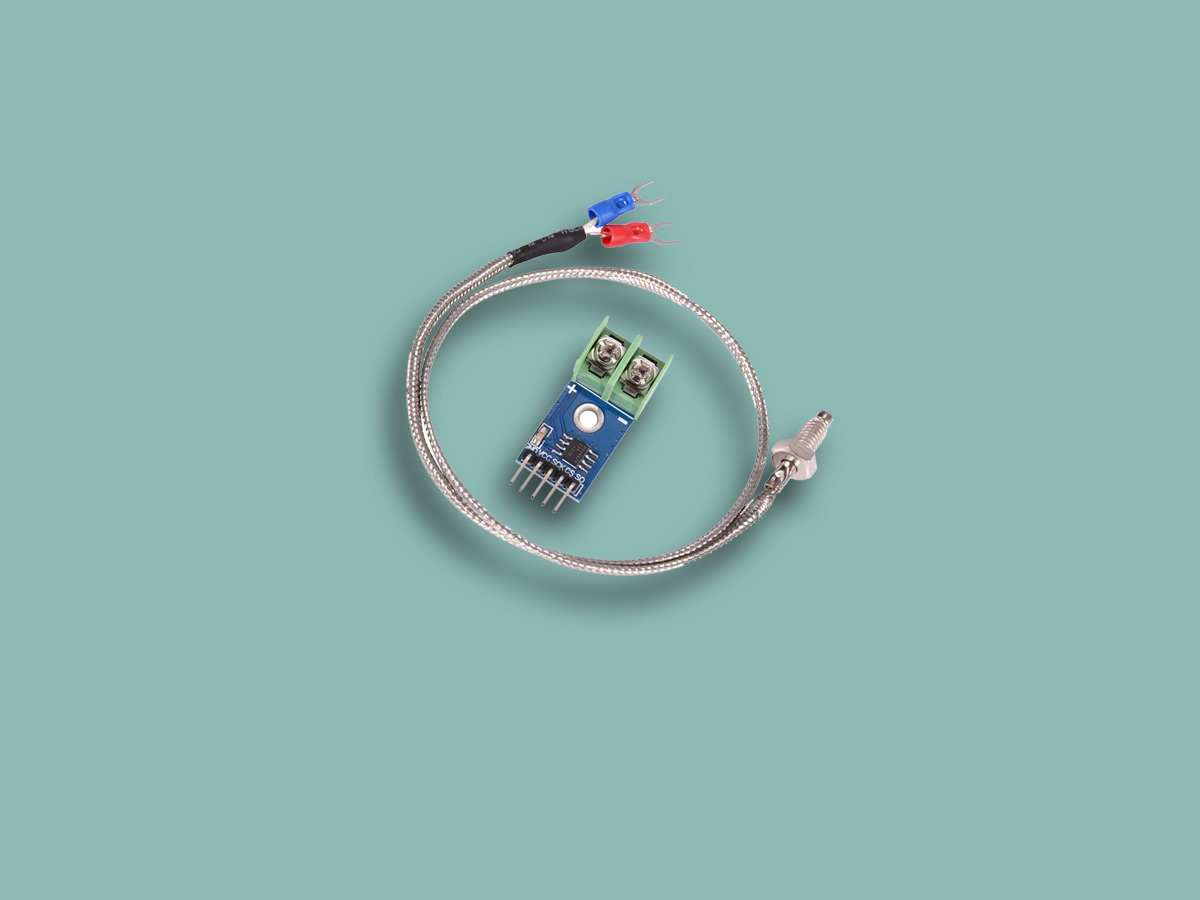
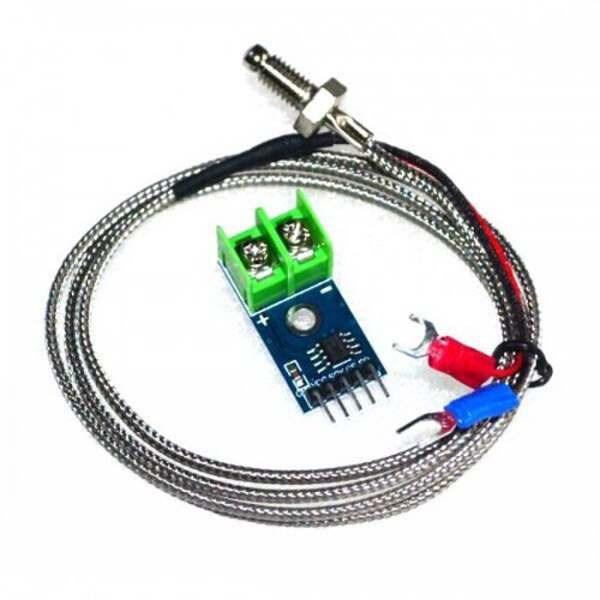
This module is a temperature sensor with a resolution of 0.25°C that can measure temperature from -20°C to +80°C. This module includes a Type K thermocouple, a driver and a MAX6675 amplifier. The MAX6675 output is 3 signals with SPI communication protocol to report the measured temperature.
This thermocouple module is designed with user convenience in mind. Its straightforward setup and operation make it suitable for beginners and experts alike. Additionally, it can handle high-temperature environments, allowing for versatile applications in industries such as manufacturing, research, and more.
You can download the datasheet of this module here.
MAX6675 Thermocouple Module Pinout
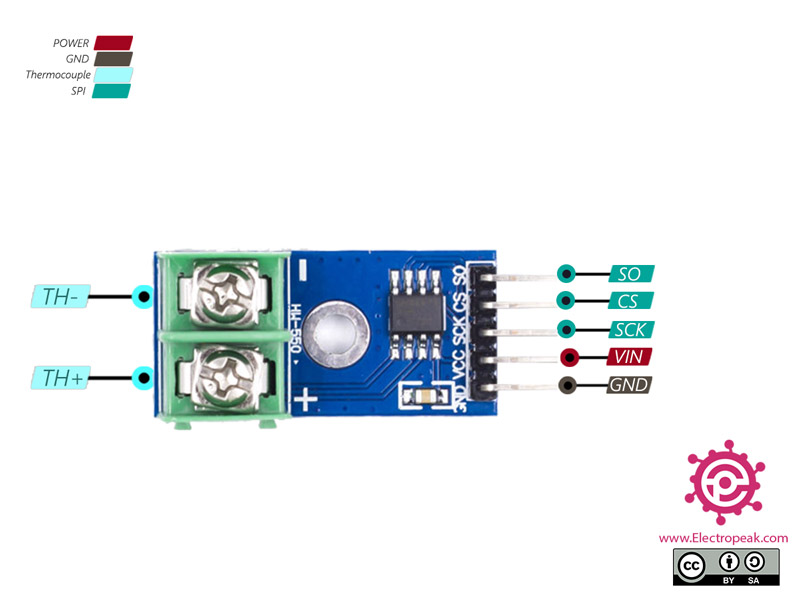
This sensor has 7 pins:
- VCC: Module power supply 3 to 5.5 V
- GND: Ground
- SCK: Clock pin
- CS: Chip Select
- SO: Serial output
- TH-: Negative side input
- TH+: Positive side input
You can see the pinout of this module in the image below.
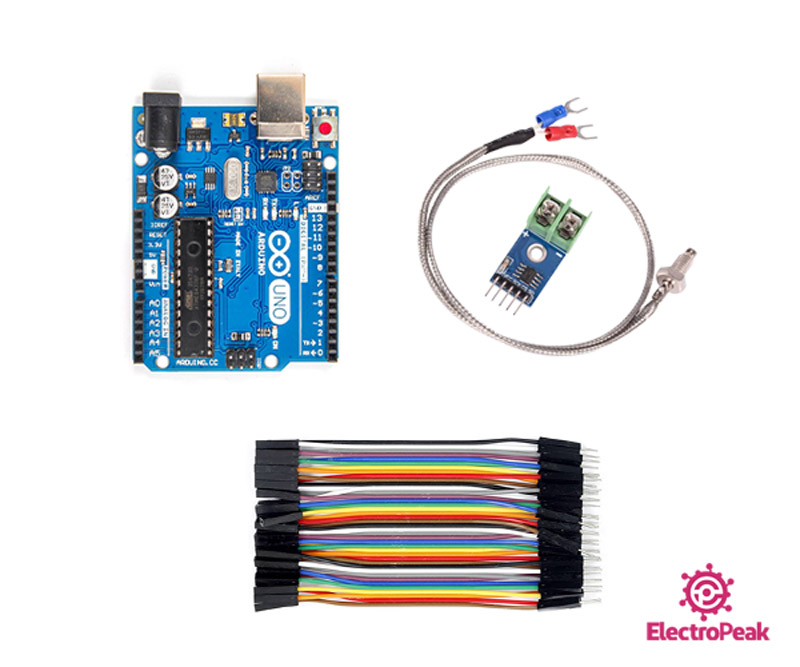
Required Materials
Hardware Components
Software Apps
Interfacing MAX6675 Thermocouple Module with Arduino
To integrate the MAX6675 Thermocouple Module with Arduino, follow these simple steps:
Step 1: Circuit
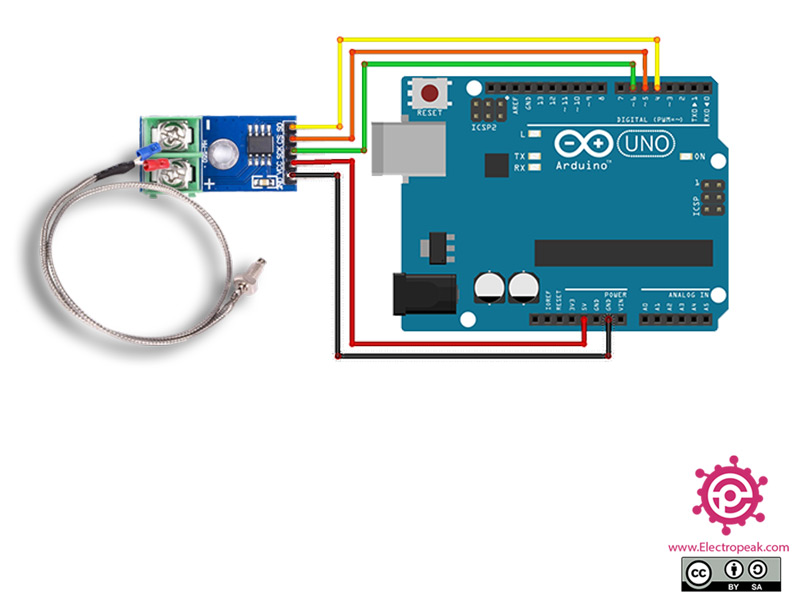
Create the circuit by connecting the Arduino to the MAX6675 Thermocouple module. Ensure the wires are connected properly according to the provided pinout.
Step 2: Library Installation
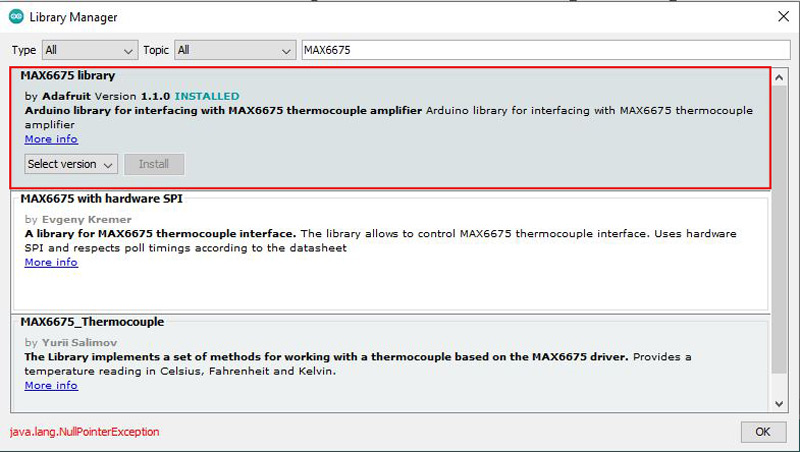
Go to Library manager in Arduino, search for the MAX6675 library, and install it. This library is essential for utilizing the module’s features effectively.
Tip
If you need more help with installing a library on Arduino, read this tutorial: How to Install an Arduino Library
Step 3: Code
Upload the following code to your Arduino:
/*
  MAX6675-K-Type-Thermocouple
  Modified on 31 oct 2020
  by Amir Mohammad Shojaee @ Electropeak
  Home

  based on MAX6675 Arduino Library Examples
*/

#include "max6675.h" // max6675.h file is part of the library that you should download from Robojax.com

int soPin = 4;// SO=Serial Out
int csPin = 5;// CS = chip select CS pin
int sckPin = 6;// SCK = Serial Clock pin
MAX6675 Module(sckPin, csPin, soPin);// create instance object of MAX6675

void setup() {


  Serial.begin(9600);// initialize serial monitor with 9600 baud
  Serial.println("MAX6675");

}

void loop() {
  // basic readout test, just print the current temp
   Serial.print("C = ");
   Serial.println(Module.readCelsius());
   delay(1000);
}
First, the MAX6675 library is inculded. Next, 3 output pins are defined and connected to pins 4, 5, and 6 of the Arduino. Finally, the temperature is displayed in degrees Celsius.
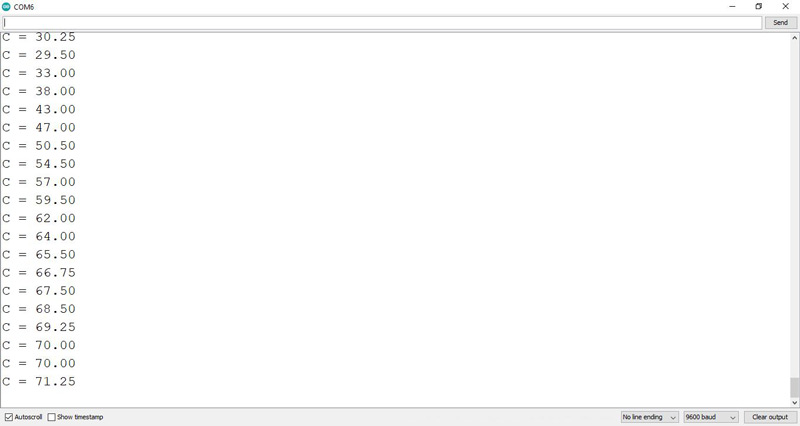
As you can see in the image below, first the thermocouple is in the open space and shows the ambient temperature. Immediately immerse it in warm water. The Serial Monitor output measures the water temperature at approximately 70°C.
By following these instructions, you can harness the capabilities of the MAX6675 Thermocouple Module and integrate it into your Arduino projects. Enjoy accurate temperature measurements and unlock endless possibilities in various applications.
Don’t miss out on this exceptional temperature sensor. Get your MAX6675 Thermocouple Module today and experience accurate and reliable temperature measurements like never before!

Comments (12)
thanks bro… mamnun dadash
kheyli be dard khord
its so useful…
You’re quite welcome!:)
hello, great work, It is very useful for beginners. but I have 5 temperature sensors I am not getting how to read all.
Hi. You’re quite welcome!
You can use the same process explained in this tutorial. As you can see in the circuit, you need 3 pins for each MAX6675, so, you need 15 pins for your 5 sensors which are available in an Arduino Uno board -You can use digital pins 0-13 and also analog pins A0-A5 for this purpose-. Then, you can easily define them in your code and read the output of your sensors.
Hi. I think you do not need 15 pins to connect 5 sensors. My count stops at 7 :-).
You need to connect SO pins from all sensors to one arduino pin. Same for SCK.
Only CS pin from each sensor needs to be connected to separate arduino pin.
http://www.learningaboutelectronics.com/Articles/Multiple-SPI-devices-to-an-arduino-microcontroller.php
Well, I guess you’re right! Only the CS pin needs to be unique for each sensor. Thank you for your attention!
can we use it to collect data into graphic?
Hi,
What do you mean by “collect data into graphic”? Actually, you can use it to collect data and you can almost anything you want with it.
j’ai des soucis pour un programme qui parle sur le niveau d’un détecteur de température connu sous le nom Thermocouple max6675.
Mais en saisissant il me demande toujours d’utiliser un bibliothèque qui correspond à ce programme ,raison pour laquelle je voudrai
l’installer.
Hi.
please use the instruction in this link
j’ai un problème mon code, car il demande toujours d’installer un bibliothèque .
Salut
vous devez donc installer la bibliothèque MAX6675 en 3 étapes
Esquisse -> inclure la bibliothèque -> gérer la bibliothèque