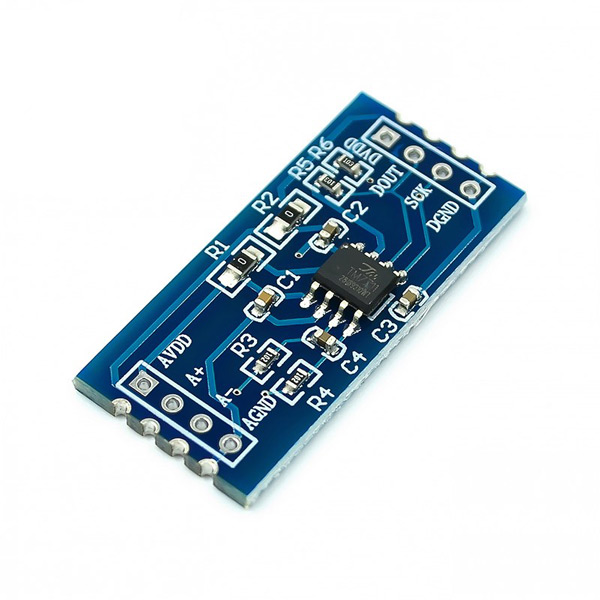
TM7711 24-bit Pressure Module Features
The TM7711 is a 24-bit 2-channel analog-to-digital converter used to measure resistance changes. This module is widely used in load cell and air pressure sensors. This module features high accuracy, quality and cost-effectiveness.
Note
This module does not support I2C communication.
You can download the datasheet of this module here.
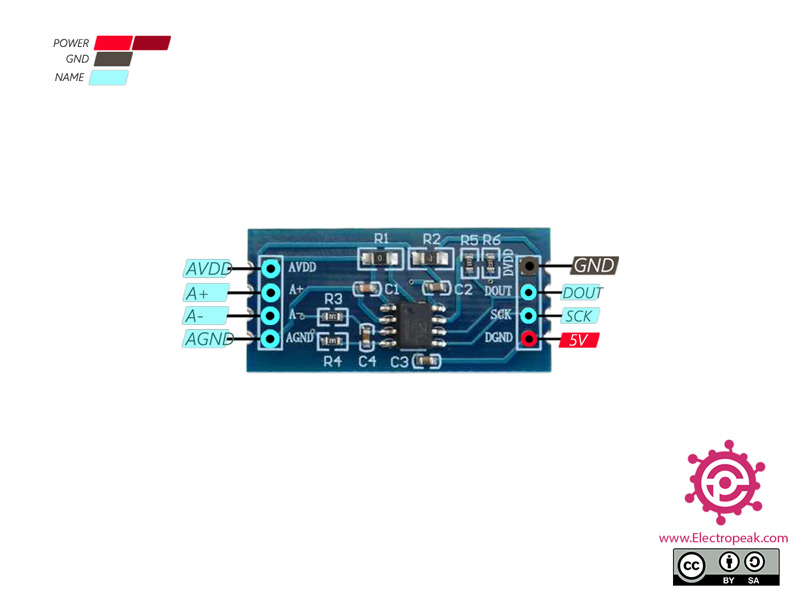
TM7711 24-bit Pressure Module Pinout
This sensor has 8 pins:
- VIN: Module power supply – 3.3-5 V
- GND: Ground
- SCK: Module and microcontroller synchronization
- OUT: Digital output
- AVDD: Load cell power supply
- AGND: Load cell ground
- A+: The first output of load cell
- A-: The second output of load cell
You can see the pinout of this module in the image bellow.
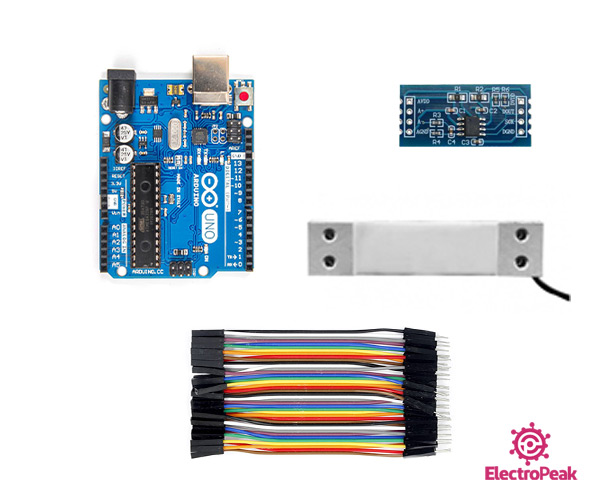
Required Materials
Hardware Components
Software Apps
Interfacing TM7711 24-bit Pressure Module with Arduino
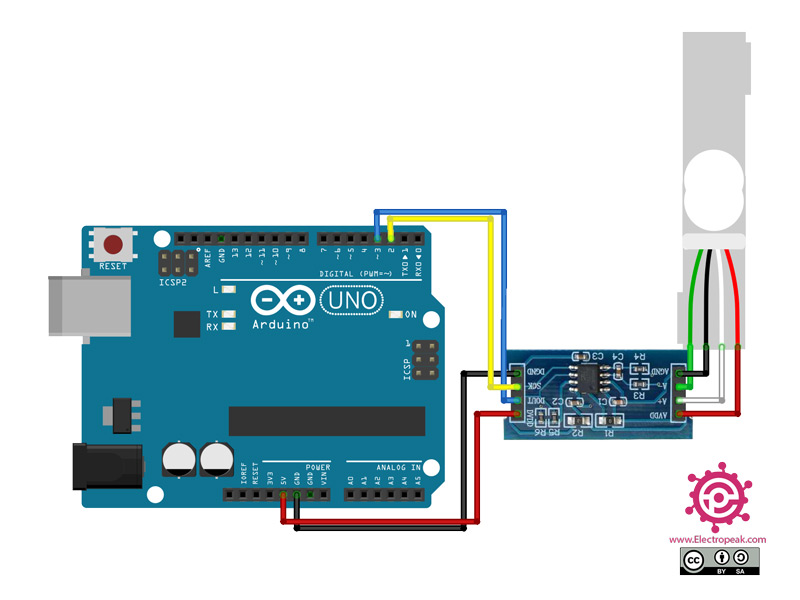
Step 1: Circuit
The following circuit shows how you should connect Arduino to TM7711 module. Connect wires accordingly.
Step 2: Code
Install the following library on your Arduino first.
Tip
If you need more help with installing a library on Arduino, read this tutorial: How to Install an Arduino Library
Upload the following code to your Arduino.
/*
modified on Sep 21, 2020
Modified by MohammedDamirchi from https://github.com/sparkfun/HX711-Load-Cell-Amplifier base on https://www.instructables.com/id/Arduino-Scale-With-5kg-Load-Cell-and-HX711-Amplifi/
Home
*/


#include "HX711.h"

#define DOUT  3
#define CLK  2

HX711 scale;

float calibration_factor = -100000; //Change this for calibration your load cell

void setup() {
  Serial.begin(9600);
  Serial.println("HX711 calibration sketch");
  Serial.println("Remove all weight from scale");
  Serial.println("After readings begin, place known weight on scale");
  Serial.println("Press + or a to increase calibration factor");
  Serial.println("Press - or z to decrease calibration factor");

  scale.begin(DOUT, CLK);
  scale.set_scale();
  scale.tare(); //Reset the scale to 0

  long zero_factor = scale.read_average(); //Get a baseline reading
  Serial.print("Zero factor: "); //This can be used to remove the need to tare the scale. Useful in permanent scale projects.
  Serial.println(zero_factor);
}

void loop() {

  scale.set_scale(calibration_factor); //Adjust to this calibration factor
  Serial.print("Reading: ");
  Serial.print((scale.get_units()/3.977)-0.4349, 4);
  Serial.print(" kg"); //Change this to kg and re-adjust the calibration factor if you follow SI units like a sane person
  Serial.print(" calibration_factor: ");
  Serial.print(calibration_factor);
  Serial.println();

  if(Serial.available())
  {
    char temp = Serial.read();
    if(temp == '+' || temp == 'a')
      calibration_factor += 10;
    else if(temp == '-' || temp == 'z')
      calibration_factor -= 10;
  }
  }
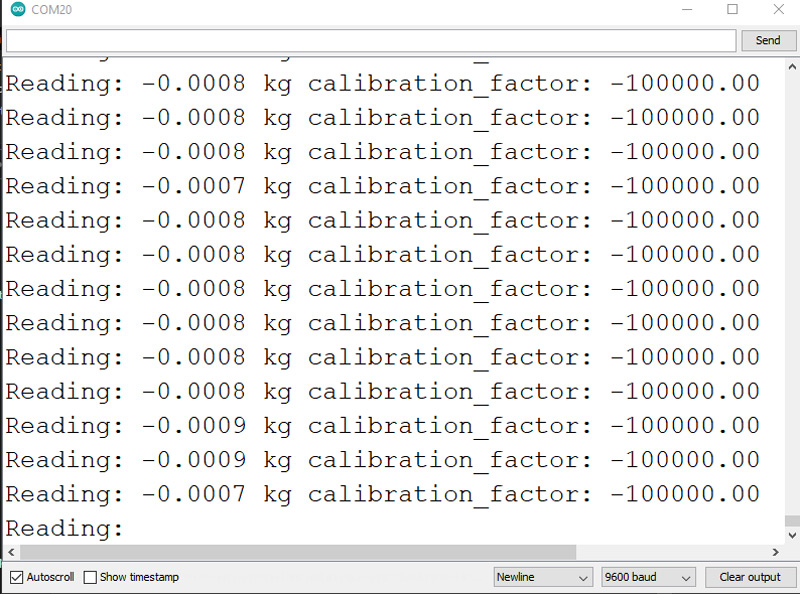
After running the code, you will see the following image in the serial monitor.
