TCS3414CS Color Sensor Features
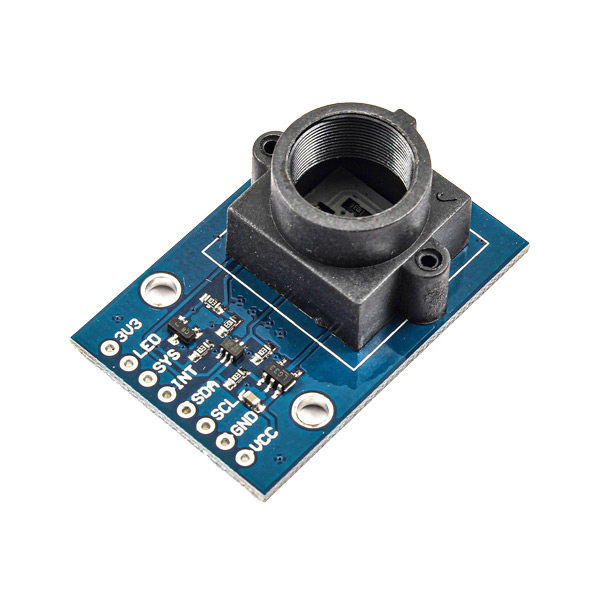
TCS3414CS digital color sensor is based on TCS3414CS chip. It is designed to accurately derive the color chromaticity and illuminance (intensity) of ambient light. TCS3414CS color sensor provides a digital output I2C with 400kH speed. This sensor is able to detect different light spectra with high accuracy and speed.
Note
This module can’t detect the color of objects. It can only detect the reflected light spectra of objects. The higher the value of reflected light spectrum, the higher the accuracy of the sensor. This module can also be used to measure ambient light spectra.
You can download the datasheet of this module here.
TCS3414CS Color Sensor Pinout
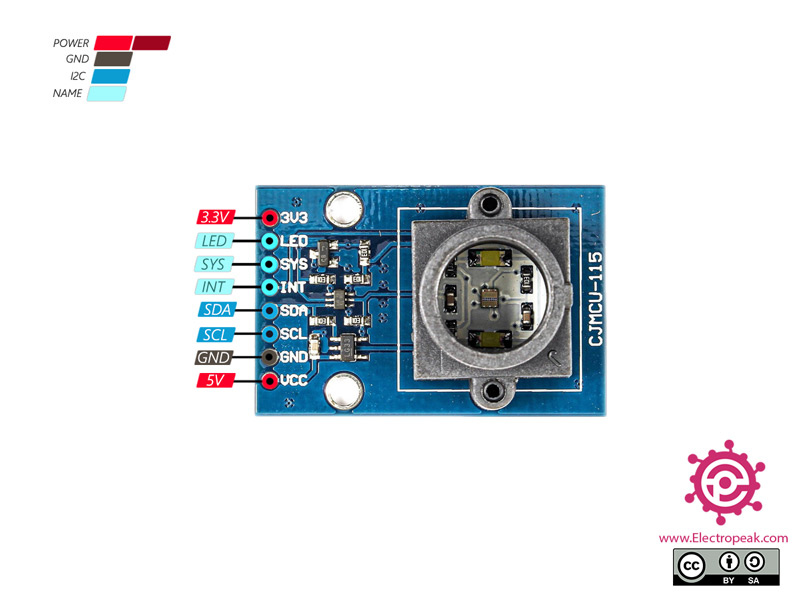
This module has 8 pins:
- VCC: Module power supply – 5V
- GND: Ground
- SLC: I2C Clock
- SDA: I2C data
- LED: Turning on the LED of ActiveLow module
You can see pinout of this module in the image below.
Required Materials
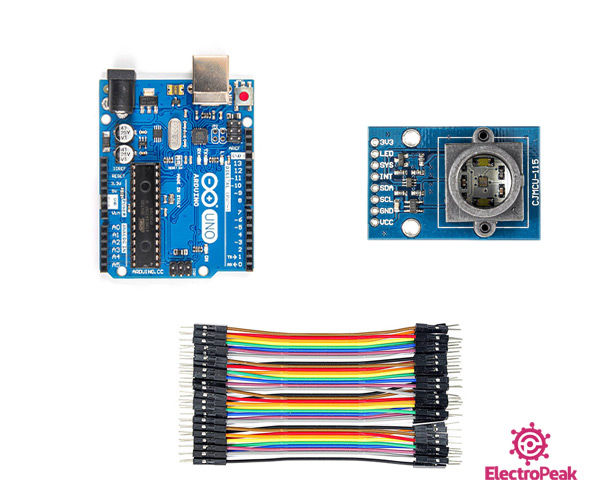
Hardware component
Software Apps
Interfacing TCS3414CS Color Sensor with Arduino
Step 1: Circuit
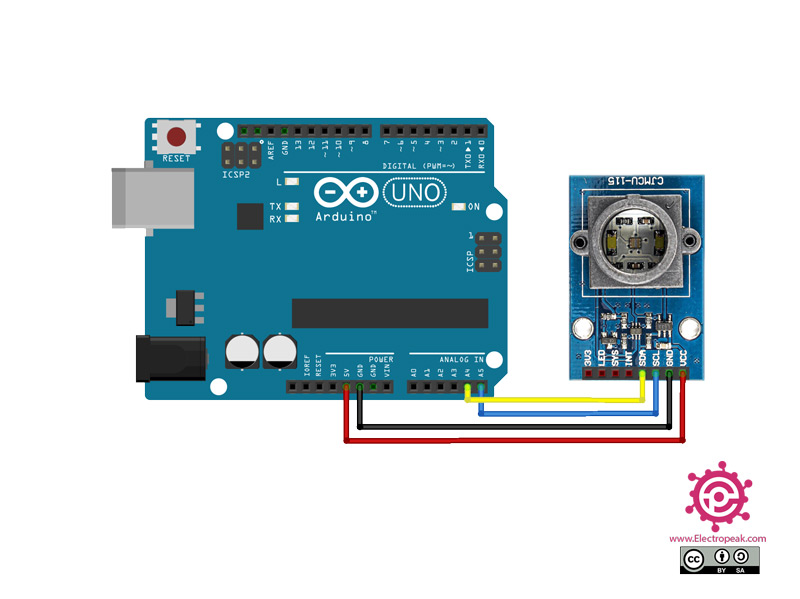
Connect the module to Arduino according to the following image.
Step 2: Code
Install following library on your Arduino board.
Note
If you need more help with installing a library on Arduino, read this tutorial: How to Install an Arduino Library
Upload the following code to your Arduino.
/*
modified on Sep 12, 2020
Modified by MohammedDamirchi from https://github.com/DMohammed/TCS3414CSLib.git
Home
*/


#include <Arduino.h>
#include <Wire.h>
#include "TCS3414CSLib.h"

// uint16_t values[4];
uint16_t red, green, blue, clr;

TCS3414CS tcs;

void setup() {
  Serial.begin(9600);
  Serial.print("RED\tGREEN\tBLUE\tCLEAR\n");

  Wire.begin();

  tcs.init(TCS3414CS_FREEMODE);
  tcs.setIntegrationTime(INTEG_PARAM_INTTIME_12MS);
  tcs.setGain(GAIN_1, PRESCALER_1);
  tcs.start();
}

void loop() {
  delay(100); // normally you should wait at least the equivalent of integration
              // time (set at 12MS above)
  tcs.getRGB(&red, &green, &blue, &clr);
  Serial.print(red);
  Serial.print("\t");
  Serial.print(green);
  Serial.print("\t");
  Serial.print(blue);
  Serial.print("\t");
  Serial.print(clr);
  Serial.write('\n');
}
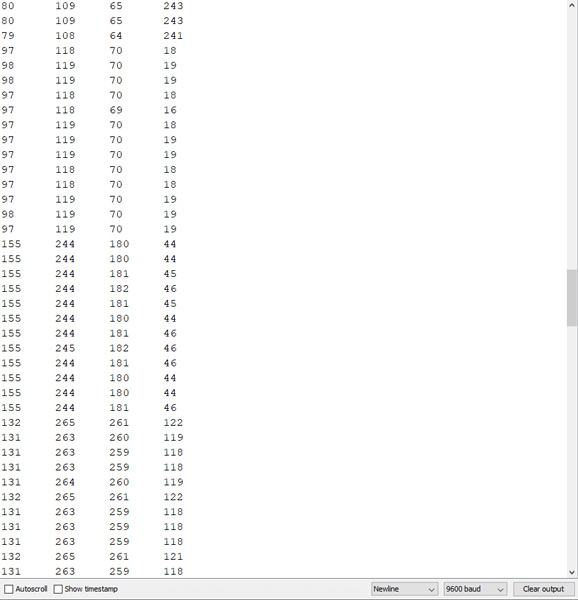
After running the code, you will see the following image in the serial output.
You can see the graphical output view using processing3 software. Click here to download the sample code in processing3.
