Contents

Interfacing SHT30 Temperature & Humidity Sensor with Arduino

SHT30 Temperature & Humidity Sensor Features

SHT30 is a digital temperature and humidity sensor. This module uses I2C communication and the 2 SCL and SDA pins are used to communicate with this sensor. This sensor is ideal for temperature and humidity sensing. 

Temperature measurement range: 0°C to 65°C/ Accuracy ±0.3°C

Humidity measurement range: 0-100% RH/ Accuracy ±3% RH

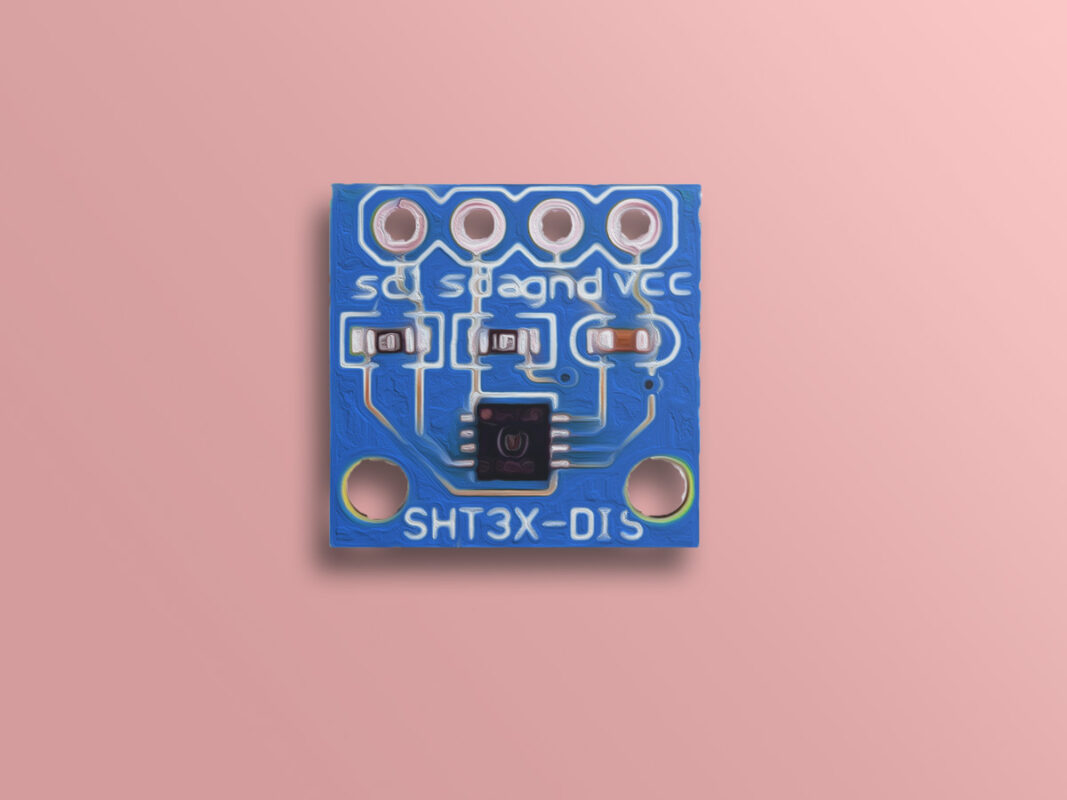
You can download the datasheet of this module here.

SHT30 Temperature and Humidity Sensor Pinout

This sensor has 4 pins:

  • VCC: Module power supply –2.4 V to 5 V
  • GND: Ground
  • SDA: I2C data
  • SCL: I2C clock

You can see pinout of this module in the image below.

Required Materials

Hardware Components

Arduino UNO R3 × 1
SHT30 temperature and humidity sensor × 1
Male to Female jumper wire × 1

Software Apps

Arduino IDE

Interfacing SHT30 Temperature and Humidity Sensor with Arduino

Step 1: Circuit

The following circuit shows how you should connect Arduino to SHT30 module. Connect wires accordingly.

Step 2: Code

Download the SHT30 sensor library from the link below and then install. (It is the same as SHT31)

https://www.arduino.cc/reference/en/libraries/sht31/

Tip

If you need more help with installing a library on Arduino, read this tutorial: How to Install an Arduino Library

Step 3: Code

Upload the following code to your Arduino. This code displays the temperature and humidity in the serial monitor. You can also use the Serial plotter to draw graphs.

   /*
  SHT30 Temperature & Humidity Sensor
  modified on 13 Oct 2020
  by Mohammad Reza Akbari @ Electropeak
  
Home
Based on Library Example */ #include "Wire.h" #include "SHT31.h" uint32_t start; uint32_t stop; SHT31 sht; void setup() { Serial.begin(115200); Wire.begin(); sht.begin(0x44); //Sensor I2C Address Wire.setClock(100000); uint16_t stat = sht.readStatus(); Serial.print(stat, HEX); Serial.println(); } void loop() { sht.read(); Serial.print("Temperature:"); Serial.print(sht.getTemperature(), 1); Serial.print("\t"); Serial.print("Humidity:"); Serial.println(sht.getHumidity(), 1); delay(50); }

After running the code, you will see the following image in the serial output.

Liked What You See?​
Get Updates And Learn From The Best​

Comments (2)

  • Amicus Reply

    It worked from the first run.
    Thank you for your tutorial.

    November 6, 2021 at 10:54 am
    • Mehran Maleki Reply

      You’re most welcome! We’re so glad it was helpful for you.

      November 6, 2021 at 12:09 pm

Leave a Reply

Your email address will not be published. Required fields are marked *