
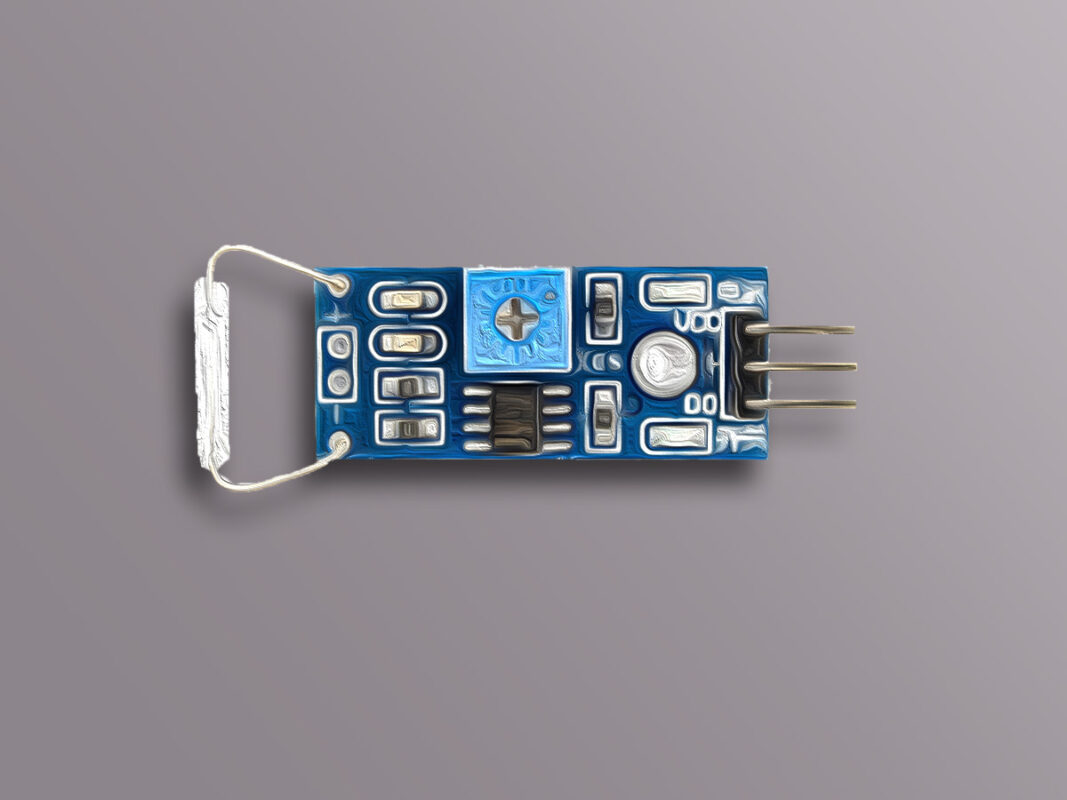
What is Reed Switch?
Reed Switch is a magnetic switch that has two (on and off) switching modes, like a normal switch. The two pins are connected to each other by being in a magnetic field (for example, close to the magnet) and are disconnected by leaving that field.
These switches are used in open/close door detection sensors, seat belt sensors, collision detection sensors, etc.
Note
Some magnetic switches are Normally Close. That is, when they are not in a magnetic field, the two pins are connected, and when they are in a magnetic field, the switch is disconnected and the two pins are separated.
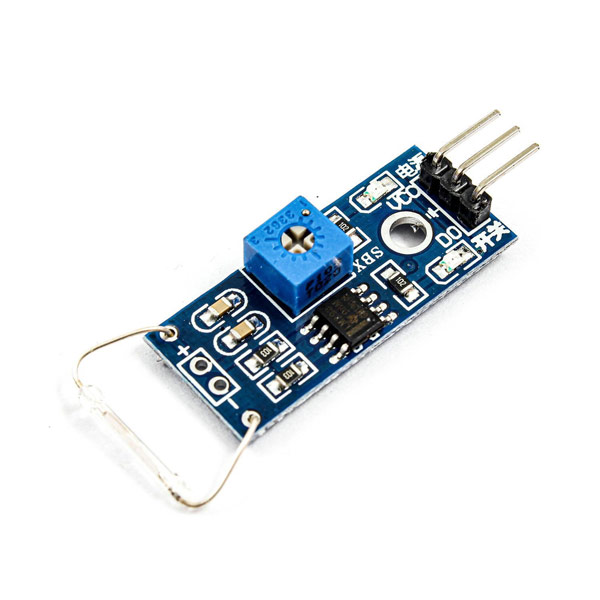
In this tutorial, you will learn how to use a magnetic switch module with Arduino.
When Magnetic Switch Module is in the magnetic field, the OUT pin has a logical value of “0” and “1” otherwise.
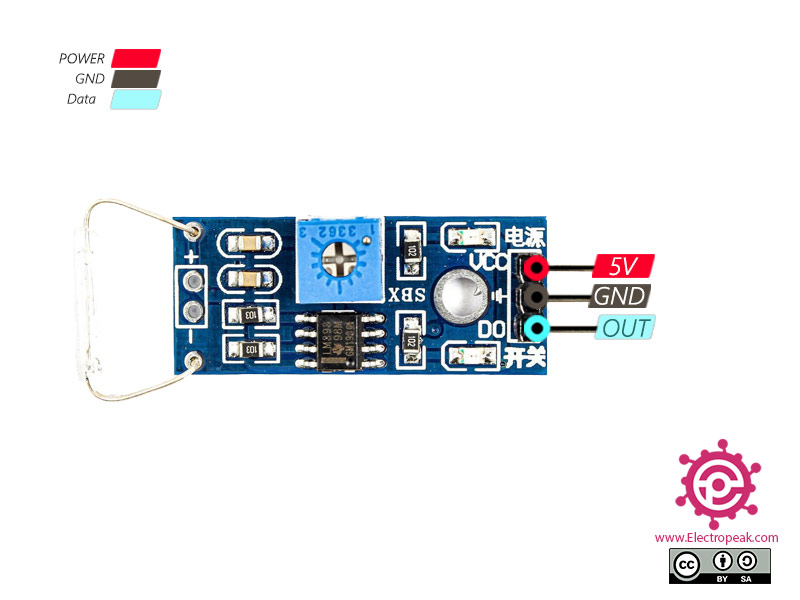
Magnetic Switch Pinouts
This module has 3 pins as follows:
- VCC: Module power supply – 3.3 to 5 Volt
- GND: Ground
- OUT: Output
Required Material

Hardware component
Software Apps
Interfacing Magnetic Switch with Arduino
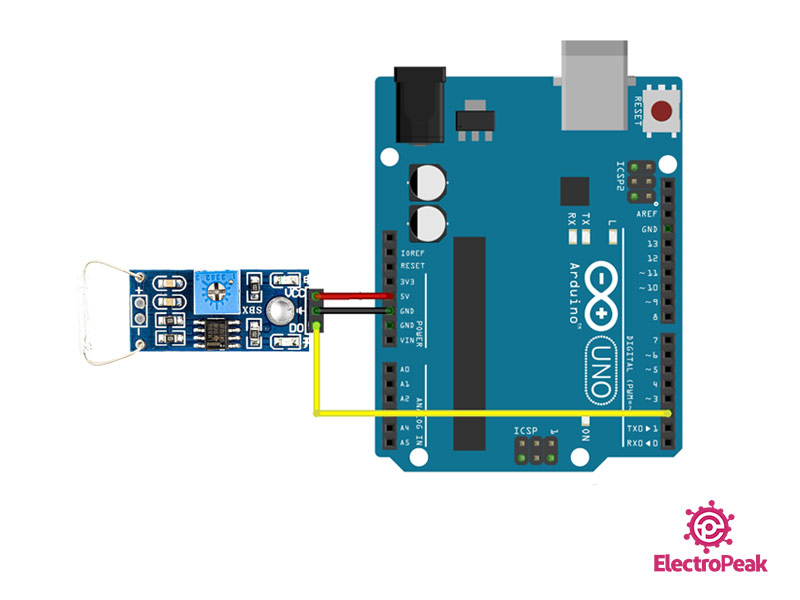
Step 1: Circuit
Connect the reed switch to Arduino according to the following circuit.
Step 2: Code
This code reads the magnetic switch output and if the module is in a magnetic field displays the message “I feel Magnetic field” in the serial monitor (for example, the magnet is close to the module).
/*
Reed Switch
modified on 31 Aug 2020
by Mohammad Reza Akbari @ Electropeak
Home
*/


int ledPin = 13; // LED connected to digital pin 13
int Sensor = 2;   // Reed Switch
int val = 0;     // variable to store the read value

void setup()
{
  pinMode(ledPin, OUTPUT);      // sets the digital pin 13 as output
  pinMode(Sensor, INPUT);      // sets the digital pin 7 as input
  Serial.begin(9600); // opens serial port, sets data rate to 9600 bps
}

void loop()
{
  val = digitalRead(Sensor);   // read the input pin

  if(val == LOW){
    Serial.print("I feel Magnetic field :)\n"); // print on serial port
    digitalWrite(ledPin, HIGH);
    delay(1000);
  }
  else{
    digitalWrite(ledPin, LOW);
  }

}
