Interfacing MX1508 Motor Driver Module with Arduino
Written by
Saeed Olfat
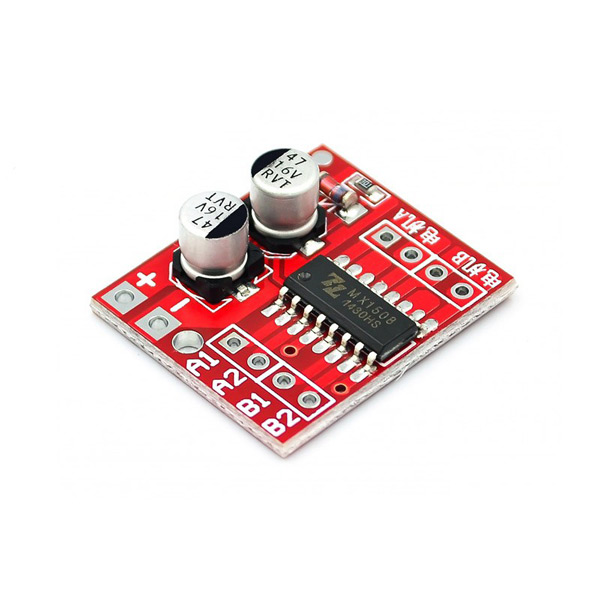
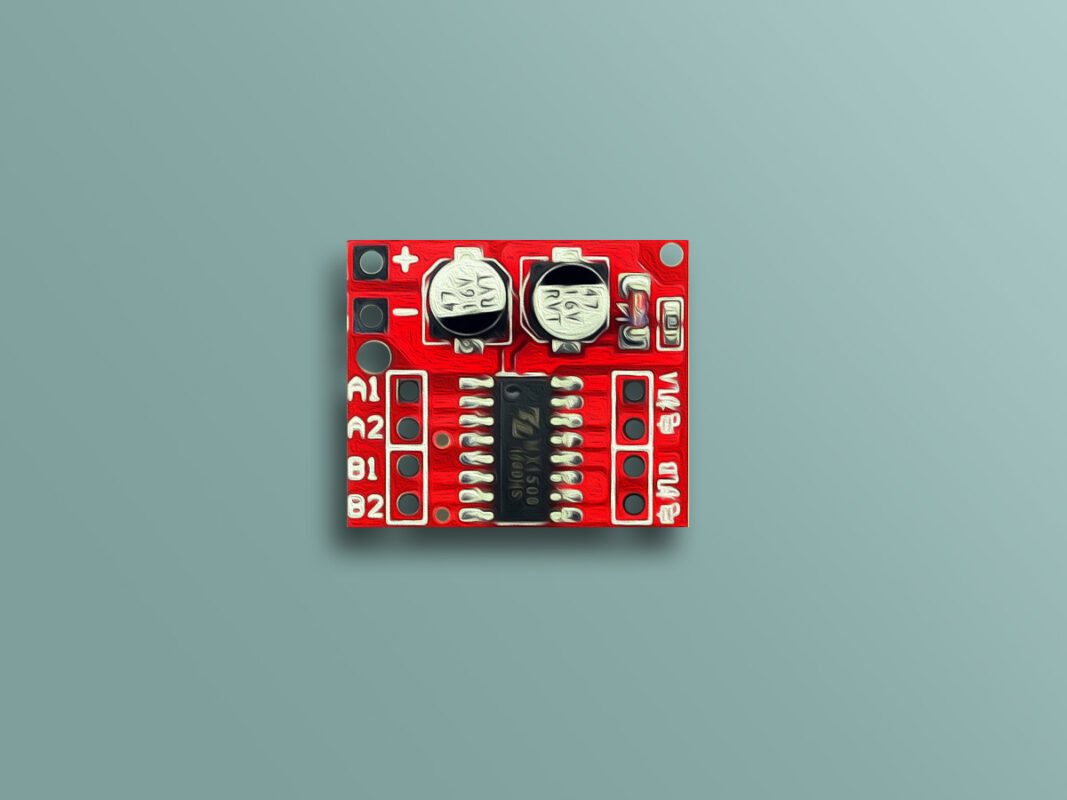
MX1508 Motor Driver Module Features
The MX1508 driver is one of the cheapest drivers for running DC motors with a maximum current of 2 amps. Small dimensions and simple setup are the positive features of this module.
The MX1508 is a dual full-bridge motor driver that allows two DC motors to be connected simultaneously.
Note
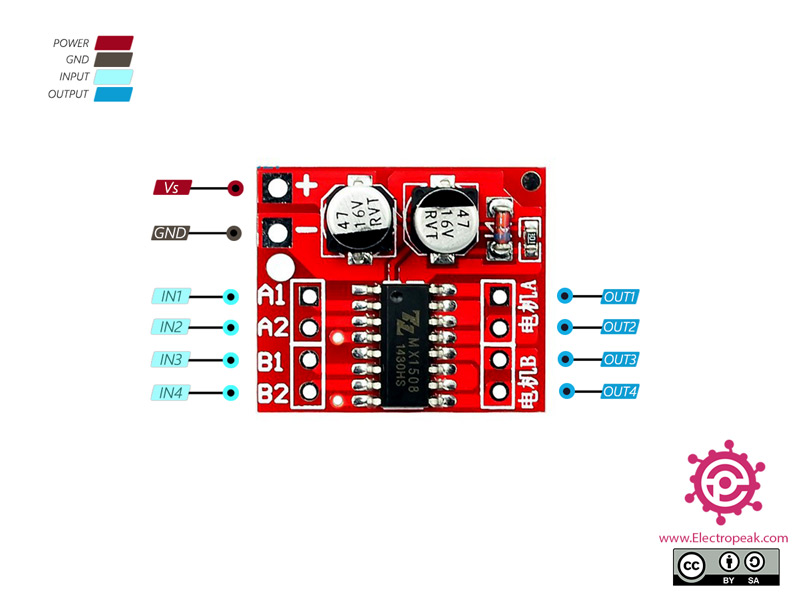
The MX1508 motor controller follows the H-bridge configuration, which is handy to drive a stepper motors.
This driver has a temperature protection circuit that disables the driver in case of overheating. The features of this module are as follows:
Operating voltage range: DC 2-9.6 V
Max output current: 1.5 A (Peak 2 A)
Max working temperature: 15 °C
You can download the datasheet of this module here.
*/
void setup() {
pinMode(8, OUTPUT); //IN2
pinMode(9, OUTPUT); //IN1
}
void loop() {
// Full speed forward
digitalWrite(8, HIGH);
digitalWrite(9, LOW);
delay(3000);
// Full speed backward
digitalWrite(8, LOW);
digitalWrite(9, HIGH);
delay(3000);
// 0 to 100% speed in forward mode
for (int i=0;i<256;i++)
{ digitalWrite(8, HIGH);
analogWrite(9, i);
delay(20);
}
delay(50);
// 0 to 100% speed in backward mode
for (int i=255;i<0;i--)
{ digitalWrite(8, LOW);
analogWrite(9, i);
delay(20);
}
delay(50);
}
As you can see in the code, the engine first moves forward for 3 seconds and backward for 3 seconds. Then the engine stops and its speed increases from 0 to 100% in the forward direction with constant acceleration, , and then the same movement is done in reverse.


Comments (2)
My dear, on 8 an9 pin as you described doesnt work (backword I think). This is for arduino nano. Instead of this try pin 9 and pin 10!
Hi.
Oh, you’re right! Thank you for your precise attention. I kind of tried to fix it just by modifying the code. Now the code is updated.