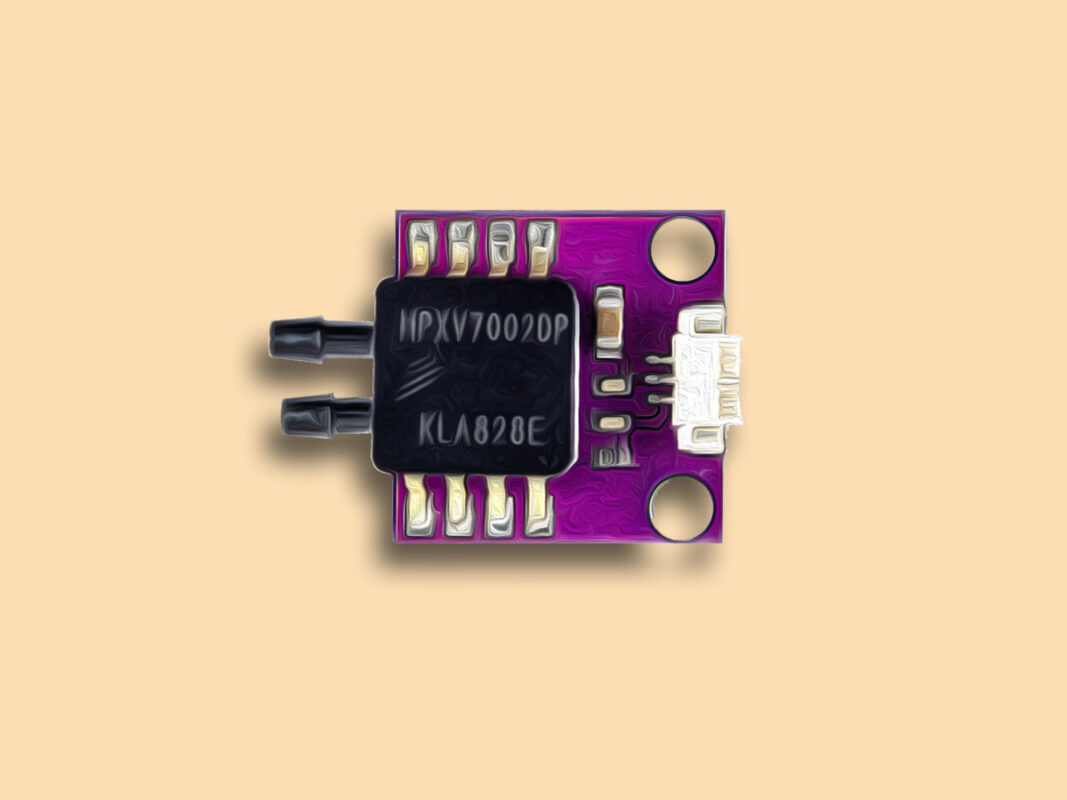
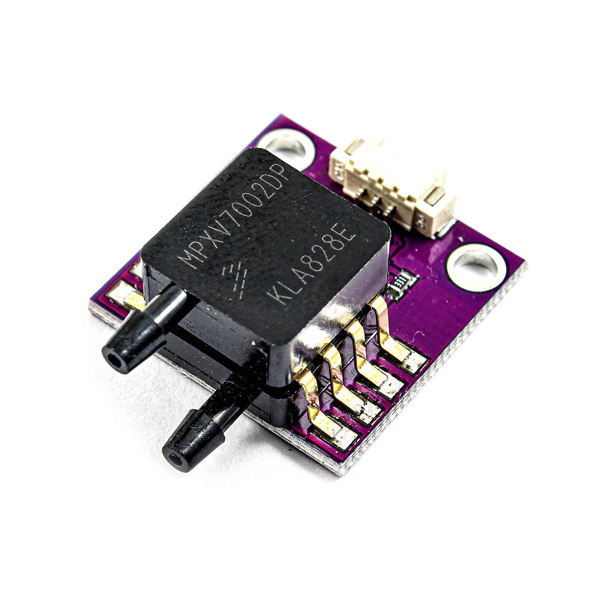
MPXV7002 Airspeed Module Features
The MPXV7002 series piezoresistive transducer in the small outline package (SOP) is a state-of-the-art monolithic silicon pressure sensor designed for a wide range of applications, but particularly those employing a microcontroller or microprocessor with A/D inputs. This patented, single element transducer combines advanced micromachining techniques, thin-film metallization, and bipolar processing to provide an accurate, high level analog output signal that is proportional to the applied pressure.
The MPXV7002 is designed to measure positive and negative pressure. In addition, with an offset specifically at 2.5V instead of the conventional 0V, this new series allows to measure pressure up to 7kPa through each port for pressure sensing but also for vacuum sensing. This module can be embedded on Arduplane as an airspeed sensor, to help for slow flighting and independent landing in the unstable wind conditions.
Note
MPXV7002 Airspeed Module Pinout
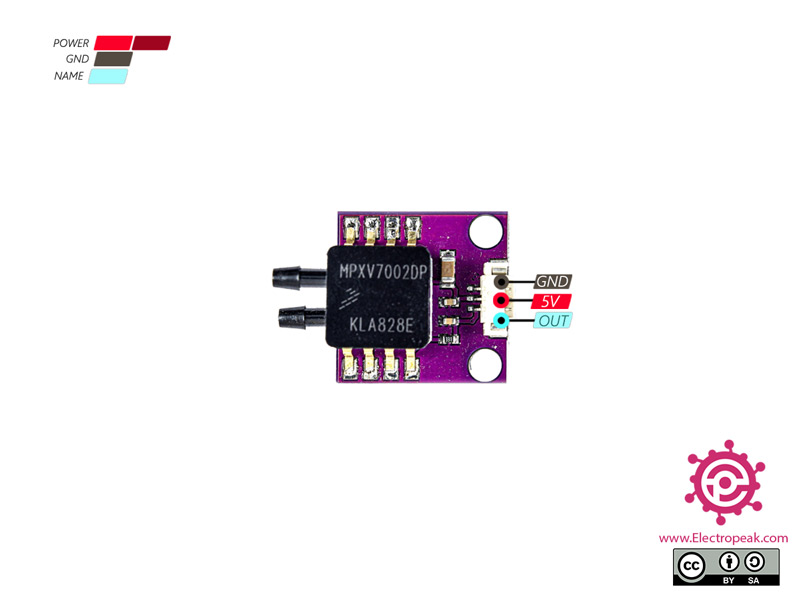
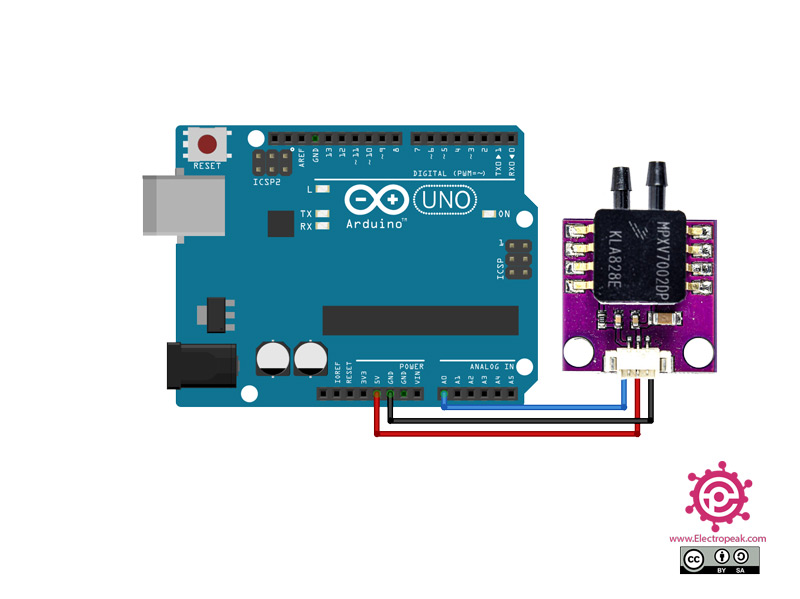
This sensor has 3 pins:
- VCC: Module power supply – 2.7-5.5 V
- GND: Ground
- OUT: Analog output data to microcontroller
You can see pinout of this module in the image below.
You can download the datasheet of this module here.
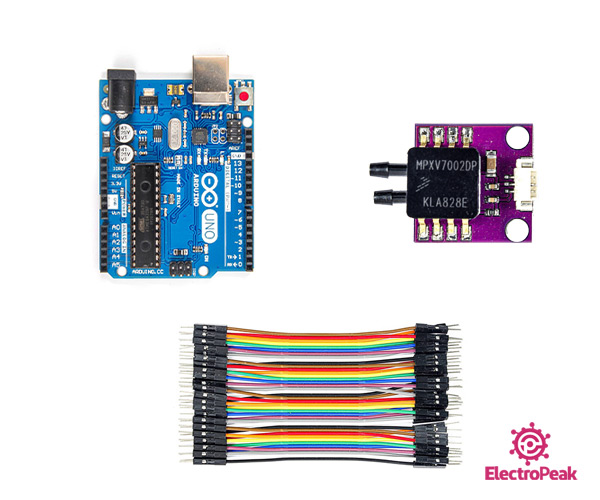
Required Materials
Hardware Components
Software Apps
Interfacing MPXV7002 Airspeed Module with Arduino
Step 1: Circuit
Step 2: Code
/*
  modified on Sep 8, 2020
  Modified by MohammedDamirchi from Arduino Examples
  Home
*/

// the setup routine runs once when you press reset:
void setup() {
  // initialize serial communication at 9600 bits per second:
  Serial.begin(9600);
}

// the loop routine runs over and over again forever:
void loop() {
  // read the input on analog pin 0:
  int sensorValue = analogRead(A0);
  // print out the value you read:
  Serial.println(sensorValue);
  }
