
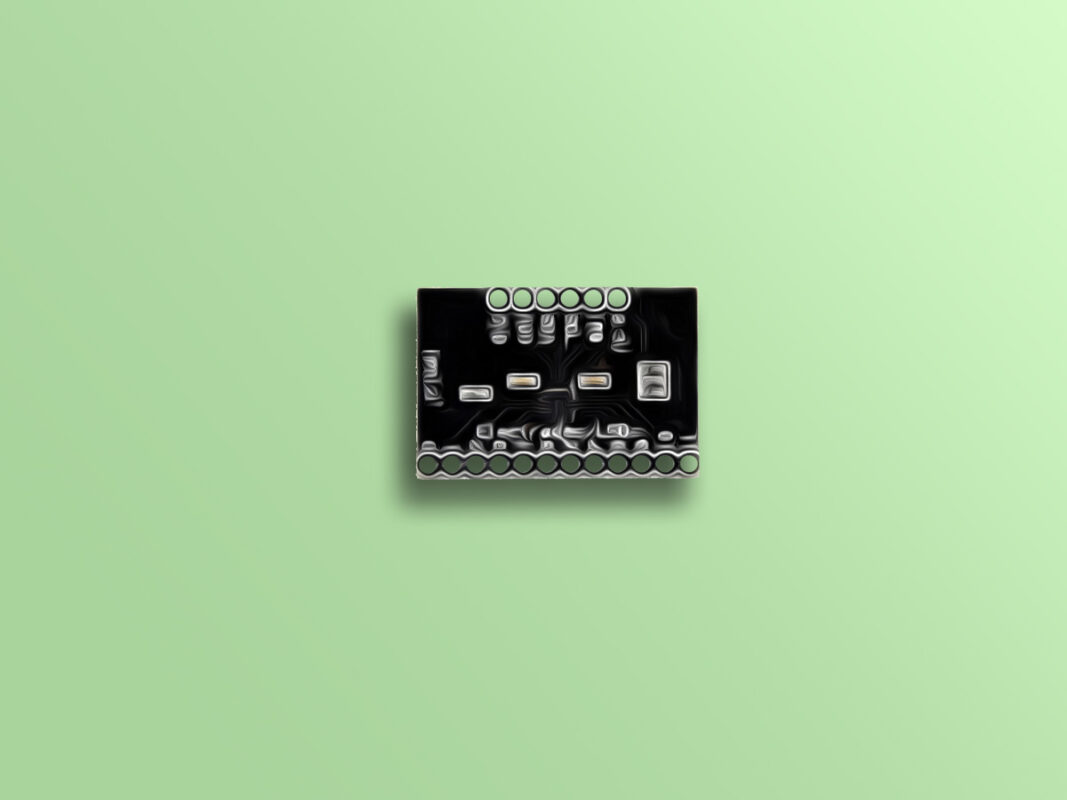
MPR121 Capacitive Touch Sensor Features
The MPR121 capacitive touch sensor module is a high-precision touch sensor. This module has 12 touch buttons and supports I2C communication and can be easily interfaced with any microcontroller. There is no regulator on the board, so the supply voltage should be between 1.7 to 3.6VDC.
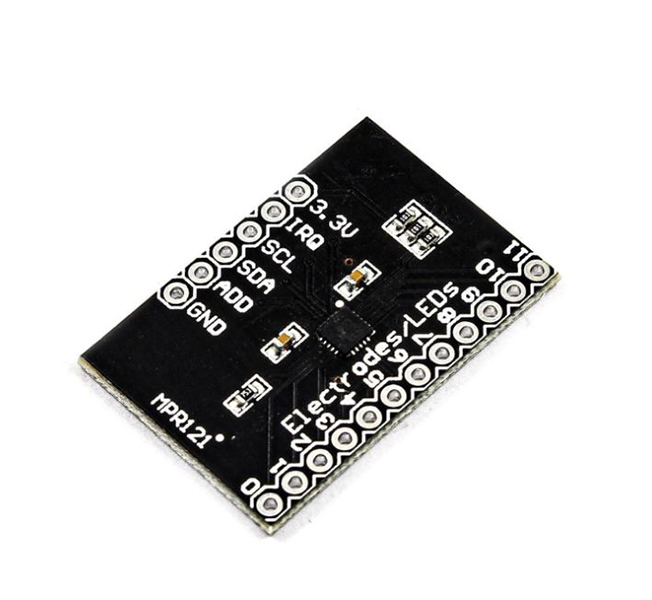
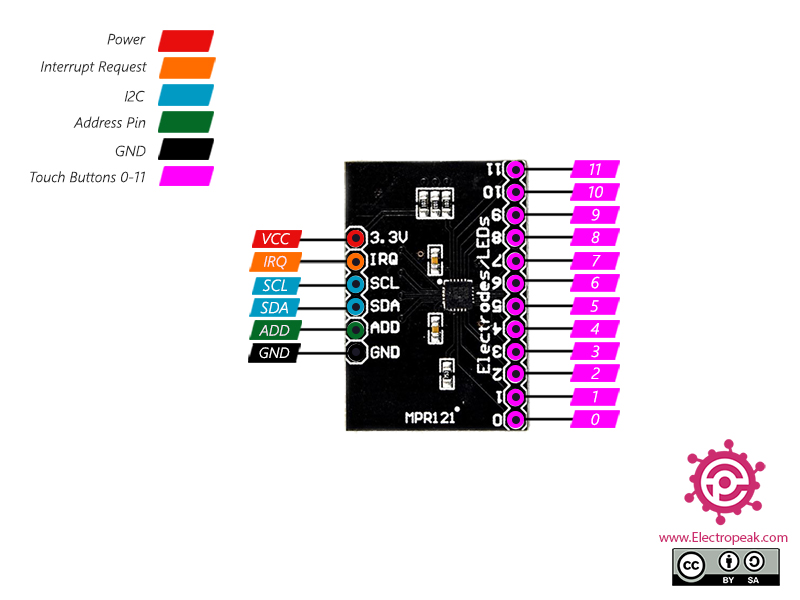
MPR121 Capacitive Touch Sensor Pinout
This module has 18 pins:
6 Pins on the left:
- VCC: Module power supply – 3.3V
- IRQ: Interrupt output
- SCL: Serial Clock Input for I2C protocol
- SDA: Serial Data Input/Output for I2C protocol
- ADD: Adjusting address for I2C protocol
- GND: Ground
12 pins on the right:
- 0-11: Touch buttons
Note
The I2C address is 0x5A by default, and it will be 0x5B if ADD pin is connected to VCC, 0x5C if ADD pin is connected to SDA, and 0x5D if ADD pin is connected to SCL.
You can see the pinout of this module in the image below.
Required Materials
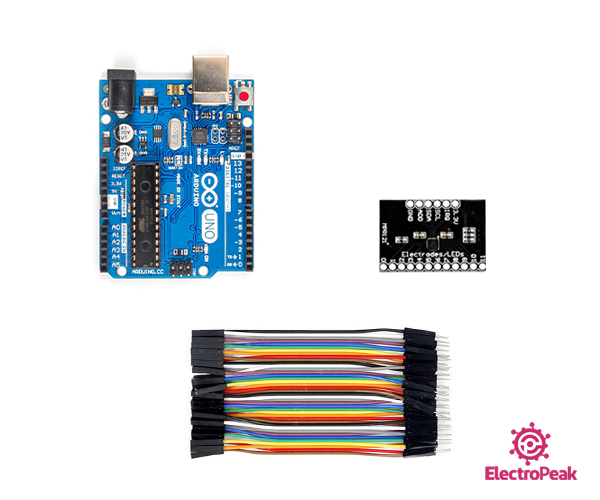
Hardware Components
Software Apps
Interfacing MPR121 Capacitive Touch Sensor with Arduino
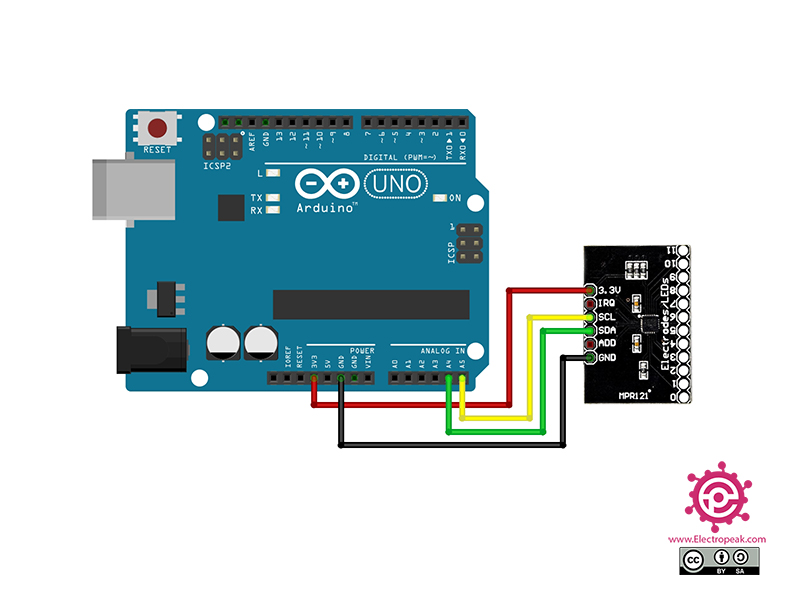
Step 1: Circuit
The following circuit shows how you should connect Arduino to MPR121 module. Connect wires accordingly.
Step 2: Library
Go to Library manager and install the Adafruit MPR121 library.

Tip
If you need more help with installing a library on Arduino, read this tutorial: How to Install an Arduino Library
Step 3: Code
Upload the following code to Arduino. After that, open the Serial Monitor.
   /*
  Modified on Jan 20, 2021
  Modified by MehranMaleki from Arduino Examples
  Home
*/

#include <Wire.h>
#include "Adafruit_MPR121.h"

#ifndef _BV
#define _BV(bit) (1 << (bit))
#endif

// You can have up to 4 on one i2c bus but one is enough for testing!
Adafruit_MPR121 cap = Adafruit_MPR121();

// Keeps track of the last pins touched
// so, we know when buttons are 'released'
uint16_t lasttouched = 0;
uint16_t currtouched = 0;

void setup () {
  Serial.begin(9600);

  while (!Serial) { // needed to keep leonardo/micro from starting too fast!
    delay(10);
  }

  Serial.println("Adafruit MPR121 Capacitive Touch sensor test");

  // Default address is 0x5A, if tied to 3.3V its 0x5B
  // If tied to SDA its 0x5C and if SCL then 0x5D
  if (!cap.begin(0x5A)) {
    Serial.println("MPR121 not found, check wiring?");
    while (1);
  }
  Serial.println("MPR121 found!");
}

void loop() {
  // Get the currently touched pads
  currtouched = cap.touched();

  for (uint8_t i = 0; i < 12; i++) {
    // it if *is* touched and *wasnt* touched before, alert!
    if ((currtouched & _BV(i)) && !(lasttouched & _BV(i)) ) {
      Serial.print(i); Serial.print("  touched");
    }
    // if it *was* touched and now *isnt*, alert!
    if (!(currtouched & _BV(i)) && (lasttouched & _BV(i)) ) {
      Serial.println("         released");
    }
  }

  // reset our state
  lasttouched = currtouched;

  // comment out this line for detailed data from the sensor!
  return;

  // debugging info, what
  Serial.print("\t\t\t\t\t\t\t\t\t\t\t\t\t 0x"); Serial.println(cap.touched(), HEX);
  Serial.print("Filt: ");
  for (uint8_t i = 0; i < 12; i++) {
    Serial.print(cap.filteredData(i)); Serial.print("\t");
  }
  Serial.println();
  Serial.print("Base: ");
  for (uint8_t i = 0; i < 12; i++) {
    Serial.print(cap.baselineData(i)); Serial.print("\t");
  }
  Serial.println();

  // put a delay so it isn't overwhelming
  delay(1000);
}
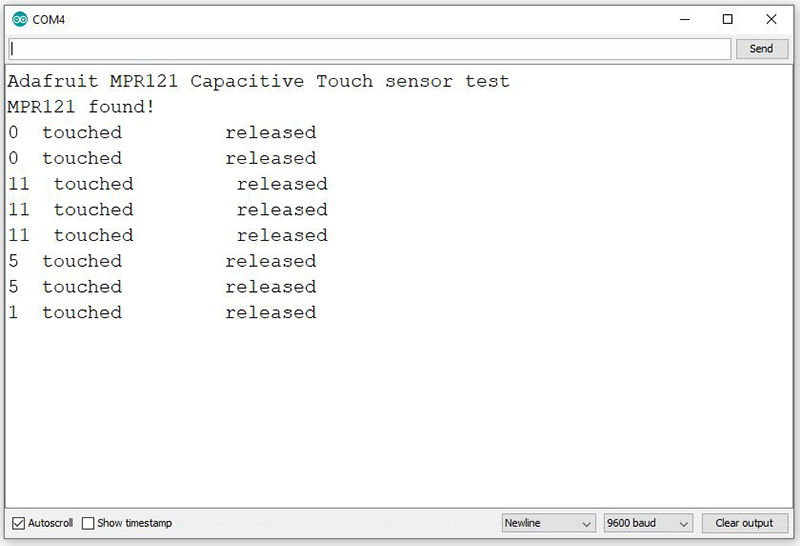
The above code first checks whether the module is properly connected to the Arduino Board or not. Then it displays the touch and release of each key on the Serial Monitor.
The output is as follows.

Comment (1)
excellent explanation… i did everything as U did the tutorial and works great… now i have a question i need that the MPR121 send some letters as keyboard to the Word can it be done? i all ready did it with another code and i wanna integrate this to the arduino code with the MPR121 capacity sensor… Can it be done? HOPE U CAN HELP ME… Best REGARDS
#include
int upStatus=1;
int upStatusPrev=1;
int leftStatus=1;
int leftStatusPrev=1;
int downStatus=1;
int downStatusPrev=1;
int rightStatus=1;
int rightStatusPrev=1;
int sensor;
void setup()
{
pinMode(4,INPUT_PULLUP);
pinMode(5,INPUT_PULLUP);
pinMode(6,INPUT_PULLUP);
pinMode(7,INPUT_PULLUP);
Keyboard.begin();
}
void loop()
{
upStatus=digitalRead(4);
leftStatus=digitalRead(5);
downStatus=digitalRead(6);
rightStatus=digitalRead(7);
//UP ARROW PRESSED
if (upStatus!=upStatusPrev && upStatus==LOW)
{
Keyboard.press(‘w’);
upStatusPrev=upStatus;
}
//UP ARROW RELEASED
if (upStatus!=upStatusPrev && upStatus==HIGH)
{
Keyboard.release(‘w’);
upStatusPrev=upStatus;
}
//LEFT ARROW PRESSED
if (leftStatus!=leftStatusPrev && leftStatus==LOW)
{
Keyboard.press(‘a’);
leftStatusPrev=leftStatus;
}
//LEFT ARROW RELEASED
if (leftStatus!=leftStatusPrev && leftStatus==HIGH)
{
Keyboard.release(‘a’);
leftStatusPrev=leftStatus;
}
//DOWN ARROW PRESSED
if (downStatus!=downStatusPrev && downStatus==LOW)
{
Keyboard.press(‘s’);
downStatusPrev=downStatus;
}
//DOWN ARROW RELEASED
if (downStatus!=downStatusPrev && downStatus==HIGH)
{
Keyboard.release(‘s’);
downStatusPrev=downStatus;
}
//RIGHT ARROW PRESSED
if (rightStatus!=rightStatusPrev && rightStatus==LOW)
{
Keyboard.press(‘j’);
rightStatusPrev=rightStatus;
}
//RIGHT ARROW RELEASED
if (rightStatus!=rightStatusPrev && rightStatus==HIGH)
{
Keyboard.release(‘j’);
rightStatusPrev=rightStatus;
}
}