ML8511 UV Sensor Module Features
Most electrical devices, such as desktop computers, cell phones, TV monitors, etc are sources of ultraviolet radiation. Ultraviolet radiation can cause many skin diseases and burns. Therefore, it is essential to know the amount of UV light in the environment. The ML8511 UV sensor module can be used to calculate the intensity of UV light in the environment. This sensor is quite easy to use. It outputs an analog voltage that changes linearly according to the intensity of UV light in the environment.
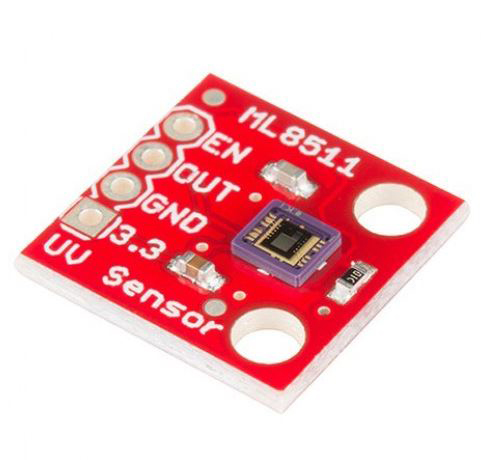
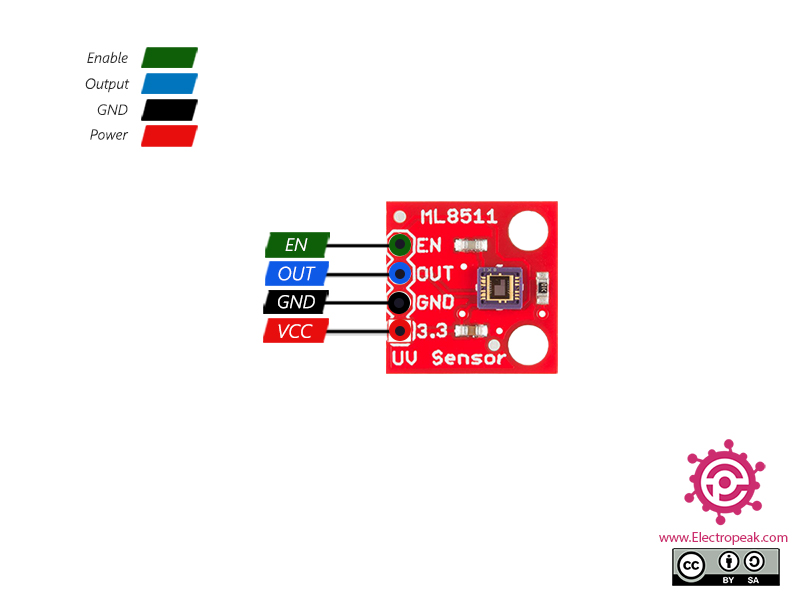
ML8511 UV Sensor Module Pinout
This module has 4 pins:
- EN: Enable sensor (It is Active High. For enabling the sensor, it must be connected to VCC)
- OUT: Analog output
- GND: Ground
- VCC: Module power supply – 3.3V
Required Materials
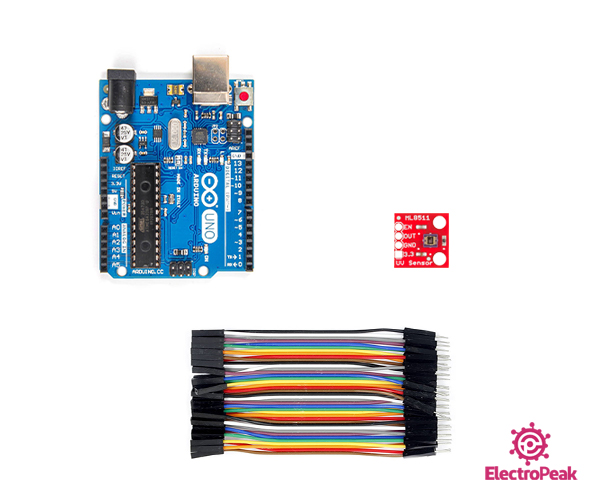
Hardware Components
Software Apps
Interfacing ML8511 UV Sensor Module with Arduino
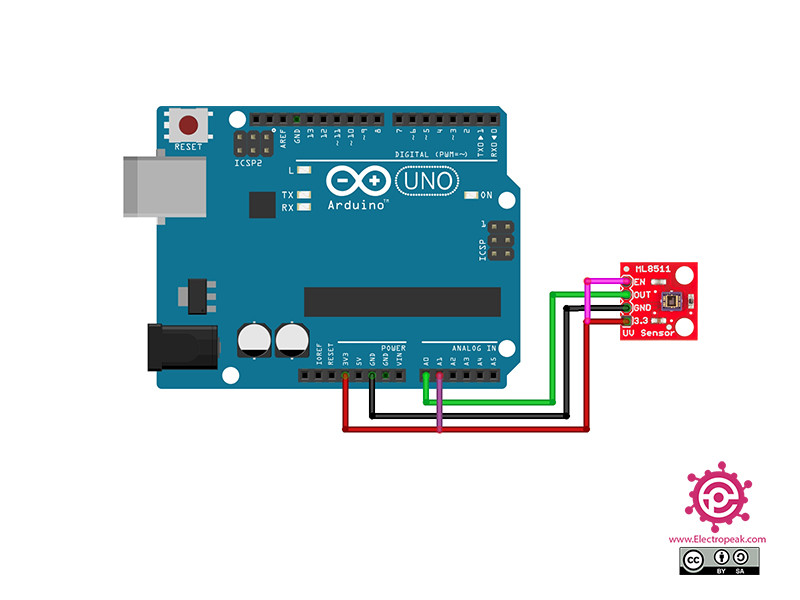
Step 1: Circuit
The following circuit shows how you should connect the Arduino Board to the ML8511 module. Connect wires accordingly.
Step 2: Code
Upload the following code to your Arduino. After that, open the Serial Monitor.
/*
Made on Mar 15, 2021
By MehranMaleki @ Electropeak
Home
*/
//pin definitions
int UV_OUT = A0; //Sensor Output
int REF_3V3 = A1; //3.3V power on the Arduino board
void setup()
{
Serial.begin(9600);
Serial.println("ML8511 example");
}
void loop()
{
int uv_Level = analogRead_average(UV_OUT);
int ref_Level = analogRead_average(REF_3V3);
//Use the 3.3V power pin as a reference to get a very accurate output value from sensor
float output_Voltage = 3.3 / ref_Level * uv_Level;
float uvIntensity = mapfloat(output_Voltage, 0.99, 2.8, 0.0, 15.0); //Convert the voltage to a UV intensity level -numbers from datasheet-
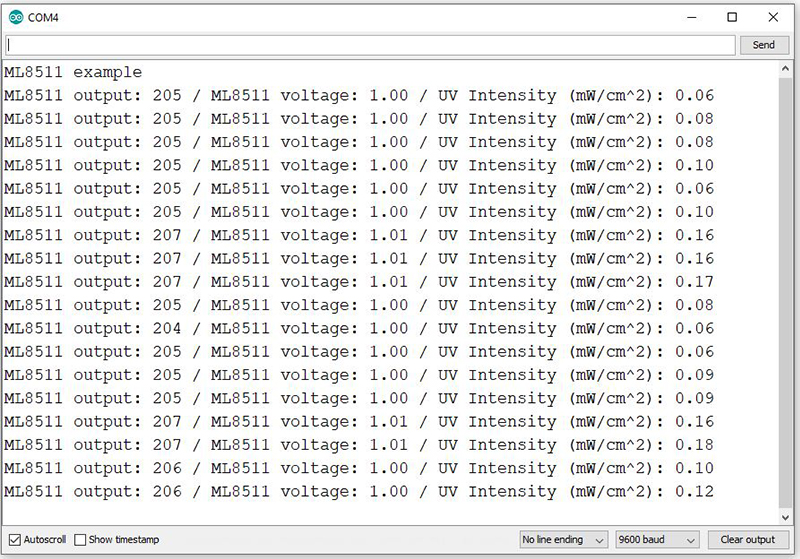
Serial.print("ML8511 output: ");
Serial.print(uv_Level);
Serial.print(" / ML8511 voltage: ");
Serial.print(output_Voltage);
Serial.print(" / UV Intensity (mW/cm^2): ");
Serial.print(uvIntensity);
Serial.println();
delay(500);
}
//Takes an average of readings on a given pin
//Returns the average
int analogRead_average(int pinToRead)
{
int NumberOfSamples = 8;
int runningValue = 0;
for(int x = 0; x < NumberOfSamples; x++)
runningValue += analogRead(pinToRead);
runningValue /= NumberOfSamples;
return(runningValue);
}
//The Arduino Map function but for floats
//From: http://forum.arduino.cc/index.php?topic=3922.0
float mapfloat(float x, float in_min, float in_max, float out_min, float out_max)
{
return (x - in_min) * (out_max - out_min) / (in_max - in_min) + out_min;
}
In this code, we have used the Arduino A0 pin to receive the analog output data. We have also connected the A1 pin to the 3.3V power supply and used it as a reference in order to measure the output voltage accurately. In this code, by measuring the output voltage, we can calculate the intensity of the ultraviolet light (mW / cm2).
Next, we can see the sensor’s function by turning on the phone flashlight and bringing it close to the sensor.
The output is as follows.