Contents

Interfacing L9110 / HG7881 Dual Channel Motor Driver Module with Arduino

L9110S Dual-Channel Driver Module Features

Motor driver modules are very common nowadays and widely used to control the speed and direction of motors. The L9110S dual-channel module is one of them. This module can control two DC motors and one stepper motor. It is based on L9110 IC. The key features are:

  • The allowable continuous current for each channel: 800 mA
  • The maximum allowable current: 1.5 A
  • Power supply: 2.5V to 12V
Note

The two connected pins to each DC motor can be PWM or digital. If defined as digital, it can only control the direction of motors motion.

You can see two similar modules based on L9110 IC in the pictures below.

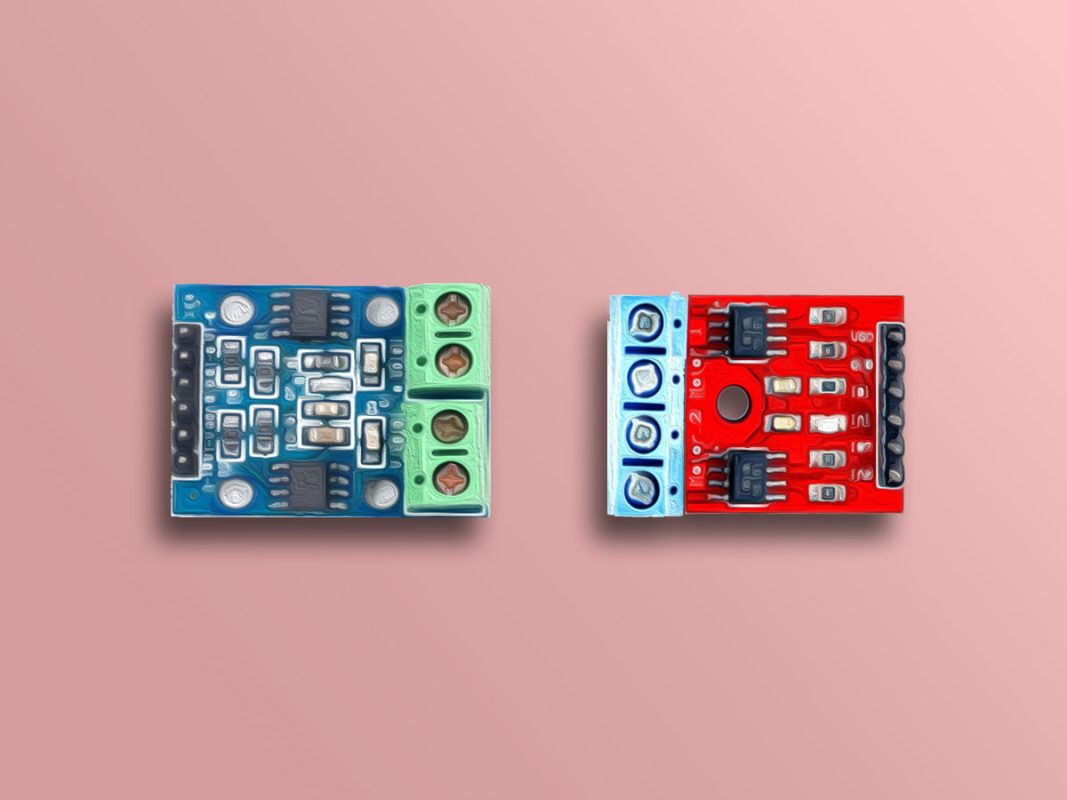
You can download the datasheet of L9110 IC here.

L9110S Dual-Channel Driver Module Pinout

This Module has following pins:

  • VCC: Module power supply
  • GND: Ground
  • M-A: Motor A pin
  • M-B: Motor B pin
  • A-1: Control signal for motor A
  • A-2: Control signal for motor A
  • B-1: Control signal for motor B
  • B-2: Control signal for motor B

You can see the pinout of these modules in the image below.

Note that with different modes, motor performance varies. See different modes below.

Required Materials

Hardware Components

Note

For this tutorial, you need to prepare only one of the motor driver modules.

Arduino UNO R3 × 1
L9110S H-bridge Stepper & DC motor Driver Controller Board × 1
L9110S Stepper Motor Driver × 1
Micro DC Motor 6V × 2
Male to Male jumper wire × 1

Software Apps

Arduino IDE

Interfacing L9110S Dual-Channel Driver Module with Arduino

Step 1: Circuit

The 2 following images show how you should connect Arduino to these modules. Connect wires accordingly.

Note

Connect Arduino GND pin to power supply GND pin.

Warning

Be careful not to use power supply greater than 6V, because the motors voltage are 6V.

Step 2: Code

Upload the following code to your Arduino.

   /*
   L9110S-Stepper-DC-motor-Driver-Module
  made on 28 oct 2020
  by Amir Mohammad Shojaee @ Electropeak
  
Home
*/ #define A1 5 // Motor A pins #define A2 6 #define B1 10 // Motor B pins #define B2 11 int incomingByte = 0; // for incoming serial data void setup() { pinMode(A1, OUTPUT); pinMode(A2, OUTPUT); pinMode(B1, OUTPUT); pinMode(B2, OUTPUT); digitalWrite(A1, LOW); digitalWrite(A2, LOW); digitalWrite(B1, LOW); digitalWrite(B2, LOW); Serial.begin(9600); // opens serial port, sets data rate to 9600 bps Serial.println("select direction of movement"); Serial.println("1.forward"); Serial.println("2.backward"); Serial.println("3.stop"); } int input = 0; void loop() { // send data only when you receive data: if (Serial.available() > 0) { // read the incoming byte: incomingByte = Serial.read(); input = incomingByte - 48; //convert ASCII code of numbers to 1,2,3 switch (input) { case 1: // if input=1 ....... motors turn forward forward(); break; case 2: // if input=2 ....... motors turn backward backward(); break; case 3: // if input=1 ....... motors turn stop Stop(); break; } delay(200); input=0; } } void forward() { //function of forward analogWrite(A1, 255); analogWrite(A2, 0); analogWrite(B1, 255); analogWrite(B2, 0); } void backward() { //function of backward analogWrite(A1, 0); analogWrite(A2, 210); analogWrite(B1, 0); analogWrite(B2, 210); } void Stop() { //function of stop digitalWrite(A1, LOW); digitalWrite(A2, LOW); digitalWrite(B1, LOW); digitalWrite(B2, LOW); }

Using this code, the motors direction can be controlled through the Serial Monitor. This means if you enter key number 1, the motor will move in the straight direction at maximum speed. If key number 2 is entered, the motor moves in the reverse direction at a speed less than the maximum. Finally, by pressing the number 3 key, the motor will stop.

Liked What You See?​
Get Updates And Learn From The Best​

Leave a Reply

Your email address will not be published. Required fields are marked *