Introduction
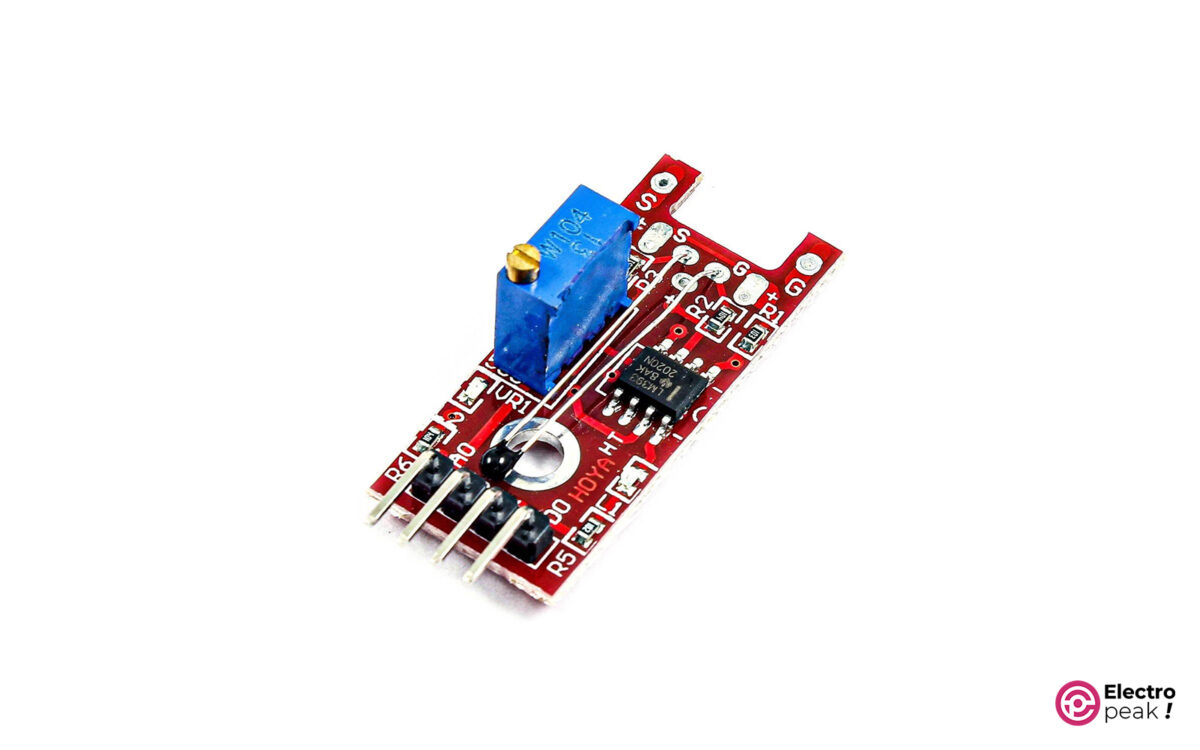
The KY-028 module contains a thermistor sensor that measures the ambient temperature. The resistance of the thermistor varies inversely with temperature. In addition, the analog and digital output pins provide the sensor’s data. When the value measured by the sensor exceeds the threshold, the digital pin goes HIGH, lighting up the LED on the module.
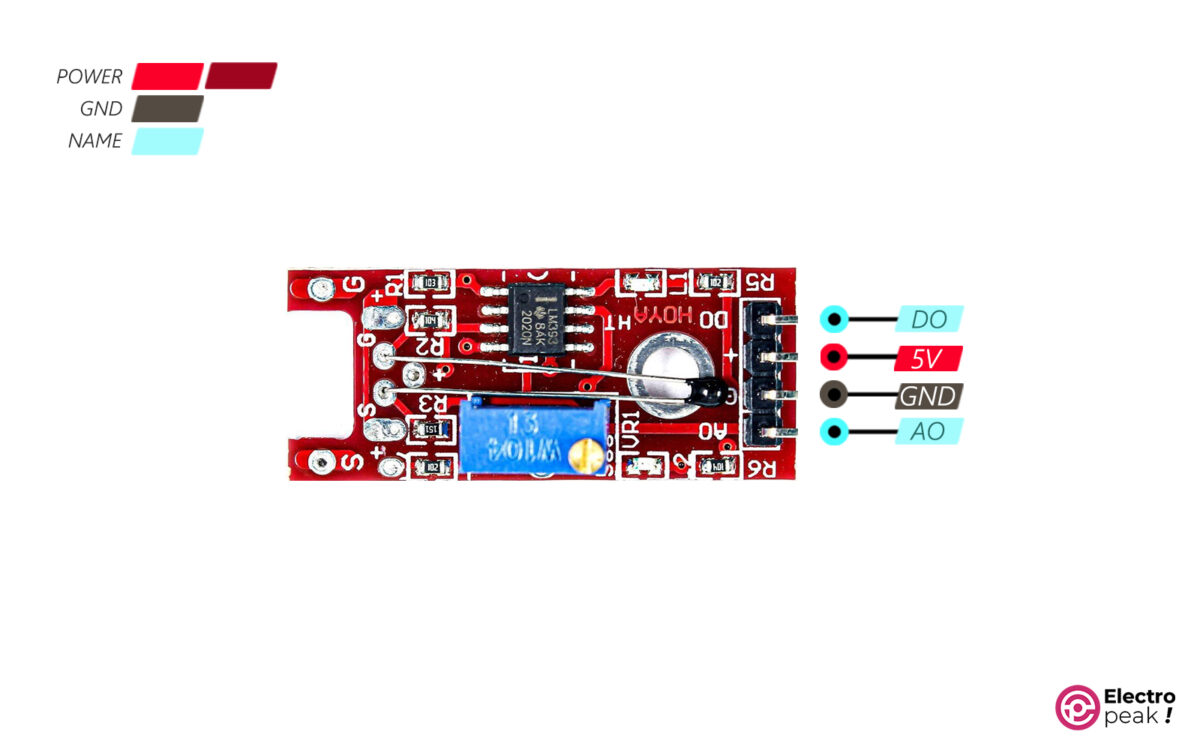
KY-028 Pinout
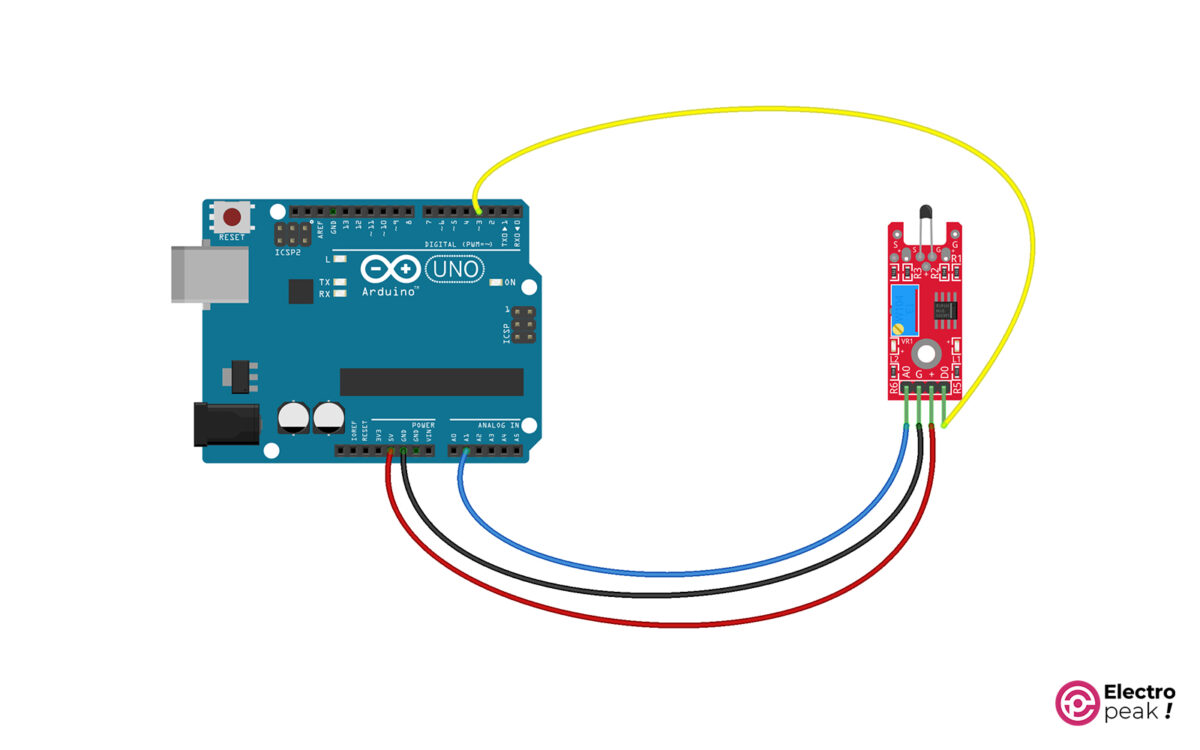
The KY-028 module has four pins:
• +: module power supply
• G: ground
• AO: analog output pin
• DO: digital output pin
Required Materials
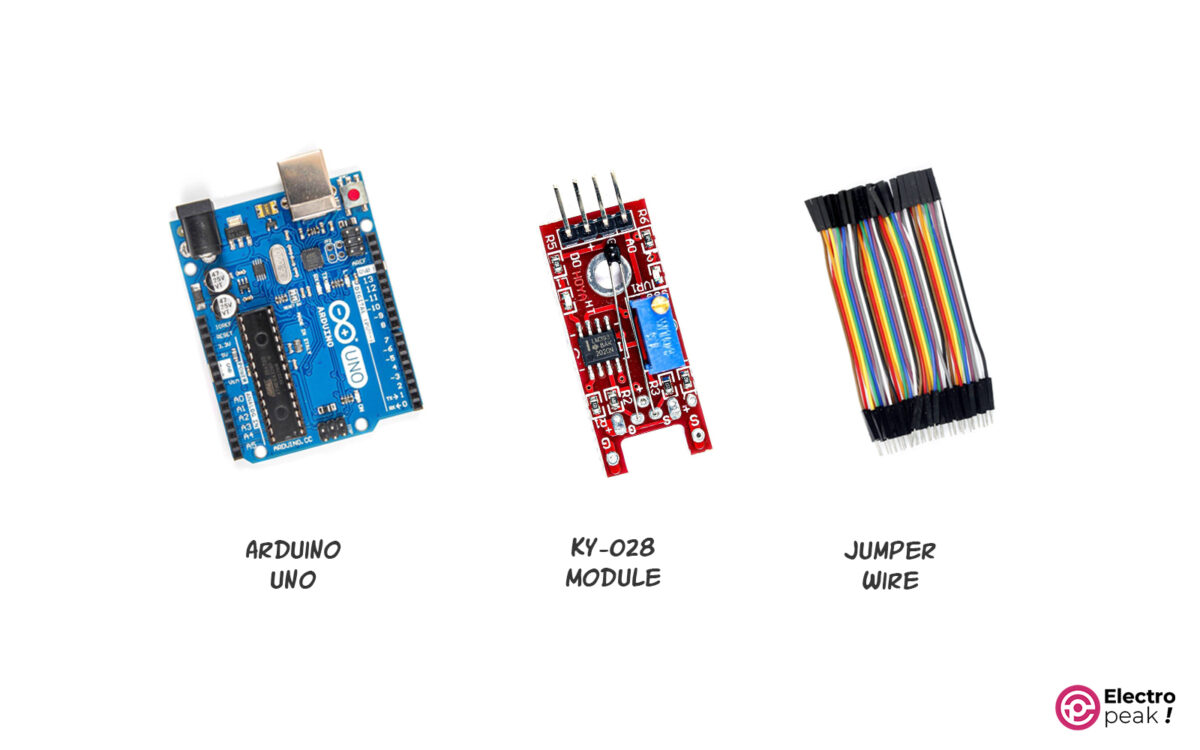
Hardware Components
Software
Interfacing KY-028 Module with Arduino
Step1: Wiring
Connect the components as shown in the image below.
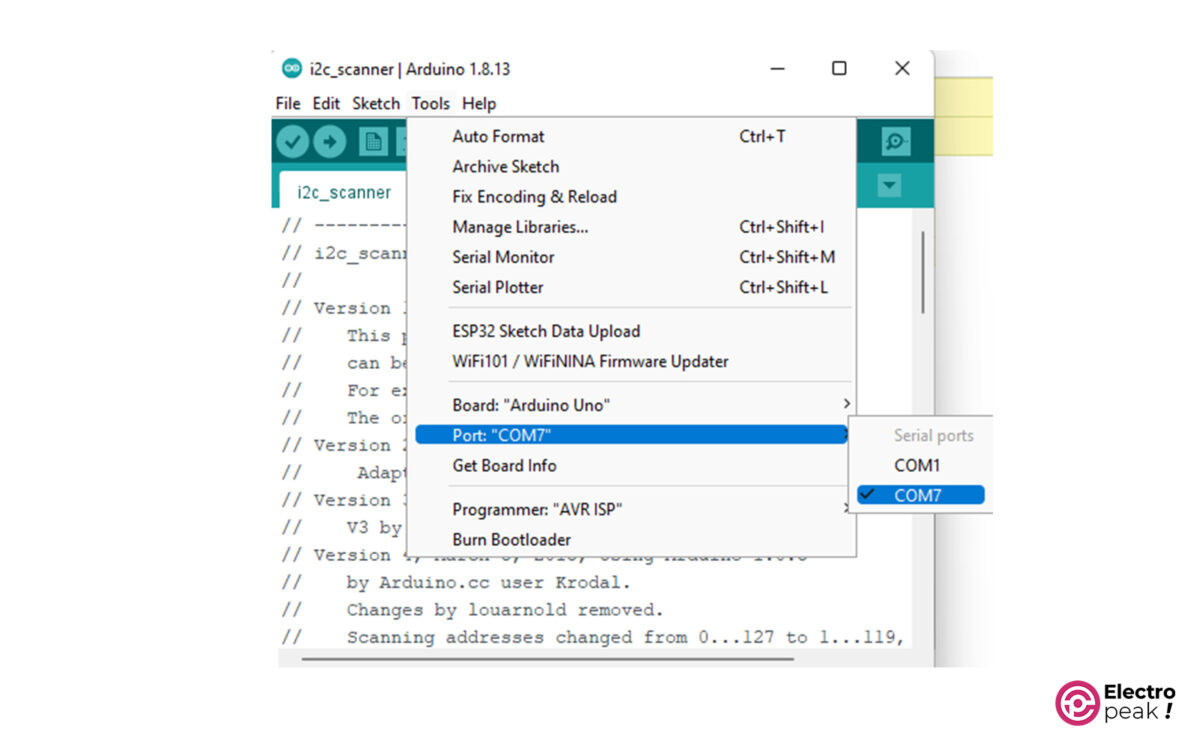
Step 2: Arduino IDE Software
In the Arduino IDE software, first, select the appropriate board type and then specify the port (images below).

Step 3: Code
Upload the code below on your Arduino.
int led = 13; // define the LED pin
int digitalPin = 3; // KY-028 digital interface
int analogPin = A1; // KY-028 analog interface
int digitalVal; // digital readings
int analogVal; //analog readings

void setup()
{
  pinMode(led, OUTPUT);
  pinMode(digitalPin, INPUT);
  //pinMode(analogPin, OUTPUT);
  Serial.begin(9600);
}

void loop()
{
  // Read the digital interface
  digitalVal = digitalRead(digitalPin);
  if(digitalVal == HIGH) // if temperature threshold reached
  {
    digitalWrite(led, HIGH); // turn ON Arduino's LED
  }
  else
  {
    digitalWrite(led, LOW); // turn OFF Arduino's LED
  }

  // Read the analog interface
  analogVal = analogRead(analogPin);
  Serial.println(analogVal); // print analog value to serial

  delay(100);
}
Here is a quick explanation of the above code:
int led = 13; // define the LED pin
int digitalPin = 3; // KY-028 digital interface
int analogPin = A1; // KY-028 analog interface
int digitalVal; // digital readings
int analogVal; //analog readings
In the above section, we define the required variables.
 pinMode(led, OUTPUT);
  pinMode(digitalPin, INPUT);
  pinMode(analogPin, OUTPUT);
This section deals with the characteristics of the pins.
digitalVal = digitalRead(digitalPin);
  if(digitalVal == HIGH) // if temperature threshold reached
  {
    digitalWrite(led, HIGH); // turn ON Arduino's LED
  }
  else
  {
    digitalWrite(led, LOW); // turn OFF Arduino's LED
  }

  // Read the analog interface
  analogVal = analogRead(analogPin);
  Serial.println(analogVal); // print analog value to serial
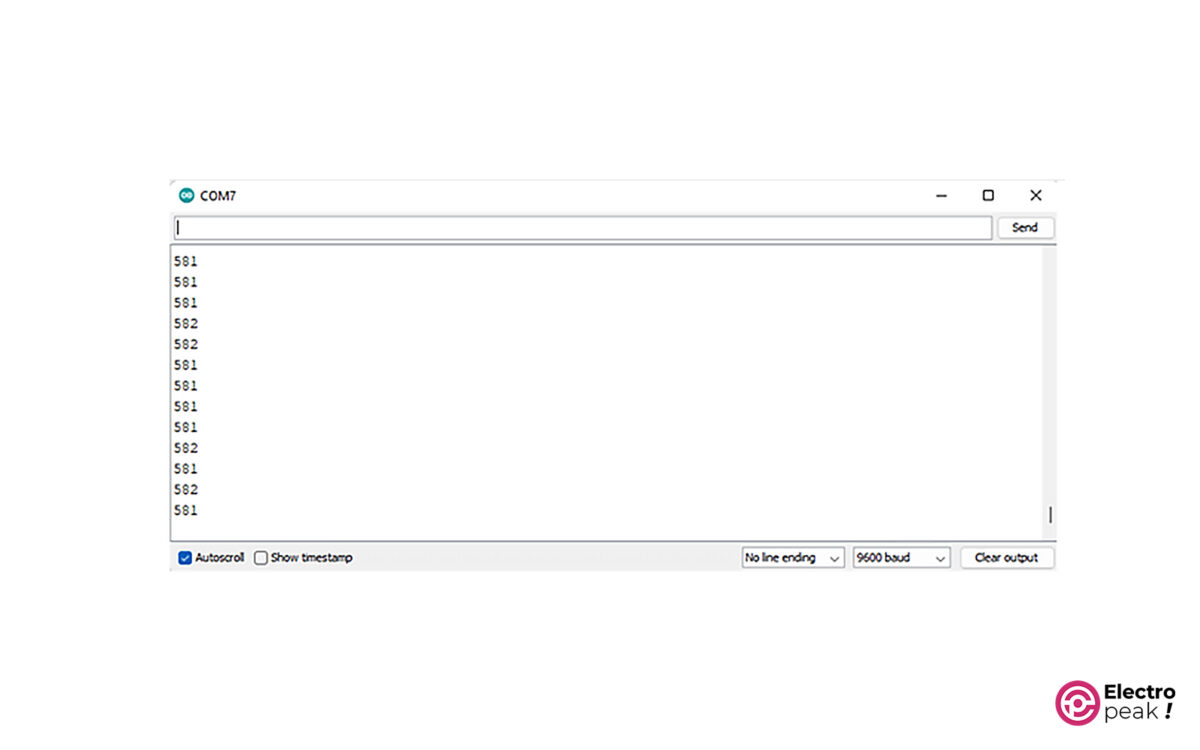
In this part, we read the value of “digitalPin.” If it’s high, the LED connected to pin #13 will turn on. Next, the AO pin value is read and displayed in the Serial Monitor window.
You can see the data related to the AO pin in the Serial Monitor window. In addition, you can observe the data changes by placing your finger on the sensor.