LJ12A3-4-Z/BX Inductive Proximity Sensor Features
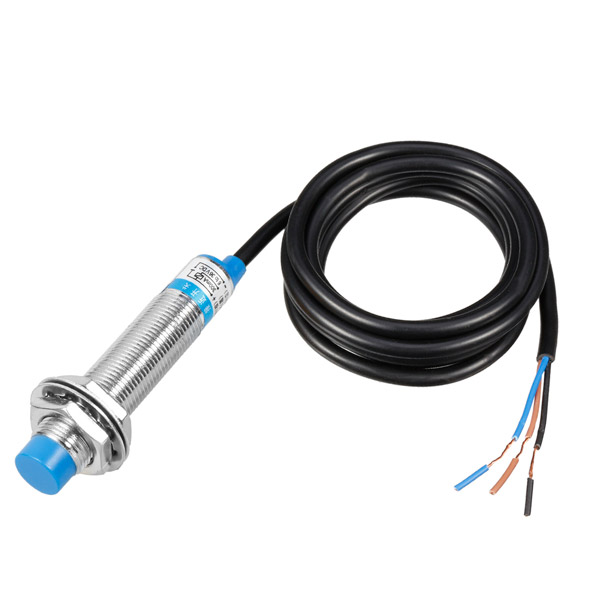
Proximity sensors are used to detect the presence of nearby objects. The LJ12A3-4-Z / BX sensor has three pins, two of which are connected to a supply voltage of 6 to 36 V. The output pin is PNP and NO (Normal Open). That is, it is normally Low and when it detects an object, it becomes HIGH. The detection distance is 4 mm, and it can only detect metal objects such as copper, aluminum, iron, etc.
Note
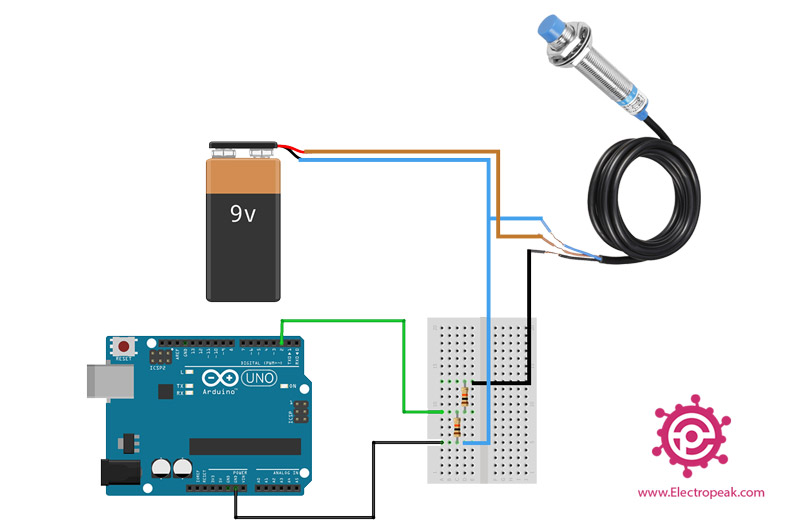
Since the operation voltage is more than 5 V, it can’t be powered by Arduino. So, we have used a battery to interface it.
Warning
Since the output voltage is more than 5 volts, we have used a voltage divider to connect the sensor output to the Arduino.
You can download the datasheet of this module here.
LJ12A3-4-Z/BX Inductive Proximity Sensor Pinout
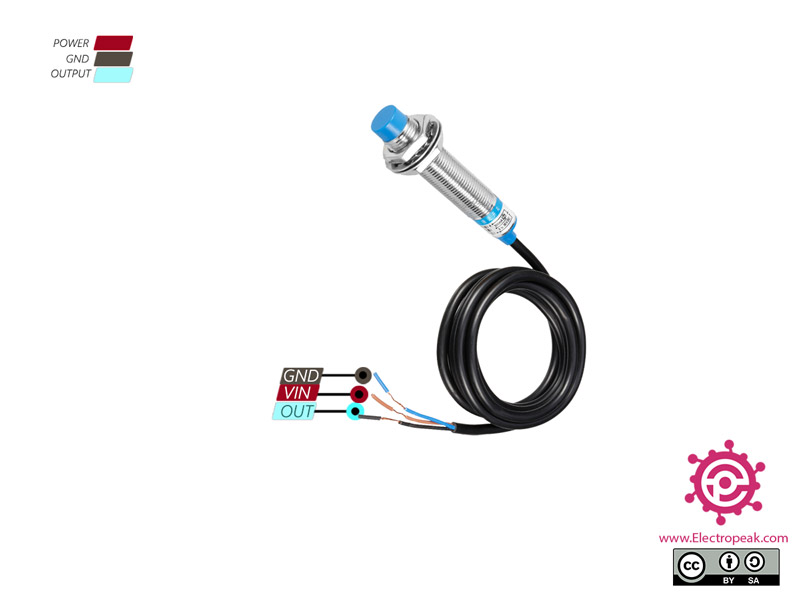
This Module has 3 pins:
- VCC: Module power supply – 6-36 V (Brown)
- GND: Ground (Blue)
- OUT: Digital output (Black)
You can see the pinout of this module in the image below.
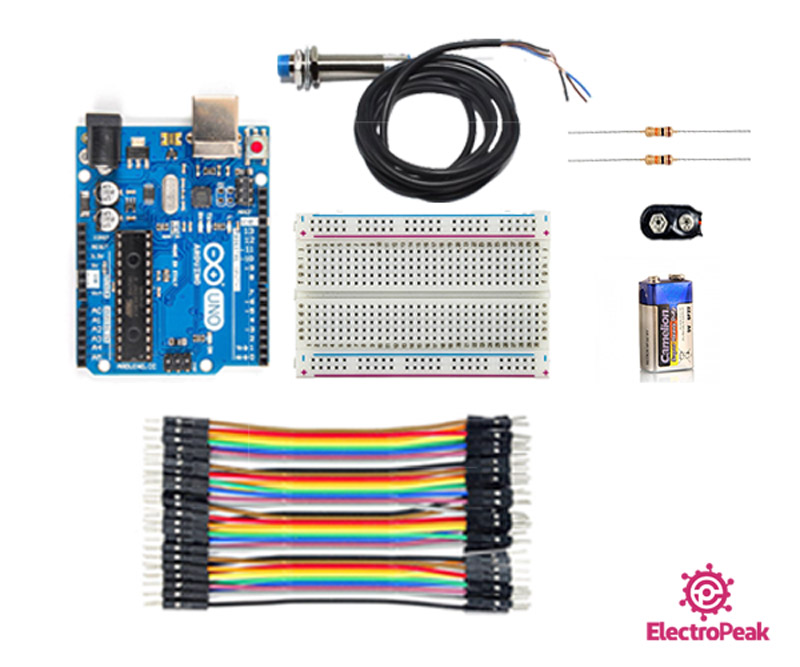
Required Materials
Hardware Components
Software Apps
Interfacing LJ12A3-4-Z/BX Inductive Proximity Sensor with Arduino
Step 1: Circuit
Reduce the Arduino input voltage from 9 V to 4.5 V as shown below through the voltage divider circuit. Then connect the middle end of the voltage divider circuit to the Arduino input pin.
Step 2: Code
Upload the following code to your Arduino.
   /*
  LJ12A3-4-ZBX-Inductive-Proximity-Sensor
  made on 04 Nov 2020
  by Amir Mohammad Shojaee @ Electropeak
  Home
*/

const int Pin=2;

void setup() {
    pinMode(Pin, INPUT);
    Serial.begin(9600);
}

void loop() {
    int sensorValue = digitalRead(Pin);
    if(sensorValue==HIGH){
        Serial.println("no Object");
        delay(500);
    }
    else{
        Serial.println("Object Detected");
        delay(500);
    }
}
First, we read the sensor output. If it is LOW, no object is near the sensor and if it is LOW, it has detected an object. This is done every half second.
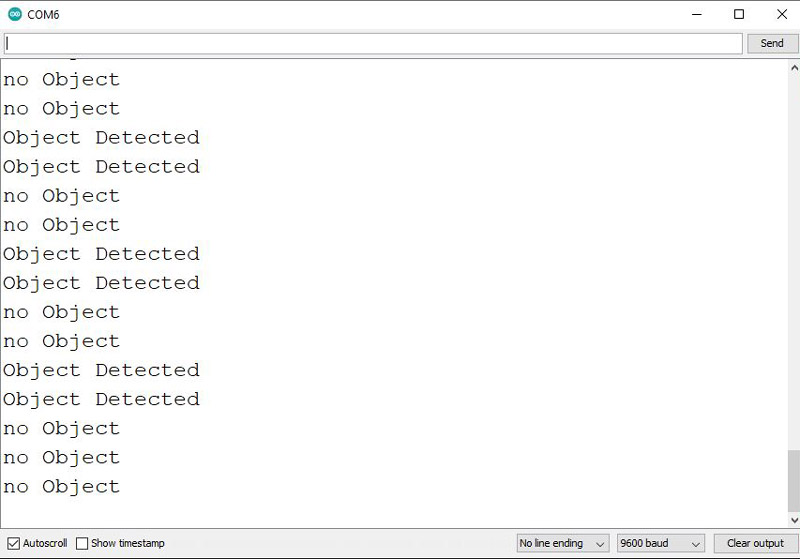
The output is as follows. We put a metal object in front of the sensor three times to see its performance.
