Interfacing GT-38 UART RF 433MHz Transceiver Module with Arduino
Written by
Mohammad Damirchi
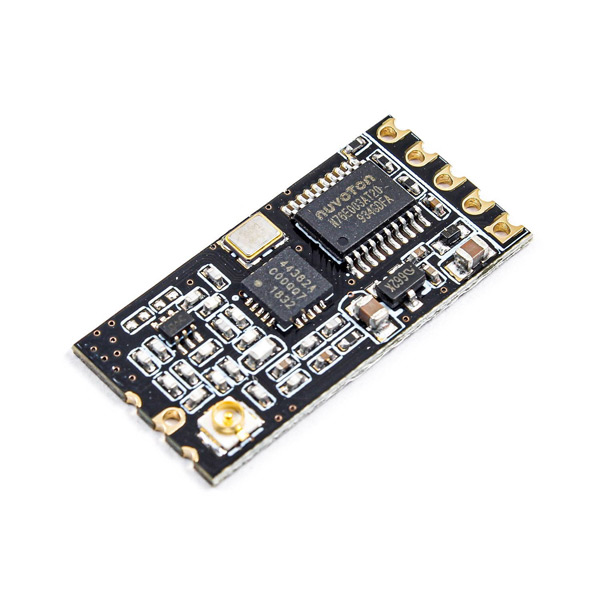
GT-38 Wireless Transceiver Module Features
Electronic devices need to be connected wirelessly in so many cases. In these cases, Radio Frequency or RF equipments are used. RF modules include all radio waves that can travel different distances and reach the receiver according to their frequency and amplitude.
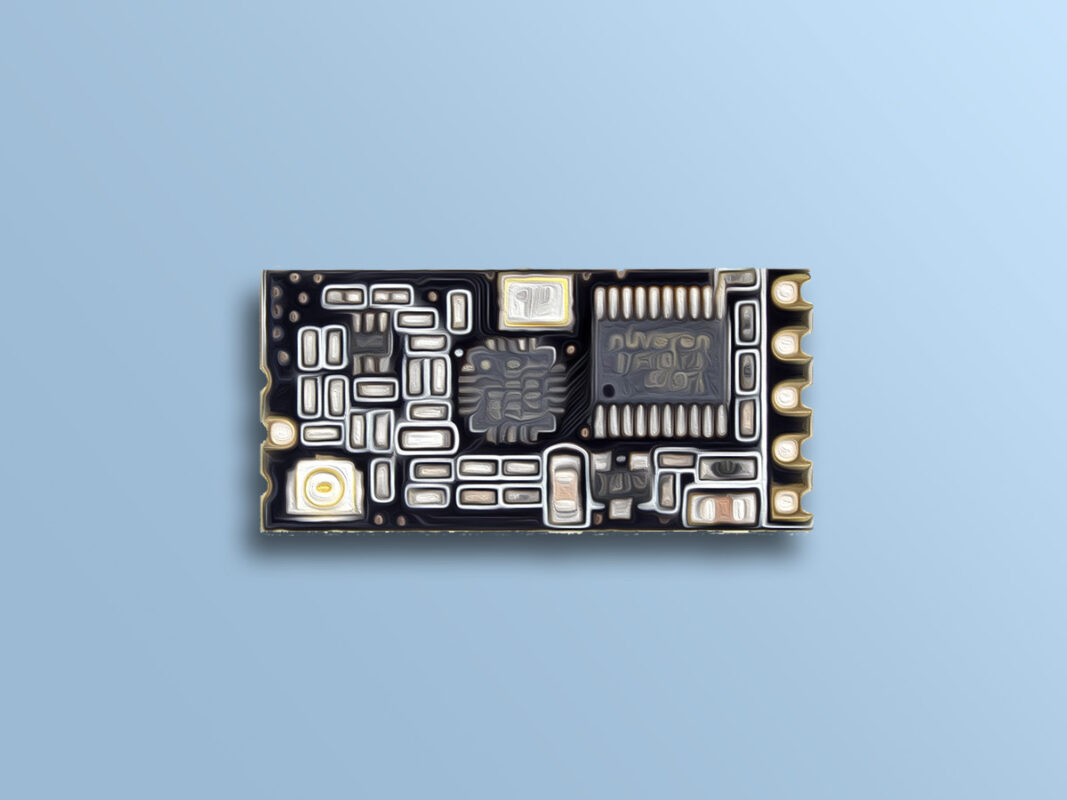
The GT-38 wireless module is a powerful wireless serial communication module with operating frequency range 433-458 MHz that is capable of transmitting data up to 1200 meters. Using this module, one can make wireless communication between two computers.
This module communicates through UART serial port and can be easily interfaced with all microcontrollers and minicomputers. The communication protocol is through UART and using AT commands.
The GT-38 module is designed to be easily installed on SMD boards. This board also has a built-in MCU and does not require separate programming on the module.
Note
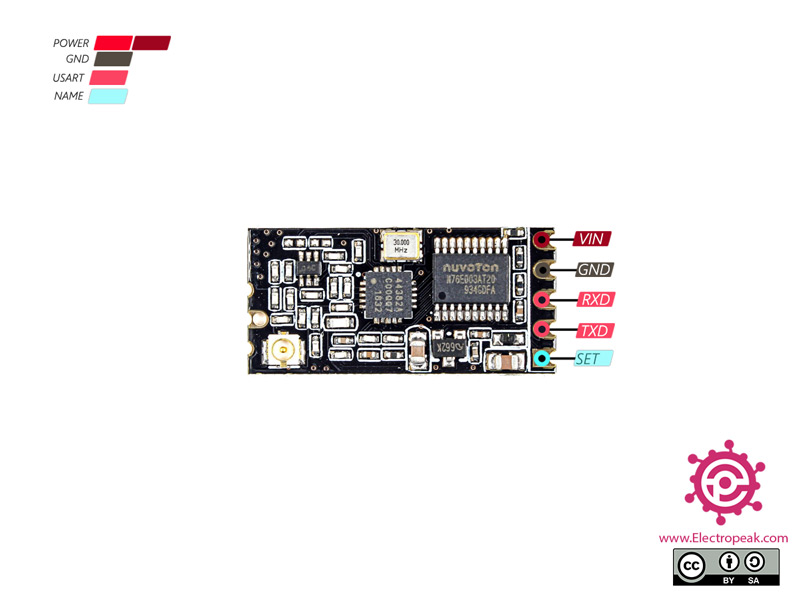
It is better to use a Voltage divider on the RX wire side of the module.
*/
#include <SoftwareSerial.h>
SoftwareSerial mySerial(10, 11); // RX, TX
void setup() {
// Open serial communications and wait for port to open:
Serial.begin(9600);
while (!Serial) {
; // wait for serial port to connect. Needed for native USB port only
}
// set the data rate for the SoftwareSerial port
mySerial.begin(9600);
}
void loop() { // run over and over
if (mySerial.available()) {
Serial.write(mySerial.read());
}
if (Serial.available()) {
mySerial.write(Serial.read());
}
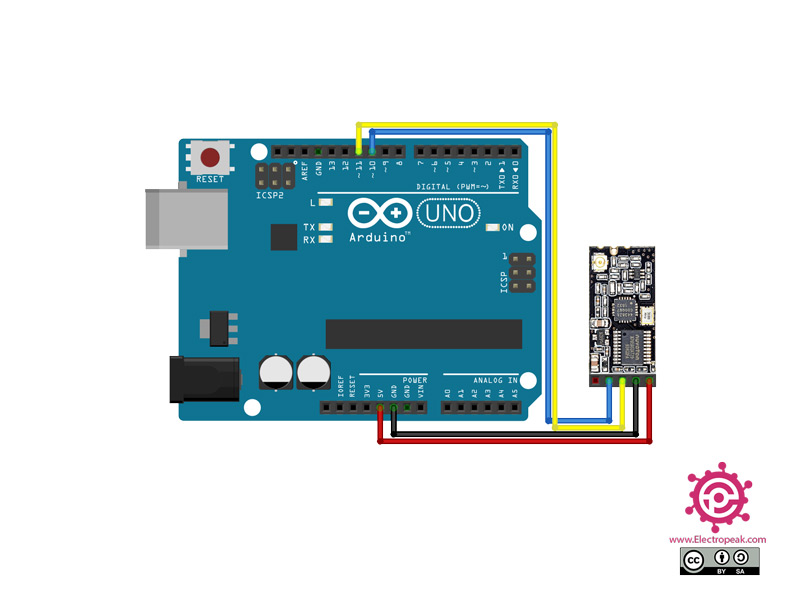
This code is for testing the connection between the two Arduino Boards.
I can’t get these things to talk AT ALL. Pulling SET low does not allow you to change anything. Entering “AT” results in “ERROR” being spat back at me before you can even add anything else, and nothing else works. Default settings of 9600 baud 8N1 443MHz with SET line now floating, send it some data, nothing happens, no transmission on scanner radio. Genuine HC12 would seem to be MUCH better then these POS modules. I bought ten of them, up to #5 now, and NONE of them work, none of them will configure via SET. Seller refuses to accept there is anything wrong with them, and will have to open a dispute at this stage. Anyone else had that issue with these things?
Hello my friend. Unfortunately, I haven’t had such issues with these modules yet. Have you tried our code here in this tutorial? The code is for testing the connection between two Arduino boards. The least it can do is to help you figure out whether there is actually something wrong with the modules you have or they’re OK and you haven’t been able to get them to work.
I have exactly the same problem and I have also successfully used HC-12 modules before… Did you find anything new?
I bought 35 pieces of GT-38 as a replacement of HC-12 and I also get the same problem when I’m sending any AT command: the module will return the text “ERROR”. From what I’ve read this happens if the module cannot understand the command. Since the return “ERROR” message is decoded correctly , it doesn’t seem like a BAUD issue or any Serial protocol problem like start/stop bit, parity bit and so on.
Do you have any ideas?
Hi,
The main thing that makes these two modules different is their manufacturer. Their specifications are very similar according to the datasheet. So, the only way to figure out their differences -if any- is to evaluate their capabilities in practice.
Hey,
Unfortunately, I don’t have much experience with Arduino MKR Zero and its software serial availability. But as far as I know, the currently Arduino core code sets up the Zero to create two serial ports, but there is no official software serial library yet.
So, you might have to either write the code and the library yourself or use another Arduino board that supports software serial.


Comments (10)
These are awesome useful utility style adding to an arduino that then is parleyed into many great projects.
I can’t get these things to talk AT ALL. Pulling SET low does not allow you to change anything. Entering “AT” results in “ERROR” being spat back at me before you can even add anything else, and nothing else works. Default settings of 9600 baud 8N1 443MHz with SET line now floating, send it some data, nothing happens, no transmission on scanner radio. Genuine HC12 would seem to be MUCH better then these POS modules. I bought ten of them, up to #5 now, and NONE of them work, none of them will configure via SET. Seller refuses to accept there is anything wrong with them, and will have to open a dispute at this stage. Anyone else had that issue with these things?
Hello my friend. Unfortunately, I haven’t had such issues with these modules yet. Have you tried our code here in this tutorial? The code is for testing the connection between two Arduino boards. The least it can do is to help you figure out whether there is actually something wrong with the modules you have or they’re OK and you haven’t been able to get them to work.
I have exactly the same problem and I have also successfully used HC-12 modules before… Did you find anything new?
I bought 35 pieces of GT-38 as a replacement of HC-12 and I also get the same problem when I’m sending any AT command: the module will return the text “ERROR”. From what I’ve read this happens if the module cannot understand the command. Since the return “ERROR” message is decoded correctly , it doesn’t seem like a BAUD issue or any Serial protocol problem like start/stop bit, parity bit and so on.
Do you have any ideas?
In Arduino’s Serial Interface, change ‘newline’ to ‘carriage return’ and it will work.
How does the GT-38 differ from the HC-12? Which is the better of the two?
Hi,
The main thing that makes these two modules different is their manufacturer. Their specifications are very similar according to the datasheet. So, the only way to figure out their differences -if any- is to evaluate their capabilities in practice.
How I can use this rf module using arduino mkr zero? I am asking because mkr zero doesn’t support softwareserial library.
Hey,
Unfortunately, I don’t have much experience with Arduino MKR Zero and its software serial availability. But as far as I know, the currently Arduino core code sets up the Zero to create two serial ports, but there is no official software serial library yet.
So, you might have to either write the code and the library yourself or use another Arduino board that supports software serial.
Can you send data from one GT-38 module and receive it with 3 other modules?