Contents

Interfacing 28BYJ-48 Stepper Motor with Arduino

28BYJ-48 4 Phase Stepper Motor

28BYJ-48 Stepper Motor Features

We usually use stepper motors when we need precise control of the motor shaft. These motors can be used in robot arms, 3D printers, CNC machines, etc. Stepper motors convert electrical pulses into discrete mechanical movement. The resolution and rotation speed of the motor shaft depend directly on the frequency of the input pulses. One of the most important advantages is that they can control precisely in an open loop system.

28BYJ-48 Stepper motor is one of these motors. This motor consists of 4 stationary coils and has a 64:1 gear reduction. This motor has 5 wires. The red one is connected to a 5V power supply and others are for each stationary coils.

Features:

  • Rotates 11.25 degrees per step in full step mode
  • Frequency: 100 Hz
  • Pull in torque: 300 gf.cm
Note
Step per rotation is 2048, because the motor has a gearbox.
Note

We use a UL2003 driver to drive this motor.

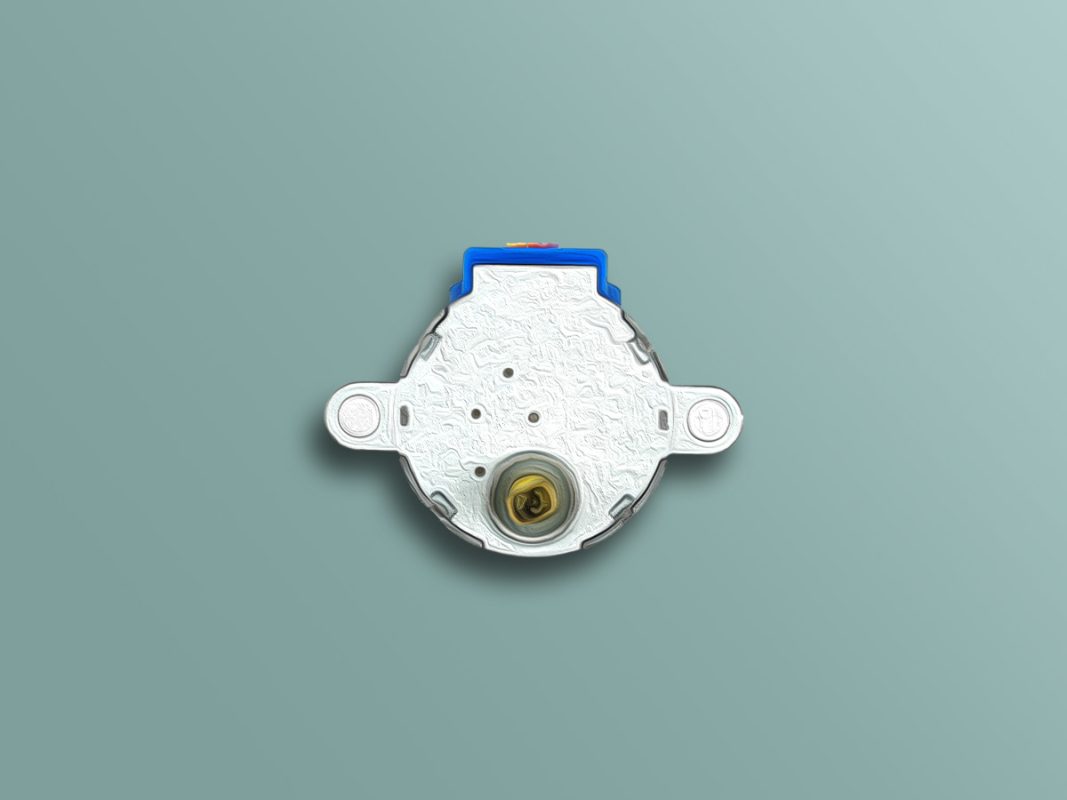
You can download the datasheet of 28BYJ-48 motor here.

28BYJ-48 Stepper Motor Pinout

The inside coils of motor are as follows:

This motor has 5 pins:

  • V: 5V pin – Red
  • C1: Coil 1 – Orange
  • C2: Coil 2 – Pink
  • C3: Coil 3 – Yellow
  • C4: Coil 4 – Blue

You can see the pinout of these modules in the image below.

Required Materials

Hardware Components

Arduino UNO R3 × 1
ULN2003 Stepper Motor Driver × 1
28BYJ-48 4 Phase Stepper Motor - 5V DC × 1
Male to Female jumper wire × 1

Software Apps

Arduino IDE

Interfacing 28BYJ-48 Stepper Motor with Arduino

The following circuit show how you should connect Arduino to 28BYJ-48 motor. Connect wires accordingly.

Warning

Be careful not to use power supply greater than 5V, because the motor maximum allowed voltage is 5V.

Step 2: Code

Upload the following code to your Arduino.

   /*
  ULN2003-4Phase-Stepper-Motor-Driver
  modified on 06 Dec 2020
  by Amir Mohammad Shojaee @ Electropeak
  
Home
based on Arduino library */ #include <Stepper.h> const int stepsPerRevolution = 2048; const int rpm = 12; Stepper stepper1 = Stepper(stepsPerRevolution, 8, 10, 9, 11); void setup() { stepper1.setSpeed(rpm); Serial.begin(9600); // opens serial port, sets data rate to 9600 bps Serial.println("Select rotation: "); Serial.println("1.1/4 forward"); Serial.println("2.1/2 forward"); Serial.println("3.full forward"); } void loop() { if (Serial.available() > 0) { // read the incoming byte: int incomingByte = Serial.read(); switch (incomingByte) { case '1': // if input=1 ....... motors turn One_quarter One_quarter(); break; case '2': // if input=2 ....... motors turn One_half One_half(); break; case '3': // if input=1 ....... motors turn full full(); break; } delay(200); incomingByte=0; } } void One_quarter(){ stepper1.step(stepsPerRevolution/4); delay(100); } void One_half(){ stepper1.step(stepsPerRevolution/2); delay(100); } void full(){ stepper1.step(stepsPerRevolution); delay(100); }

First, the motor library is included. Next, two variables of rotation step and motor speed are declared in terms of RPM. We also set its speed to 12RPM. So, each rotation lasts 5 seconds. Control pins are then declared in the above order.

You can select the amount of rotation and whether it’s clockwise or counter-clockwise as the user.

 Take a look at the Serial Monitor here. There are 3 options:

  1. 1/4 Rotation forward
  2. 1/2 Rotation forward
  3. Full Rotation forward
Liked What You See?​
Get Updates And Learn From The Best​

Leave a Reply

Your email address will not be published. Required fields are marked *