
Introduction
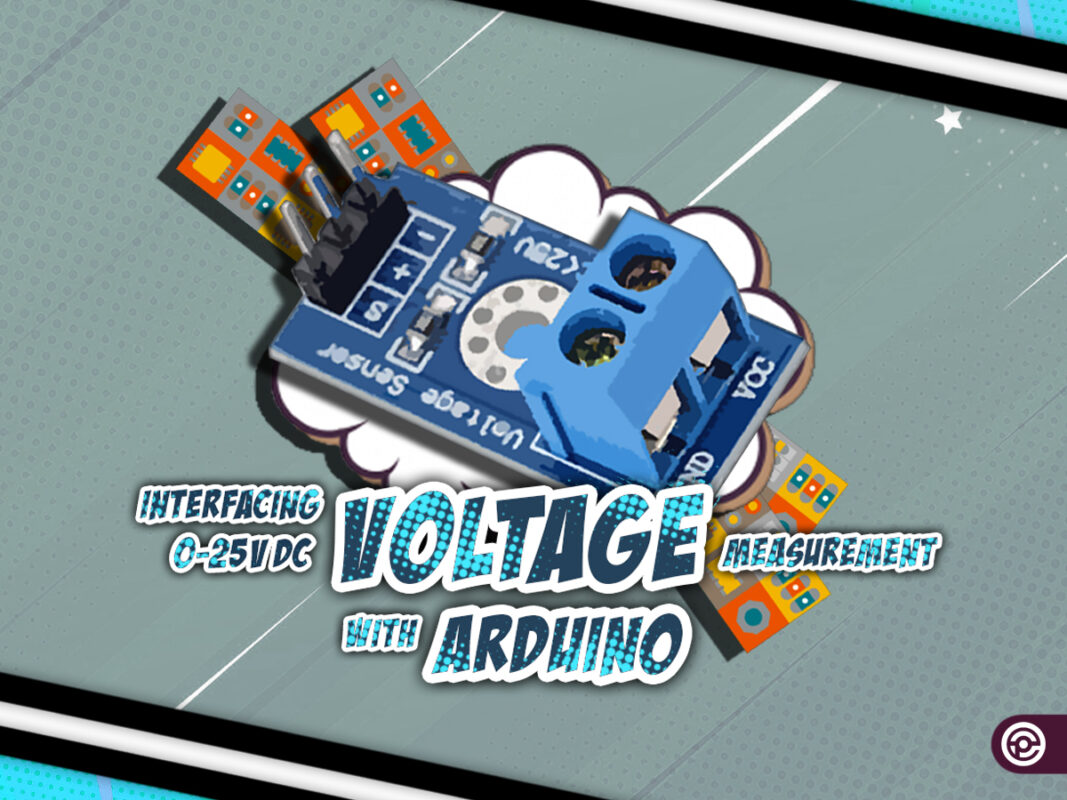
Are you looking to revolutionize your voltage monitoring capabilities? Discover how to interface a Voltage Measurement Module with Arduino, allowing you to accurately measure DC voltages up to 25V. Imagine having the power to monitor and control voltage levels with precision, unlocking endless possibilities for your projects. In this article, we will provide you with a comprehensive guide that covers everything you need to know about interfacing a Voltage Measurement Module with Arduino. From understanding the voltage division rule to step-by-step wiring instructions and sample code, we’ve got you covered.
So, if you’re ready to take the first step towards accurate voltage measurement and unleash your creativity, keep reading! By the end of this guide, you’ll have the knowledge and practical skills to confidently monitor voltage levels like a pro. Get ready to embark on a journey of innovation and efficiency.
Features of a 0-25V Voltage Sensor
Voltage Measurement Module: Exploring its Capabilities
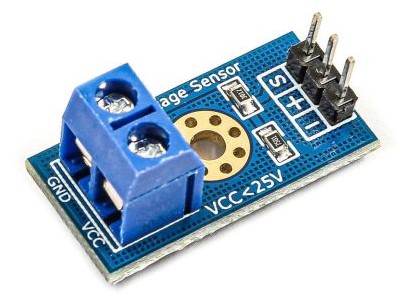
A Voltage Measurement Module is a voltage sensor that can measure DC voltages up to 25V. This module can map a 0-25 volt range to a 0-5 volt by using the voltage division rule, allowing microcontrollers like Arduino to read the sensor output at a voltage level of 5 volts. It also allows us to monitor an applied voltage up to five times more than the measurement range of a microcontroller. Notice that the sensor output must be connected to the analog input of Arduino so that the ADC unit could read the sensor value. The module’s input voltage is then multiplied by a specific factor (5, in this case) to determine its actual value.
Monitoring, voltage level control, and voltmeters are some of the applications for this module.
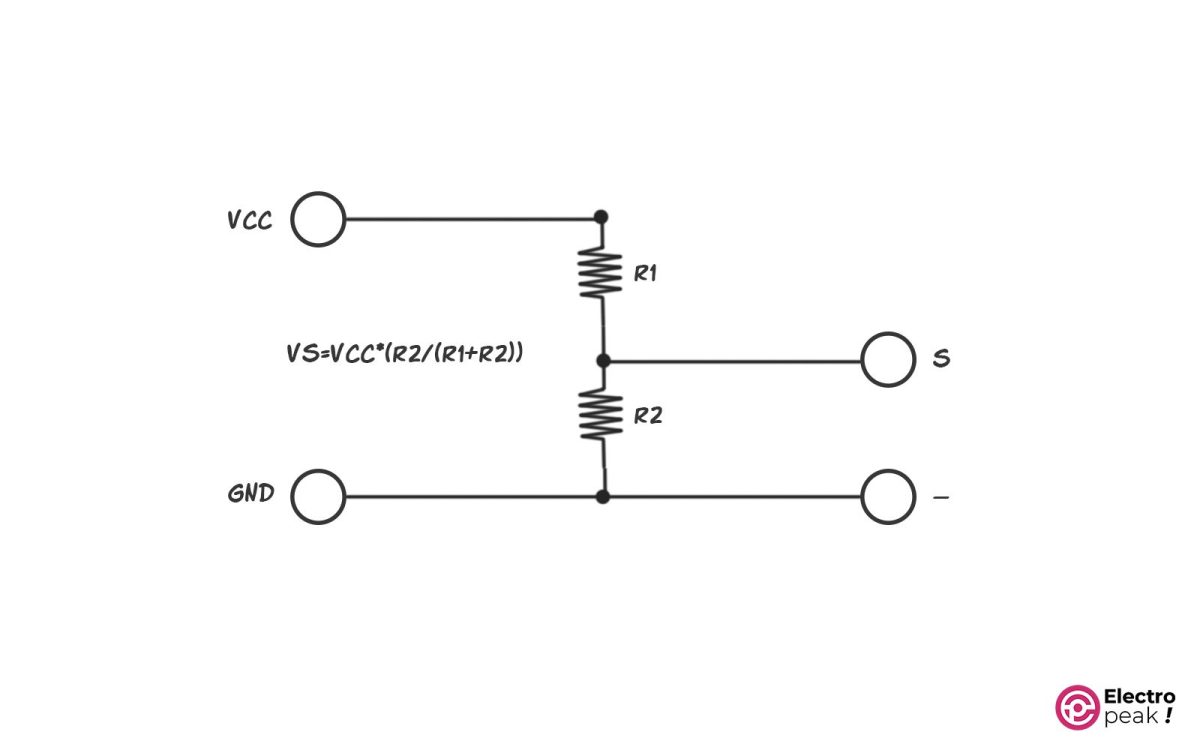
Here, according to the voltage division rule, the total voltage (VCC) applied across two series resistors (30kΩ and 7.5kΩ) is divided among them in proportion to their values. This rule is illustrated in the figure below.
Specifications
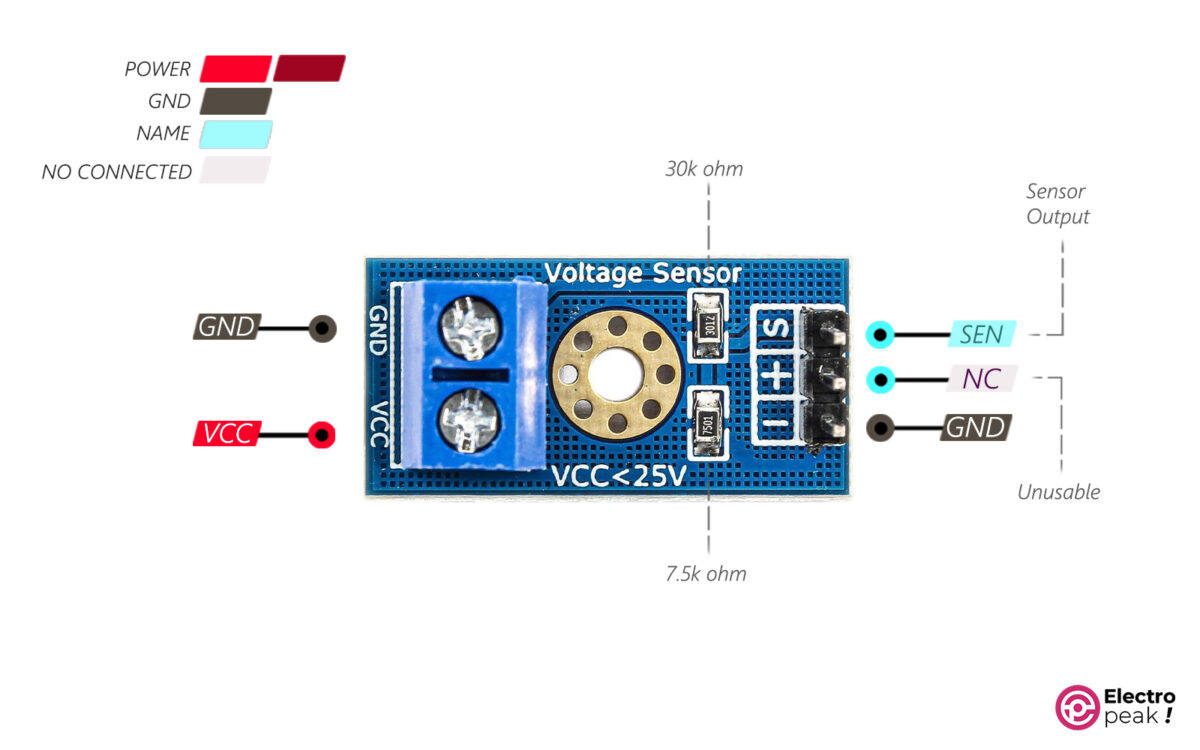
Pinout of Voltage Measurement Module
Voltage Measurement Module has five pins:
- VCC: positive pin of the measurement terminal
- GND: Ground
Output terminal:
- GND: Ground
- +: it’s not connected anywhere and has no use
- S: sensor output
Required Materials
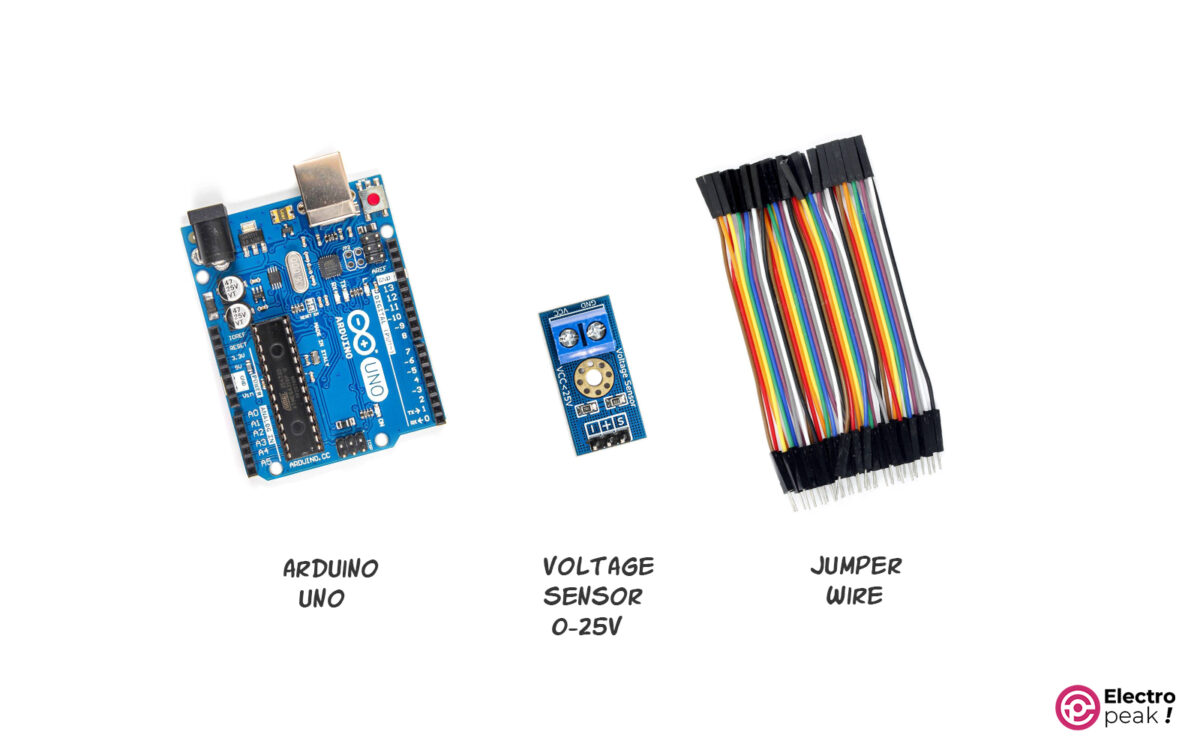
Hardware Components
Software
Interfacing Voltage Measurement Module with Arduino
Step 1: Wiring
To get started, follow these simple wiring instructions to connect the Voltage Measurement Module and Arduino.
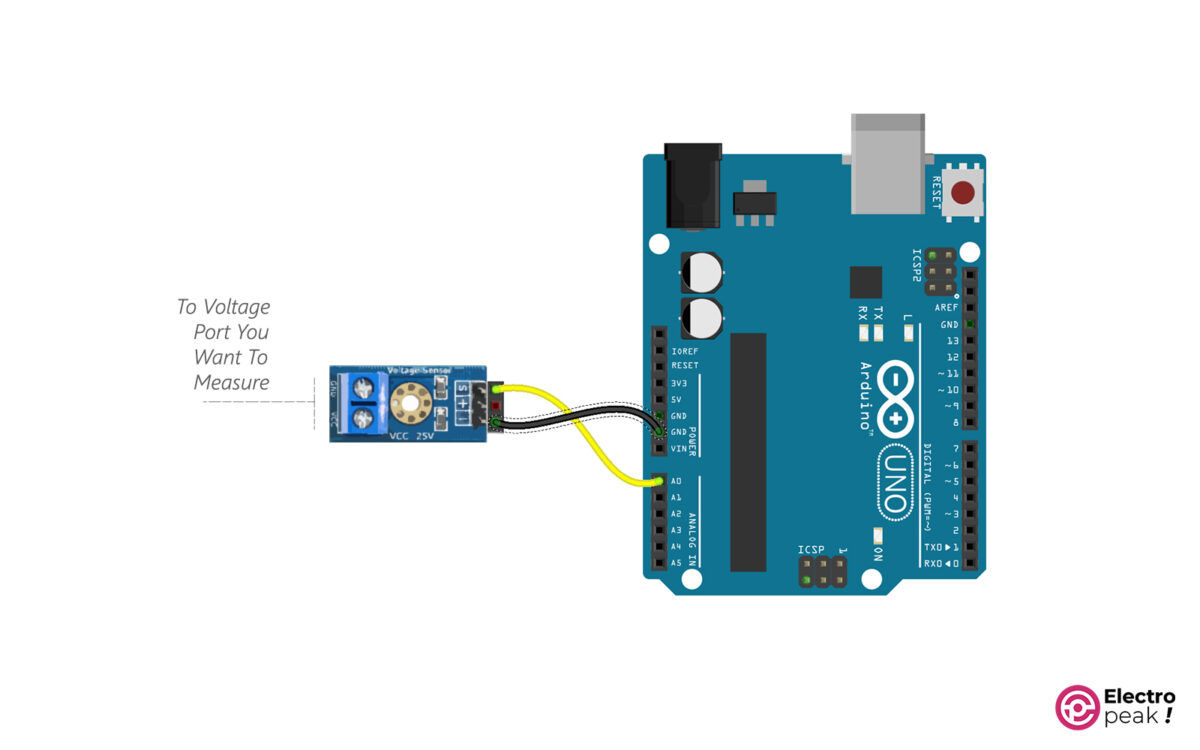
Just like the image above, to measure the voltage drop between two points, connect the two red and black ends to them. To test it, you can, for example, connect the 3.3V or 5V pin of Arduino to the VCC pin.
Step 2: Code
After that, copy and compile the Arduino code provided below to interface with the Voltage Measurement Module.
/*code for 0-25v Voltage Sensor
 *  Electropeak.com
 *  Caferobot.com
*  Ali Akbar Hosseini
 */
int analogInput = A0;
float vout = 0.0;
float vin = 0.0;
float R1 = 30000.0; //
float R2 = 7500.0; //
int value = 0;
void setup(){
 pinMode(analogInput, INPUT);
 Serial.begin(9600);
 Serial.print("DC VOLTMETER");
}
void loop(){
 // read the value at the analog input
 value = analogRead(analogInput);
 vout = (value * 5.0) / 1024.0; // see text
 vin = vout / (R2/(R1+R2));

Serial.print("INPUT V= ");
Serial.println(vin,2);
delay(500);
}
Then open the serial monitor window to see the output value.
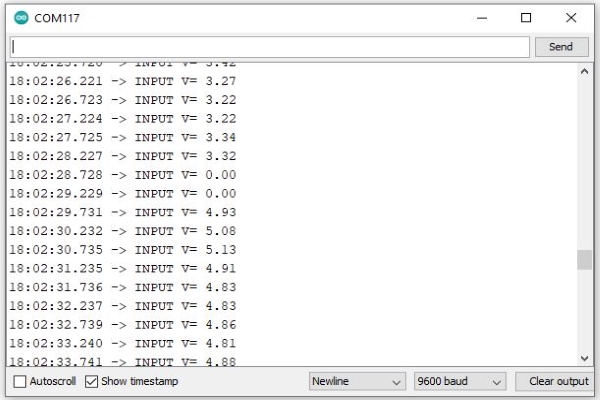
To test the module, we supplied it with both 3.3 and 5 volts from Arduino. The resulting measurements will be displayed in the serial monitor, providing a clear indication of the module’s functionality and accuracy.
Start Monitoring Voltages with Confidence By following this comprehensive guide. You now possess the knowledge and practical instructions to interface a Voltage Measurement Module with Arduino. Take the first step and begin measuring and controlling voltage levels effectively. If you have any questions or encounter any issues along the way, we’re here to help. Feel free to ask your questions in the comments section below. Our knowledgeable community and experts will be glad to assist you.
