MicroPython on ESP32 and ESP8266 – A Comprehensive Guide
Written by
Mehran Maleki
Overview
Welcome to the world of MicroPython on ESP32 and ESP8266! In this tutorial, we will introduce you to MicroPython, highlighting the differences between MicroPython and regular Python, and demonstrate how to program your ESP32 and ESP8266-based boards with MicroPython using the uPyCraft IDE. By the end of this guide, you will have your first LED blinking using MicroPython, empowering you to explore the vast potential of these powerful microcontrollers through the simplicity and flexibility of the Python programming language.
What You Will Learn
Getting familiar with MicroPython
Getting familiar with different suitable programming environments for MicroPython
Flashing ESP32 boards with the MicroPython firmware
Programming an ESP32 based board using MicroPython
MicroPython vs. Python
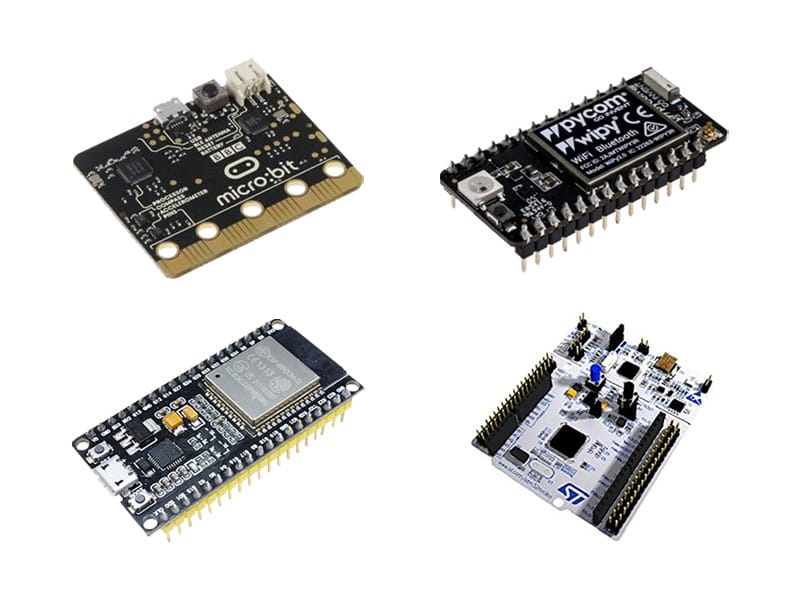
MicroPython is a programming language implemented based on the python programming language that has been specifically redesigned for use in microcontrollers. Using this language, you can easily program a lot of various microcontrollers. The following are some of the microcontrollers that can be programmed using MicroPython.
One of the features of the MicroPython is that it is very similar to python, and if you have the experience working with python, consider yourself pretty much ready for programming in MicroPython language, too! And for those who have no former experience with python, don’t worry. Since one of the reasons of the python popularity is its simplicity and steep learning curve!
Programming Environments for MicroPython on ESP32
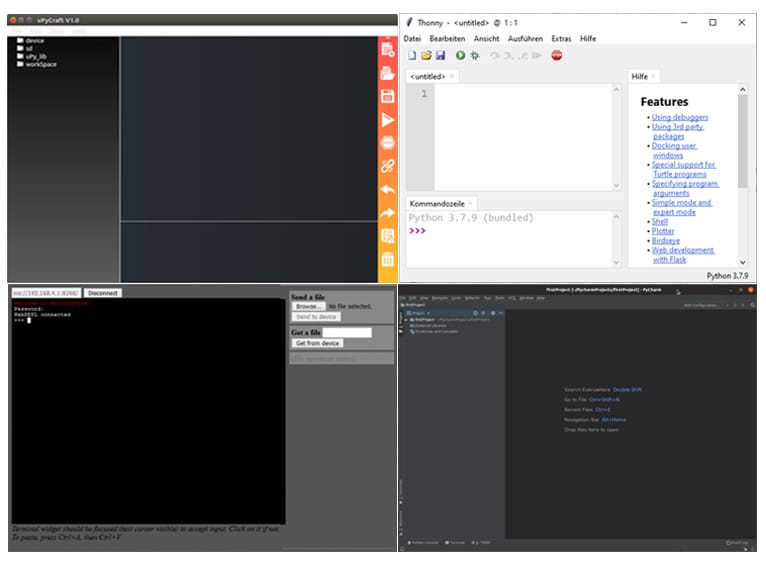
There have been several programming environments and different methods designed for programming in this language. The following are some of the most suitable ones:
uPyCraft IDE
Thonny IDE
Entering the MicroPython programming environment through a serial terminal like PuTTY
Using the Python programming software packages like PyCharm and adding MicroPython extension
Micropython on ESP32: Installing uPyCraft IDE
Among the programming environments and methods introduced in the previous section, the uPyCraft IDE offers a more attractive environment and a lot more capabilities compared to others. So, it seems to be a wise choice for getting started with MicroPython. In this tutorial, we are going to use this software for programming our ESP32 boards.
To get started with MicroController on ESP32 boards, first you need to Install Python and an IDE:
Install Python on your system
Install a programming environment suitable for MicroPython –We have used the uPyCraft IDE in this tutorial-
Installing Python
For using the uPyCraft IDE or any other similar software programs and compiling codes written in MicroPython programming language, you need to first have the Python installed on your computer. If you have not installed Python yet, do as following.
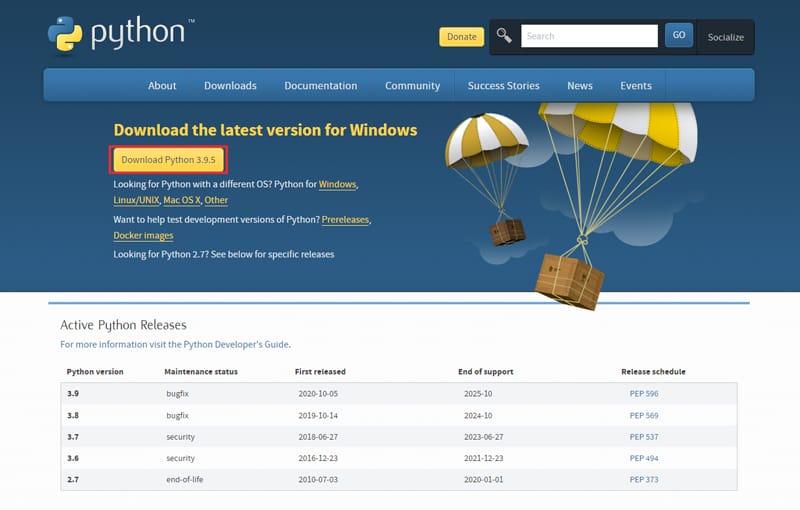
Click this link to go to the download page of the Python webpage. You will see the following image.
Next, click on the phrase in the red box specified in the image below and download the latest version of Python.
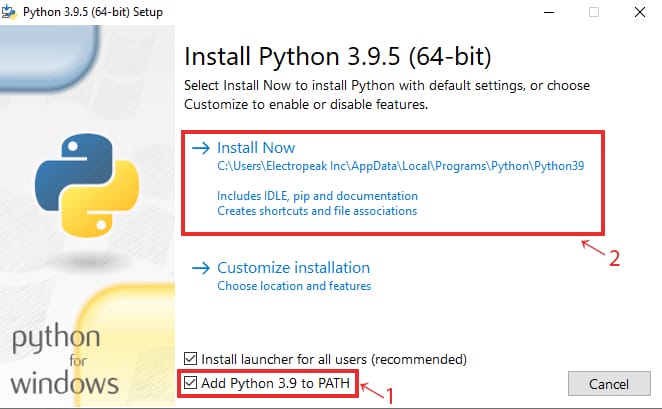
To install Python, open the file you have downloaded. First tick the “Add Python 3.9 to Path” option. Then, click on “Install Now” like the following image.
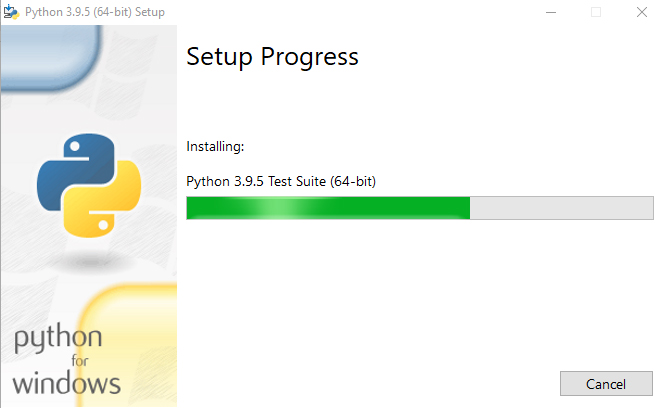
Then, it will start installing, and you will see an image like this.
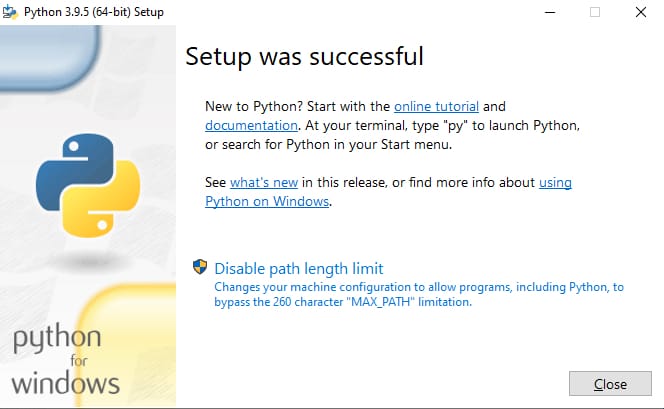
After successfully installing the Python, you will see the following image.
Success
You have successfully installed the Python on your computer.
Download & Use the uPyCraft IDE
After installing Python, now you are ready to use uPyCraft programming environment. To download this software, click the link below.
The uPyCraft IDE doesn’t need to be installed, and you just need to open the downloaded file to use it.
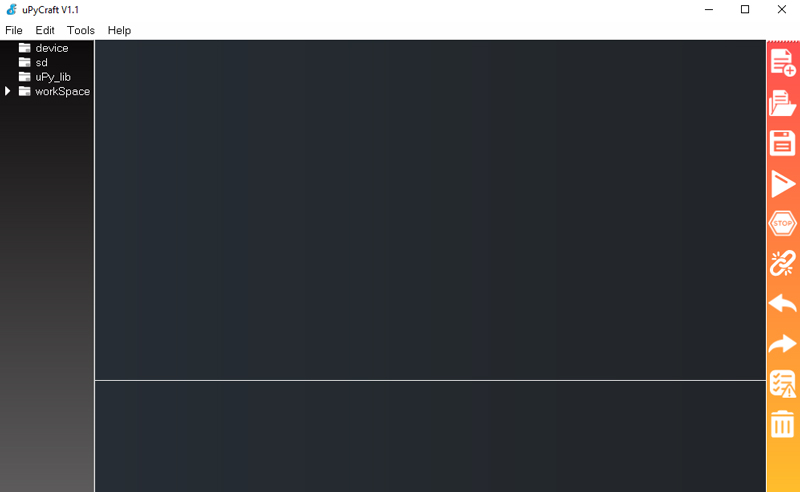
This software has the following environment.
Now, the software is ready to use.
Next, we need to prepare the ESP32 board for being programmed with MicroPython.
Flash ESP32 Board with MicroPython Firmware
In order to program an ESP32 board with MicroPython, you first need to flash it with its Firmware. For that, do as follows.
First, we need to download the right MicroPython firmware for ESP32 boards. For that purpose, go to MicroPython Firmware for ESP32 Download Page. You will see the following image.
In that page, scroll down a little and download the latest version of MicroPython firmware suitable for ESP32 boards, as shown below.
Once you have downloaded the MicroPython firmware, do the following to flash your ESP32 board with it.
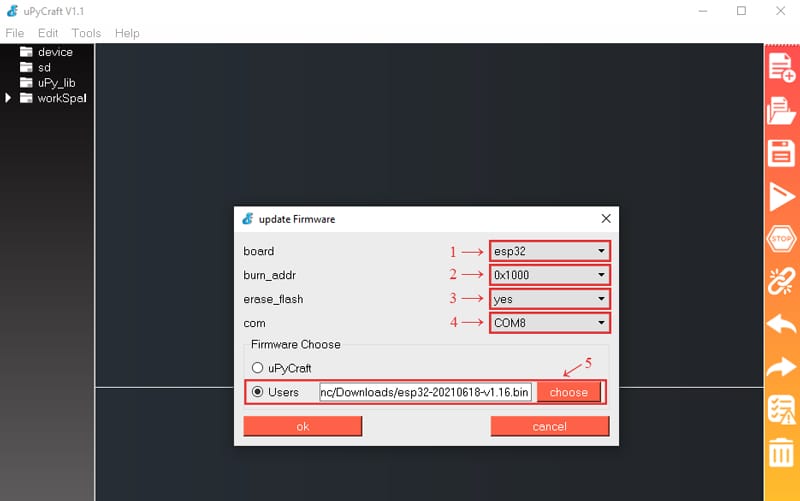
First, open the uPyCraft IDE. Go to Tools → BurnFirmware.
Adjust the necessary setting as described below.
For board, choose “esp32”.
For burn_addr, choose “0x1000”.
For erase_flash, choose “yes”.
For com, choose the port number that your system recognizes your ESP32 board with. In our case, it’s COM8.
For Firmware Choose, first click on “Users”. Then, click on “choose” and choose firmware you have already downloaded.
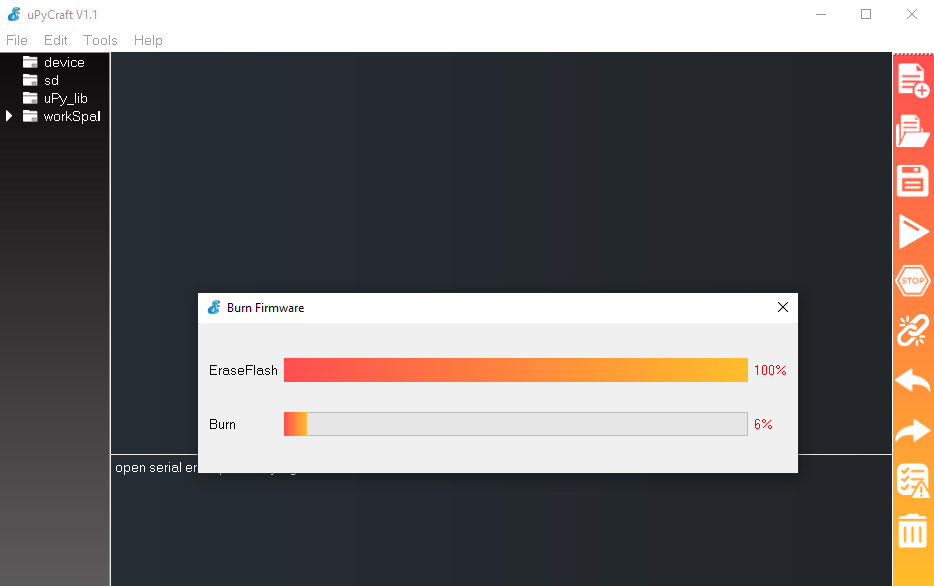
After adjusting the settings above, click on “ok”. Once the flashing of the ESP32 board begins, you will see an image like this.
Success
You have successfully flashed the MicroPython firmware to your ESP32 board. Now, you can program it with the MicroPython language.
ٍESP32 MicroPython Example: Blinking LED
After completing the steps above, now you’re fully prepared for doing your first project with the MicroPython language.
The board we’re using here is NodeMCU – ESP32S Edition. This board has an on-board LED which is connected to the GPIO2 pin (read the ESP32 pinout and GPIO guide here). We are going to control that LED by programming the board with the MicroPython programming language and make it blink. If you’re using a different ESP32 based development board, and you’re not sure if it comes with an on-board LED connected to the GPIO2 pin, you can easily connect an external LED to the GPIO2 pin. For that, you just need to connect one side of the LED to the GPIO2 pin and the other side to the GND. Then you can you same code.
For programming the ESP32 board with MicroPython, do as follows.
First, connect your ESP32 board to the computer. Then, open the uPyCraft IDE. Next, go to the “Tools” menu and choose the right “Serial” and “board” as shown below.
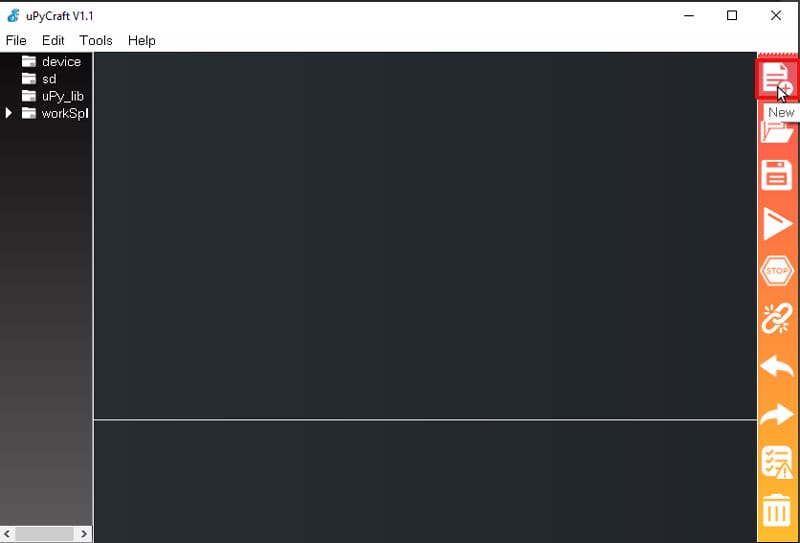
As shown in the image below, click on “New” option from the taskbar on the right to create a new file.
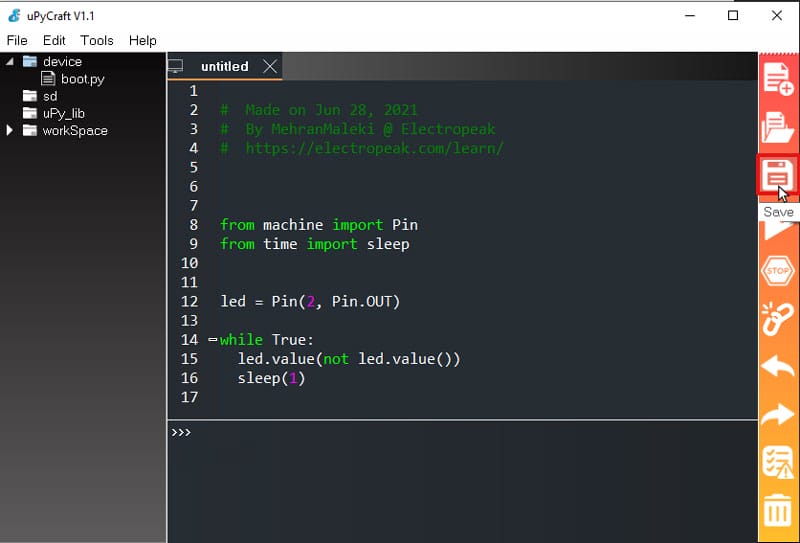
Write the following code in the new file you have created.
#  Made on Jun 28, 2021
#  By MehranMaleki @  Electropeak
#  https://electropeak.com/learn/
from machine import Pin
from time import sleep
led = Pin(2, Pin.OUT)
while True:
    led.value (not led.value())
    sleep(1)
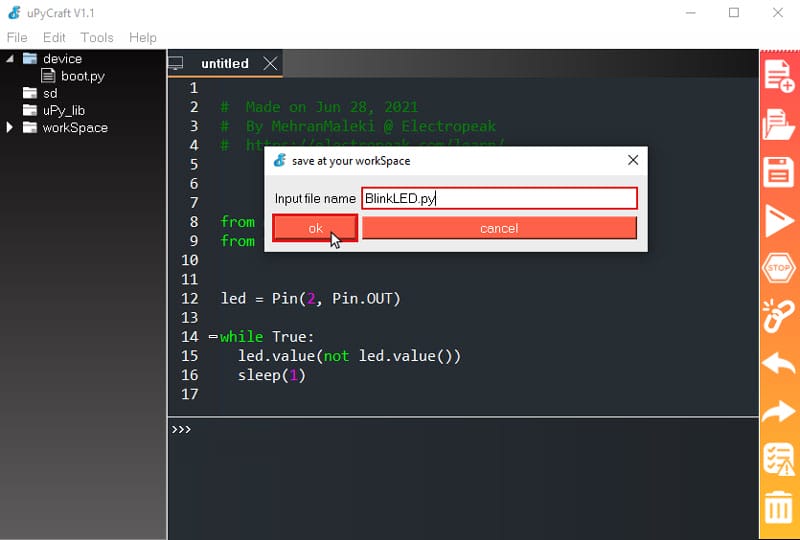
Click on “Save” option in the taskbar on the right, as shown below.
In the opened page, choose a name you like for the file and click on “ok”.
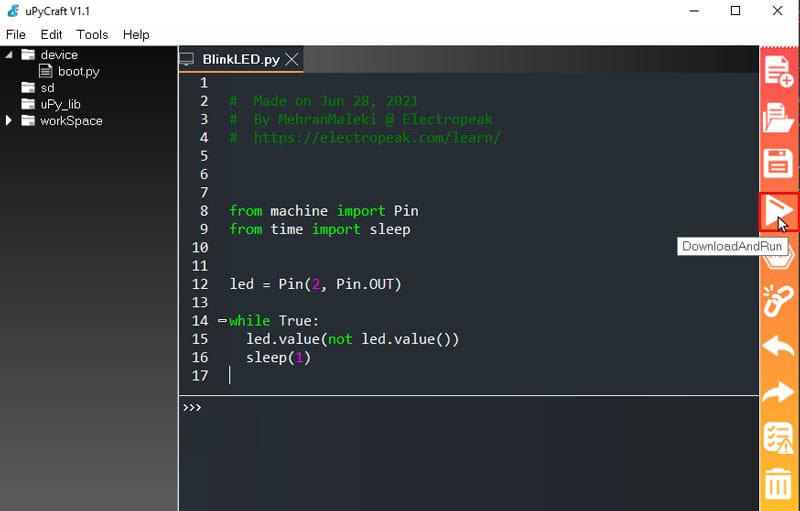
Now, upload the code above on the ESP32 board. For that, you can click on the “DownloadAndRun” option in the taskbar on the right.
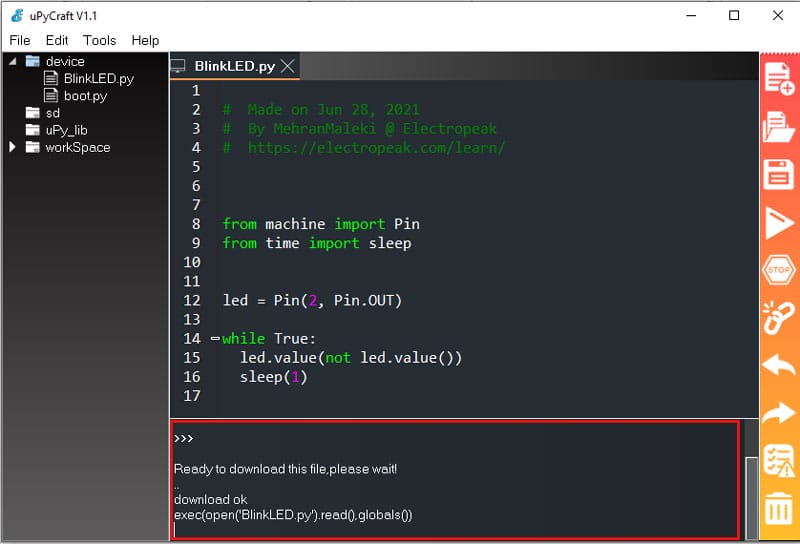
After successfully uploading the code, the terminal of the uPyCraft IDE will be like the image below and the LED will start blinking.
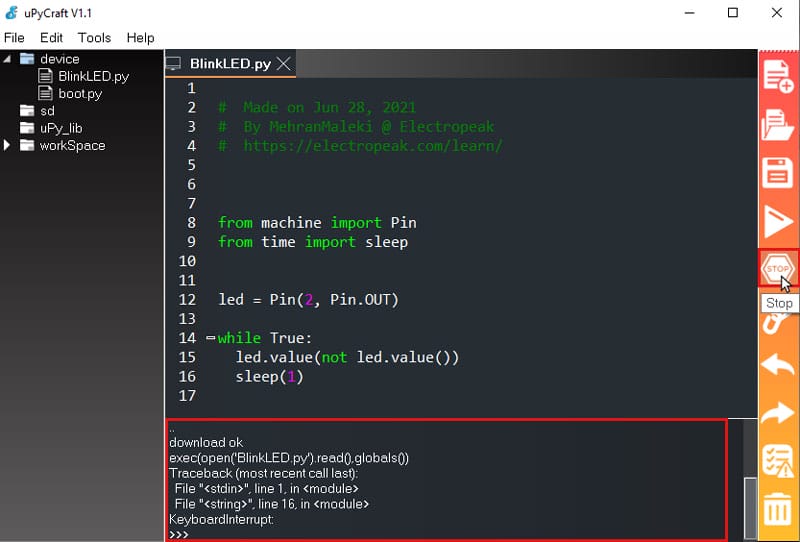
You can also stop the execution of the code by clicking on “Stop” option, as shown in the image below.
ESP32 Micropython: What’s Next?
Next, using the MicroPython programming language, enable the ESP32 Wi-Fi, scan Wi-Fi networks and display the list of available networks.