Interfacing 801S Vibration Sensor Module with Arduino
Written by
Mohammad Damirchi
801S Vibration Module Features
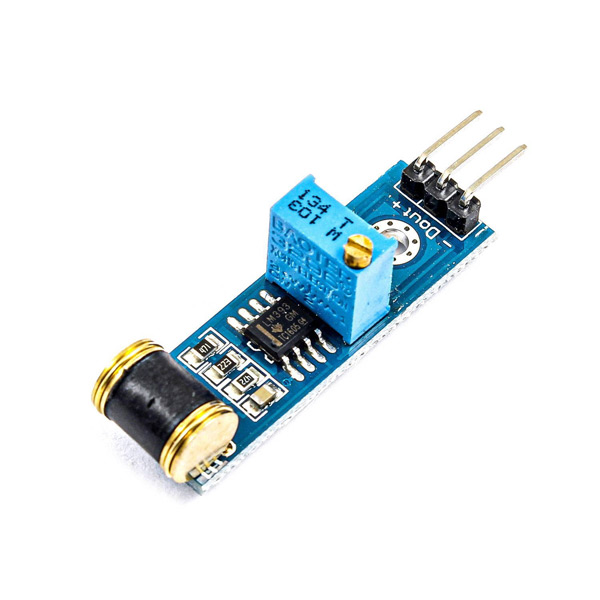
The 801S vibration sensor module has a digital output pin that gives HIGH output by detecting vibration up to a certain threshold. The sensitivity of this sensor can be adjusted with a potentiometer on the module. The IC on this module is LM358. This module can be used in security systems.
Note
The module’s sensitivity is very high.
You can download the datasheet of this module here.
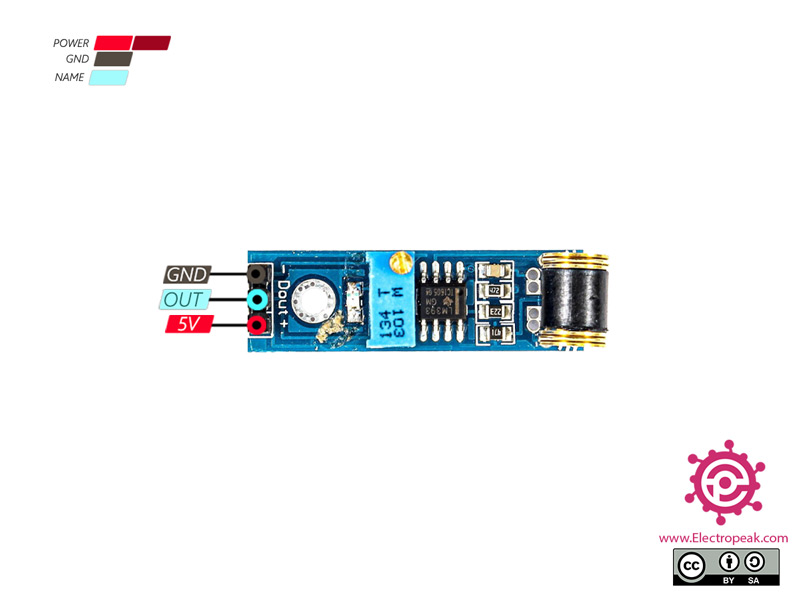
You can see the pinout of this module in the image bellow.
Required Materials
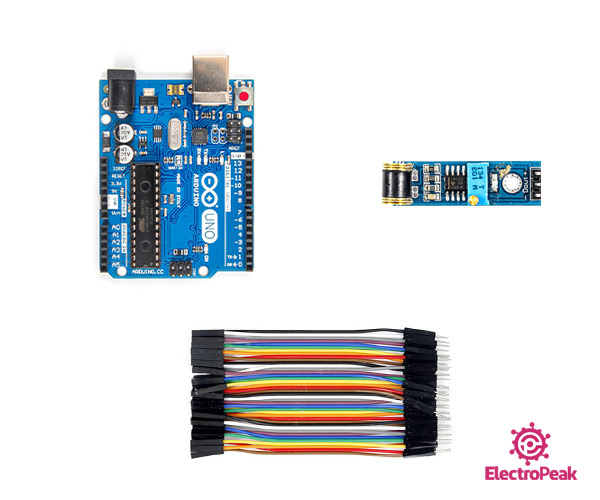
Hardware Component
Arduino UNO R3
×
1
801S Vibration Sensor Module
×
1
Male to Female jumper wire
×
1
Software Apps
Arduino IDE
Interfacing 801S Vibration Module with Arduino
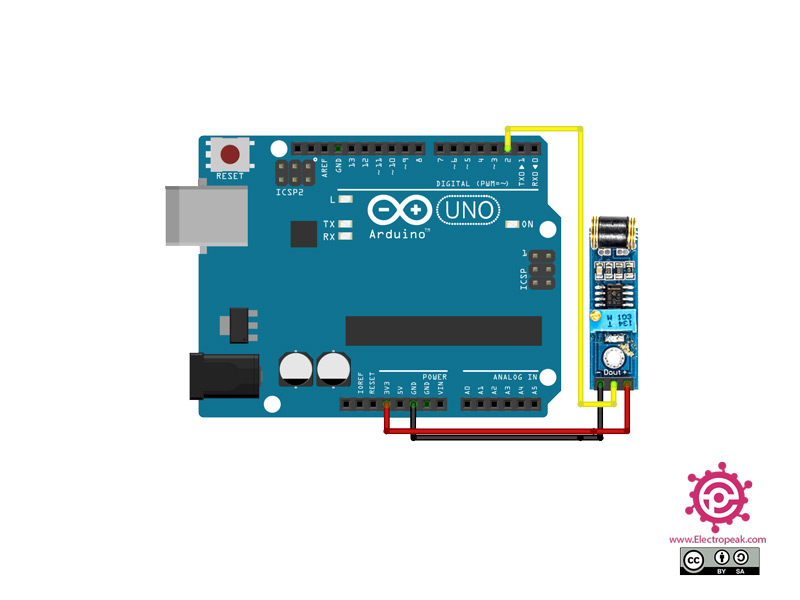
Step 1: Circuit
The following circuit shows how you should connect Arduino to 801S module. Connect wires accordingly.
Step 2: Code
Upload the following code to Arduino.
/*
  Button

  Turns on and off a light emitting diode(LED) connected to digital pin 13,
  when pressing a pushbutton attached to pin 2.

  The circuit:
  - LED attached from pin 13 to ground
  - pushbutton attached to pin 2 from +5V
  - 10K resistor attached to pin 2 from ground

  - Note: on most Arduinos there is already an LED on the board
    attached to pin 13.

  created 2005
  by DojoDave <http://www.0j0.org>
  modified 30 Aug 2011
  by Tom Igoe

  This example code is in the public domain.

  http://www.arduino.cc/en/Tutorial/Button
*/

// constants won't change. They're used here to set pin numbers:
const int buttonPin = 2;     // the number of the pushbutton pin
const int ledPin =  13;      // the number of the LED pin

// variables will change:
int buttonState = 0;         // variable for reading the pushbutton status

void setup() {
  // initialize the LED pin as an output:
  pinMode(ledPin, OUTPUT);
  // initialize the pushbutton pin as an input:
  pinMode(buttonPin, INPUT);
}

void loop() {
  // read the state of the pushbutton value:
  buttonState = digitalRead(buttonPin);

  // check if the pushbutton is pressed. If it is, the buttonState is HIGH:
  if (buttonState == HIGH) {
    // turn LED on:
    digitalWrite(ledPin, HIGH);
  } else {
    // turn LED off:
    digitalWrite(ledPin, LOW);
  }
void loop() {  Serial.println("0");}


Comments (2)
The code is wrong, the code is for a push button example on Arduino
It is not wrong! It’s an example of Arduino IDE which has happened to be useful for this project too. Therefore we didn’t change it.