KY-037 Sound Sensor Module Features
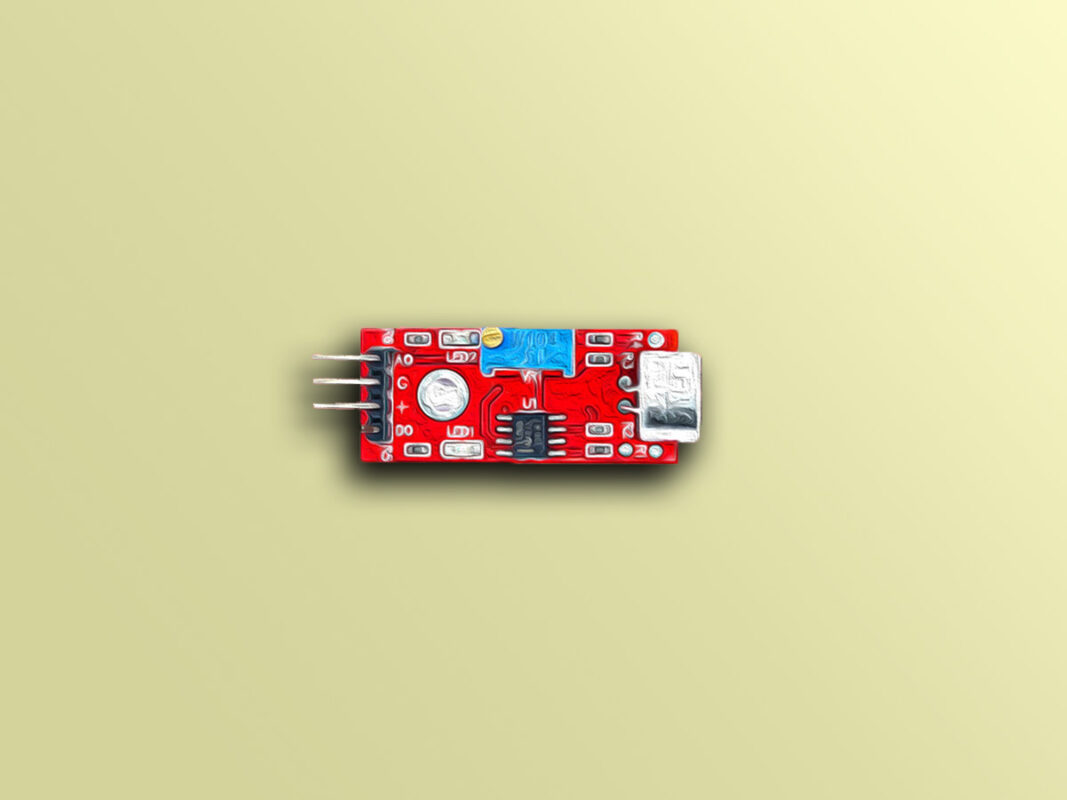
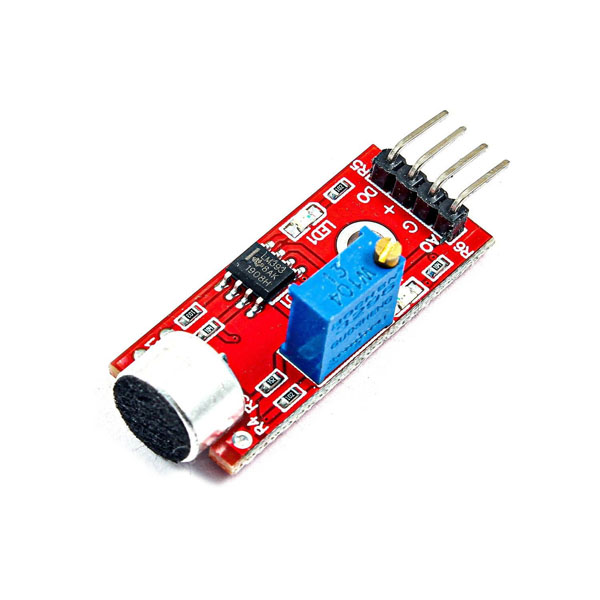
KY-037 module consists of a capacitive microphone and an amplifier circuit. The output of this module is both analog and digital.
You can download the datasheet of this module here.
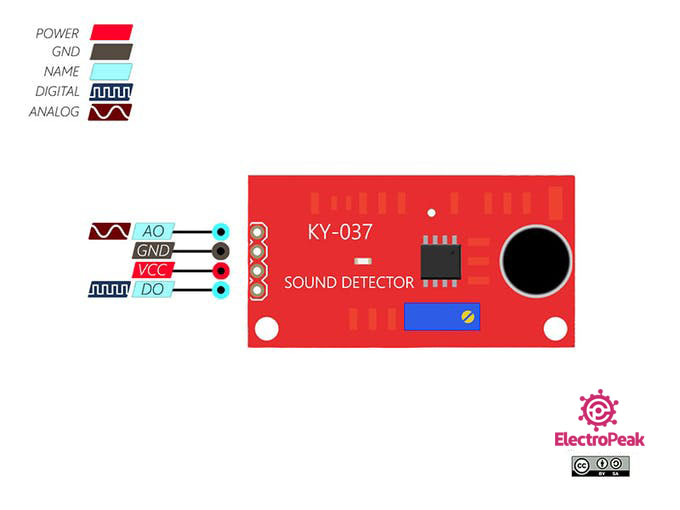
KY-037 Sound Module Pinout
This module has 4 pins, 2 of them are for power supply.
Pin 1: The analog output. It’s value changes according to the intensity of the received sound. It can be connected to the Arduino analog (ADC) pins.
Pin 4: The digital output. It acts as a key, and it activates when sound intensity has reached a certain threshold. The sensitivity threshold can be adjusted using the potentiometer on the sensor.
You can see the pinout of this module in the following image.
Required Materials
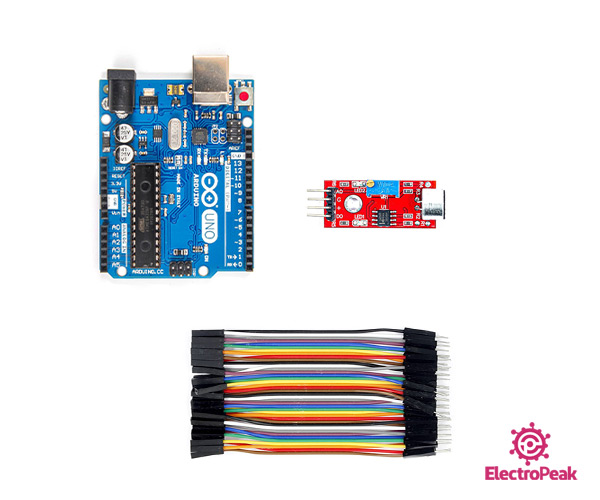
Hardware Components
Software Apps
Interfacing KY-037 Sound Sensor with Arduino
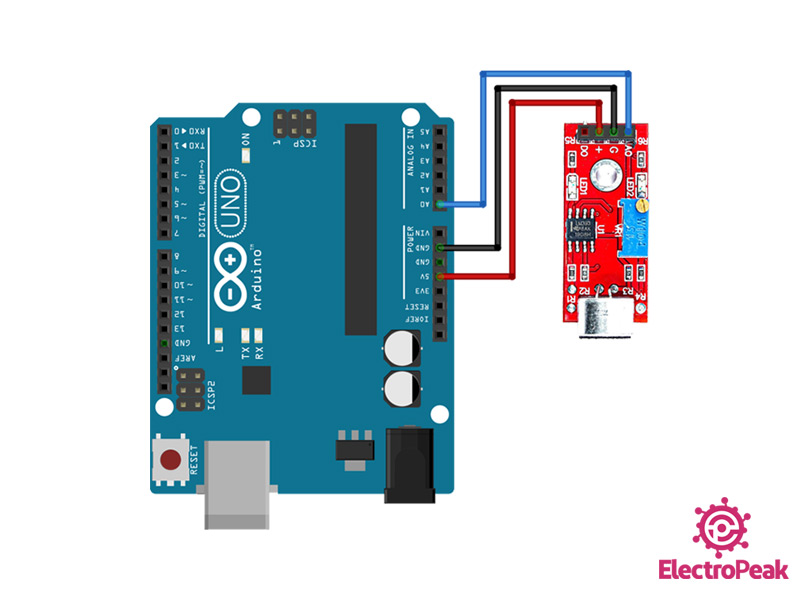
Step 1: Circuit
Connect the wires according to the following circuit. This circuit is for analog mode.
Step 2: Code
Upload the following code to Arduino.
  /*
modified on June 5, 2018
by Arduino Examples from arduino.cc/en/Tutorial/ReadAnalogVoltage
Home
*/

void setup() {
  // initialize serial communication at 9600 bits per second:
  Serial.begin(9600);
}

// the loop routine runs over and over again forever:
void loop() {
  // read the input on analog pin 0:
  int sensorValue = analogRead(A0);
  // print out the value you read:
  Serial.println(sensorValue);
}
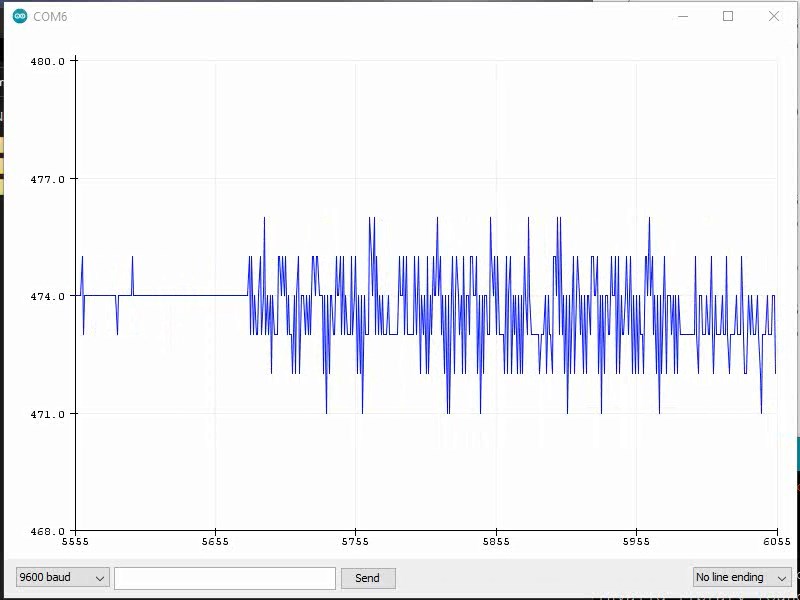
Then press Ctrl + Shift + L to open the Serial Plotter screen.
Note
If you are using digital output, use the following code:
/*
modified on Spe 2, 2020
by MohammedDamirchi
Home
*/
const int mic =  8;
void setup() {
  // initialize serial communication at 9600 bits per second:
  Serial.begin(9600);
  // initialize the digital pin as an input:
  pinMode(mic, INPUT);
}

void loop() {
  // check if the mic digitalout is high.
  if (digitalRead(mic) == HIGH) {
    Serial.println("hearing something");
  }
}
