Overview
What You Will Learn
- How to set up the shield and identify the keys
- How to scroll text
- How to display special characters
1602 Arduino LCD Keypad Shield Features
Displaying information in electronic projects has always been the most compelling issue. There are various ways to display data. These screens can be so simple such as 7segments or LEDs, or they can be more fascinating such as LCDs. Using LCDs has always been one of the most popular ways to display information. LCDs are divided into two generic types: Characters and Graphics.
One of the most common, cheapest and simplest LCDs available is the character LCD. This LCD consists of several rows and columns. Letters and numbers are written in places created by rows and columns. For example, LCD character 16*2 has 2 rows and 16 columns. So it can display 32 characters.
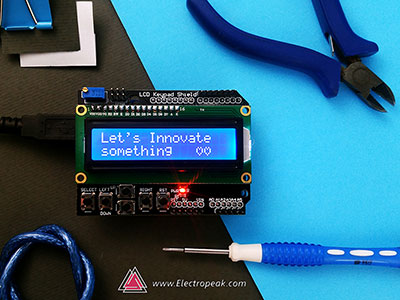
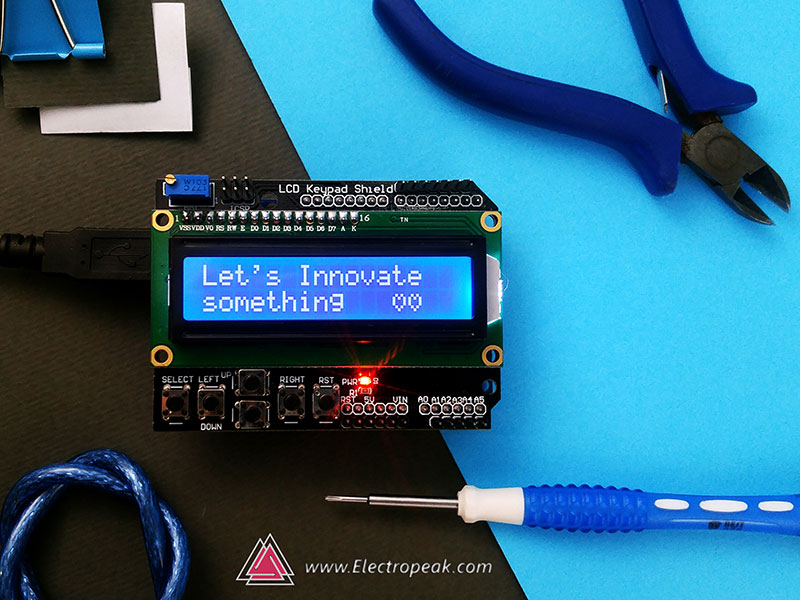
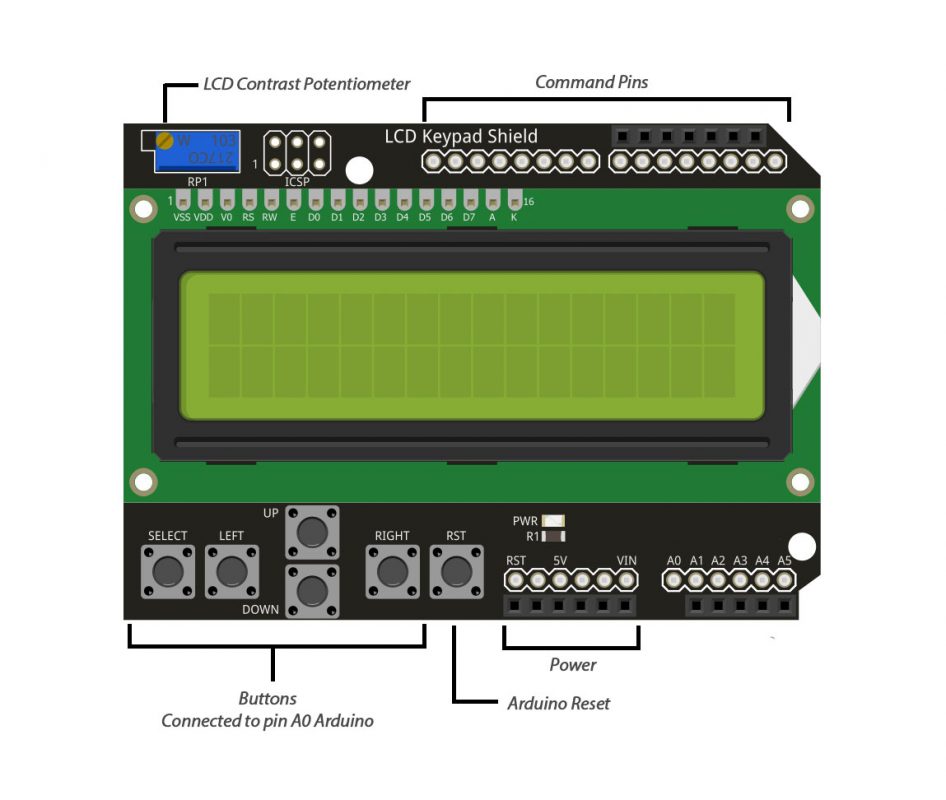
Working with these LCDs is very simple and they have full compatibility with all microcontrollers and processor boards. For easier use of these LCDs, its 16x2model, including four keys for making the menu, is made as a Shield which is also compatible with Arduino boards.
How to Use Arduino LCD Keypad Shield
| Arduino Pin | Shield Pin |
|---|---|
| 8 | LCD RS |
| 9 | LCD Enable |
| 7 | LCD D7 |
| 6 | LCD D6 |
| 5 | LCD D5 |
| 4 | LCD D4 |
| 10 | LCD Backlight |
| A0 | Buttons |
Required Materials
Hardware Components
Software Apps
How to Read the Keys?
In this shield, all 4 keys are connected to the analog pin 0 to save on digital pins. So we should use ADC to read them. When you press a key, it returns a value to the A0 pin according to the internal resistive splitting circuit, which identifies the type of the key.
| Key | A0 Value |
|---|---|
| RIGHT | 0-60 |
| UP | 60-200 |
| DOWN | 200-400 |
| LEFT | 400-600 |
| SELECT | 600-800 |
/*
Arduino 2x16 LCD - Detect Buttons
modified on 18 Feb 2019
by Saeed Hosseini @ Electropeak
Home
*/

#include <LiquidCrystal.h>

//LCD pin to Arduino
const int pin_RS = 8;
const int pin_EN = 9;
const int pin_d4 = 4;
const int pin_d5 = 5;
const int pin_d6 = 6;
const int pin_d7 = 7;

const int pin_BL = 10;

LiquidCrystal lcd( pin_RS,  pin_EN,  pin_d4,  pin_d5,  pin_d6,  pin_d7);

void setup() {

  lcd.begin(16, 2);

  lcd.setCursor(0,0);

  lcd.print("Electropeak.com");
  lcd.setCursor(0,1);
  lcd.print("Press Key:");
}

void loop() {
  int x;
  x = analogRead (0);
  lcd.setCursor(10,1);
  if (x < 60) {
    lcd.print ("Right ");
  }
  else if (x < 200) {
    lcd.print ("Up    ");
  }
  else if (x < 400){
    lcd.print ("Down  ");
  }
  else if (x < 600){
    lcd.print ("Left  ");
  }
  else if (x < 800){
    lcd.print ("Select");
  }
}
Let’s take a deeper look at the code:
#include <LiquidCrystal.h>The library you need for character LCD.
LiquidCrystal LCD( pin_RS, pin_EN, pin_d4, pin_d5, pin_d6, pin_d7);Defining the LCD object according to the pins that are connected to Arduino.
lcd.begin(16, 2);| Function | Description |
|---|---|
| lcd.clear(); | Clear LCD screen |
| lcd.print(data); | Display informations in string or number |
| lcd.setCursor(col,row); | Change the start point position |
| lcd.scrollDisplayLeft(); | Shift the cursor one block to the left |
| lcd.scrollDisplayRight(); | Shift the cursor one block to the right |
| lcd.creatChar(num,data); | Create a desired character(character number,character string) |
How to Scroll a Text?
/*
Arduino 2x16 LCD - LCD Scroll
modified on 18 Feb 2019
by Saeed Hosseini
Home
*/
#include <LiquidCrystal.h>

const int RS = 8;
const int EN = 9;
const int d4 = 4;
const int d5 = 5;
const int d6 = 6;
const int d7 = 7;

const int pin_BL = 10; // arduino pin wired to LCD backlight circuit

LiquidCrystal lcd( RS,  EN,  d4,  d5,  d6,  d7);

void setup() {

  lcd.begin(16, 2);

  lcd.print("Electropeak");
  delay(1000);
}

void loop() {
  // scroll 11 positions ("Electropeak" length) to the left
  for (int positionCounter = 0; positionCounter < 11; positionCounter++) {
    lcd.scrollDisplayLeft();
    delay(400);  //Scrolling speed
  }

  // scroll 27 positions ("Electropeak" length + display length) to the right
  for (int positionCounter = 0; positionCounter < 27; positionCounter++) {
    lcd.scrollDisplayRight();
    delay(400);
  }

  // scroll 16 positions (display length) to the left
  for (int positionCounter = 0; positionCounter < 16; positionCounter++) {
    lcd.scrollDisplayLeft();
    delay(50);
  }

  delay(1000);

}
How to Display a Specific Character?
/*
Arduino 2x16 LCD - LCD Special Char
modified on 18 Feb 2019
by Saeed Hosseini
Home
*/

#include <LiquidCrystal.h>

const int RS = 8;
const int EN = 9;
const int d4 = 4;
const int d5 = 5;
const int d6 = 6;
const int d7 = 7;

const int pin_BL = 10; // arduino pin wired to LCD backlight circuit

LiquidCrystal lcd( RS,  EN,  d4,  d5,  d6,  d7);

// smily face
byte smiley[8] = {
  B00000,
  B10001,
  B00000,
  B00000,
  B10001,
  B01110,
  B00000,
};

// Battery sign
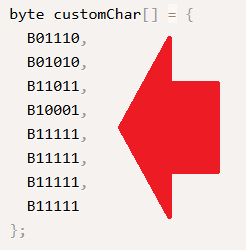
byte battery[] = {
  B01110,
  B01010,
  B11011,
  B10001,
  B11111,
  B11111,
  B11111,
  B11111
};

// arrow right
byte R_arrow[8] = {
  B00000,
  B00100,
  B00010,
  B11111,
  B00010,
  B00100,
  B00000,
  B00000
};

// arrow left
byte L_arrow[8] = {
  B00000,
  B00100,
  B01000,
  B11111,
  B01000,
  B00100,
  B00000,
  B00000
};

// Ohm sign
byte ohm[8] = {
  B00000,
  B01110,
  B10001,
  B10001,
  B10001,
  B01010,
  B11011,
  B00000
};

// Heart
byte heart[8] = {
  B00000,
  B01010,
  B10101,
  B10001,
  B10001,
  B01010,
  B00100,
  B00000
};


int i = 0;

void setup() {

  lcd.begin(16, 2);

  lcd.createChar(0, smiley);
  lcd.createChar(1, battery);
  lcd.createChar(2, R_arrow);
  lcd.createChar(3, L_arrow);
  lcd.createChar(4, ohm);
  lcd.createChar(5, heart);
  lcd.createChar(6, ohm);


  for (int n = 0; n < 6; n++)
  {
    lcd.setCursor(n * 2, 0);
    lcd.write(n);
  }

}

void loop() {

}
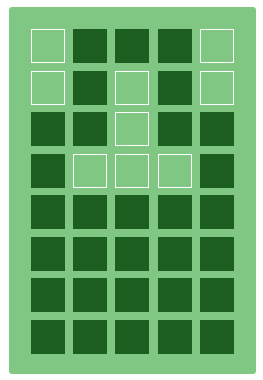
lcd.createChar stores your array in a memory location and you can display it with lcd.write Example Projects for LCD Keypad Shield
What’s Next?
- Try to create a menu with ability of selecting options.

Comments (5)
Can the 1602 LCD Keypad shield for Arduino be used to input decimal values, e.g., 12.34, 0.40, etc.and display them?
Yes, it can. There shouldn’t be any problem.
Im having a challenge getting the buttons to function with a sketch I’m using. How exactly can I measure the value of my buttons. I’ve read elsewhere where you can read your button value subtract 50 and you will have a good value to use rather than a range. Should I just read the resistance value? Should I read voltage drop? etc.
Thank you.
In this shield, all 4 keys are connected to the analog pin A0. So in order to read your button value, you can just use the analogRead function.
Nice going every code worked perfect