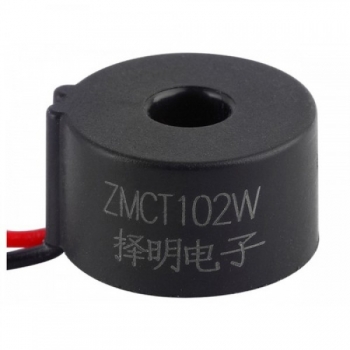
ZMCT102W Features
The ZMCT102 transformer has a turns ratio of 2000:1, a maximum input current of 5A, and a maximum output current of 2.5mA. In addition, the hole in the transformer, through which the wire passes, has an inner diameter of 5mm.
ZMCT102 transformer measures the current based on the magnetic field generated by the current flowing through the wire at the center of the transformer. It then provides an output voltage value that is proportional to the current.
In this tutorial, we will cover the necessary components and wiring required to achieve a constant voltage value, as well as how to read this value with Arduino.

You can download the ZMCT102W datasheet here.
ZMCT102W Pinout
The ZMCT102W Current Transformer has two pins:
• OUT: output data (red wire)
• GND: ground (black wire)
Here is the pinout in the image below:

Required Materials

Hardware Components
Software
Interfacing ZMCT102W Current Transformer with Arduino
Step 1: Wiring
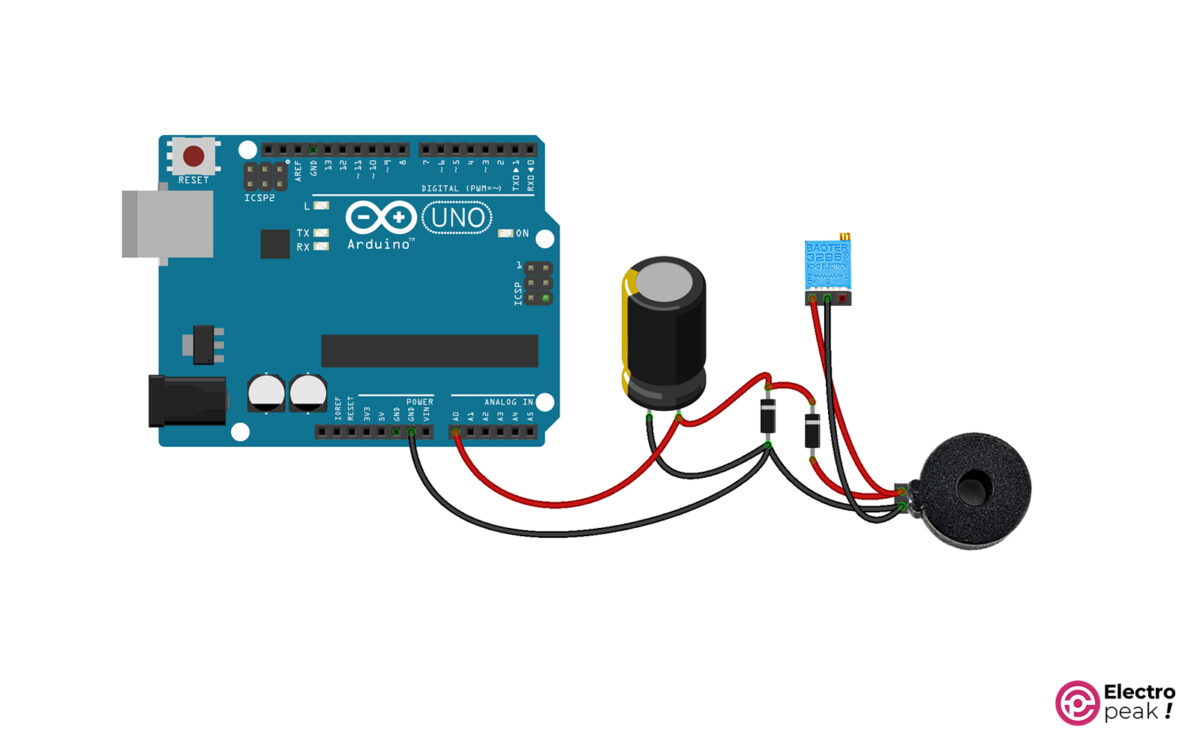
Connect the transformer to Arduino as shown in the circuit below. And then pass the wire through the transformer’s hole to measure its current.

Step 2: Library
Install this library in your Arduino.
Step 3: Code
Upload the code below in your Arduino and then open the Serial Monitor window.
/*
Made on May 17, 2023
By Amin Damirchi
Home
*/
#include <Average.h>
Average<float> ave(10);
void setup()
{
 pinMode(A6, INPUT);
 Serial.begin(115200);
}

void loop()
{
 float x = analogRead( A6);
 ave.push(x);
 // Convert the analog reading (which goes from 0 - 1023) to a voltage (0 - 5V):
 float voltage = ave.maximum() * (5.0 / 1023.0);
 // print out the value you read:
 // wait a few seconds for a constant number to appear
 delay(100);
 Serial.print(voltage);
 Serial.println(" Amper");
}
In the code above, we use the A6 pin of Arduino to read the transformer’s output voltage. In addition, to test the code, we measured the current passing through a wire connected to a lamp.
You can view the output of the code in the image below.


