LoRa SX1278 Transceiver Module Features
Electronic devices need to be connected wirelessly in so many cases. In these cases, Radio Frequency or RF equipments are used. RF modules include all radio waves that can travel different distances and reach the receiver according to their frequency and amplitude.
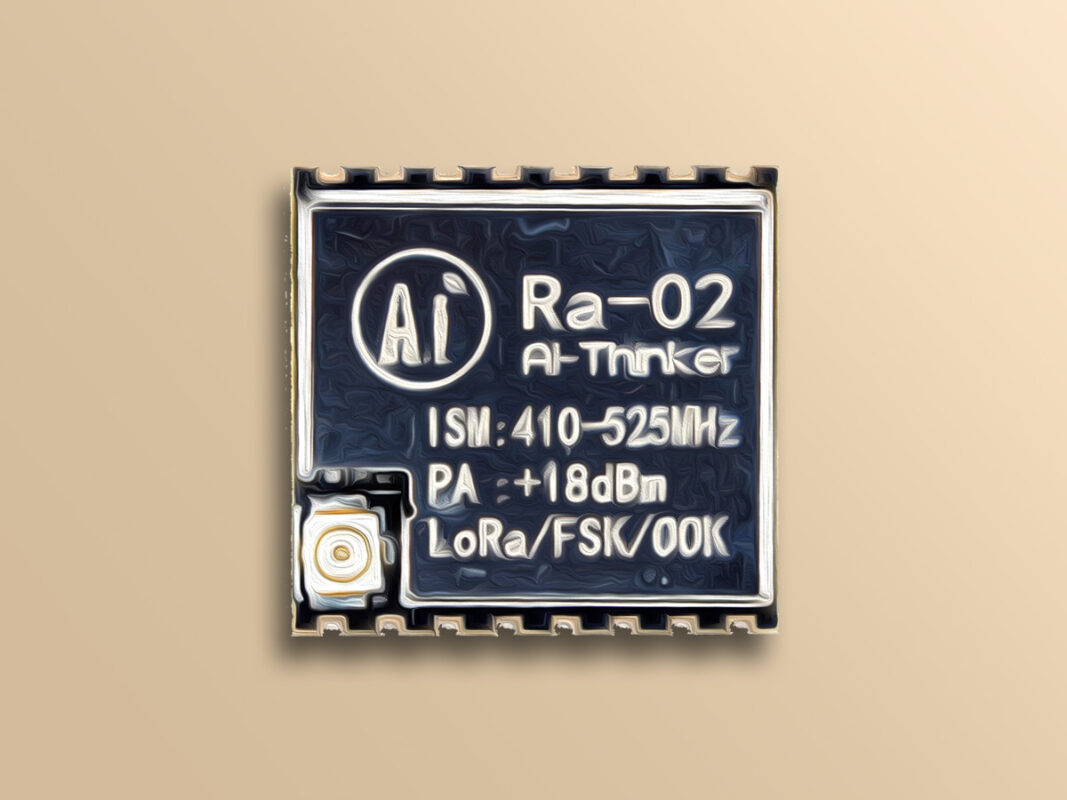
LoRa is a popular technology that is perfectly suitable for IoT projects with long distance communications. This module is an Ai-Thinker technology module which also produces ESP32 series. This module is based on SX1278 chip and its working frequency is 433 MHz.
The LoRa module includes UART, GPIO, Radio layer, SPI and I2C interfaces, etc. The microcontroller uses UART to communicate with this module in order to control and monitor the codes. You can connect this module to boards such as ESP32 and Raspberry Pi through SPI protocol.
Download the datasheet of this module here.
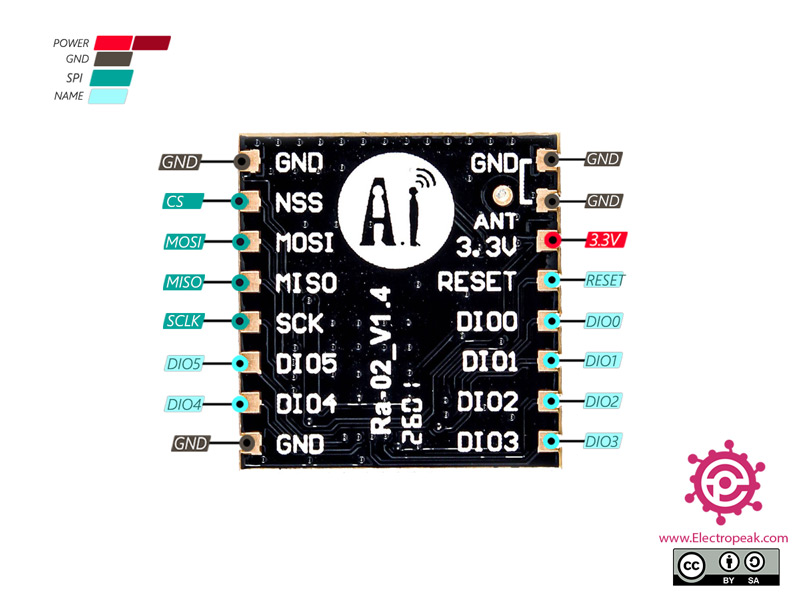
LoRa RA-02 Transceiver Module Pinout
This module has 16 pins:
- 3V: Module power supply
- GND: Ground
- MOSI: Data receive for SPI protocol
- MISO: Data transmit for SPI protocol
- SCK: SPI Clock
- NSS: Module selection for SPI protocol
- RESET: Reset module
- DIO0: Data line 0
- DIO1: Data line 1
- DIO2: Data line 2
- DIO3: Data line 3
- DIO4: Data line 4
- DIO5: Data line 5
Required Materials
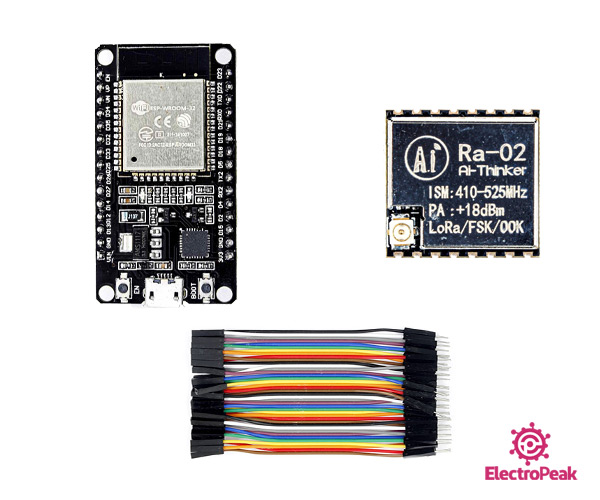
Hardware Components
Software Apps
Interfacing LoRa RA-02 Transceiver Module with ESP32
Step 1: Circuit
The following circuit shows how you should connect ESP32 to the LoRa RA-02 module. Connect wires accordingly.
Step 2: Library
Install the following library on your Arduino.
Tip
If you need more help with installing a library on Arduino, read this tutorial: How to Install an Arduino Library
Step 3: Code
Upload the following code to the ESP32 board of receiver side.
/*
  Create on March 17, 2021
  Create by MohammedDamirchi base of https://github.com/sandeepmistry/arduino-LoRa
  Home
*/


#include <SPI.h>
#include <LoRa.h>


#define ss 15
#define rst 4
#define dio0 2


void setup() {
  Serial.begin(9600);
  while (!Serial);
  delay(500);
  Serial.println("LoRa Receiver");
  LoRa.setPins(ss, rst, dio0);
  if (!LoRa.begin(433E6)) {
    Serial.println("Starting LoRa failed!");
    while (1);
  }
  Serial.println("Starting LoRa failed!");
}

void loop() {
  // try to parse packet
  int packetSize = LoRa.parsePacket();
  if (packetSize) {
    // received a packet
    Serial.print("Received packet '");

    // read packet
    while (LoRa.available()) {
      Serial.print((char)LoRa.read());
    }

    // print RSSI of packet
    Serial.print("' with RSSI ");
    Serial.println(LoRa.packetRssi());
  }
}
Upload the following code to the ESP32 board of the transmitter side of.
#include
#include

int counter = 0;

#define ss 15
#define rst 4
#define dio0 2

void setup() {
  Serial.begin(9600);
  while (!Serial);

  Serial.println("LoRa Sender");
  LoRa.setPins(ss, rst, dio0);
  if (!LoRa.begin(433E6)) {
    Serial.println("Starting LoRa failed!");
    while (1);
  }
}

void loop() {
  Serial.print("Sending packet: ");
  Serial.println(counter);

  // send packet
  LoRa.beginPacket();
  LoRa.print("hello ");
  LoRa.print(counter);
  LoRa.endPacket();

  counter++;

  delay(1000);
}
This code is for testing the connection between the two LoRa modules.
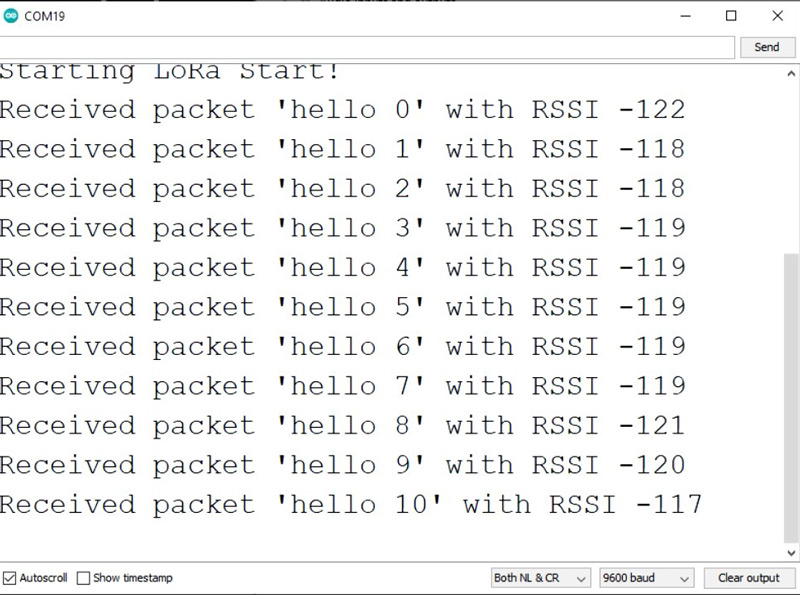
Open the ESP32 Serial Monitor of the receiver side. You can see the following data.


Comments (2)
rssi isn’t wiered? same here i am getting -100rssi when modules are just 1-2 meters away…
did you managed to fixed it ?
Hey there,
The primary culprit for a weak signal is the antenna. Check out this video where I compare the RSSI before and after connecting an antenna. It makes a noticeable difference