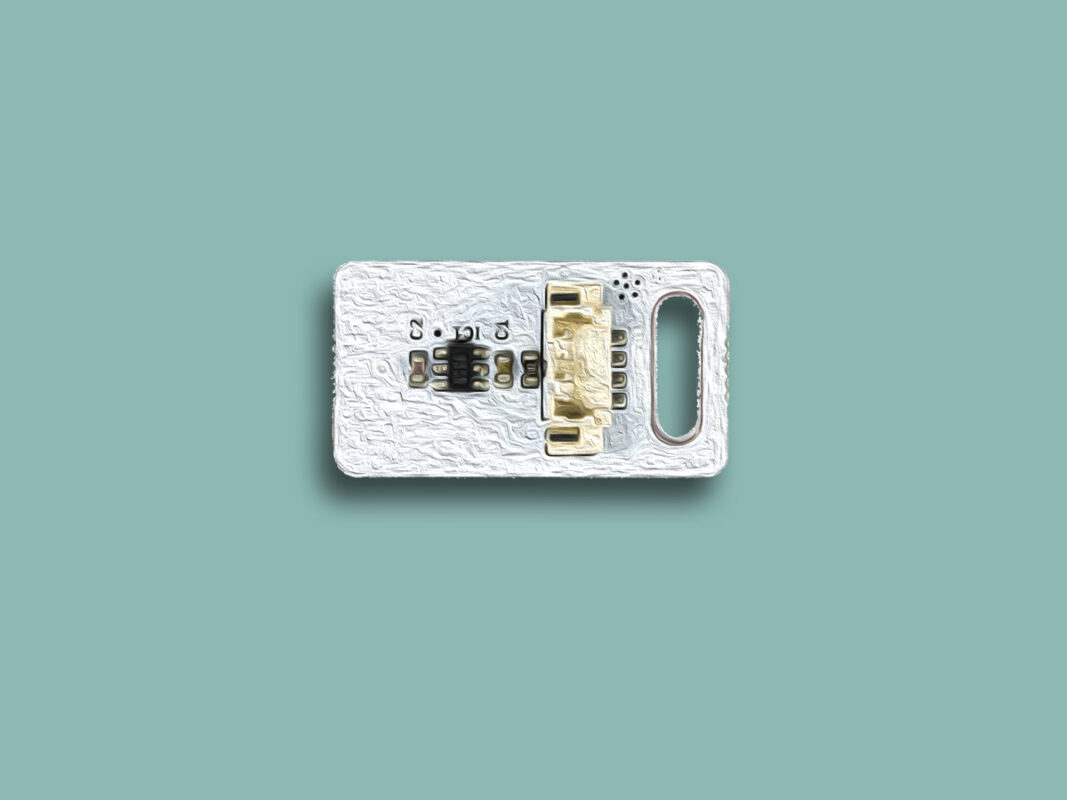
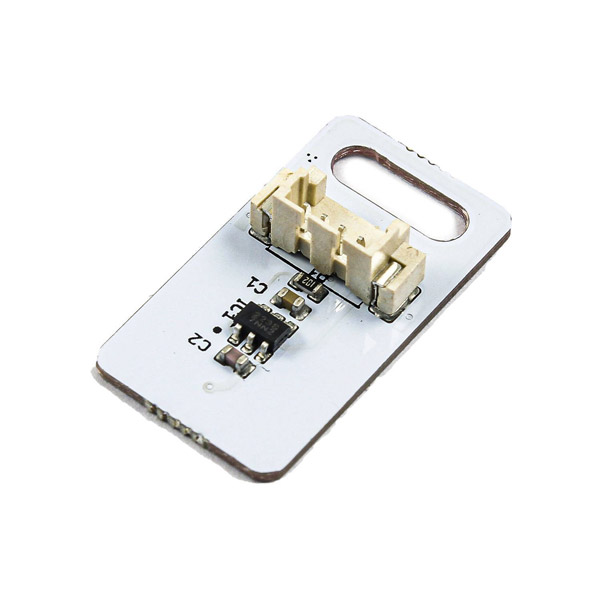
MicroDuino Touch Sensor Features
This touch button is a simple digital output sensor. It uses the TTP223 chip to detect capacitance change. This sensor features small size, high sensitivity, long power consumption and long lifespan.
When the sensor is touched, its output is LOW, otherwise it is HIGH.
You can download the datsheet of this module here.
MicroDuino Touch Sensor Pinout
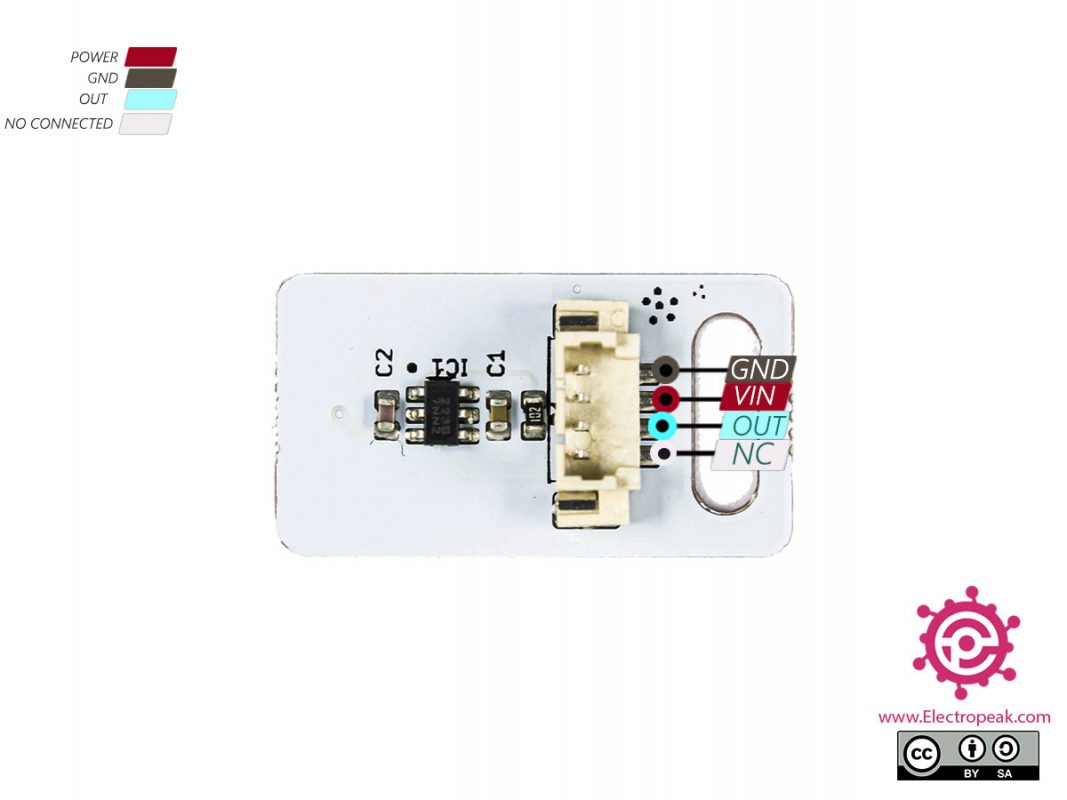
This Module has 4 pins:
- VCC: Module power supply – 3.3 to 5 V
- GND: Ground
- OUT: Sensor output
- NO Connected: Not used
You can see the pinout of this module on the first side in the image below.
Required Materials
Hardware Components
Software Apps
Interfacing MicroDuino Touch Sensor with Arduino
Step 1: Circuit
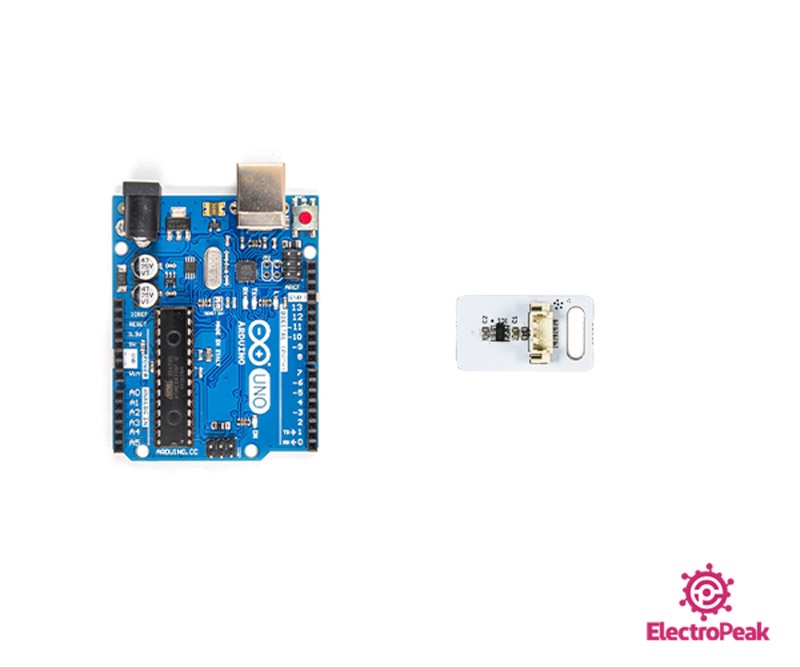
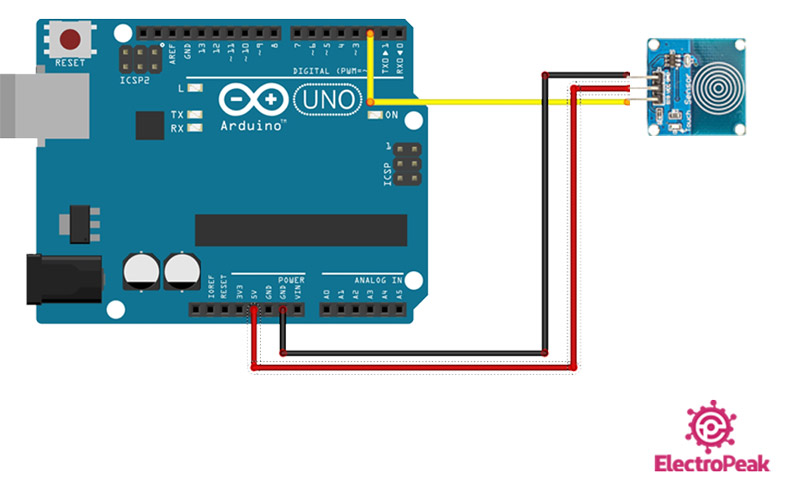
The following circuit shows how you should connect Arduino to this sensor. Connect wires accordingly.
Step 2: Code
Upload the following code to Arduino.
/*  MicroDuino-Touch-Sensor
  made on 21 oct 2020
  by Amir Mohammad Shojaee @ Electropeak
  Home

*/
const int TOUCH_PIN = 2;

void setup(){
  Serial.begin(9600);
  pinMode(TOUCH_PIN, INPUT);
}

void loop(){

  int pin_state = digitalRead(TOUCH_PIN);

  //Check if the sensor's state is HIGH (not pressed)
  if(pin_state == HIGH){
    Serial.println("Touch Button is not pressed");
  }
  //Check if the sensor's state is LOW (pressed)
  else if(pin_state == LOW){
    Serial.println("Touch Button is pressed");
  }

  delay(1000);
}
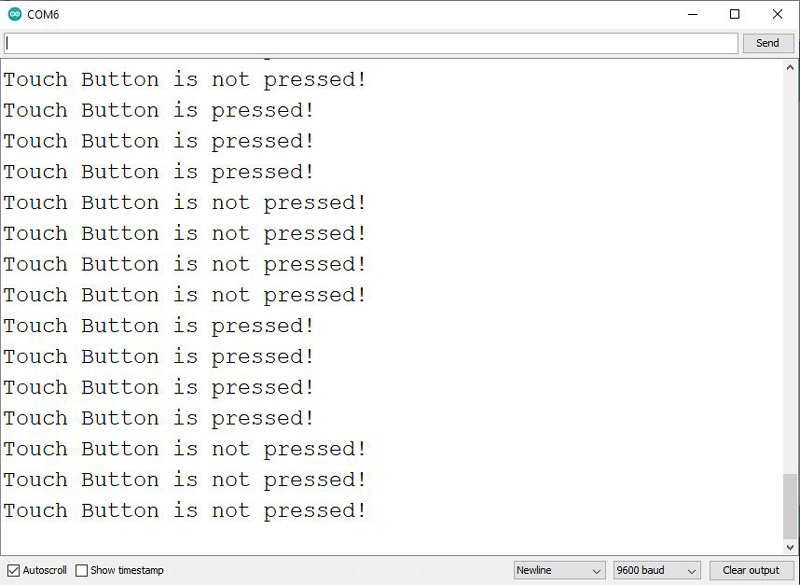
When sensor is touched, the output is LOW, ” Touch Button is pressed ” appears in Serial Monitor. Otherwise, it is HIGH and “Touch Button is not pressed” is shown.
The output is as follows when we touch 2 times.
