Load Cell Sensor Features
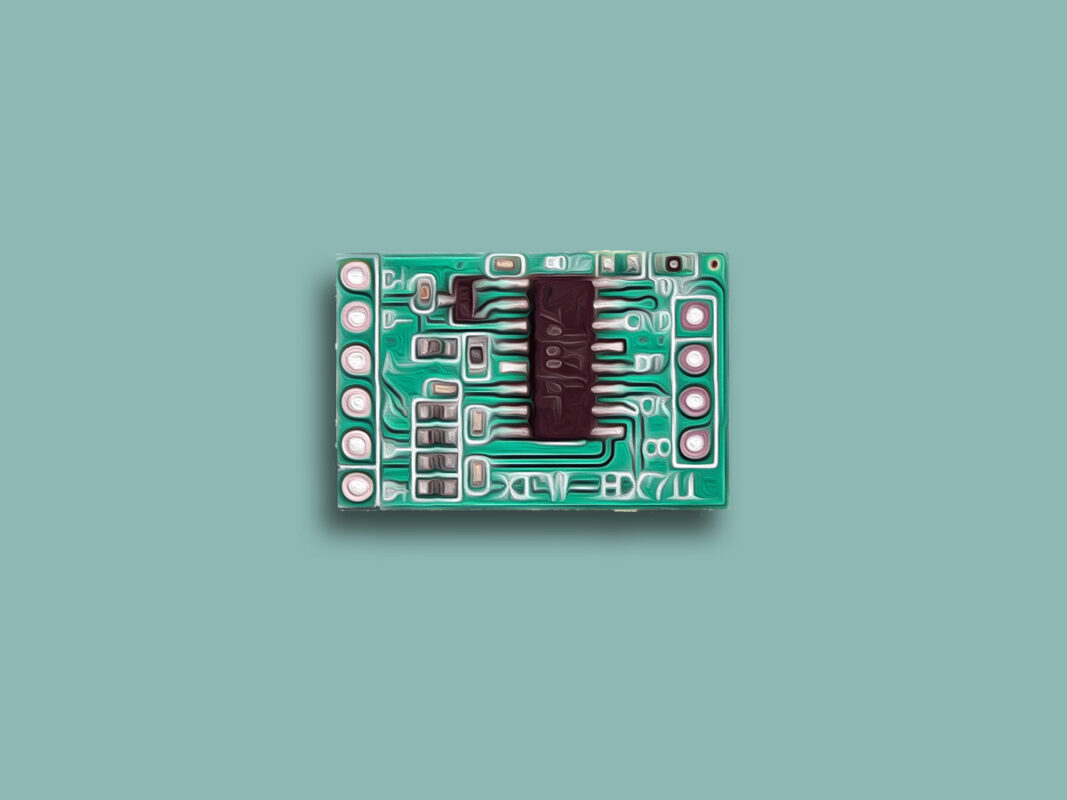
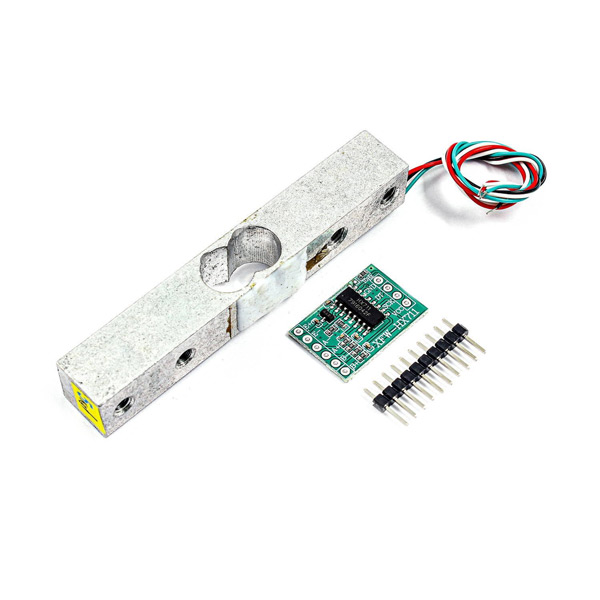
Load cells are electronic sensors that are able to measure weight and force. The body is usually made of aluminum, alloy steel, or stainless steel which makes it very sturdy but also minimally elastic. This elasticity gives rise to the term “spring element”, referring to the body of the load cell. When force is exerted on the load cell, the spring element is slightly deformed, and unless overloaded, always returns to its original shape. Load cell capacity is equal to the maximum amount of force it can withstand. The HX711 module is used to measure changes in the resistance of the load cell. This module is a high-precision analog-to-digital converter.
Note
This module does not use I2C communication.
Note
This module can measure 2 load cells simultaneously.
You can download the datasheet of this module here.
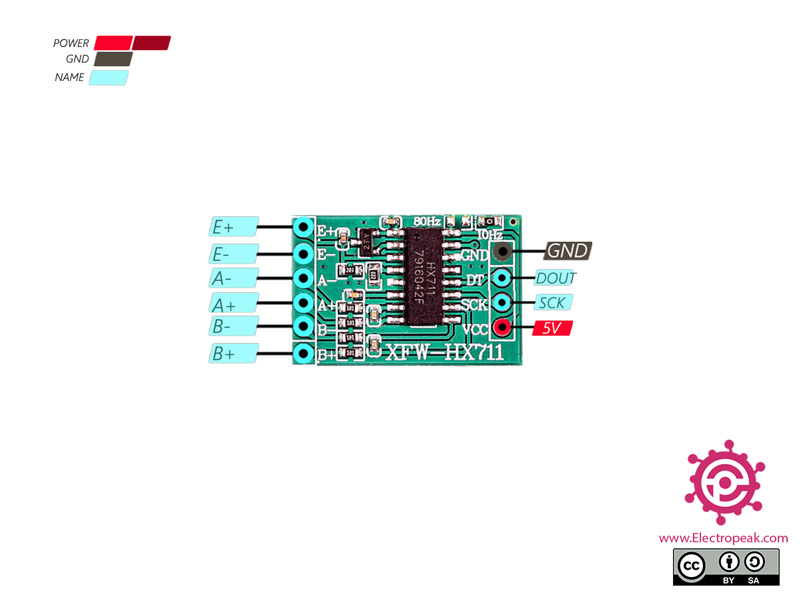
HX711 Module Pinout
HX711 module has 10 pins:
- VIN: Module power supply – 3.3-5 V
- GND: Ground
- SCK: (Serial Clock) Module and microcontroller synchronization
- OUT: Module digital output
- E+: Load cell power supply
- E-: Load cell Ground
- A+: First output of first cell
- A-: Second output of first cell
- B+: First output of second cell
- B-: Second output of second cell
You can see Pinout of this module in the image below.
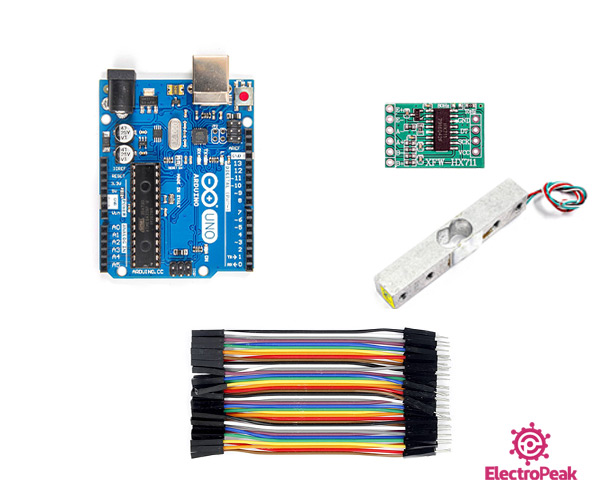
Required Materials
Hardware Components
Software Apps
Interfacing HX711 with Arduino
Step 1: Circuit
Step 2: Code
Install the following library on your Arduino first.
Tip
If you need more help with installing a library on Arduino, read this tutorial: How to Install an Arduino Library
/*
modified on Sep 21, 2020
Modified by MohammedDamirchi from https://github.com/sparkfun/HX711-Load-Cell-Amplifier base on https://www.instructables.com/id/Arduino-Scale-With-5kg-Load-Cell-and-HX711-Amplifi/
Home
*/


#include "HX711.h"

#define DOUT  3
#define CLK  2

HX711 scale;

float calibration_factor = -100000; //Change this for calibration your load cell

void setup() {
  Serial.begin(9600);
  Serial.println("HX711 calibration sketch");
  Serial.println("Remove all weight from scale");
  Serial.println("After readings begin, place known weight on scale");
  Serial.println("Press + or a to increase calibration factor");
  Serial.println("Press - or z to decrease calibration factor");

  scale.begin(DOUT, CLK);
  scale.set_scale();
  scale.tare(); //Reset the scale to 0

  long zero_factor = scale.read_average(); //Get a baseline reading
  Serial.print("Zero factor: "); //This can be used to remove the need to tare the scale. Useful in permanent scale projects.
  Serial.println(zero_factor);
}

void loop() {

  scale.set_scale(calibration_factor); //Adjust to this calibration factor
  Serial.print("Reading: ");
  Serial.print(abs(scale.get_units())*0.453592, 4);
  Serial.print(" kg"); //Change this to kg and re-adjust the calibration factor if you follow SI units like a sane person
  Serial.print(" calibration_factor: ");
  Serial.print(calibration_factor);
  Serial.println();

  if(Serial.available())
  {
    char temp = Serial.read();
    if(temp == '+' || temp == 'a')
      calibration_factor += 10;
    else if(temp == '-' || temp == 'z')
      calibration_factor -= 10;
  }
}
