Focusable Red Line Laser Features
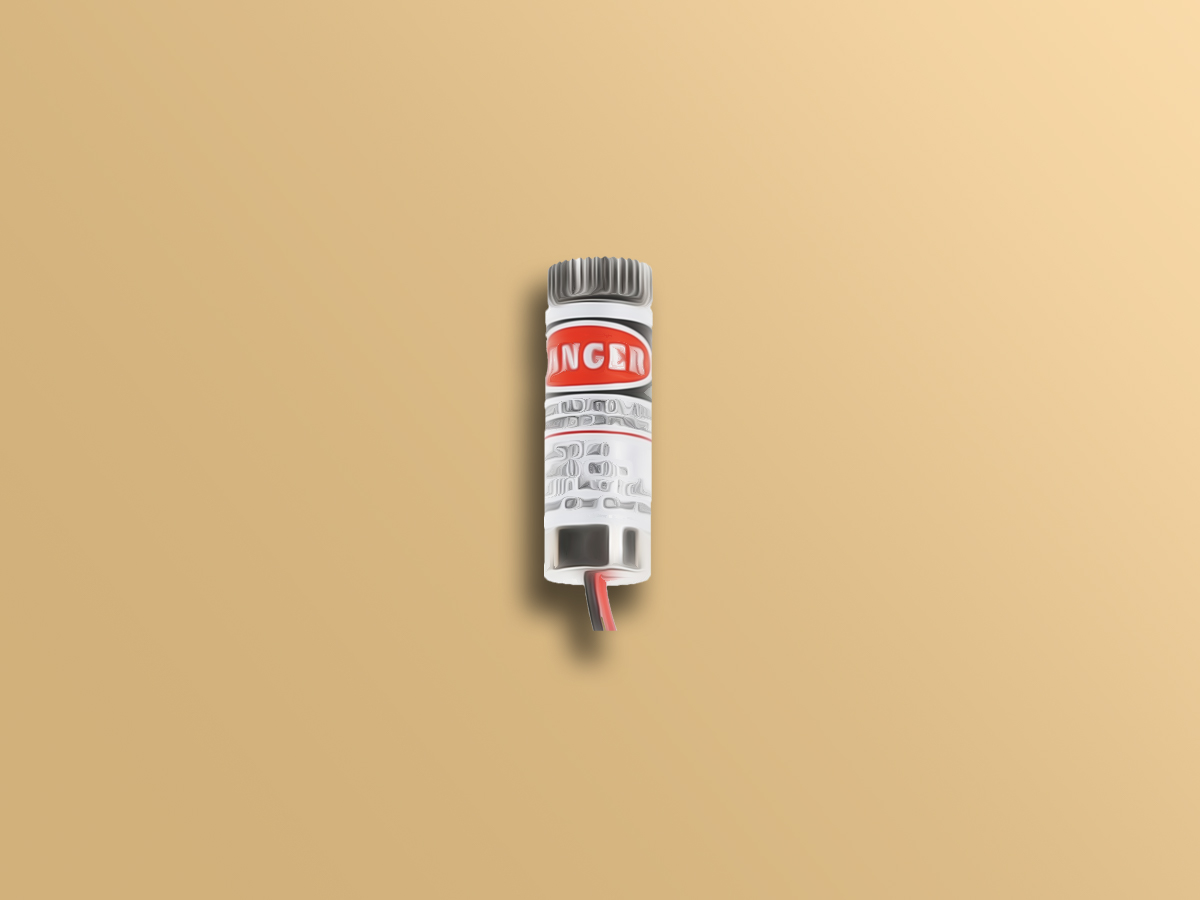
This module emits a small intense focused beam of visible red light. This module can be used in fiber optic communications, laser test tools, surgical equipments, GPS tracking, etc. At the top of the laser there is a screw that is used to adjust the laser light. Some key features are:
- Operating voltage: 3V
- Required current for module to be turned on: Less than 40mA
- Output power: 5mW
- Laser wavelength: 650nm
Note
Since the required current is less than 40mA and the Arduino pins can supply this current, this module can be connected directly to the Arduino. If it were more than 40mA, direct connection to Arduino would damage the Arduino Board. To do so, you need to use a laser driver to connect the module to Arduino.
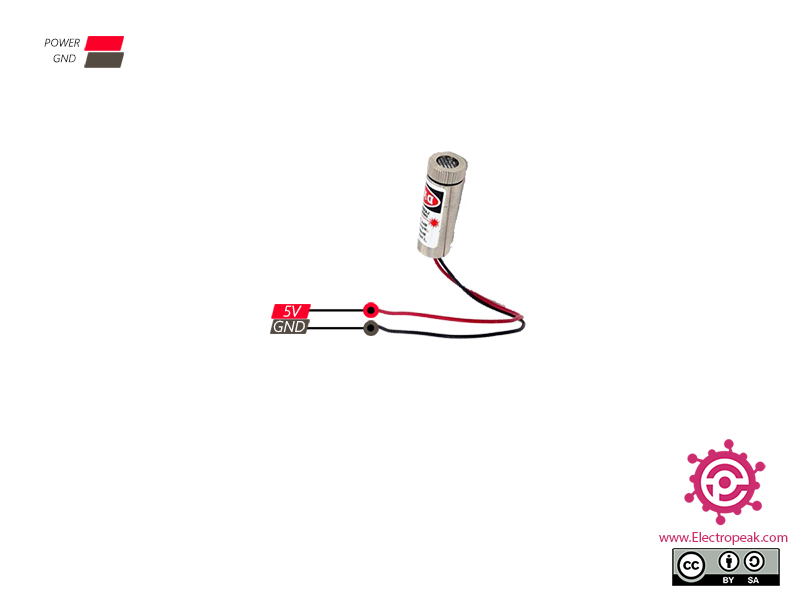
Focusable Red Line Laser Pinout
This module has 2 wires:
- VCC: Module power supply – 3V (Red wire)
- GND: Ground (Blue wire)
You can see the pinout of this module in the image below.
Required Materials
Hardware Components
Software Apps
Interfacing Focusable Red Line Laser with Arduino
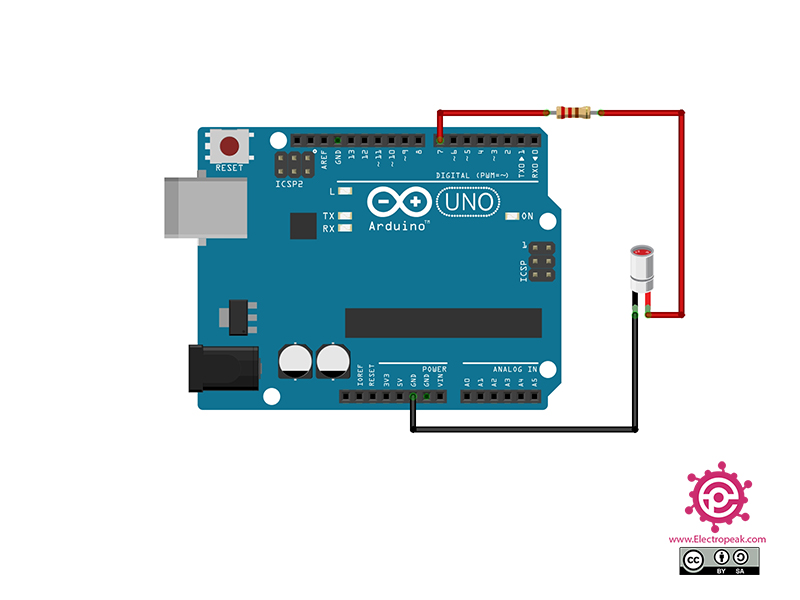
Step 1: Circuit
The following circuit shows how you should connect Arduino to this module. Connect wires accordingly.
Step 2: Code
Upload the following code to Arduino.
    /*
Modified on Nov 22, 2020
Modified by MehranMaleki from Arduino Examples
Home
*/


void setup() {
  pinMode(7, OUTPUT);
}

void loop() {
  digitalWrite(7, HIGH);
  delay(1000);

  digitalWrite(7, LOW);
  delay(1000);
}
In this code, we first set the Arduino pin number 7 as the output, because we are going to control the laser with it. Then we turn the laser on and off every second.
Uploading above code, the laser connected to the Arduino will turn on and off every second. You can also turn the screw to change the light.


