DHT21/AM2301 Temperature and Humidity Sensor Features
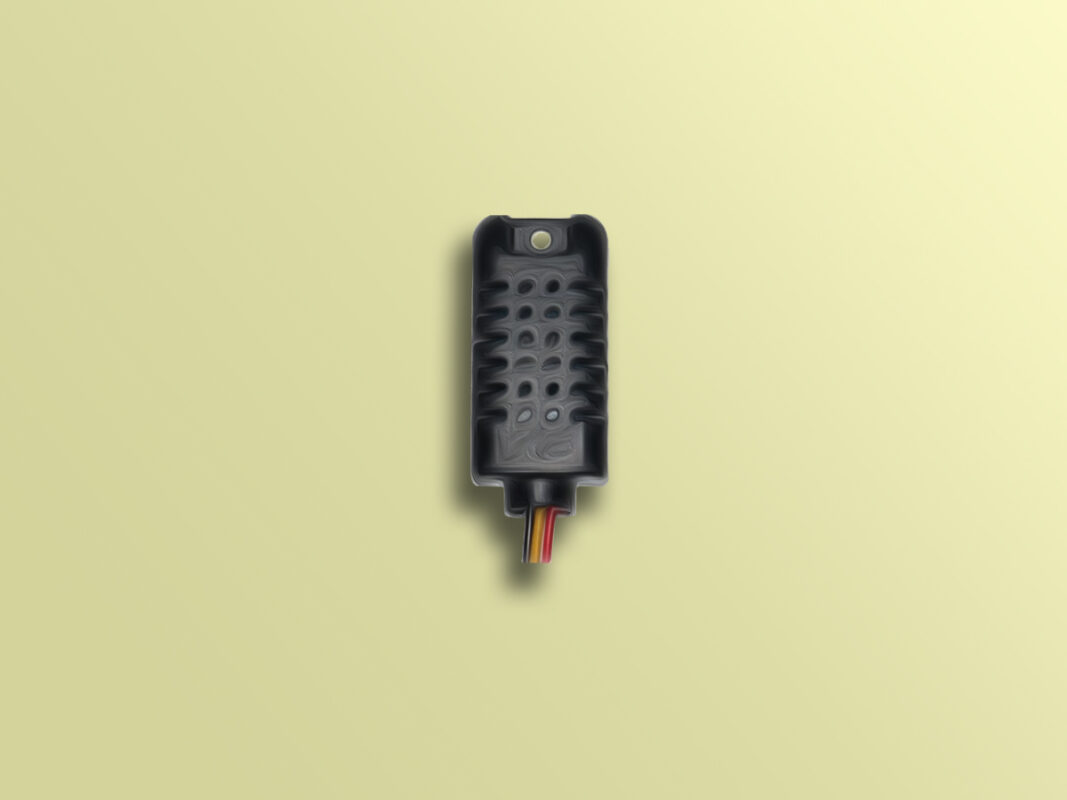
The AM2301 / DHT21 temperature and humidity sensor consists of two sensors: A capacitive humidity sensor and a thermistor. This sensor transmits data using a single digital pin, so it can communicate with the microcontroller using only one digital pin. The sampling frequency is 0.5Hz, which means that you can get new data every two seconds.
DHT21/AM2301 Temperature and Humidity Sensor Pinout
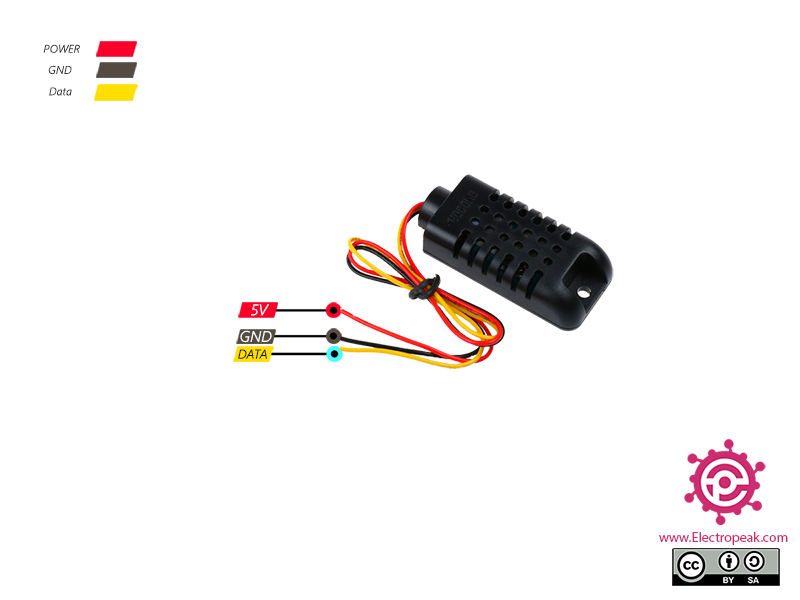
This Module has 3 wires:
- VCC (Red): Module power supply – 5V
- GND (Black): Ground
- DATA (Yellow): Data pin
You can see the pinout of this module in the image below.
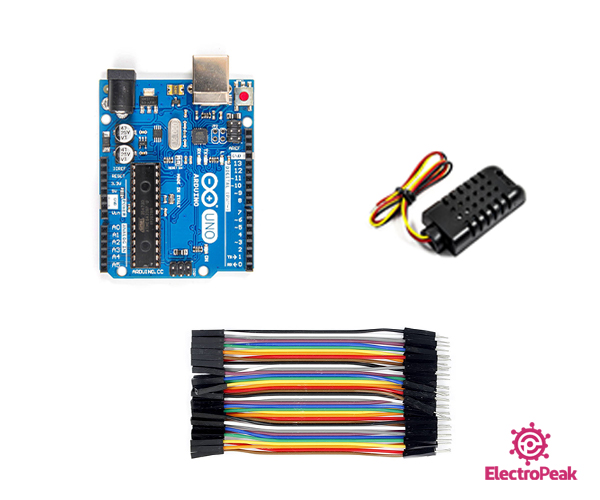
Required Materials
Hardware Components
Software Apps
Interfacing DHT21/AM2301 Temperature and Humidity Sensor with Arduino
Step 1: Circuit
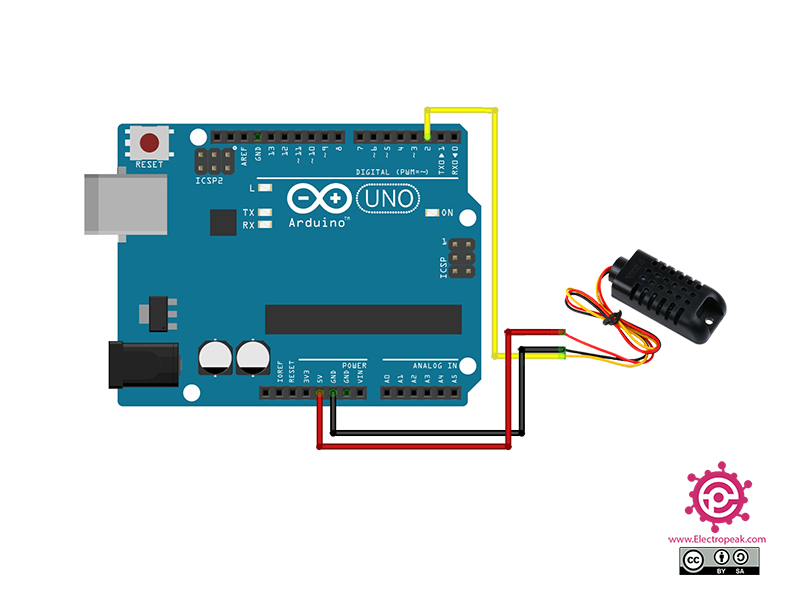
The following circuit show how you should connect Arduino to DHT21 sensor. Connect wires accordingly.
Step 2: Library
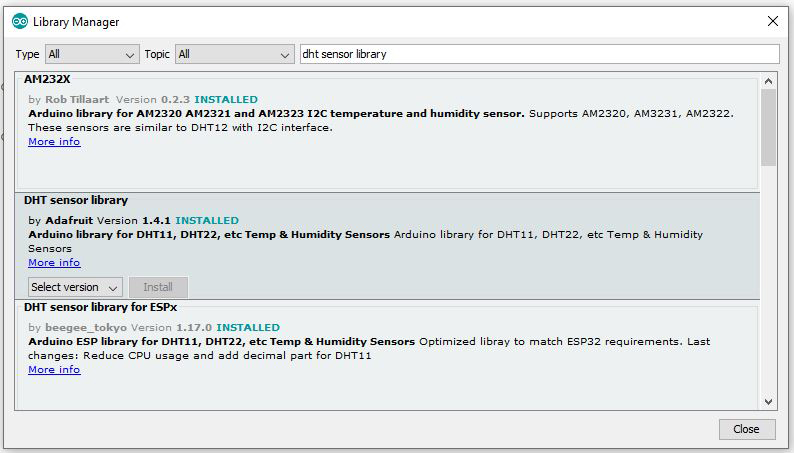
Then go to the Include Library and install DHT sensor library.
Note
If you need more help with installing a library on Arduino, read this tutorial: How to Install an Arduino Library
Step 3: Code
Upload the following code to Arduino. After that, open the Serial Monitor.
  /*
modified on Dec 29, 2020
Modified by MehranMaleki from Arduino Examples
Home
*/


//Libraries
#include <DHT.h>;

//Constants
#define DHTPIN 2            //what pin we're connected to
#define DHTTYPE DHT21       //DHT 21  (AM2301)
DHT dht(DHTPIN, DHTTYPE);   //Initialize DHT sensor for normal 16mhz Arduino


//Variables
float hum;  //Stores humidity value
float temp; //Stores temperature value

void setup()
{
  Serial.begin(9600);
  dht.begin();
}

void loop()
{
  //Read data and store it to variables hum and temp
  hum = dht.readHumidity();
  temp= dht.readTemperature();

  //Print temp and humidity values to serial monitor
  Serial.print("Humidity: ");
  Serial.print(hum);
  Serial.print("%,  Temperature: ");
  Serial.print(temp);
  Serial.println(" Celsius");

  delay(2000); //Delay 2 sec.
}
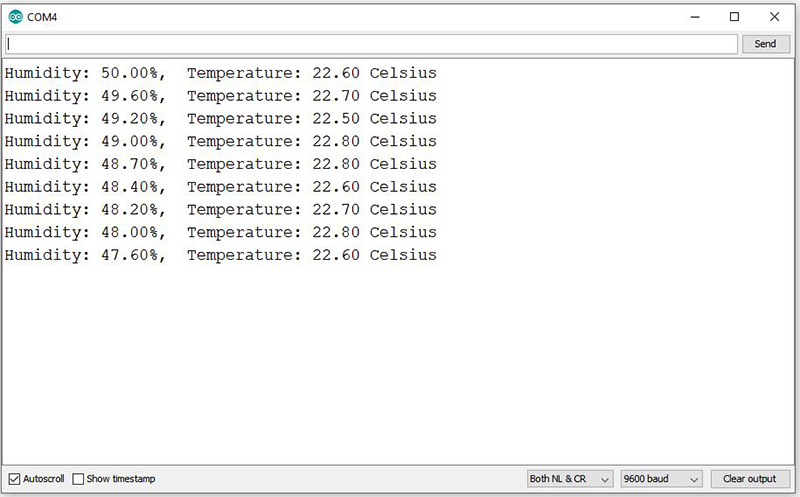
In this code, the humidity and temperature data are received from the sensor every 2 seconds and displayed on the Serial Monitor.
The output is as follows:


Comment (1)
Male tot Male jumper wire must be Male to Female jumper wire.