
Introduction
Today, with the occurrence of severe droughts and water shortages, significant changes have taken place in agriculture. One of the important examples in this field is the improvement of irrigation methods for agricultural products. One of the important examples in this field is the improvement of irrigation methods for agricultural products. The purpose of using these methods is to optimize water consumption. In addition, it has a very good effect on the quality of products and the costs of the farmer. The automatic watering pump kit plays a crucial role in this process. This article provides a full guide on setting up an automatic watering pump kit based on soil moisture, highlighting its features and benefits.
Automatic Watering Pump Kit Features
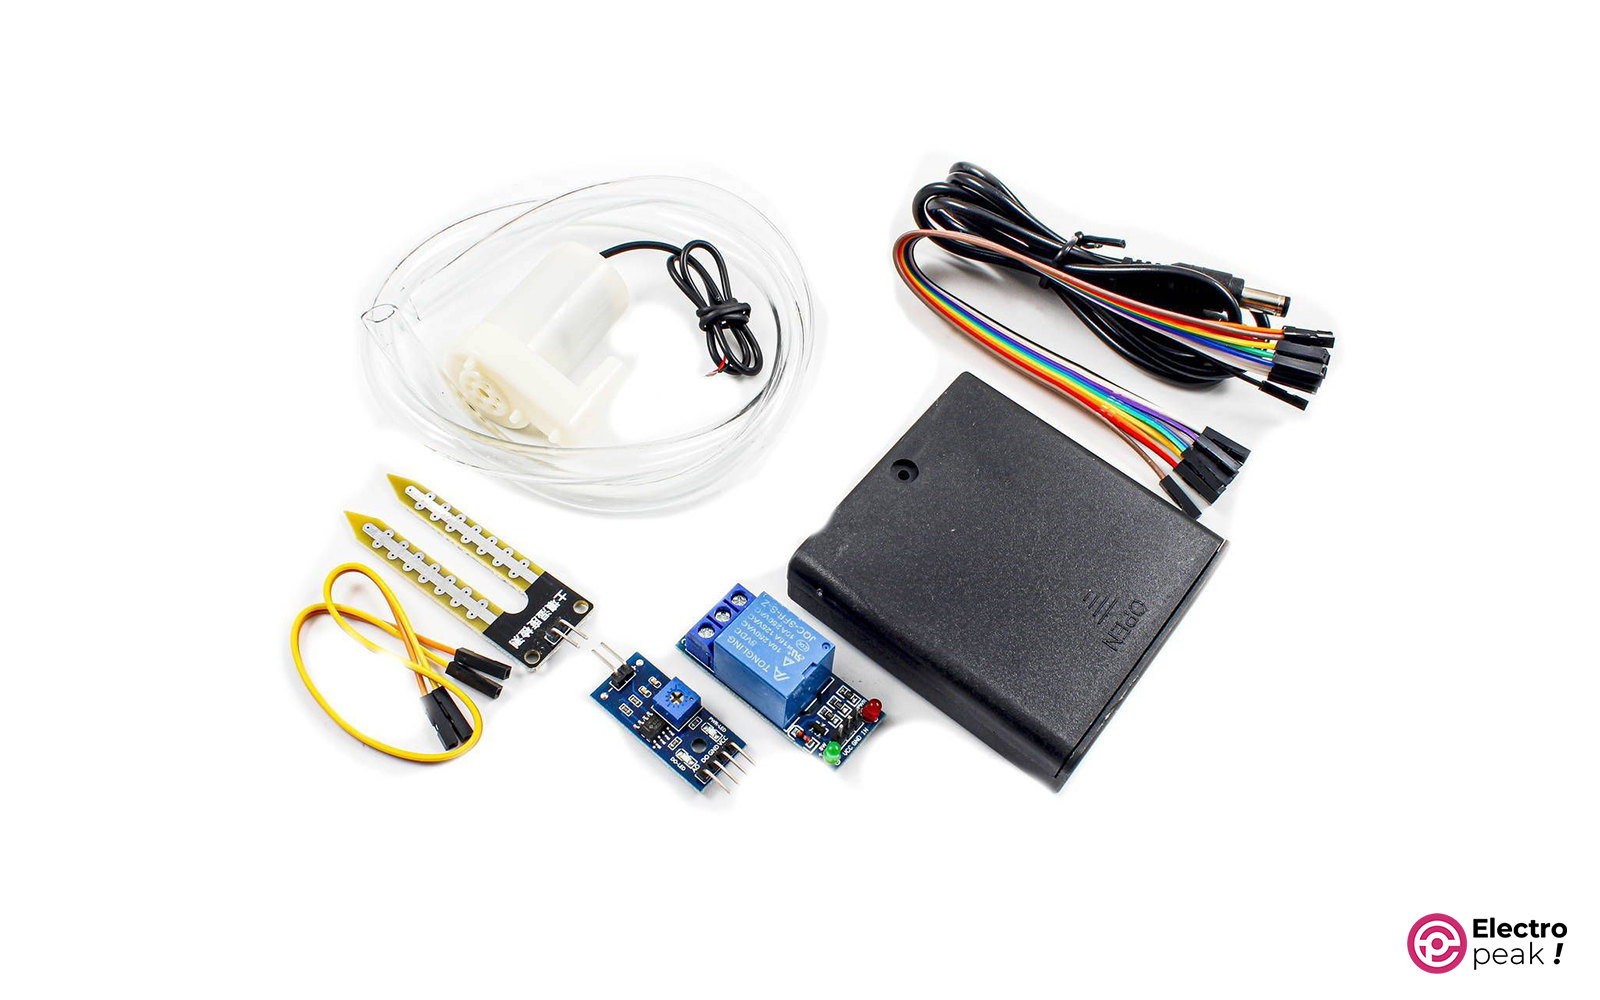
The automatic watering pump kit is a vital tool for efficient irrigation. It comprises the following components:
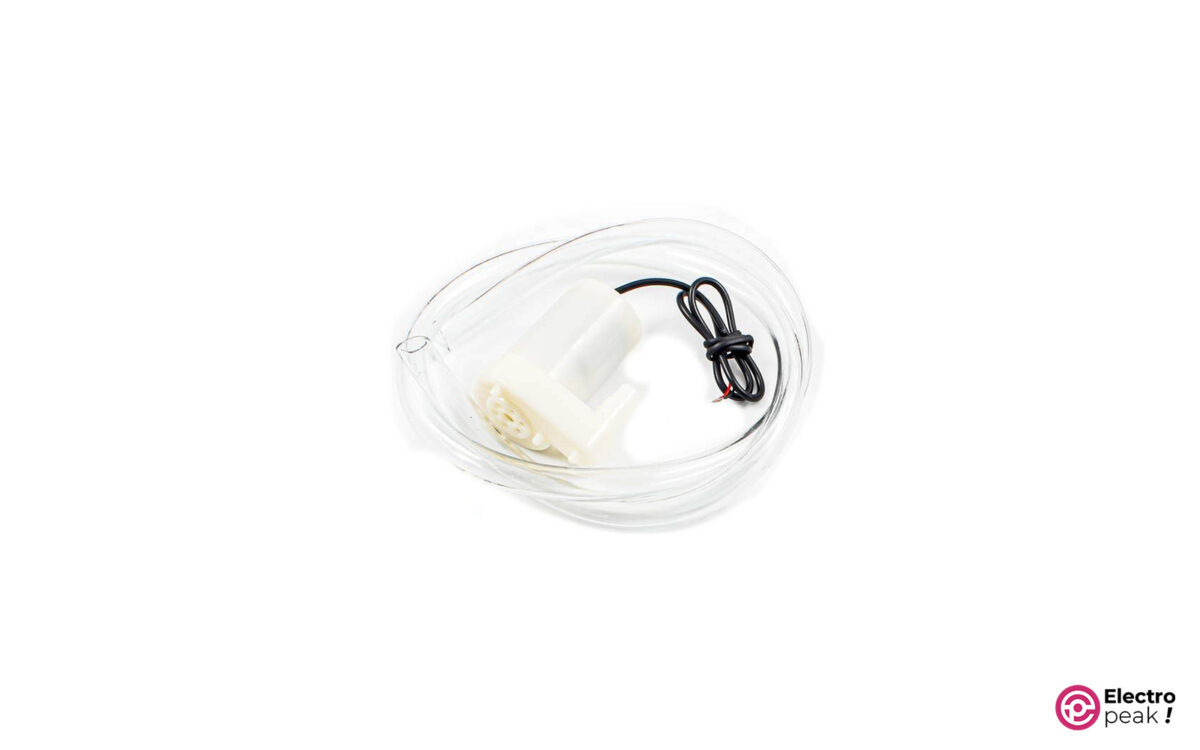
Water pump with water transfer pipe
This pump transfers water from the source to the desired plant.
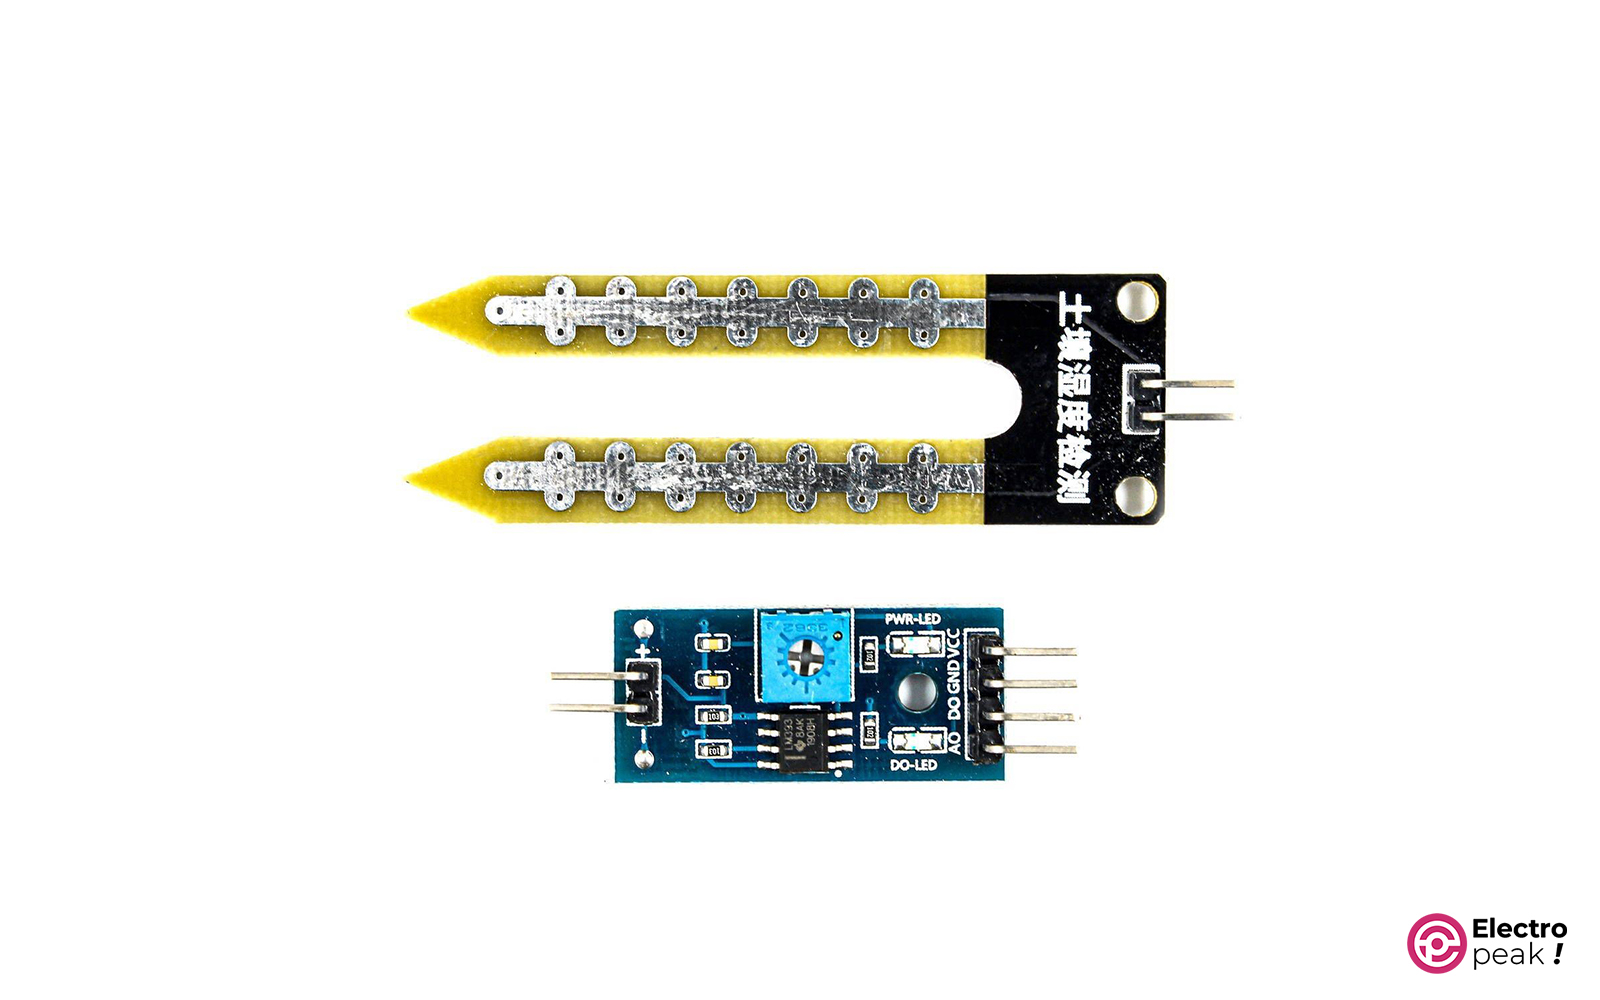
Soil moisture module
We put the sensor in the soil to measure the soil moisture. Depending on the amount of moisture measured by the sensor, the module issues the necessary command to disconnect and connect the relay module. This module also has a potentiometer to change the sensitivity of the sensor.
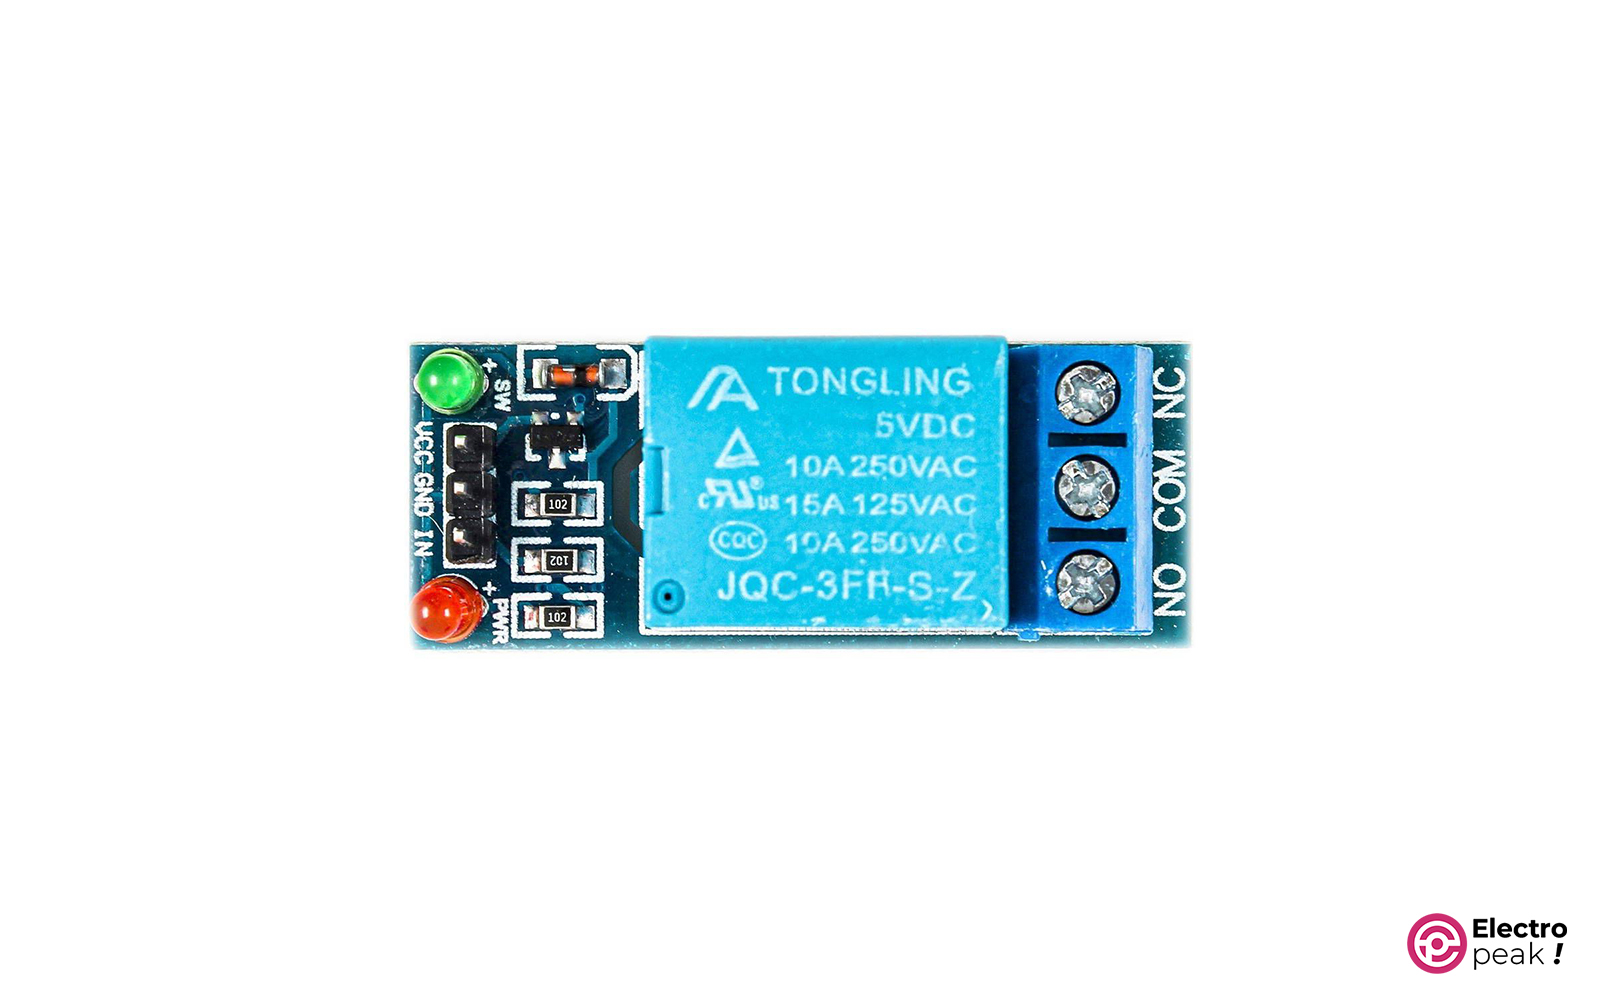
Relay module
The relay module is used to disconnect and connect the pump.
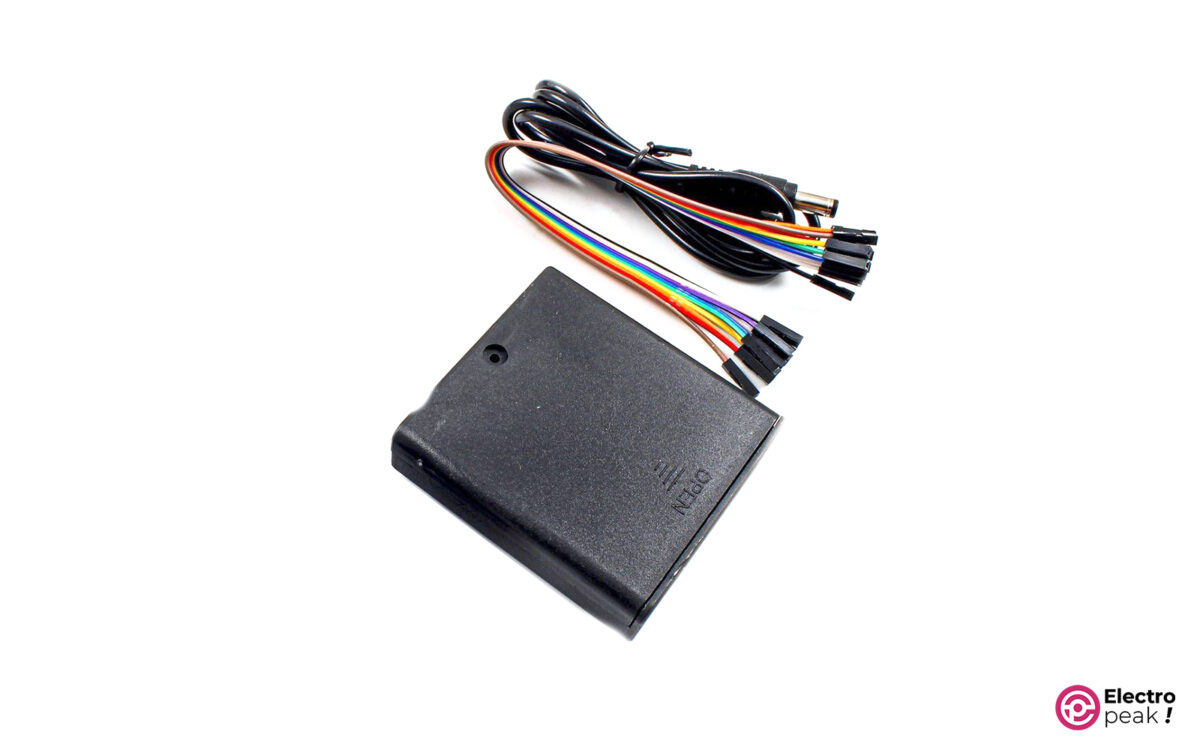
Connections and power supply
The kit includes various cables and a battery holder for seamless connectivity.
Required Materials
Hardware Components
Setting Up the Automatic Watering Pump Kit
Follow these step-by-step instructions to set up the automatic watering pump kit for efficient soil moisture-based irrigation:
Step 1: Circuit
Connect the components of the kit to each other according to the the provided circuit diagram.
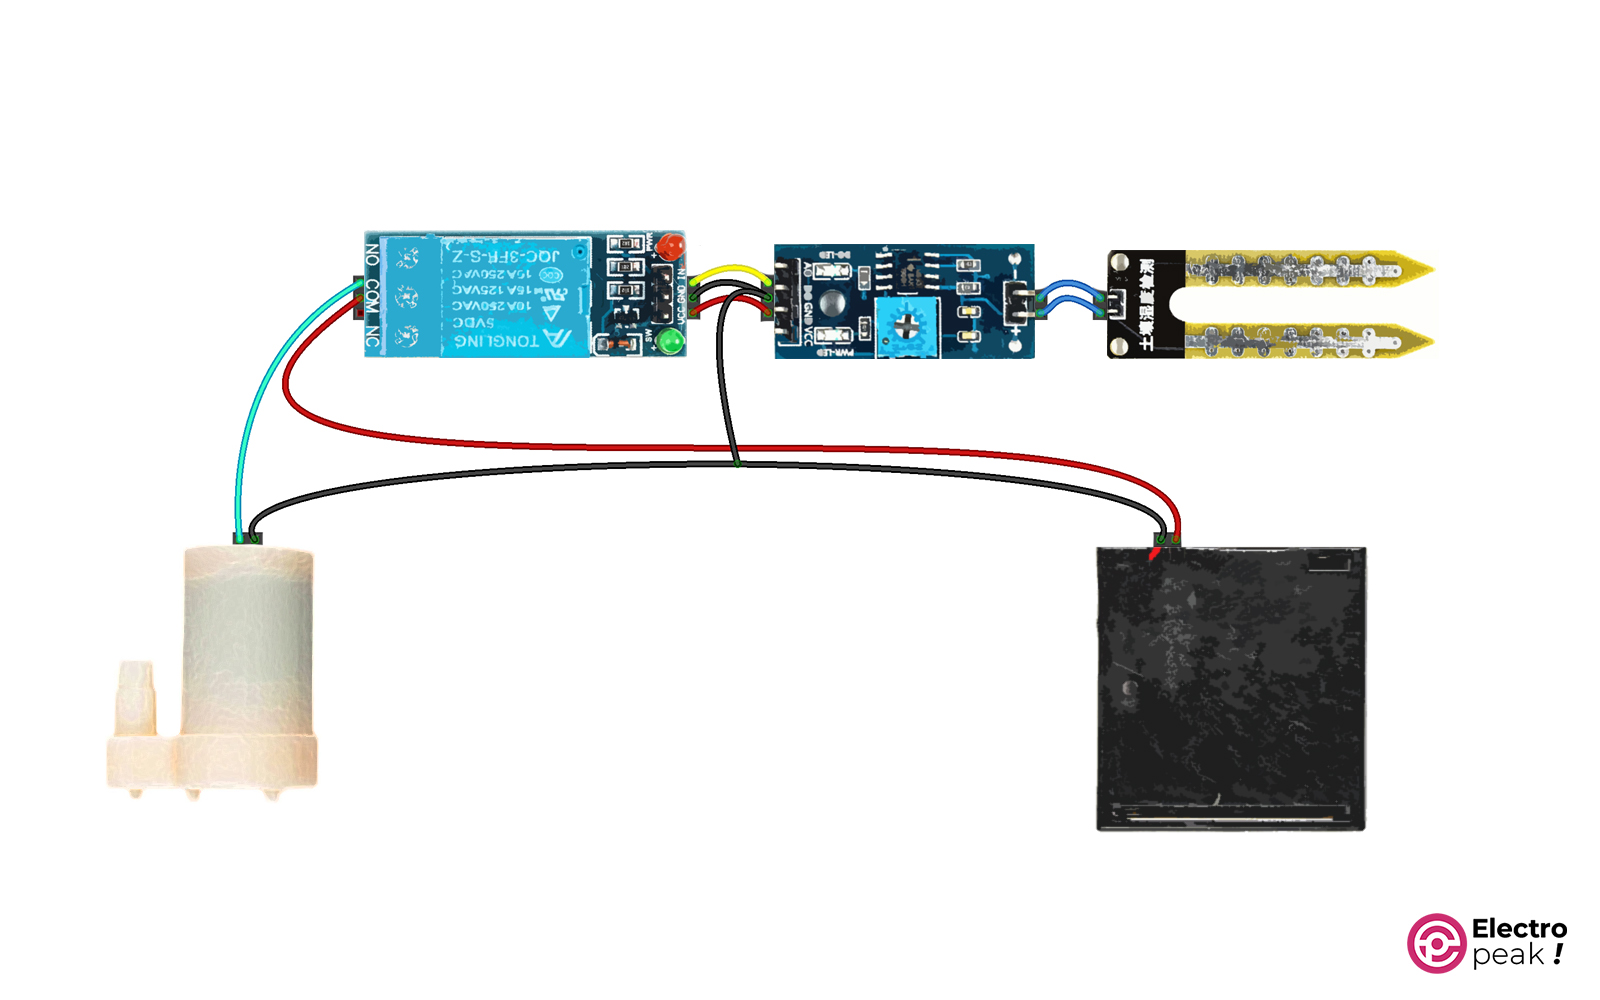
There are two ways for the power supply:
1. If you use a 5 volt source, you can supply the whole circuit with the same voltage.
2. If you want to use a source higher than 5 volts for the pump, you must feed the soil moisture module separately (3.3 to 5 volts).

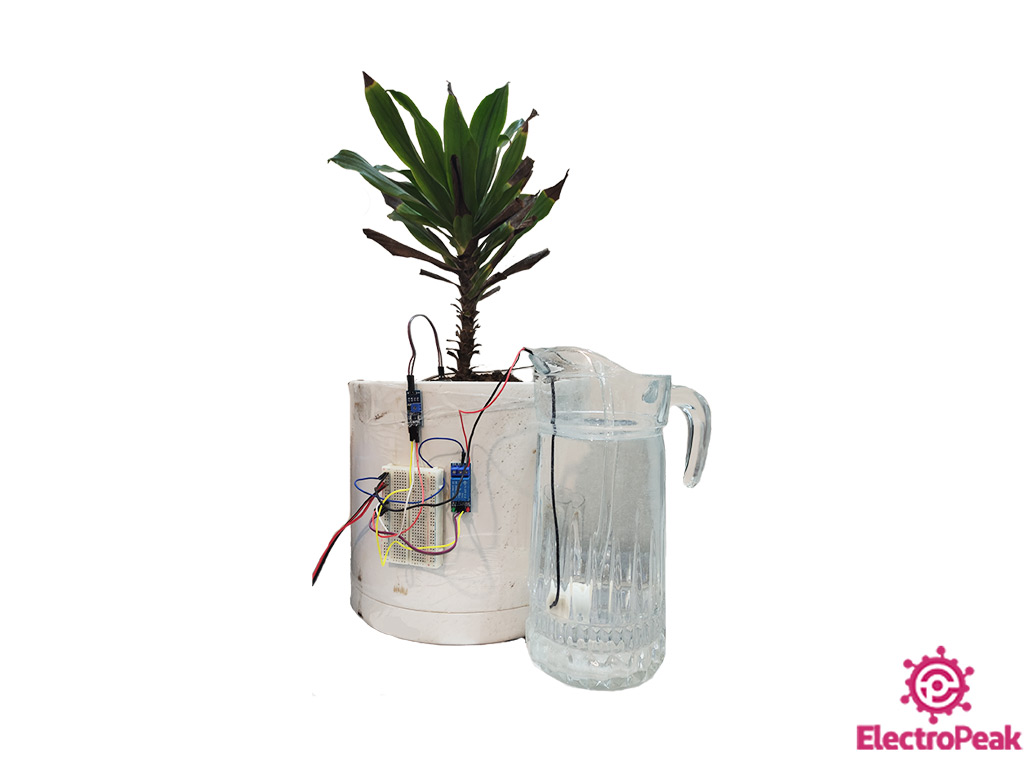
Step 2: Output
After setting up the circuit as said, place the soil moisture sensor in the soil and the pump in the water source. Then, start the irrigation process by connecting the power supply. The following video shows how this kit works:
About half of the soil in the pot is pre-irrigated and moist.
As can be seen, when we immerse the sensor in wet soil, the water flow is cut off, and when we remove the sensor from the wet soil, the water flow is connected. Finally, we place the sensor in a part of the soil that is dry. As expected, it is observed that the water flow is connected and watering is done.
In summery, by employing an automatic watering pump kit based on soil moisture, farmers can optimize their irrigation practices and conserve water resources. This comprehensive guide has provided step-by-step instructions for setting up the kit and highlighted its essential features. Incorporate this efficient irrigation system into your agricultural practices and experience improved product quality while reducing costs.
