Getting Started with PlatformIO IDE to Program ESP32
Written by
Amin Damirchi
Introduction
Similar to Arduino IDE, Platform-IO is a programming environment for all types of microcontrollers. It provides an easier programming process and is available as an extension for the VS Code software. One notable advantage of Platform-IO IDE over Arduino IDE is that it automatically selects the appropriate port. In addition, Platform-IO IDE offers code suggestions to help complete and modify your code, and it eliminates errors caused by case sensitivity in Arduino IDE! Some other attractive features of Platform-IO: highlighting errorsbefore code compilation and opening multiple tabs at the same time.
Installing Platform-IO IDE in Windows
Step 1: Install VS Code software
First, open this link and click on “Download for Windows.” Next, download the Vs Code software.
Step 2: Install Python
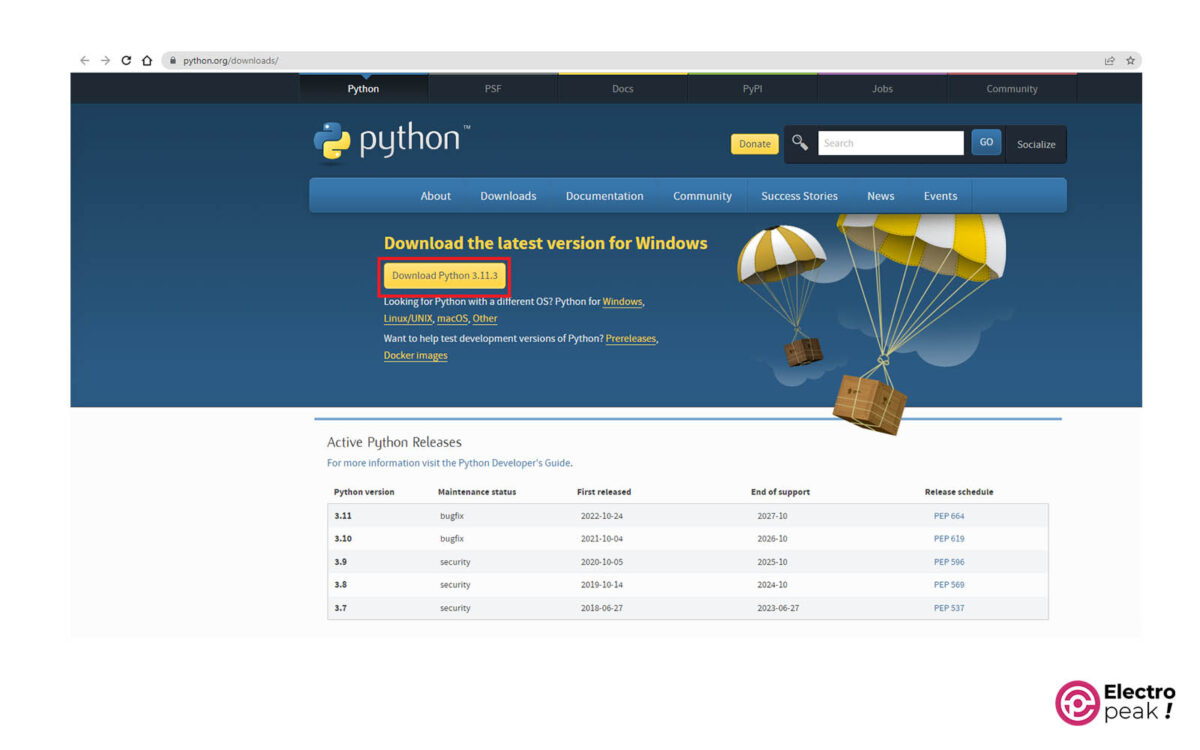
To program ESP32 and ESP8266 boards, you need to have Python version 3.5 or higher on your system. Here, you can download the latest version. After that, begin the installation process as shown in the image below.
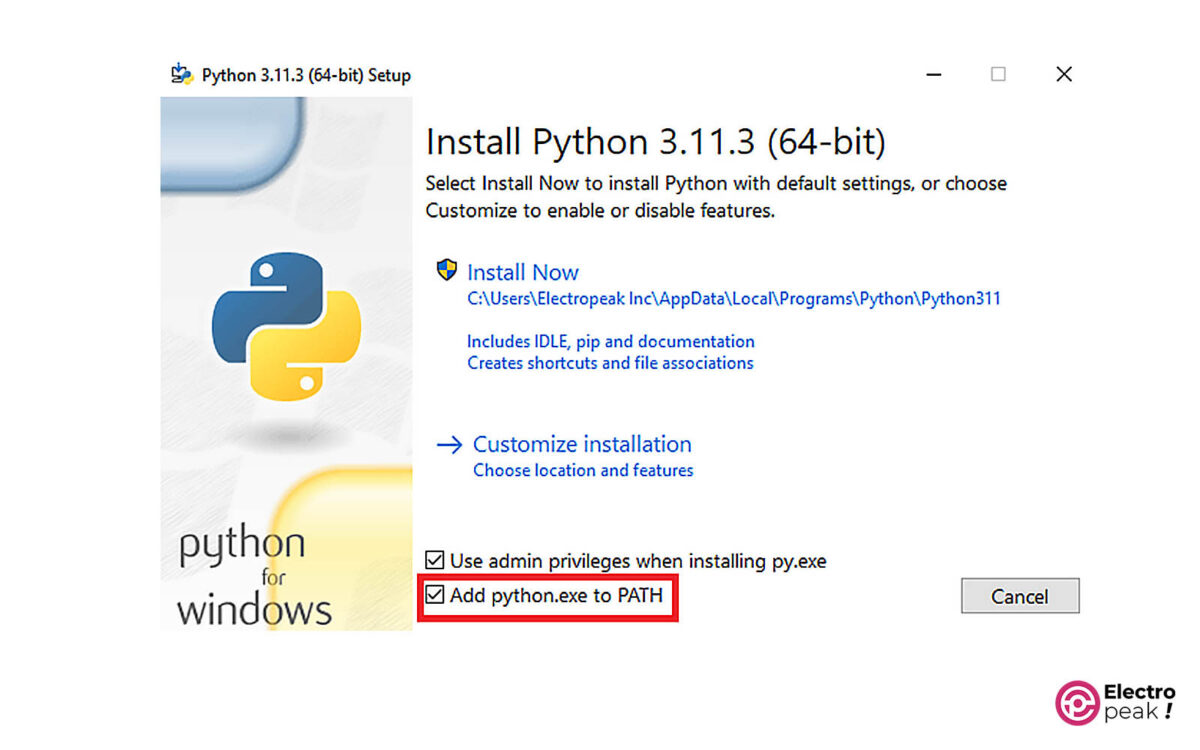
Now, when you open the downloaded file, you will see the image below. Make sure to tick the checkbox below while installing.
Step 3: Install Platform-IO IDE
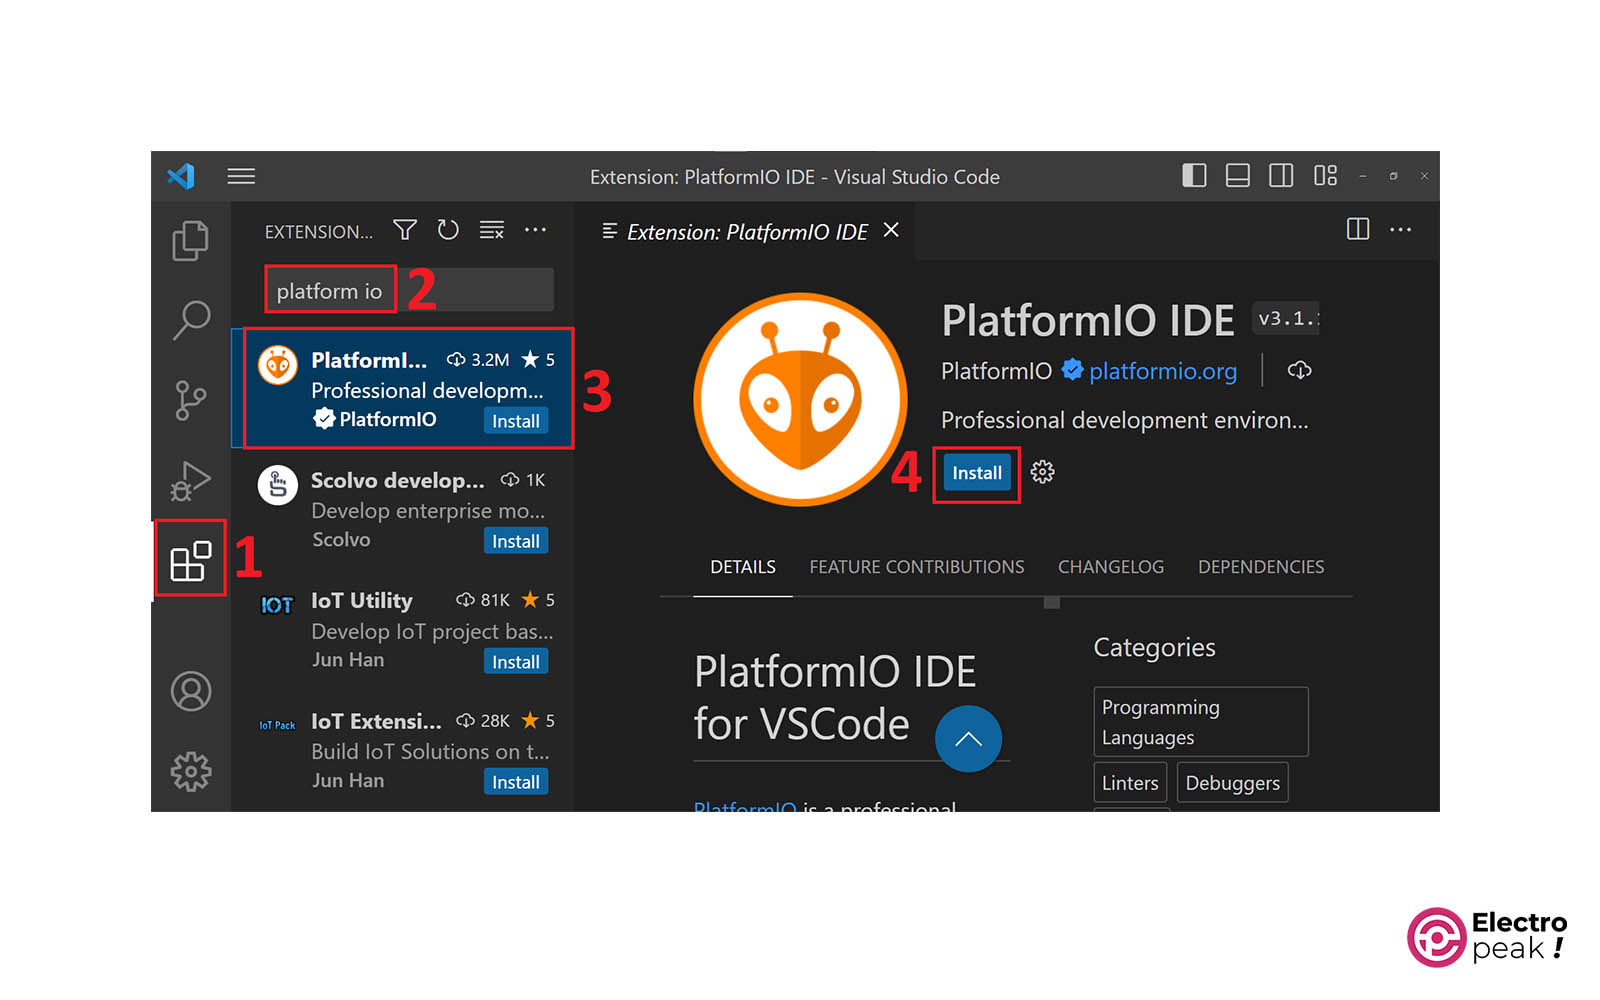
Follow the steps in the image below to install the Platform-IO IDE extension.
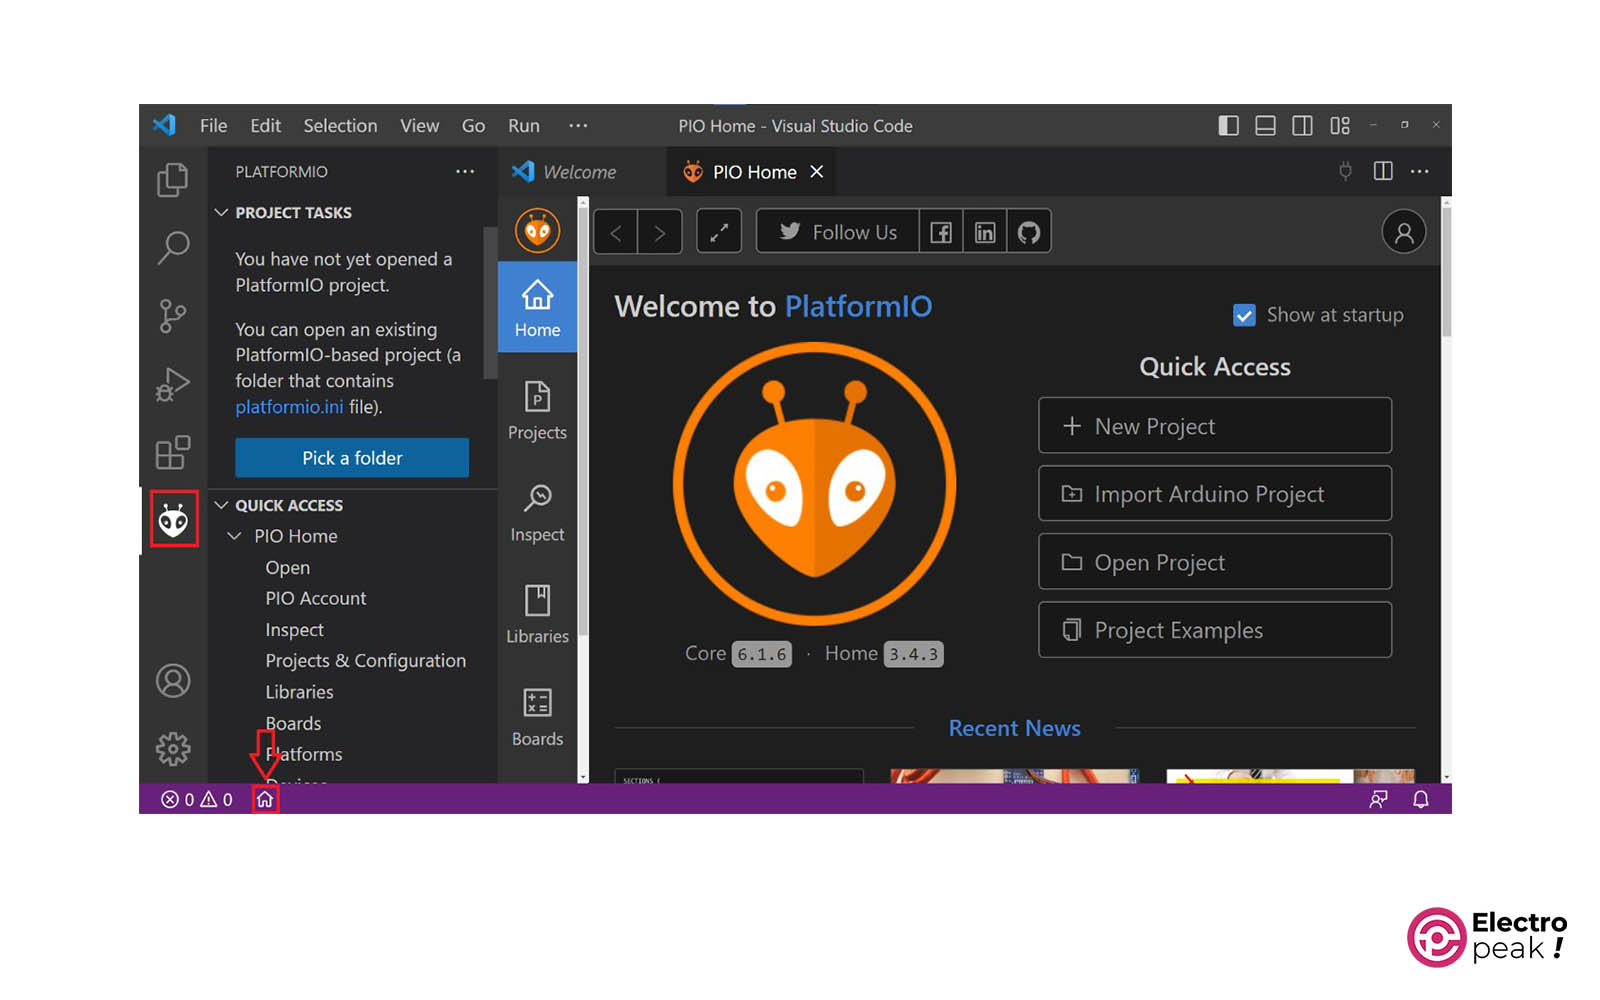
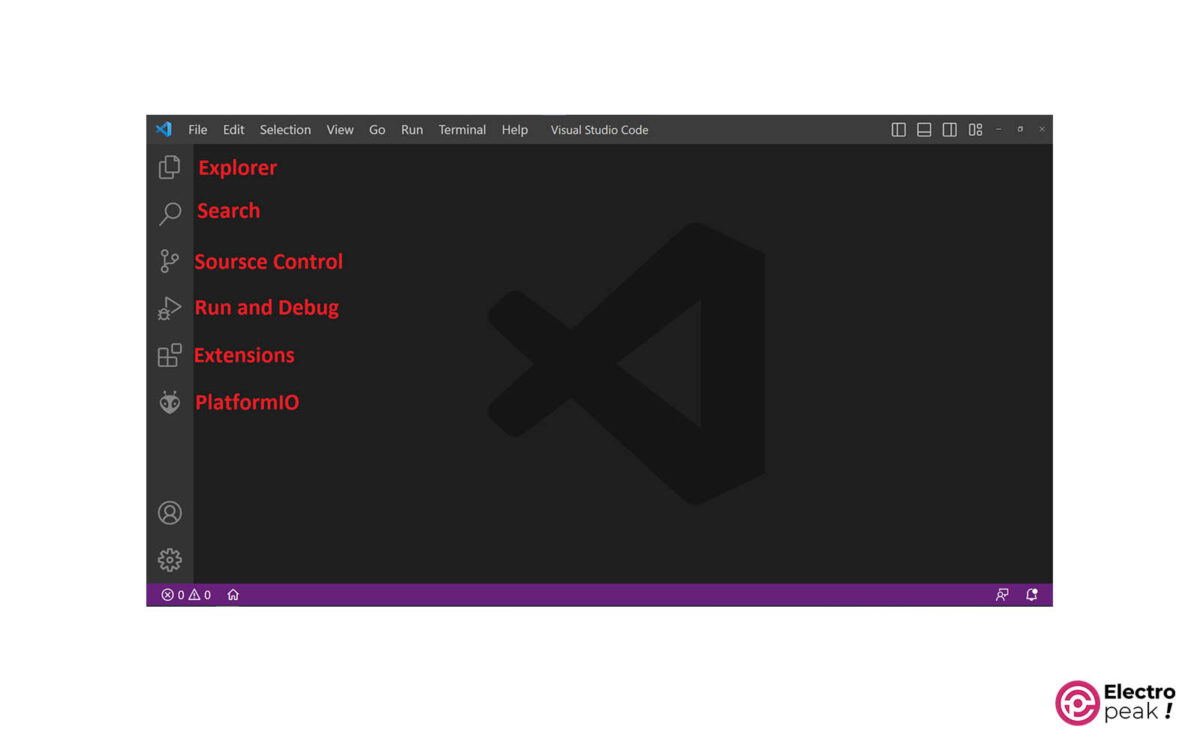
Here, the Platform-IO IDE icon should appear in the left sidebar. You should also see a “home” icon at the bottom of the window, which will take you to the home page of Platform-IO IDE.
Now, you have successfully installed Platform-IO on your system. It’s recommended to open and close VS Code once at this stage.
User Interface of Platform-IO IDE
Explore: Folder Access Access all the files in the opened folder in Platform-IO. You can also add a file, change its name, etc. • Search: Search for a word within the files of a folder and replace it with another word. • Source Control: Central Code Management Control and manage your code by downloading the Git software from this section. Here, the key feature is displaying and managing changes made to your code compared to the original version. • Run and Debug: Run and debug your code before uploading. • Extension: Vs code offers many extensions that can facilitate programming. To add these extensions, go to this section and search and download them. • PlatformIO: Platform-IO Management One of the essential parts of any project developed by Platform-IO. And it generally consists of two sections: 1) Projects Tasks: you can make many changes such as erasing Flash or uploading files to your microcontroller’s Flash Memory; and 2) Quick Access: related to changes and management of Platform-IO itself and all its projects. Now, let’s take a look at the sidebar icons from left to right and their uses (located at the bottom left of the page):
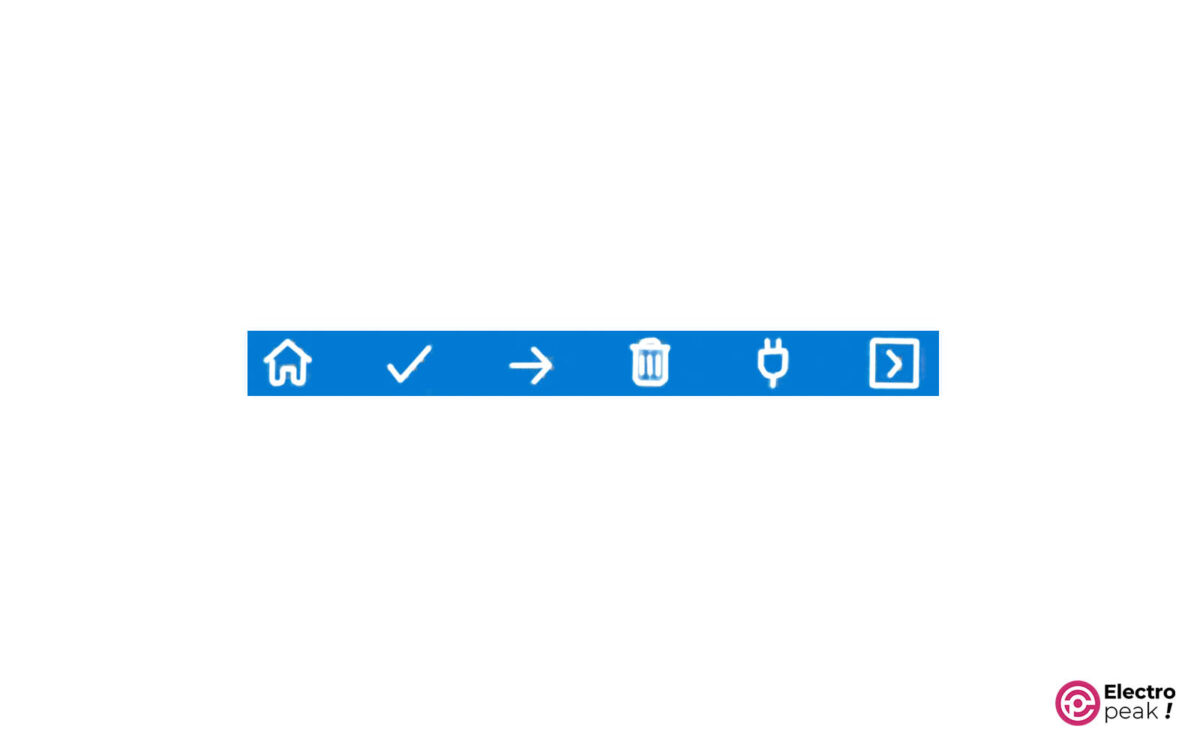
• Platform-IO Home: home page of Platform-IO • Build: build/compile code • Upload • Clean: clean the compiled file • Test: configuration test • Serial Monitor • New Terminal
Programming ESP32 in PlatformIO
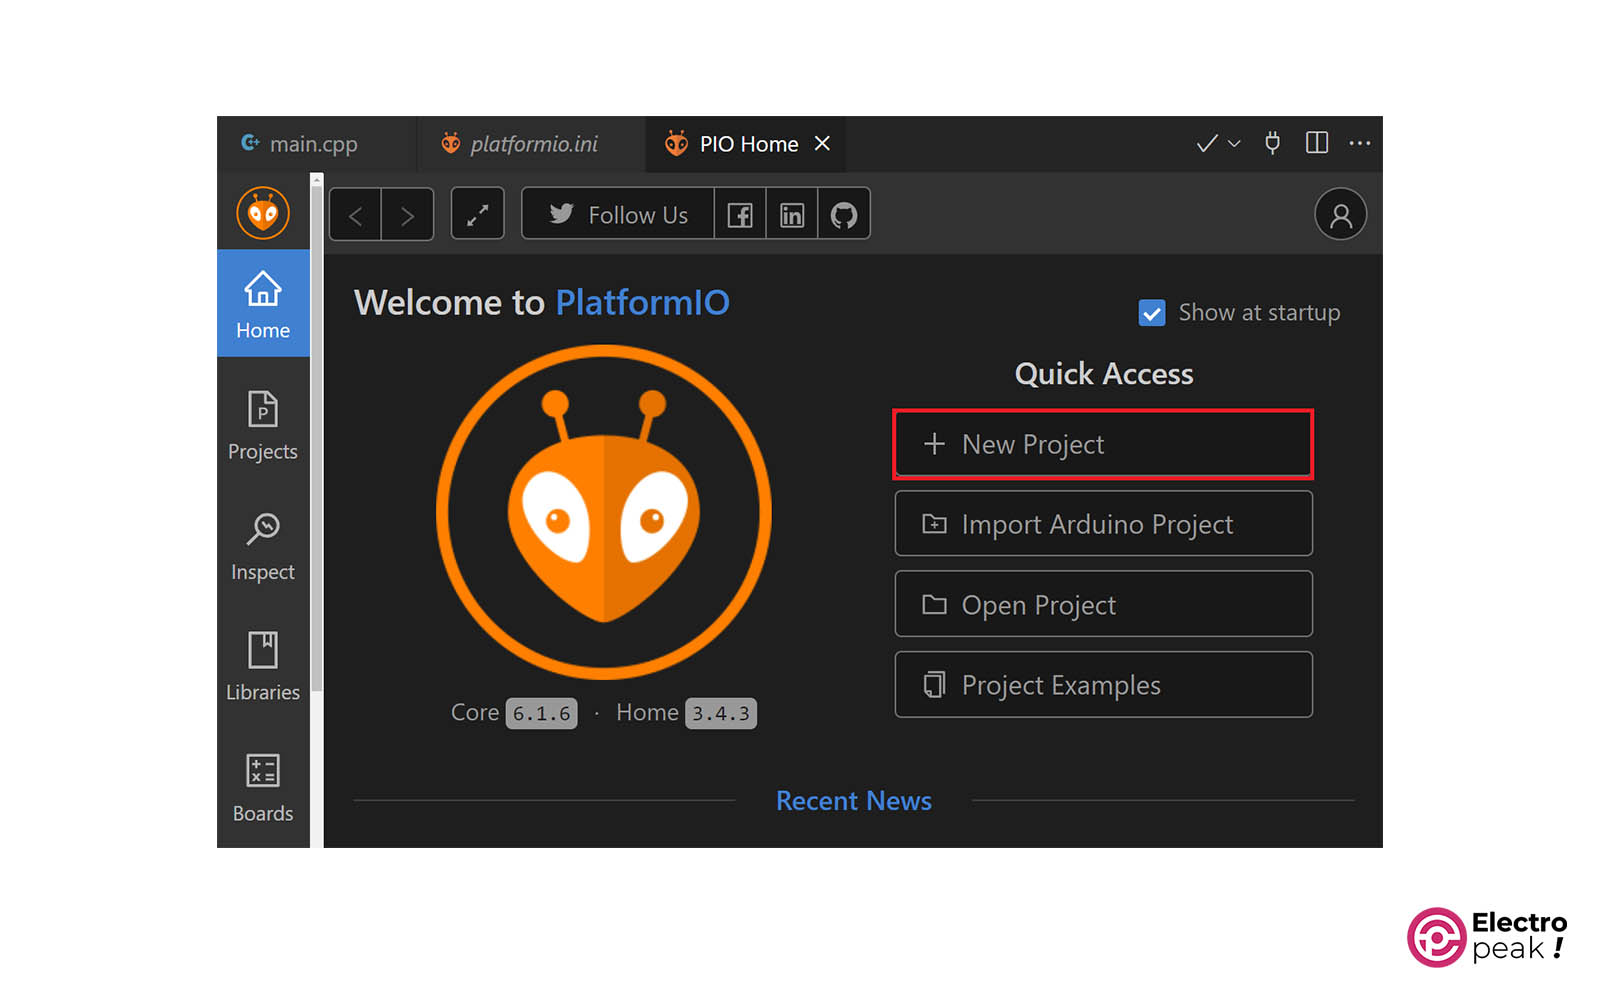
First, click on “New Project” in the Platform-IO home page.
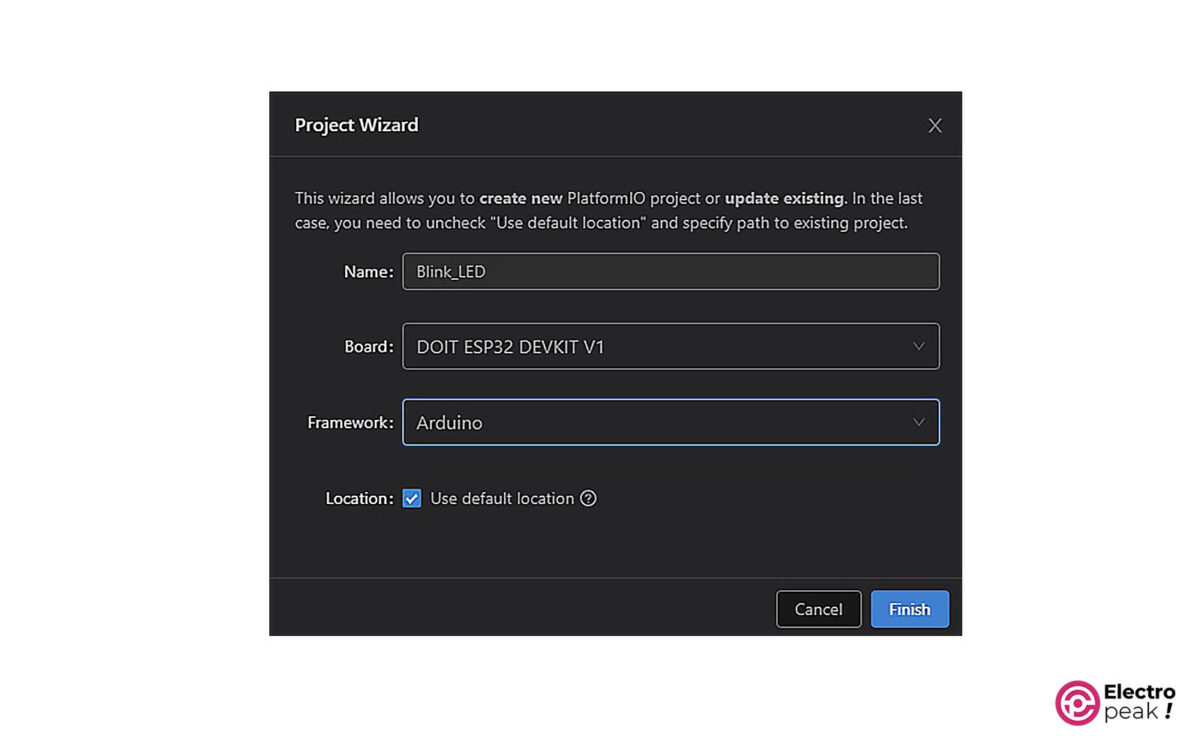
Select your desired name, board and framework in the window below.
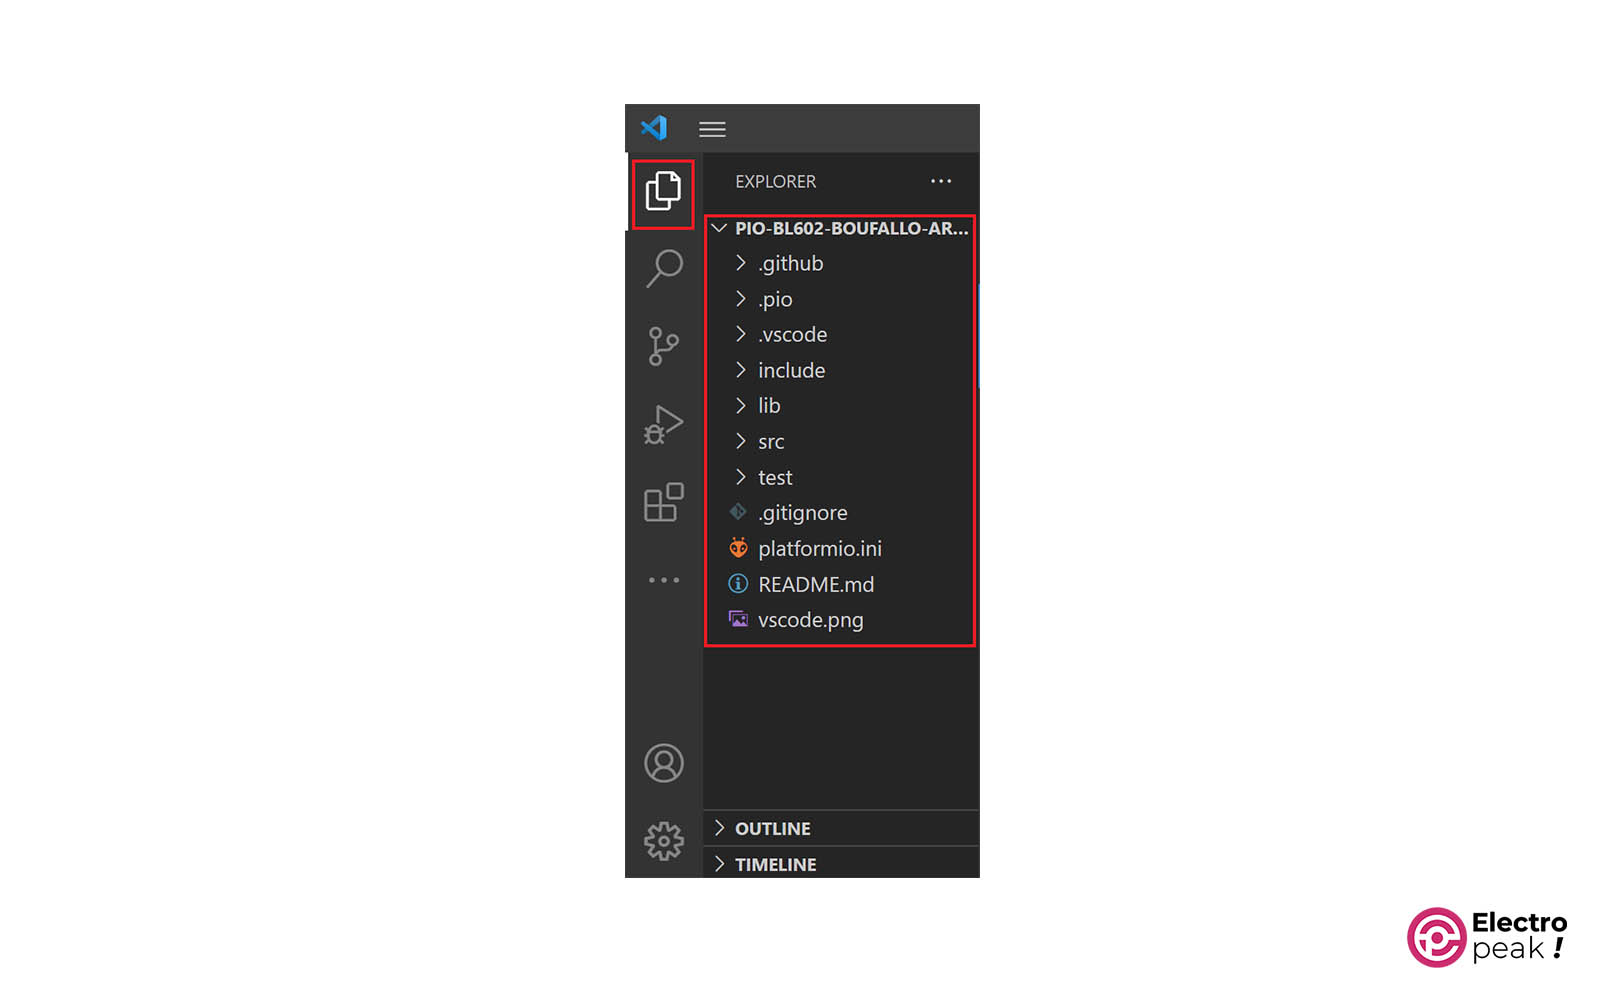
After rebuilding the project, you can access the project files in the EXPLORER section.
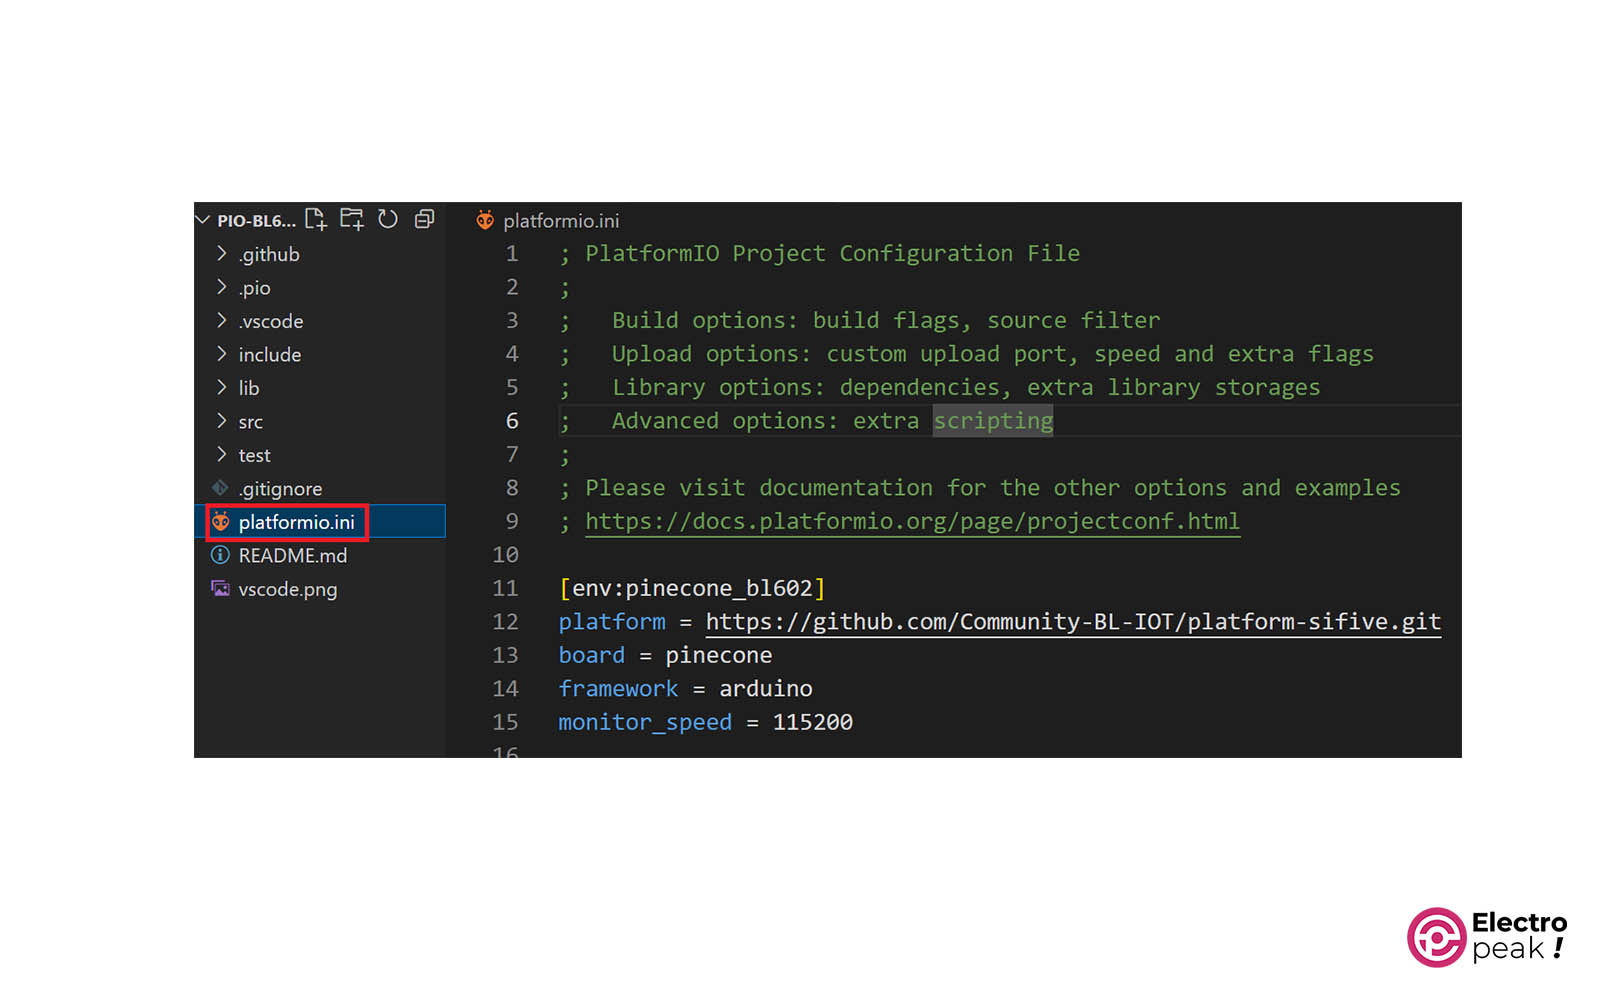
TipDo not clean or move the platformio.ini file, as it’s necessary for compiling.
By clicking on the “platformio.ini” file, you can make changes such as selecting the baud rate and serial port, adding libraries, etc.
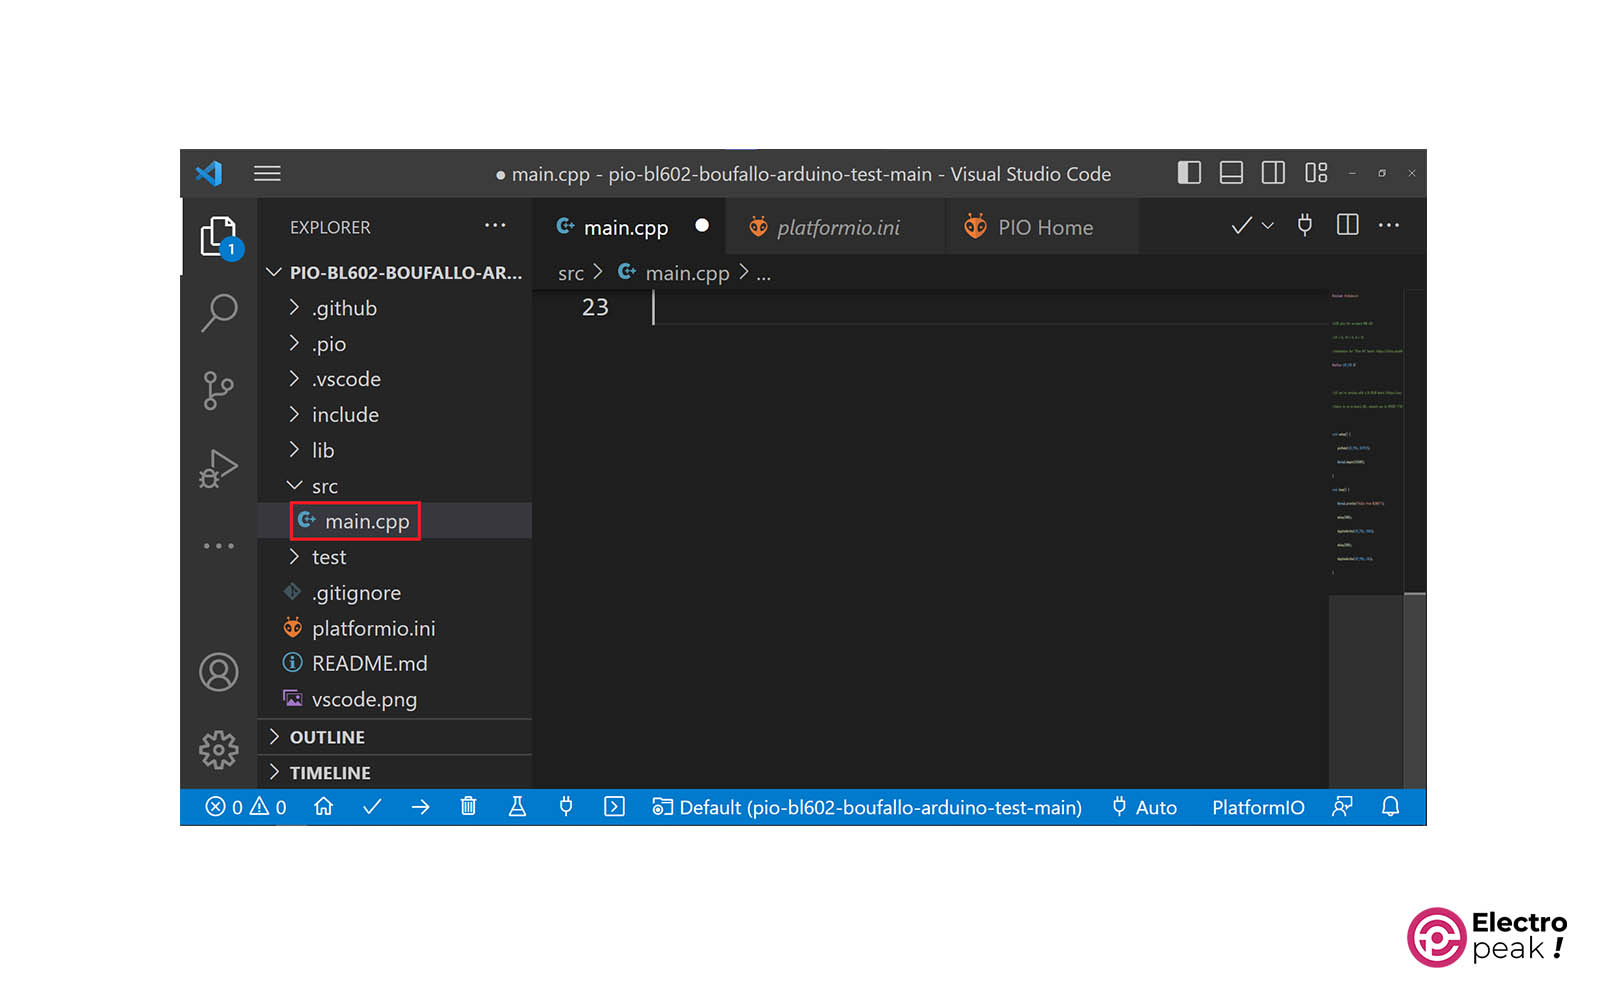
In the “src” folder, you can access your code files:
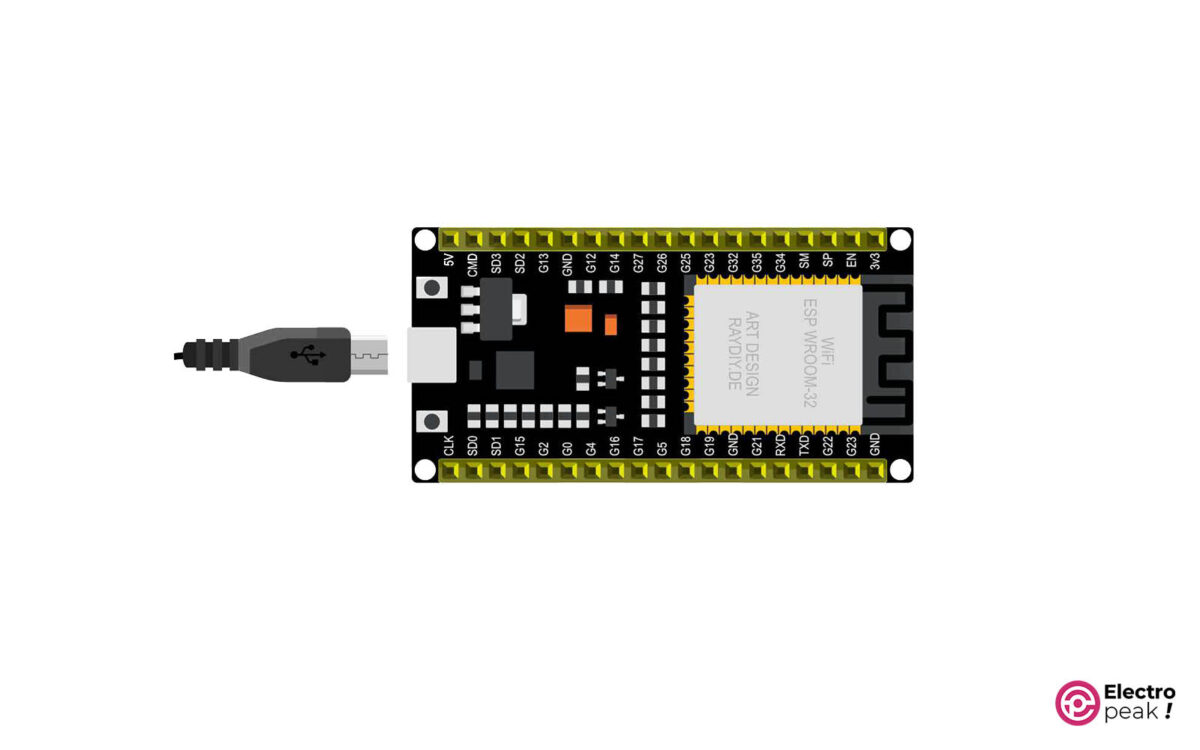
Now, let’s do a test: upload the following code to your ESP32 board, which is a blinking code for the ESP32’s internal LED. For other boards, change the “define LED” or use a separate LED.
/*
modified on Des 13, 2020
Modified by AminDamirchi from https://github.com/adafruit/Adafruit_SSD1306
*/
/*********
Rui Santos
Complete project details at https://RandomNerdTutorials.com/vs-code-platformio-ide-esp32-esp8266-arduino/
*********/
#include <Arduino.h>
#define LED 2
void setup() {
// put your setup code here to run once:
Serial.begin(115200);
pinMode(LED, OUTPUT);
}
void loop() {
// put your main code here to run repeatedly:
digitalWrite(LED, HIGH); // Turn on the LED
Serial.println("LED is on"); // Print message to Serial Monitor
delay(1000); // Delay for 1 second
digitalWrite(LED, LOW); // Turn off the LED
Serial.println("LED is off"); // Print message to Serial Monitor
delay(1000); // Delay for 1 second
}
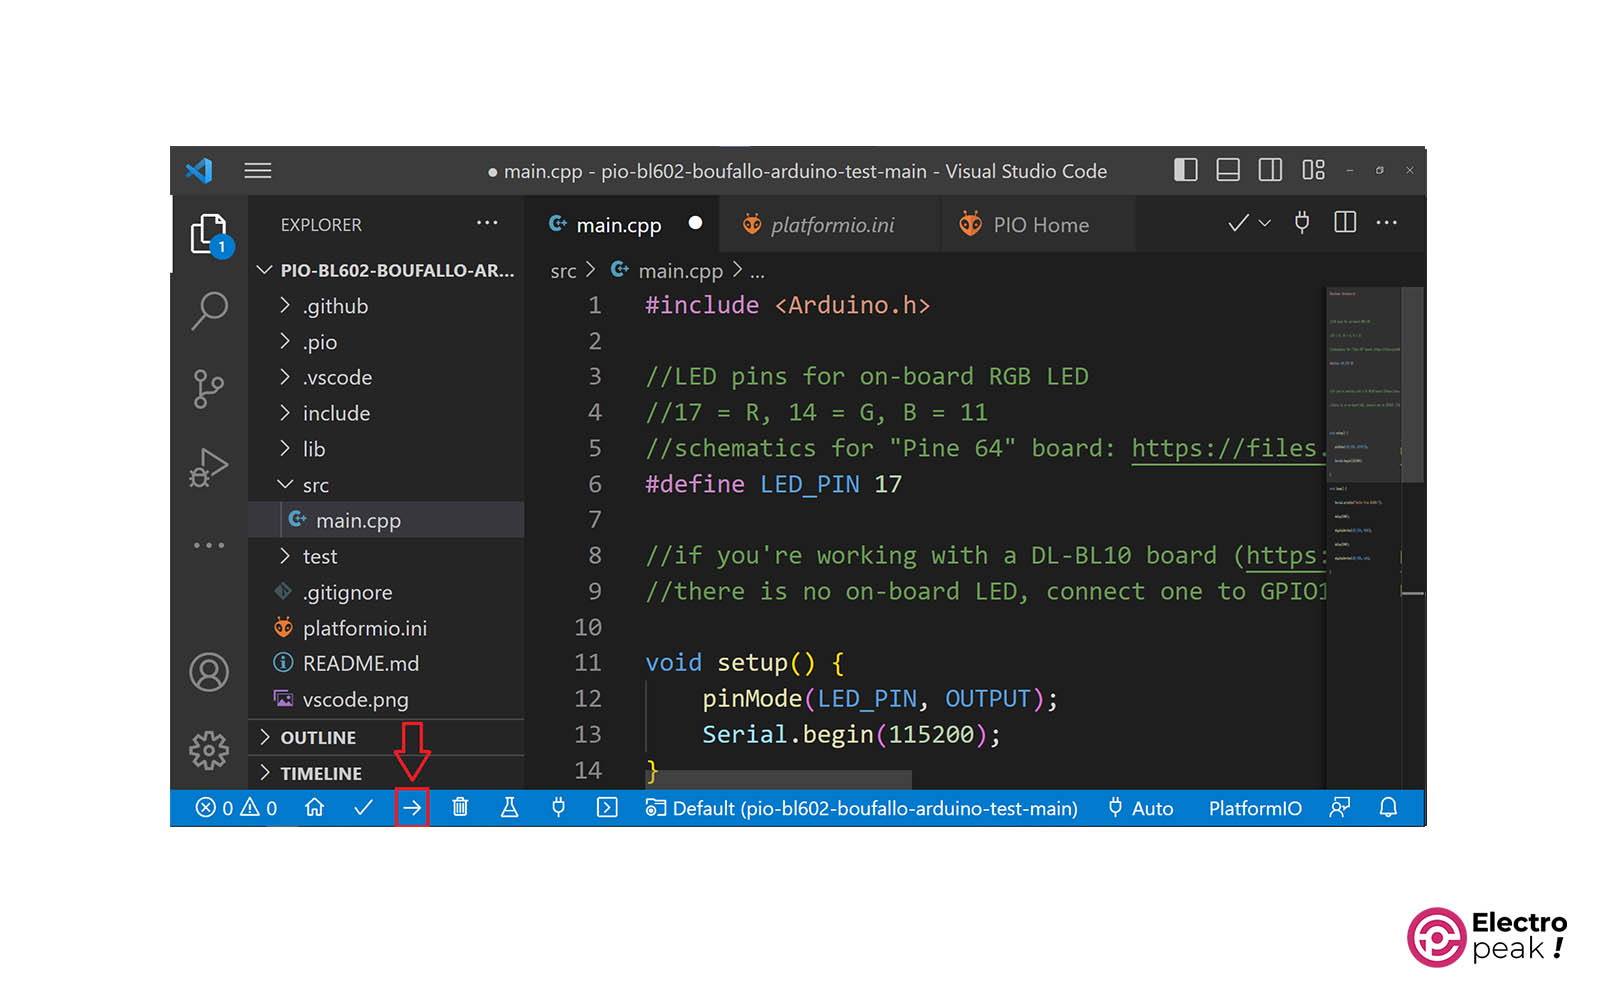
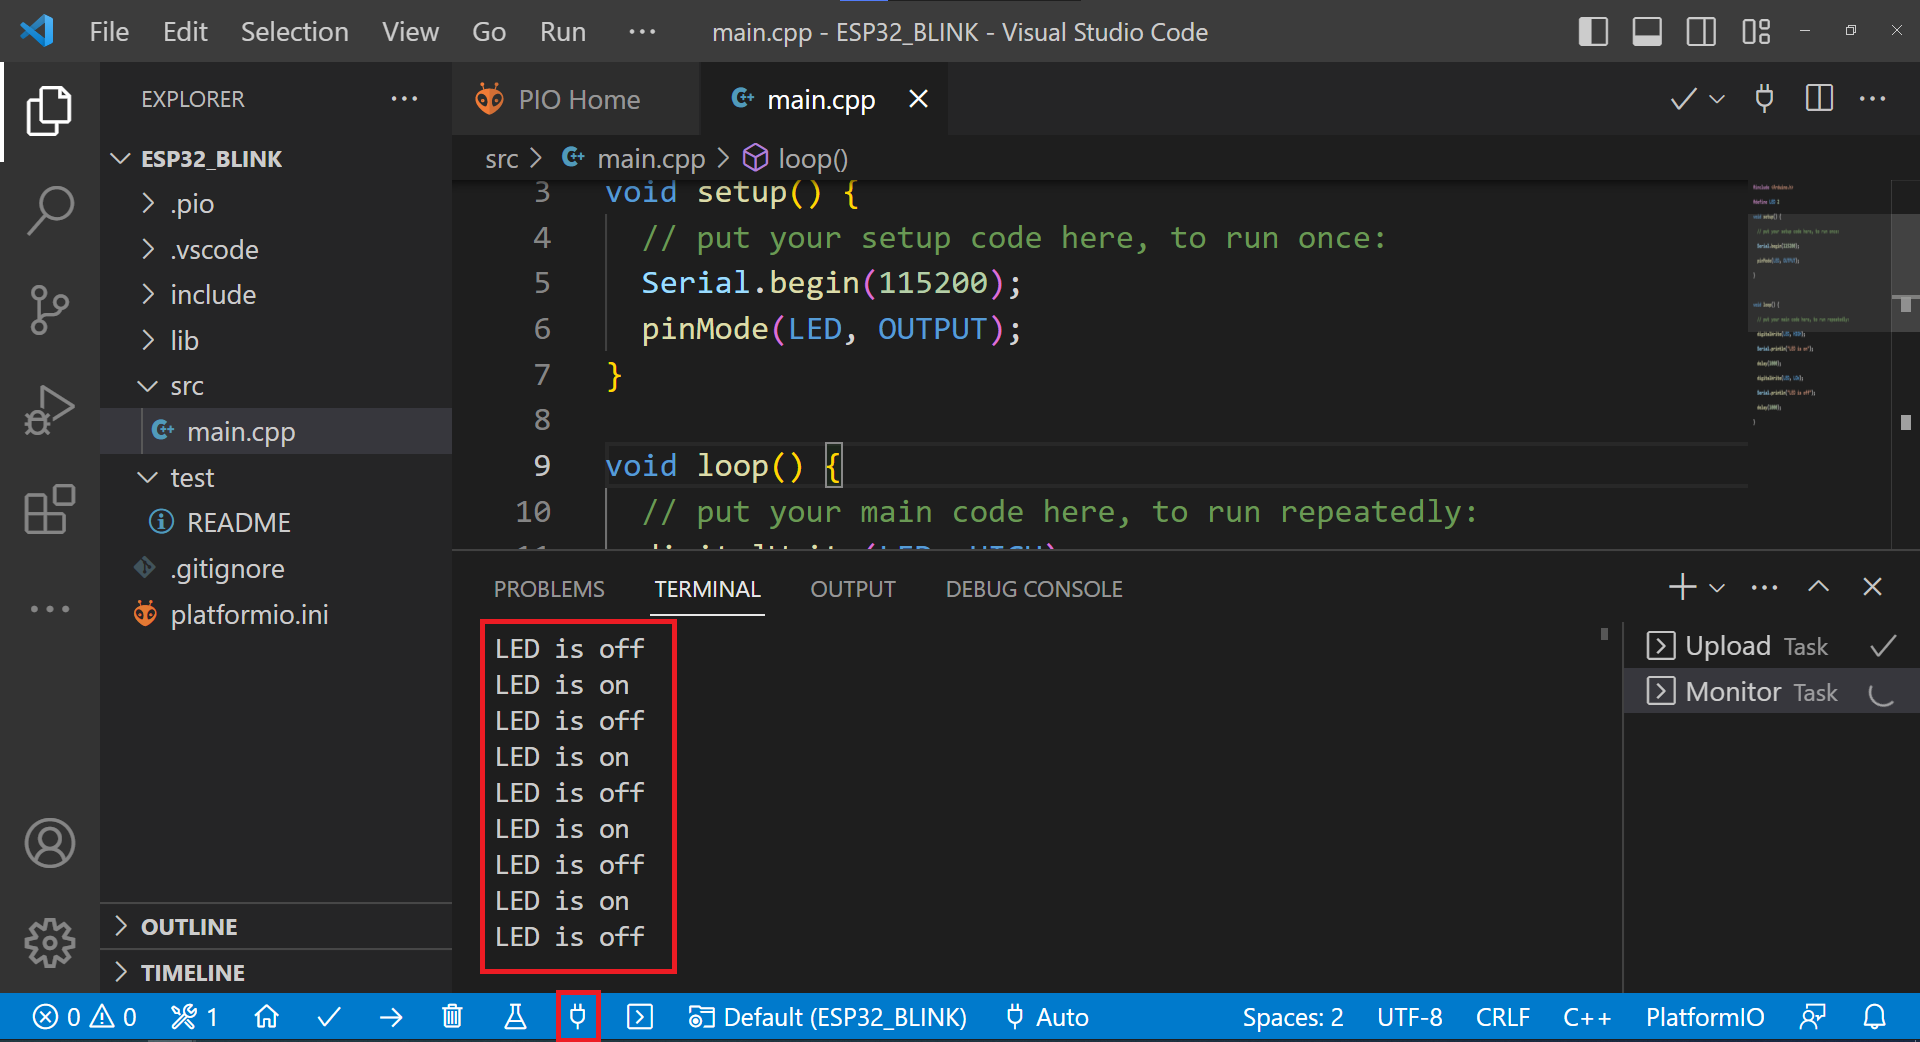
Click on the button shown in the image below to upload the code.
After uploading, wait for the “Success” message at the bottom of the terminal.
Now, the internal LED of ESP32 board should blink every second.
You can see the LED status in the serial monitor window.