How to Install Windows 10 IoT Core on Raspberry Pi
Written by
Mohammadreza Akbari
Overview
One of the most practical operating systems on the Raspberry Pi is Windows 10 IOT. In this tutorial, you will learn how to install this operating system.
What You Will Learn
Installing windows10 IOT operating system on Raspberry Pi board
Introduction to Windows 10 IoT Core Dashboard software.
What Is Windows10 IoT Core?
Windows10 IOT core is the compact version of Windows10 for ARM processors, 32bits and 64bits systems. The main idea behind Microsoft’s development of this operating system is to work on the Internet of Things.
Step 3: Connect your micro SD card to PC and format it. (we recommend you to use SDFormatter)
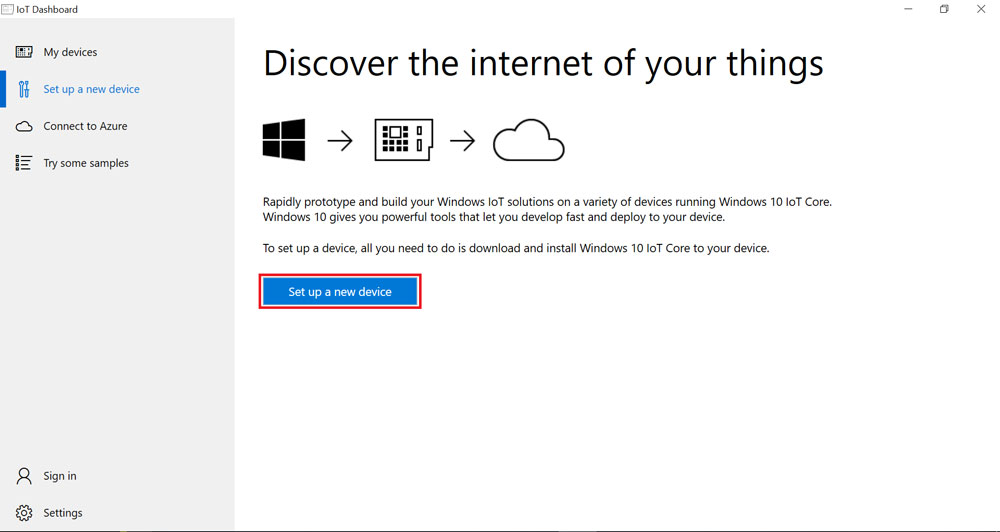
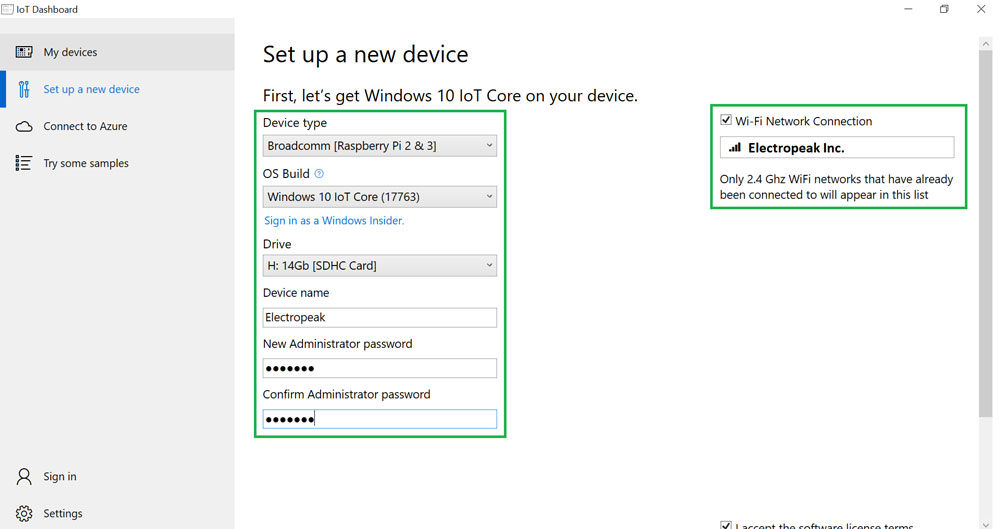
Step 4: Go to Set up a new device part after running Windows10.
Press Set up a new device.
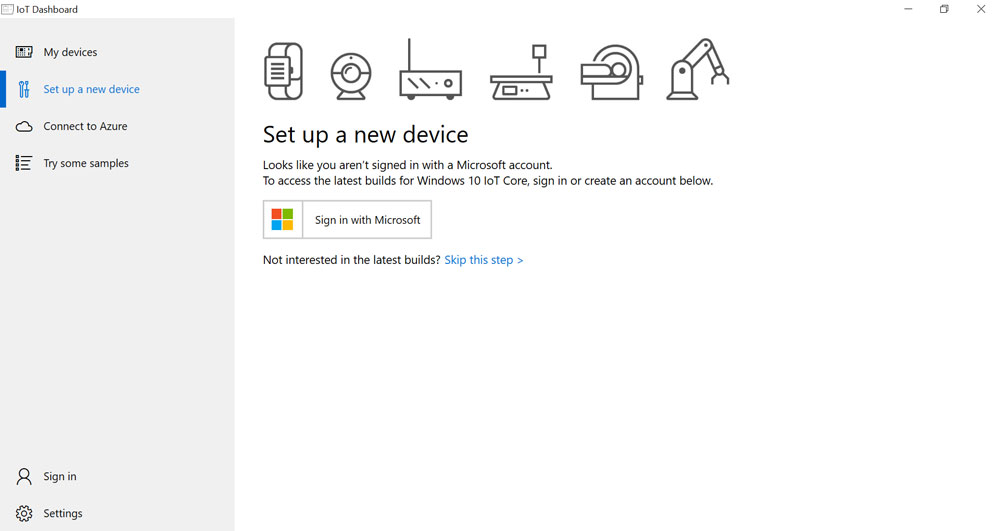
Step 5: You can log in with your Microsoft account if you want to, otherwise, skip this step.
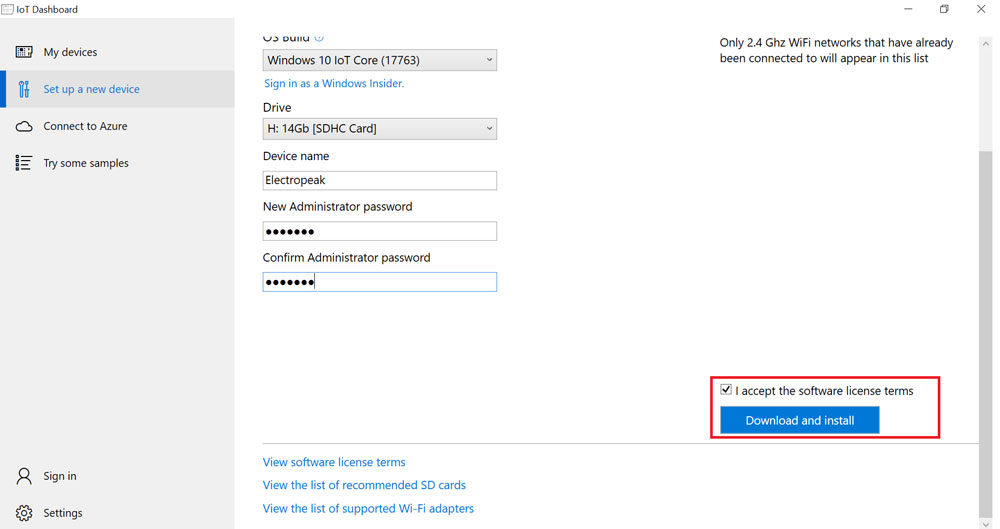
Then check the Acceptance Rules and click on the Download and install button.
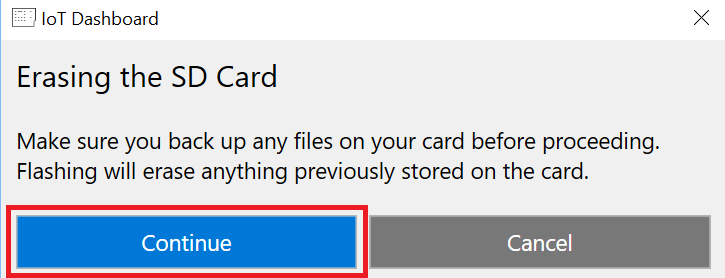
Step 7: In the displayed window, click Continue. (Be careful that all files already on your memory card are erased)
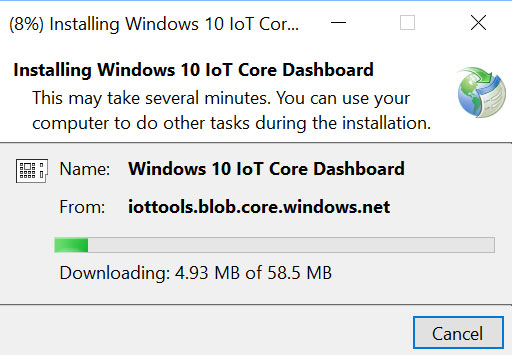
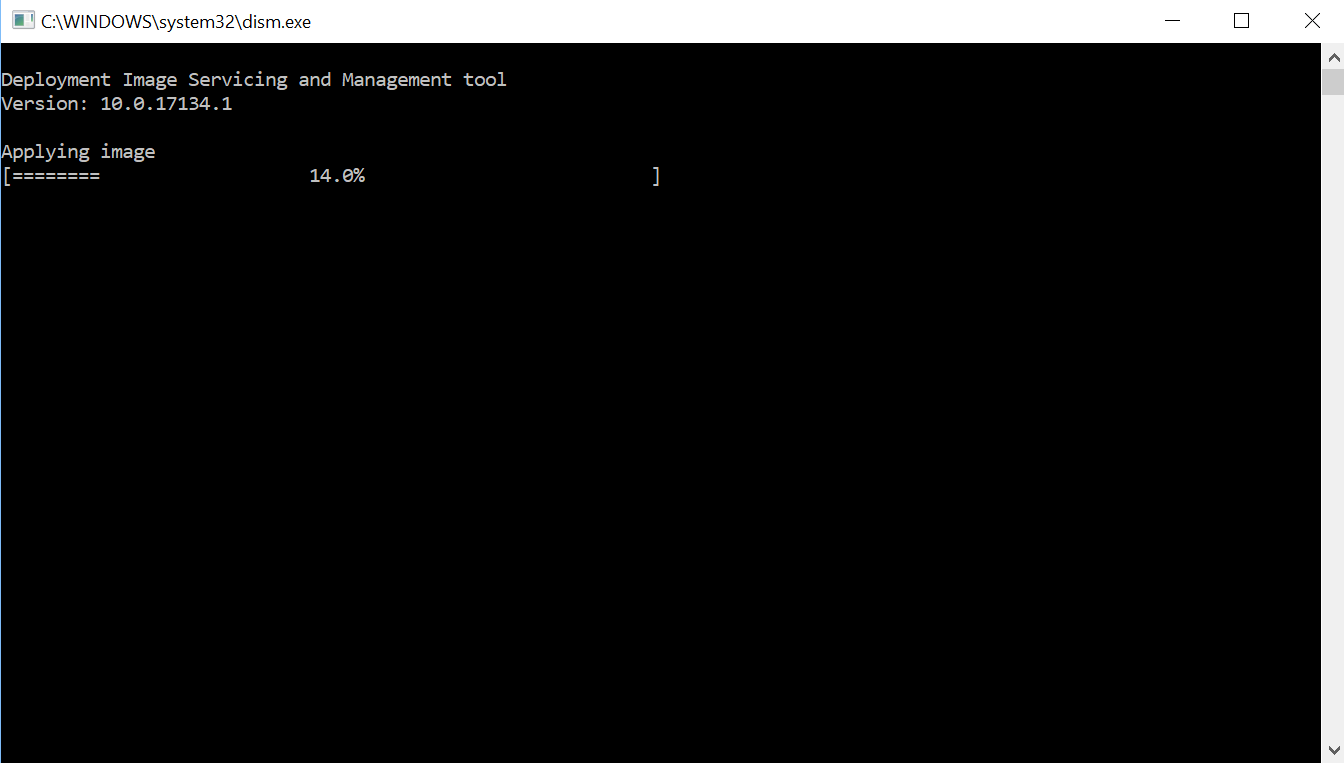
Step 8: Wait until the operating system file is downloaded and installed on the memory card.
Testing Windows 10 IoT Core Successful Installation
To ensure successful installation of the operating system, you can follow the steps below:
Put your SD card into the Raspberry Pi
Connect your Raspberry Pi to the monitor using HDMI cable.
Connect your Raspberry Pi to the computer using the network cable.
Connect Mouse and Keyboard to Raspberry Pi
Connect your Raspberry Pi’s power supply.
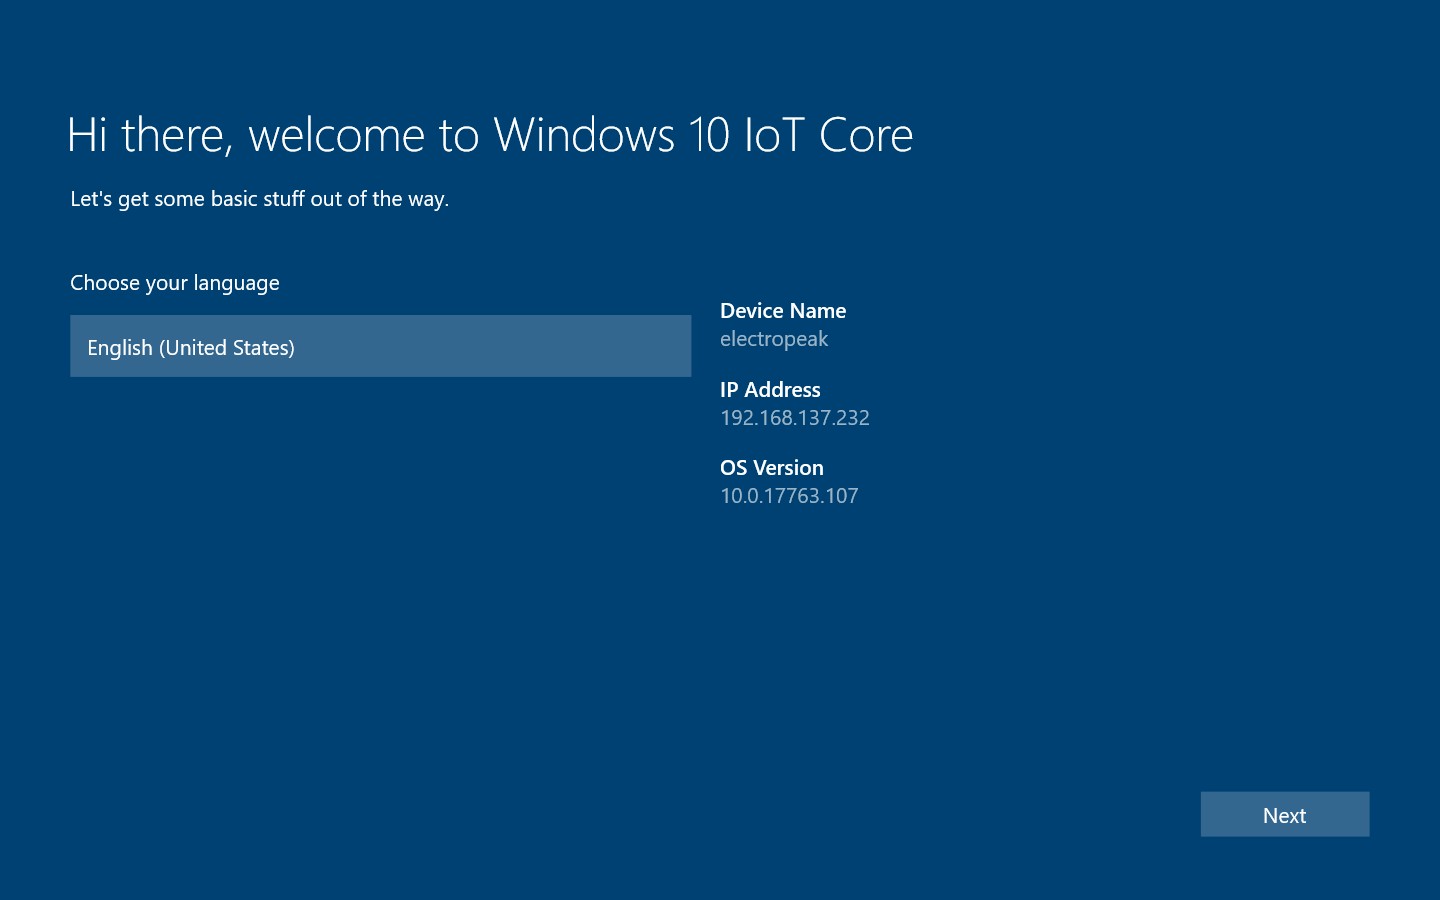
After the operating system boots for the first time, you must do the initial settings for Windows.
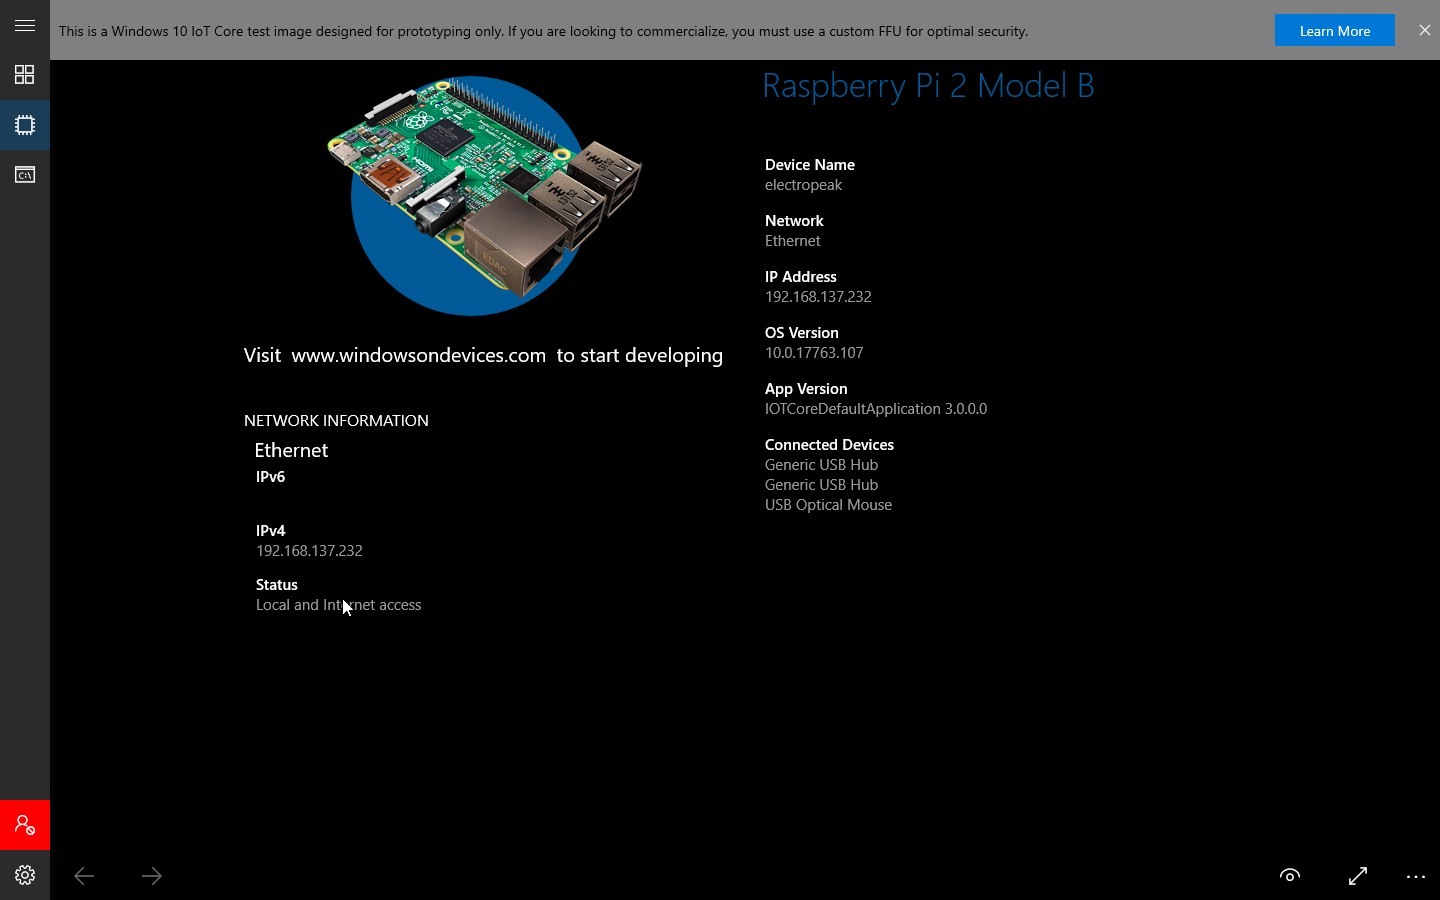
After completing the settings, your Windows is ready to use.
You can also control your Raspberry Pi windows10 with PC.
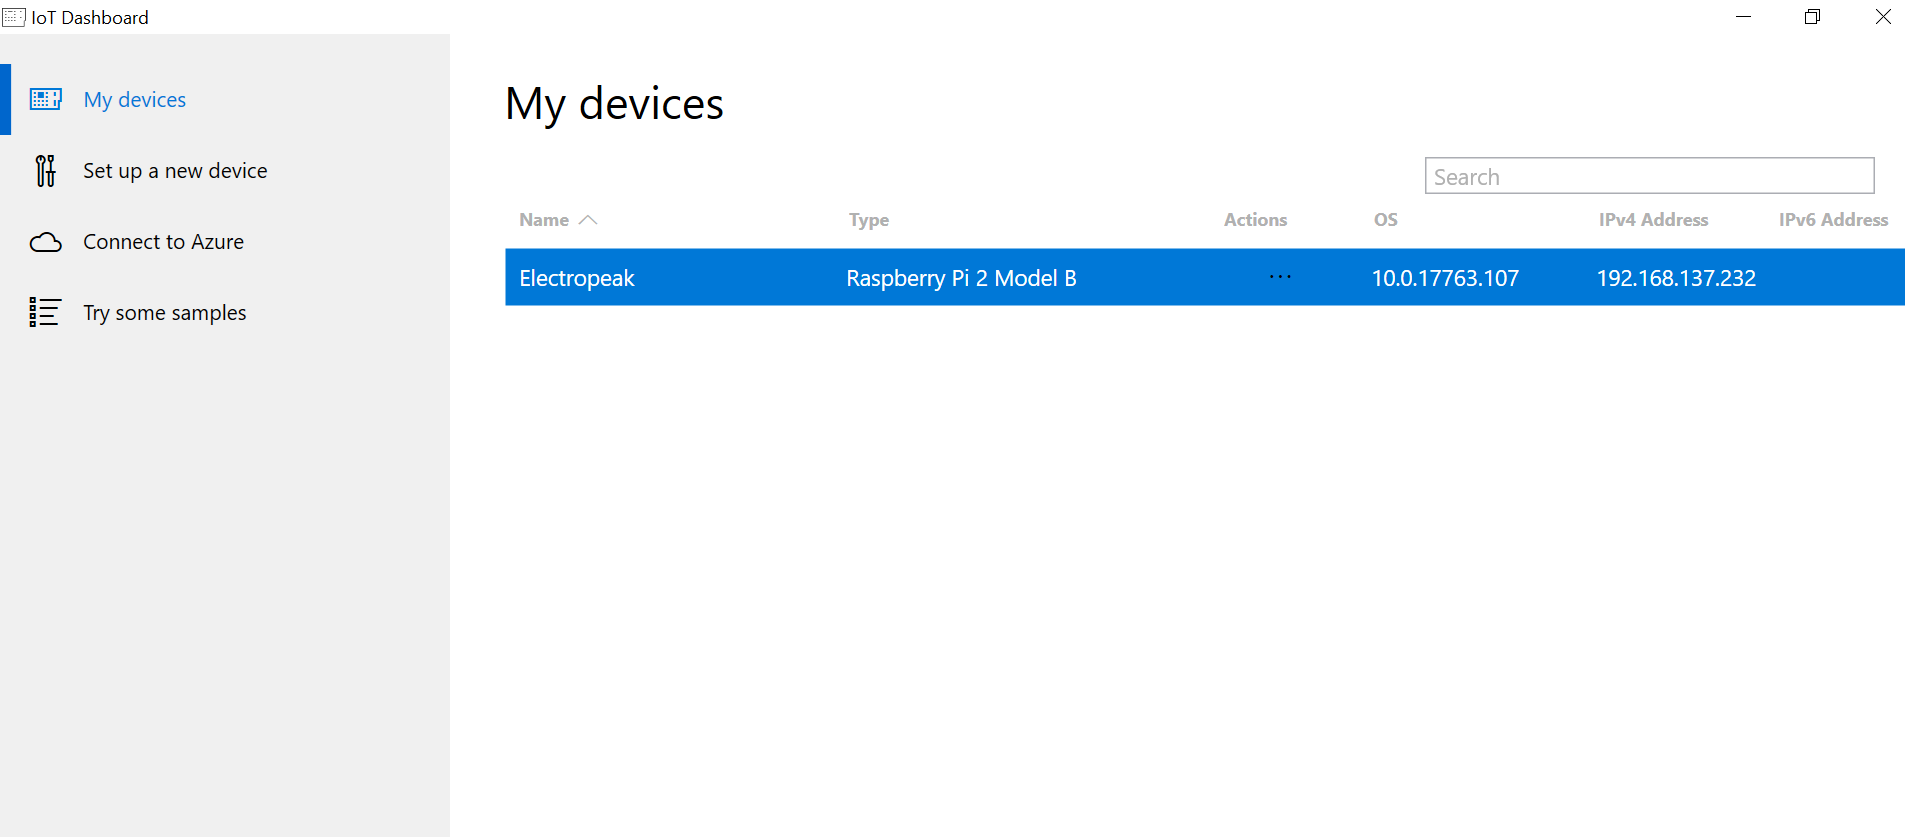
Go to Windows 10 IoT Core Dashboard software. In My devices section, you can see the devices connected to your computer.
In the Action section, there is a menu for controlling the Raspberry Pi.
Run a simple program:
Go to Try some samples
Run Hello world program on your Raspberry Pi
After running the Hello World program, the following image should be displayed on your display:
Note
Before removing the power adapter from the Raspberry Pi, turn off the operating system and wait a few seconds for the Raspberry Pi to completely shut down, then you can remove the adapter.