Overview
In this tutorial you will learn about Node Red and how to control Raspberry Pi board using its GUI.
What You Will Learn
- Introduction to Node RED and how to install it
- How to control LED in a graphic environment with Node RED
- Monitor the status of a button using Node RED
What is Node RED?
Node-Red is a programming tool for connecting hardware, APIs and online services in a new and exciting way. Using this software you can control and monitor your Raspberry Pi board remotely. The software has a graphical interface wich is vary simple to use.
You can run Node RED on Windows and Linux operating systems.
Monitor and Control Raspberry Pi with Node RED
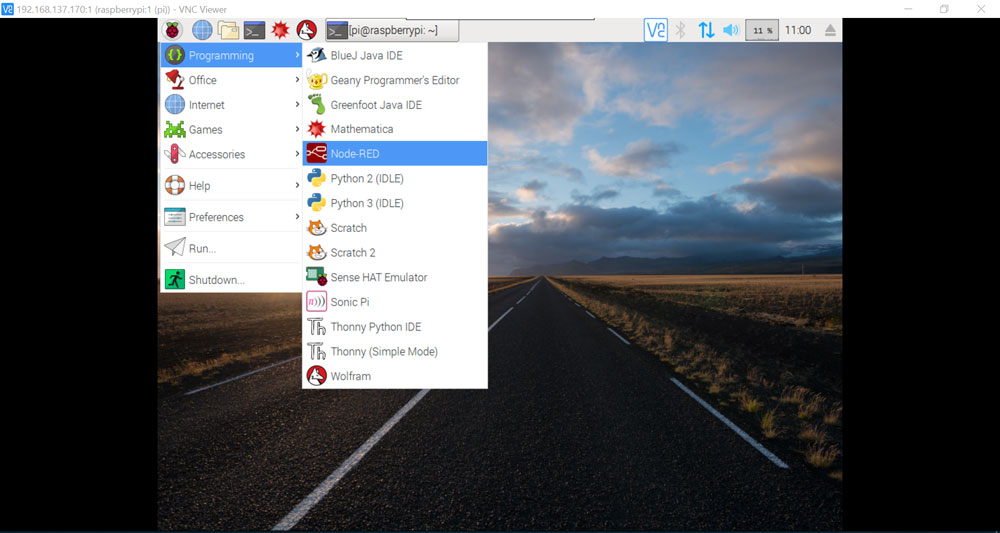
Node RED is installed in Raspbian operating system by default.
If you couldn’t find it, you can install it on your Raspberry Pi using the commands bellow (Enter one of the following commands at the terminal each time):
sudo apt-get updatesudo apt-get install nodered
Before installing Node RED, install the npm as well. To do this, enter the following command in the terminal:
sudo apt-get install npm
sudo npm install –g [email protected]
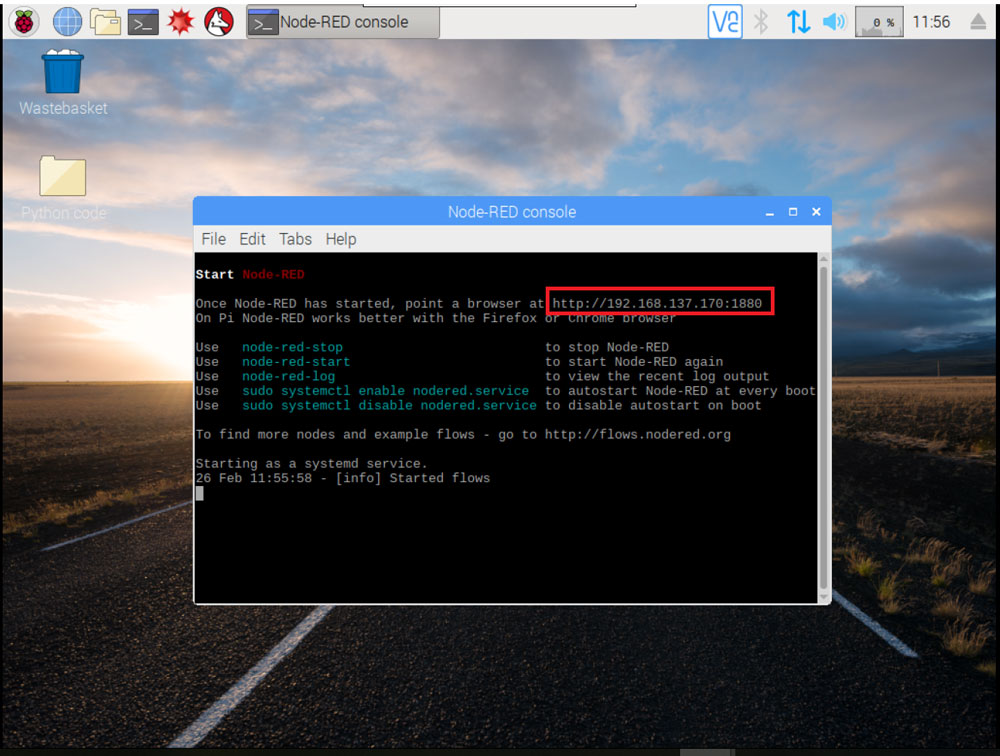
After running Node RED an IP will be displayed to you as follow this link.
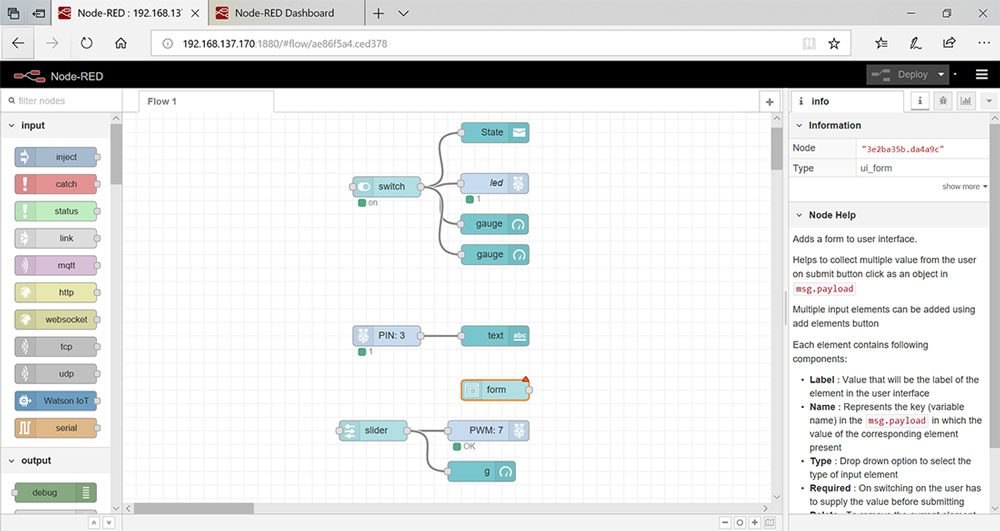
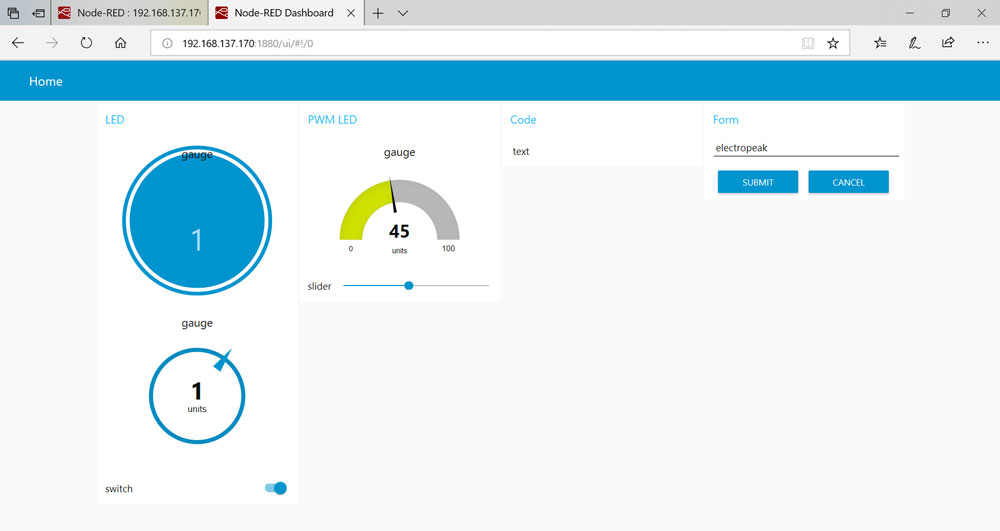
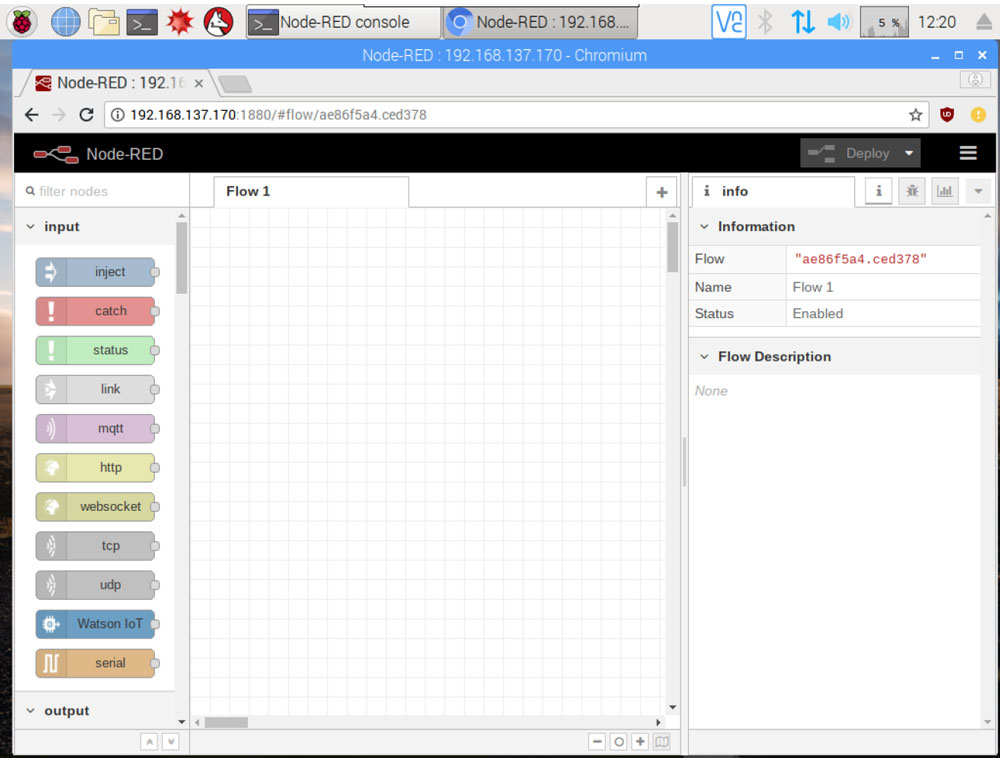
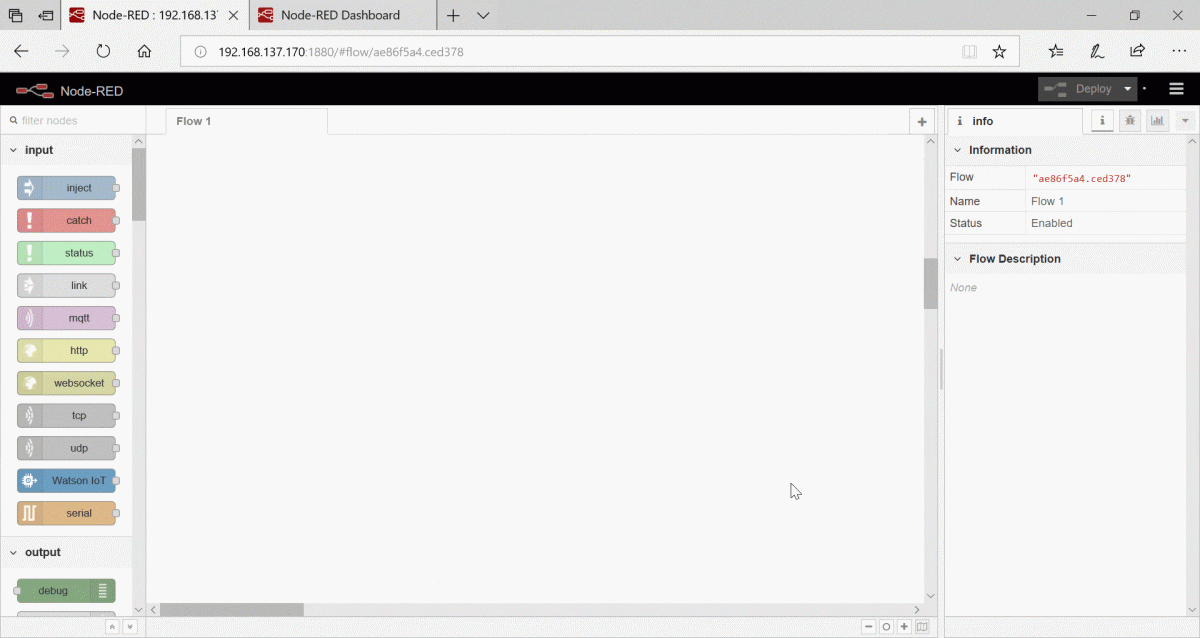
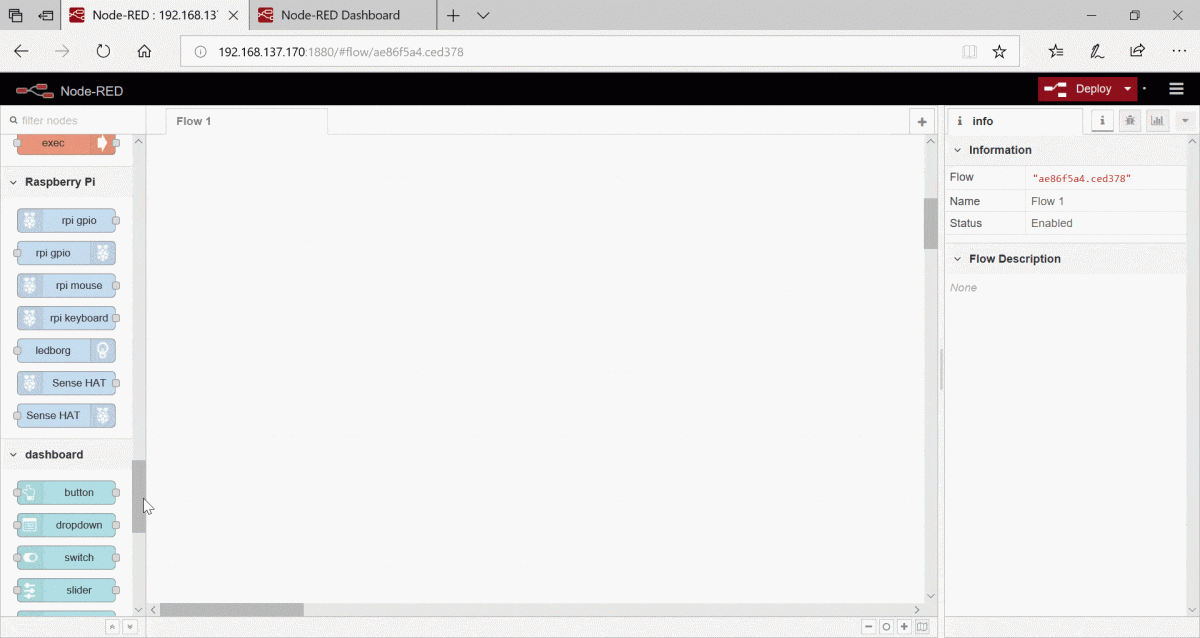
After entering this address in your browser, you’ll see Node RED graphical environment(GUI).
Note
If you have connected the Raspberry Pi with the network cable to the computer, you can also enter the address given above in your computer’s browser. If your Raspberry Pi is connected to a wifi modem, you can enter the address on your mobile device in addition to the computer and see the GUI environment on your mobile device.
Installing additional blocks on the Node RED
For adding your required additional blocks to the Node RED do as follows:
You should Reboot the Raspberry Pi after installation.
Turning an LED ON and OFF via Node RED
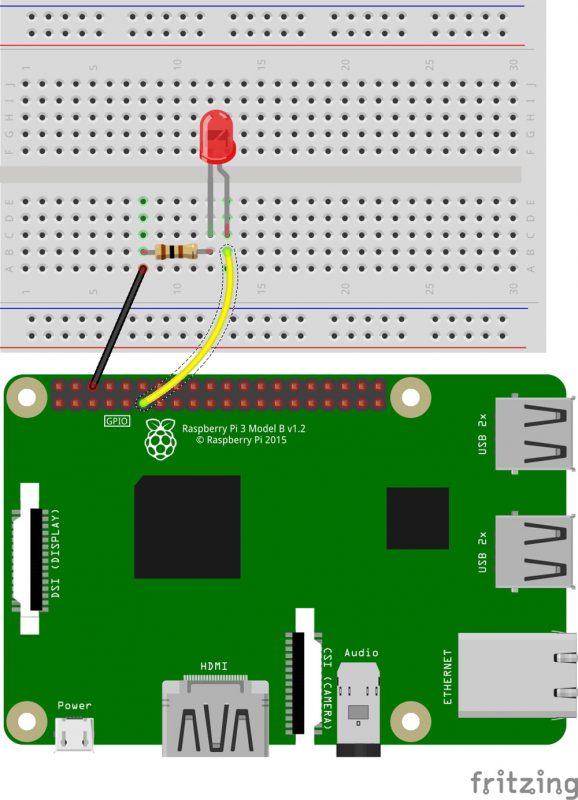
Circuit
Implementation
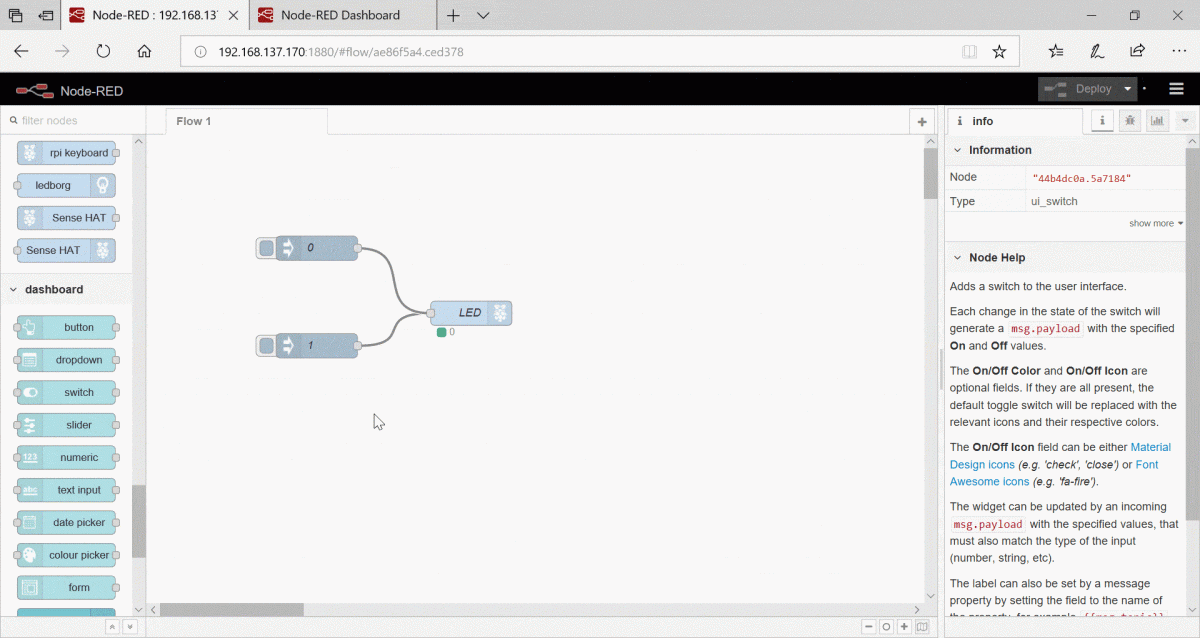
Connect the blocks according to following video:
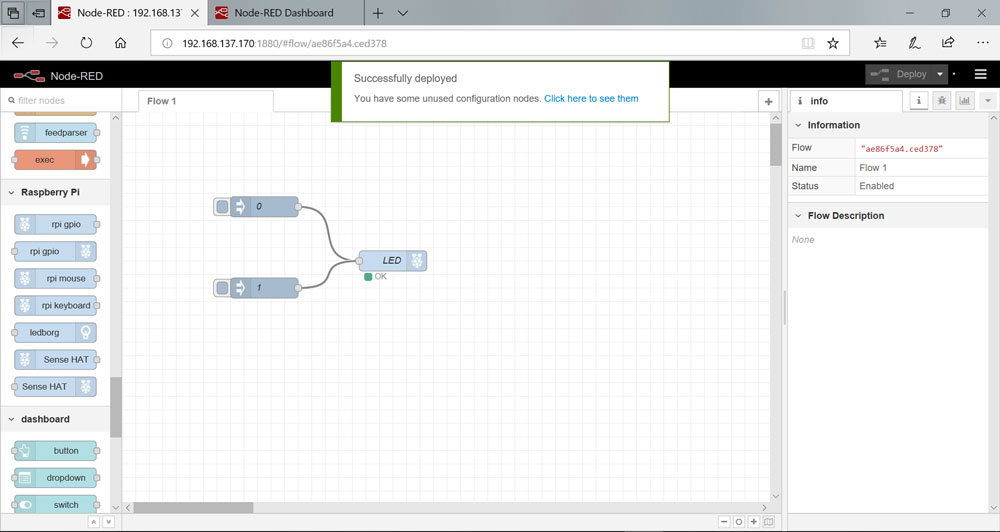
If you have done all of the steps correctly, the following message will be displayed to you:
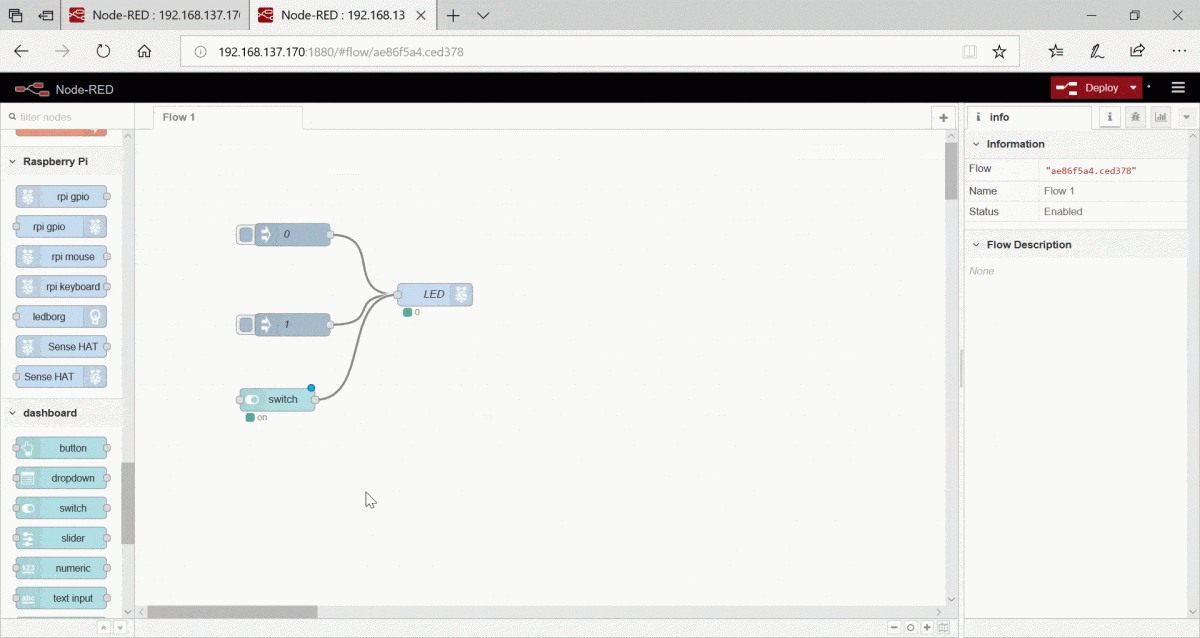
You can also use Switch instead of Inject.
Generating PWM to Control LED using Node RED
Circuit
Implementation
Connect the blocks according to following video:
Reading the status of a button via Node RED
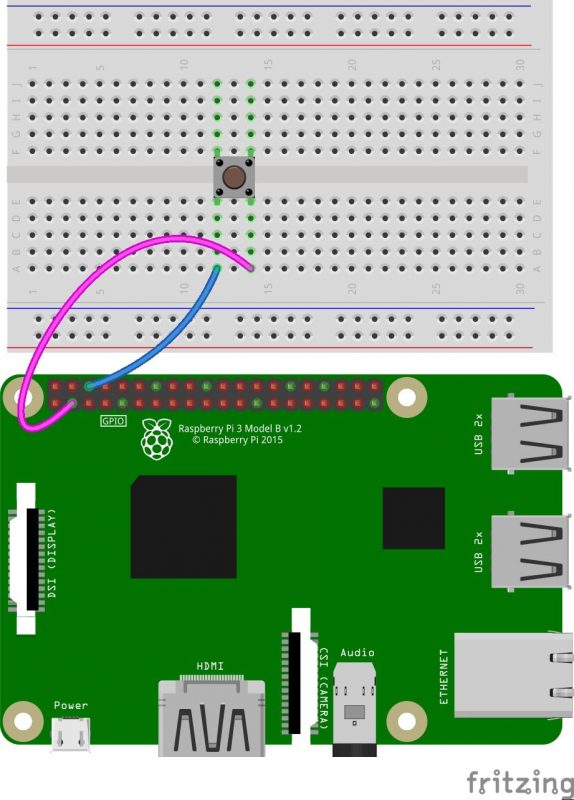
Circuit
Implementation
Connect the blocks according to following video:
What’s Next?
- Try to control a Bargraph using Node RED
