FSR-402 Force Sensitive Resistor Features
Force-sensitive resistors are simple sensors for detecting weight and force. That’s why they are called Force Sensing Resistor or FSR. This FSR will vary its resistance depending on how much pressure is being applied to the sensing area. The harder the force, the lower the resistance. Put this sensor in the circuit like other resistors to get the output. When no pressure is being applied to the FSR, its resistance will be maximum or infinitive.
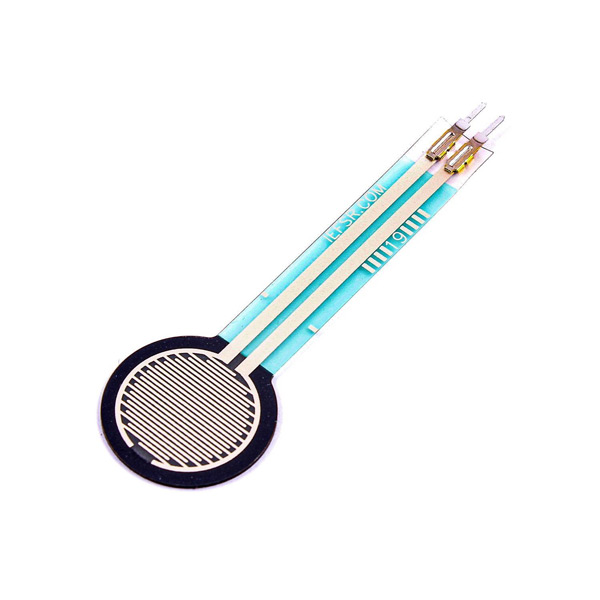
This is a force sensitive resistor with a round, 0.5″ diameter, sensing area. Only one side of the sensor is pressure sensitive and the same side must be used to apply force.
You can download the datasheet of this module here.
FSR-402 Force Sensitive Resistor Pinout
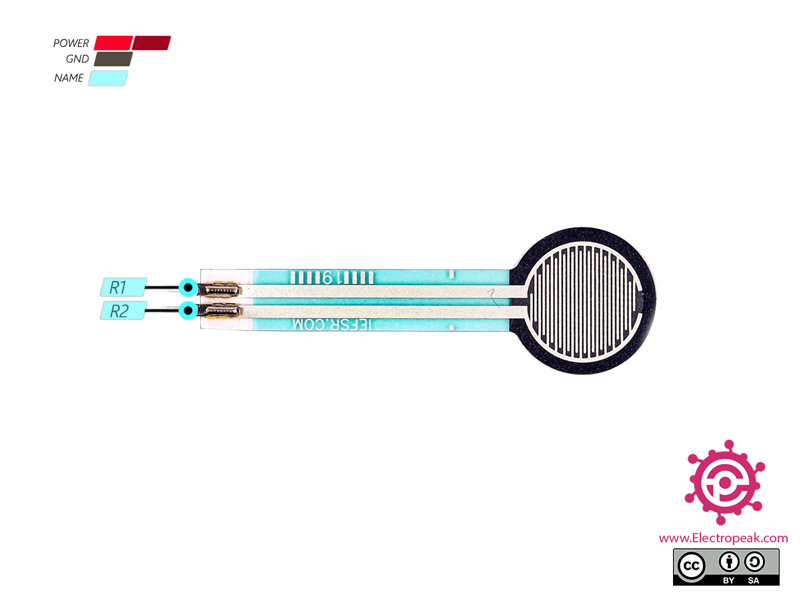
This sensor has 2 pins:
- R1, R2: Two sides of the resistor (No polarity)
You can see pinout of this module in the image below.
Required Materials
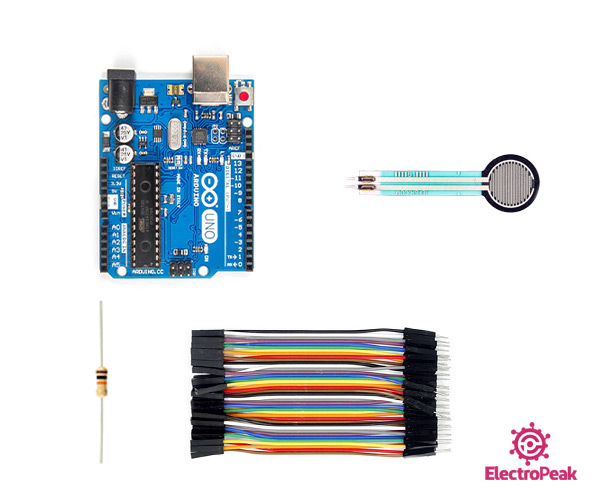
Hardware Components
Software Apps
Interfacing FSR-402 Force Sensitive Resistor with Arduino
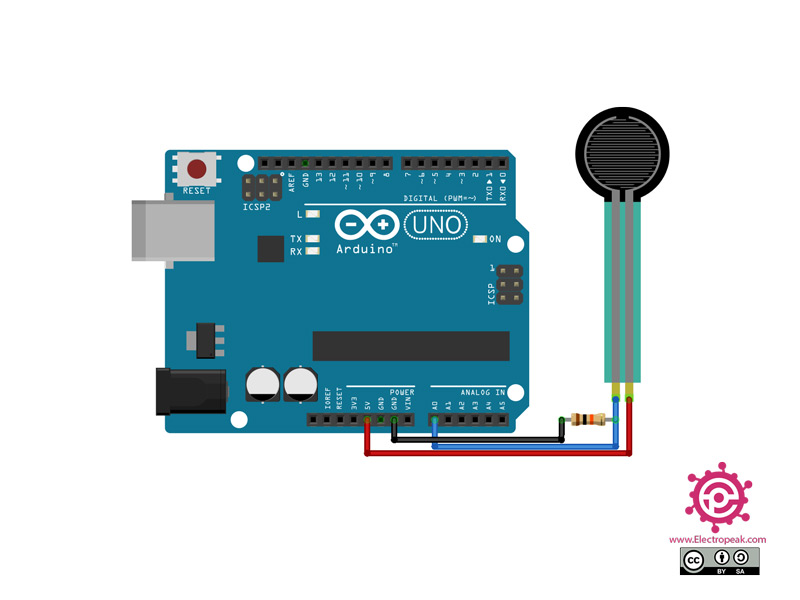
Step 1: Circuit
The following circuit shows how you should connect Arduino to FSR-402 sensor. Connect wires accordingly.
Step 2: Code
Upload the following code to your Arduino.
    /*
modified on Sep 8, 2020
Modified by MohammedDamirchi from Arduino Examples
Home
*/


// the setup routine runs once when you press reset:
void setup() {
  // initialize serial communication at 9600 bits per second:
  Serial.begin(9600);
}

// the loop routine runs over and over again forever:
void loop() {
  // read the input on analog pin 0:
  int sensorValue = analogRead(A0);
  // print out the value you read:
  Serial.println(sensorValue);
  delay(100);
  }
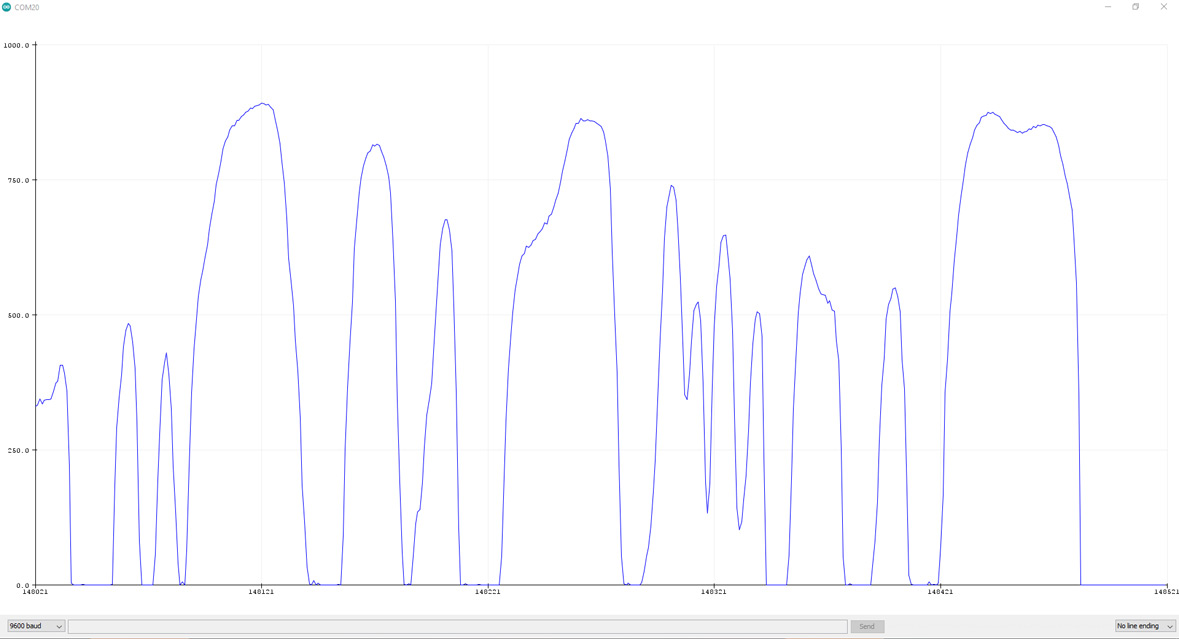
After running the code, the output is as follow.
